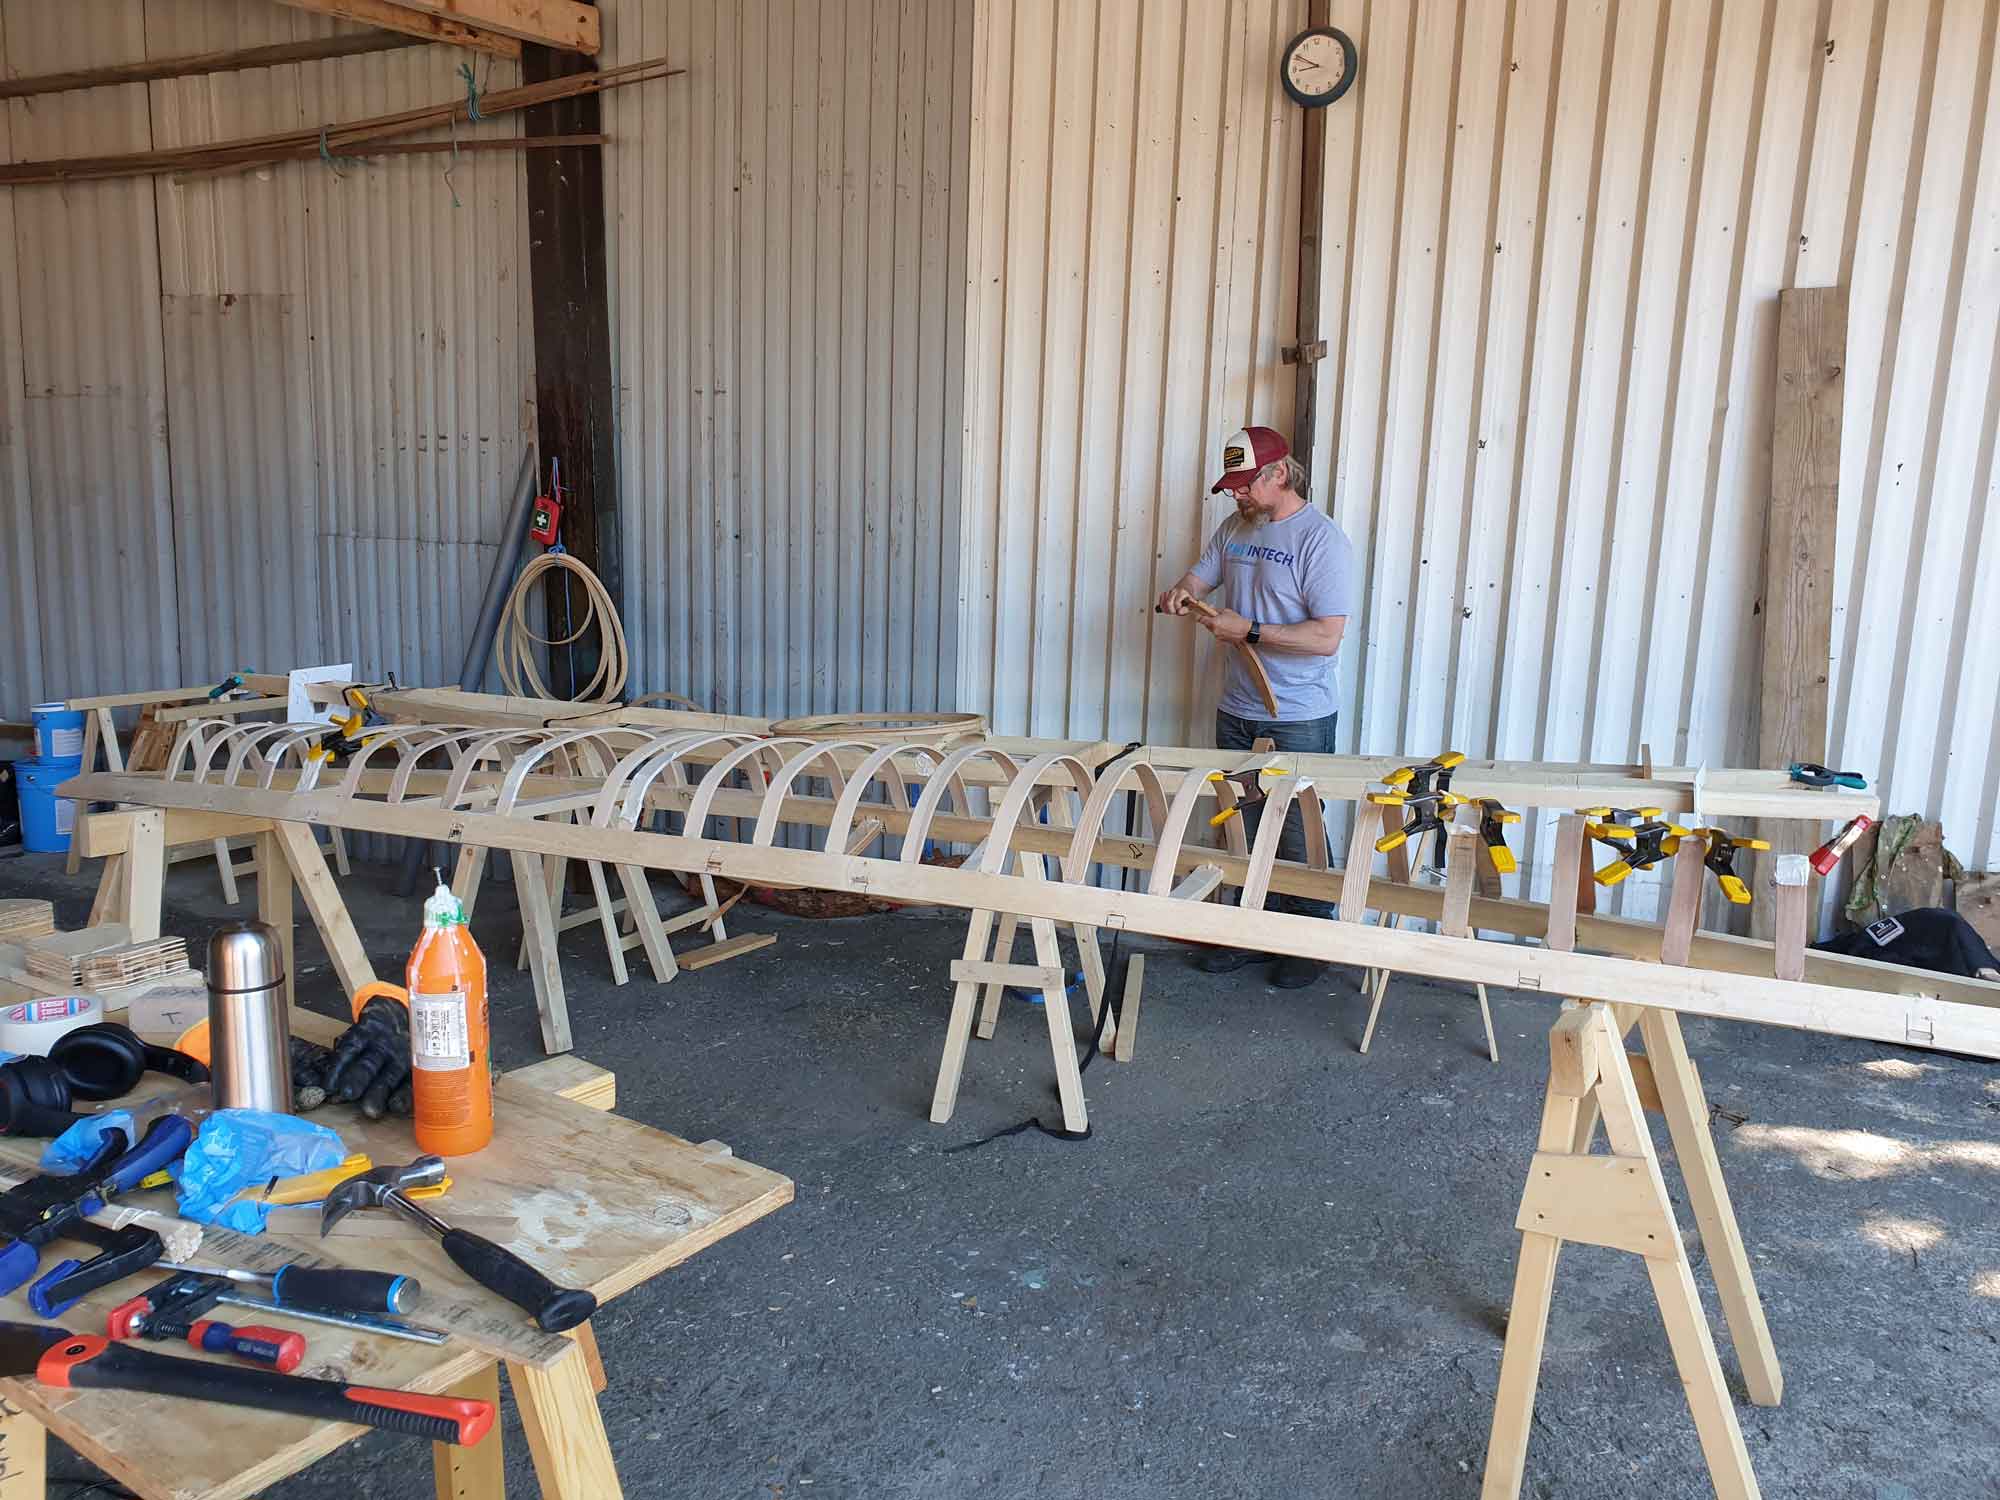
Stefan made all the holes with the plunge router and did not fail once! Unfortunately I have no pictures of him in action but will make better next time. Being this fast has it’s cost though. The other mortises didn’t follow the same pattern. More on that later.
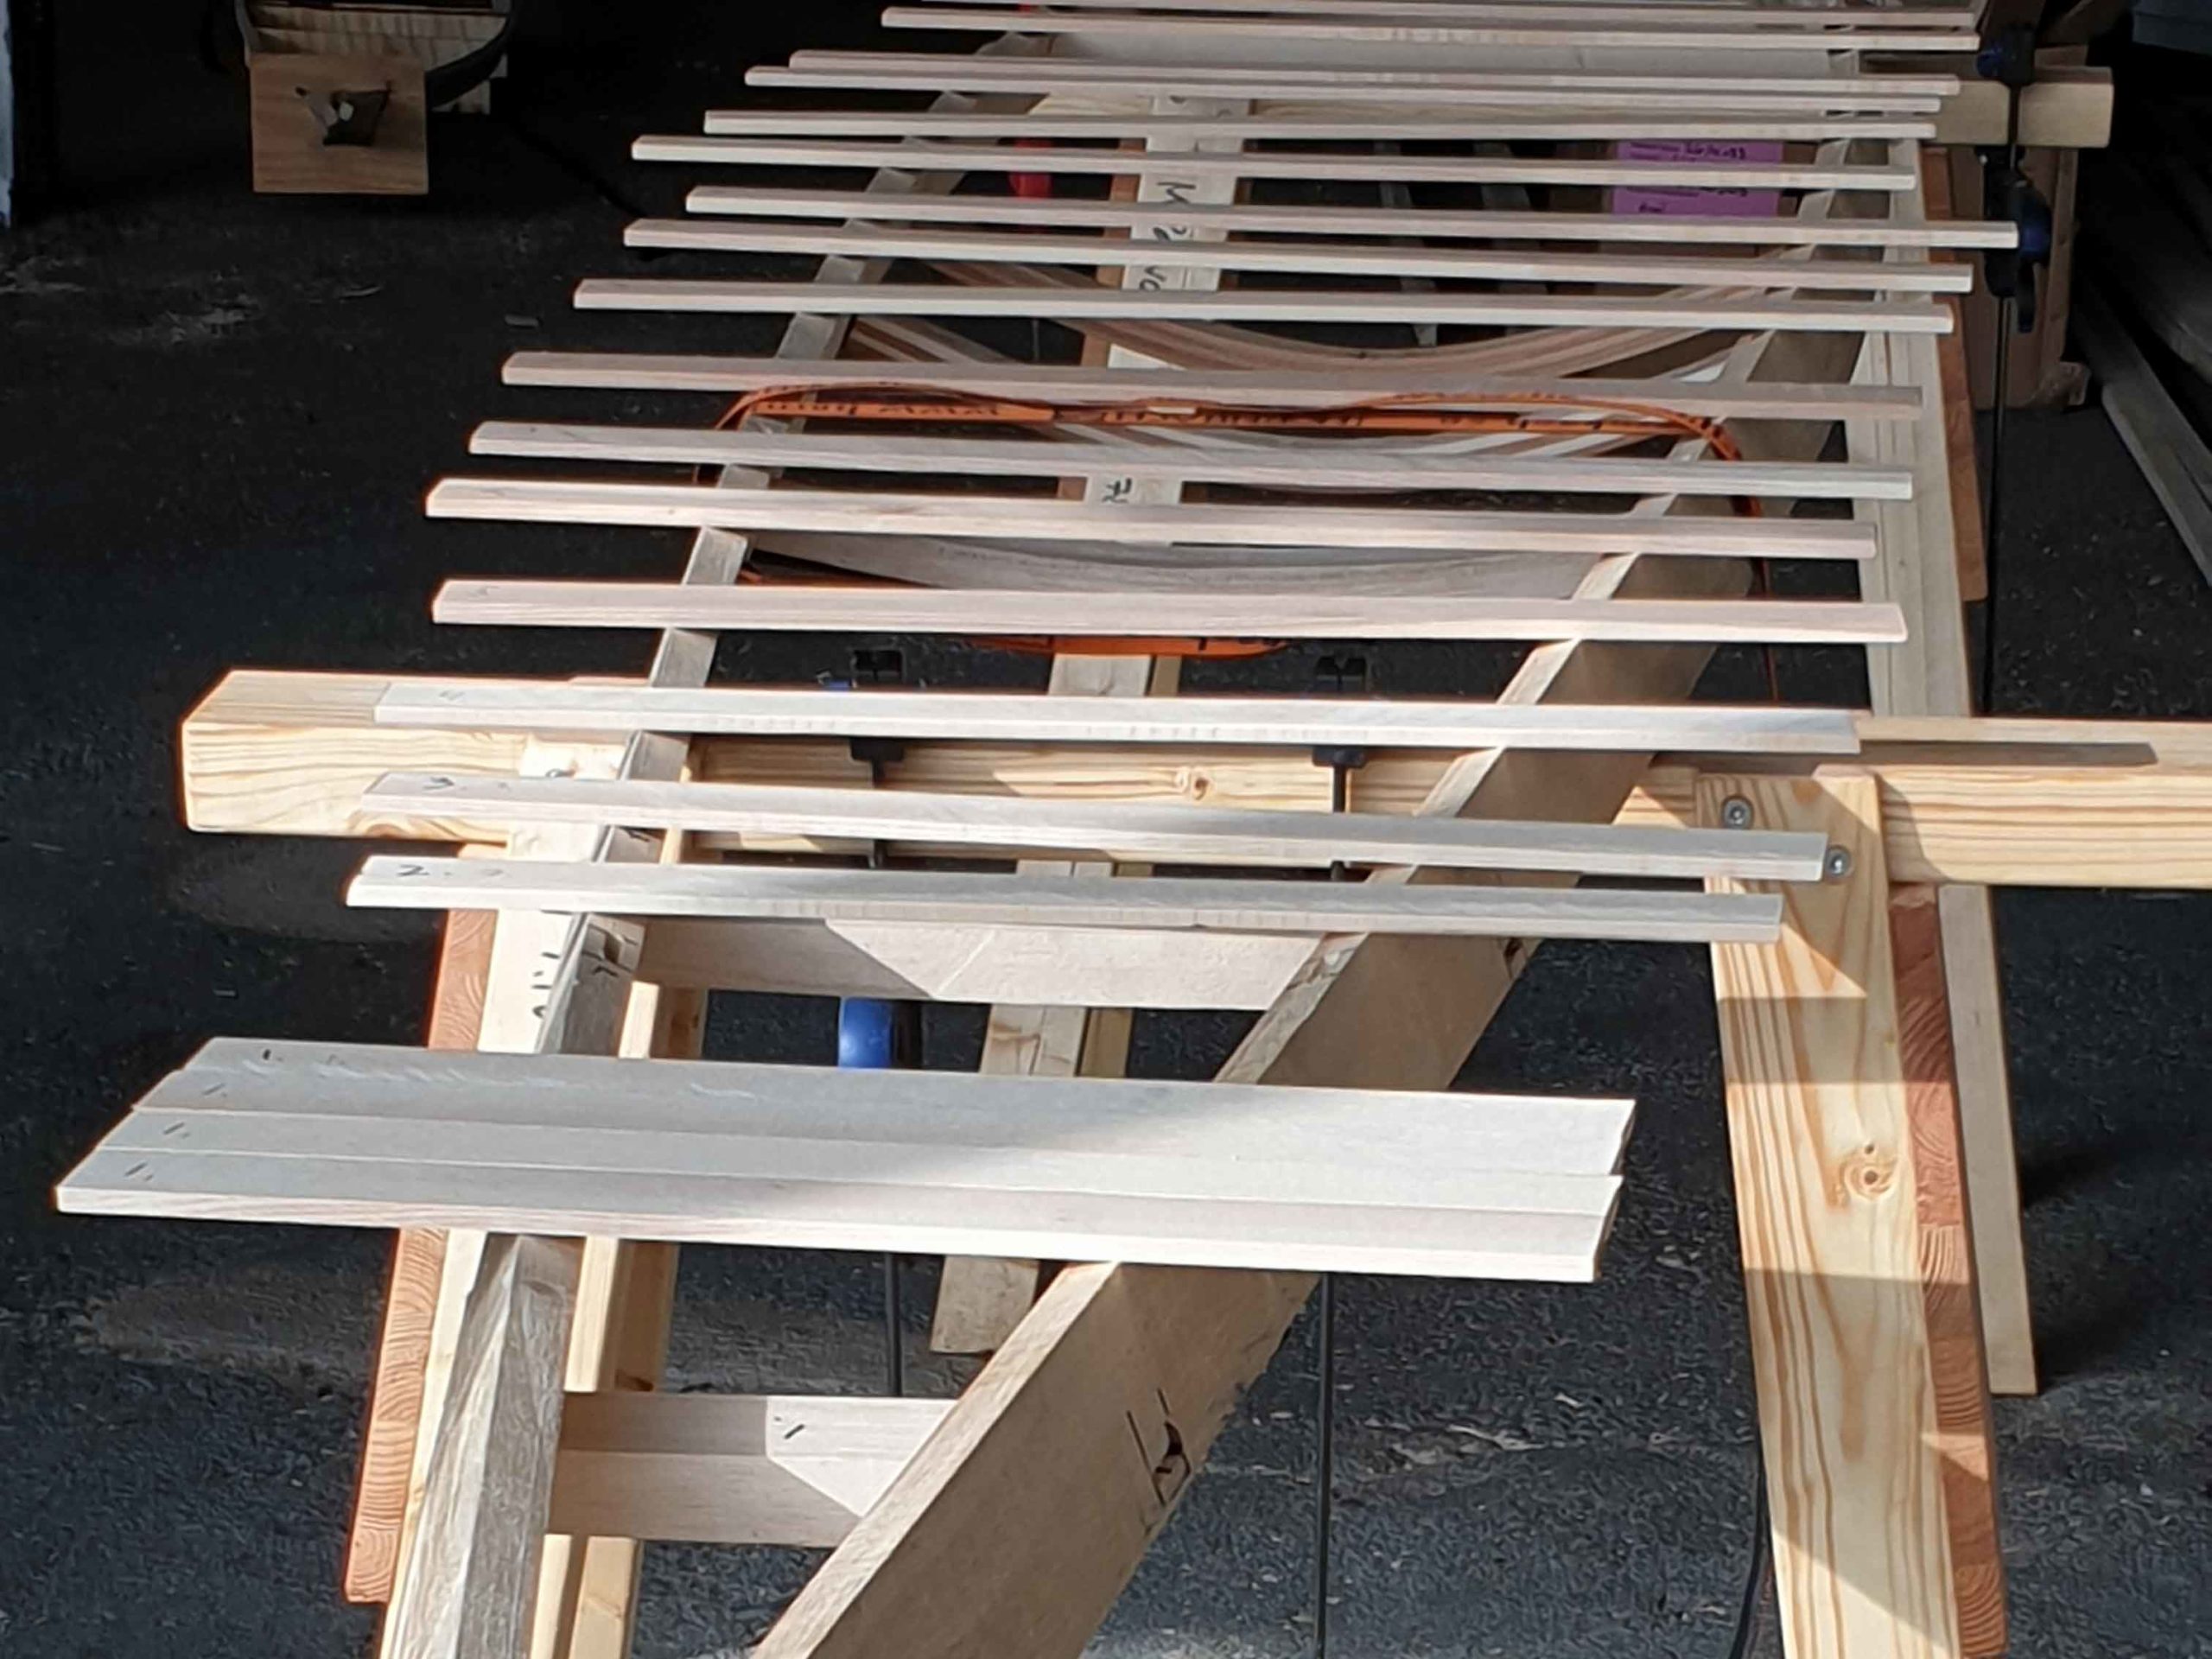
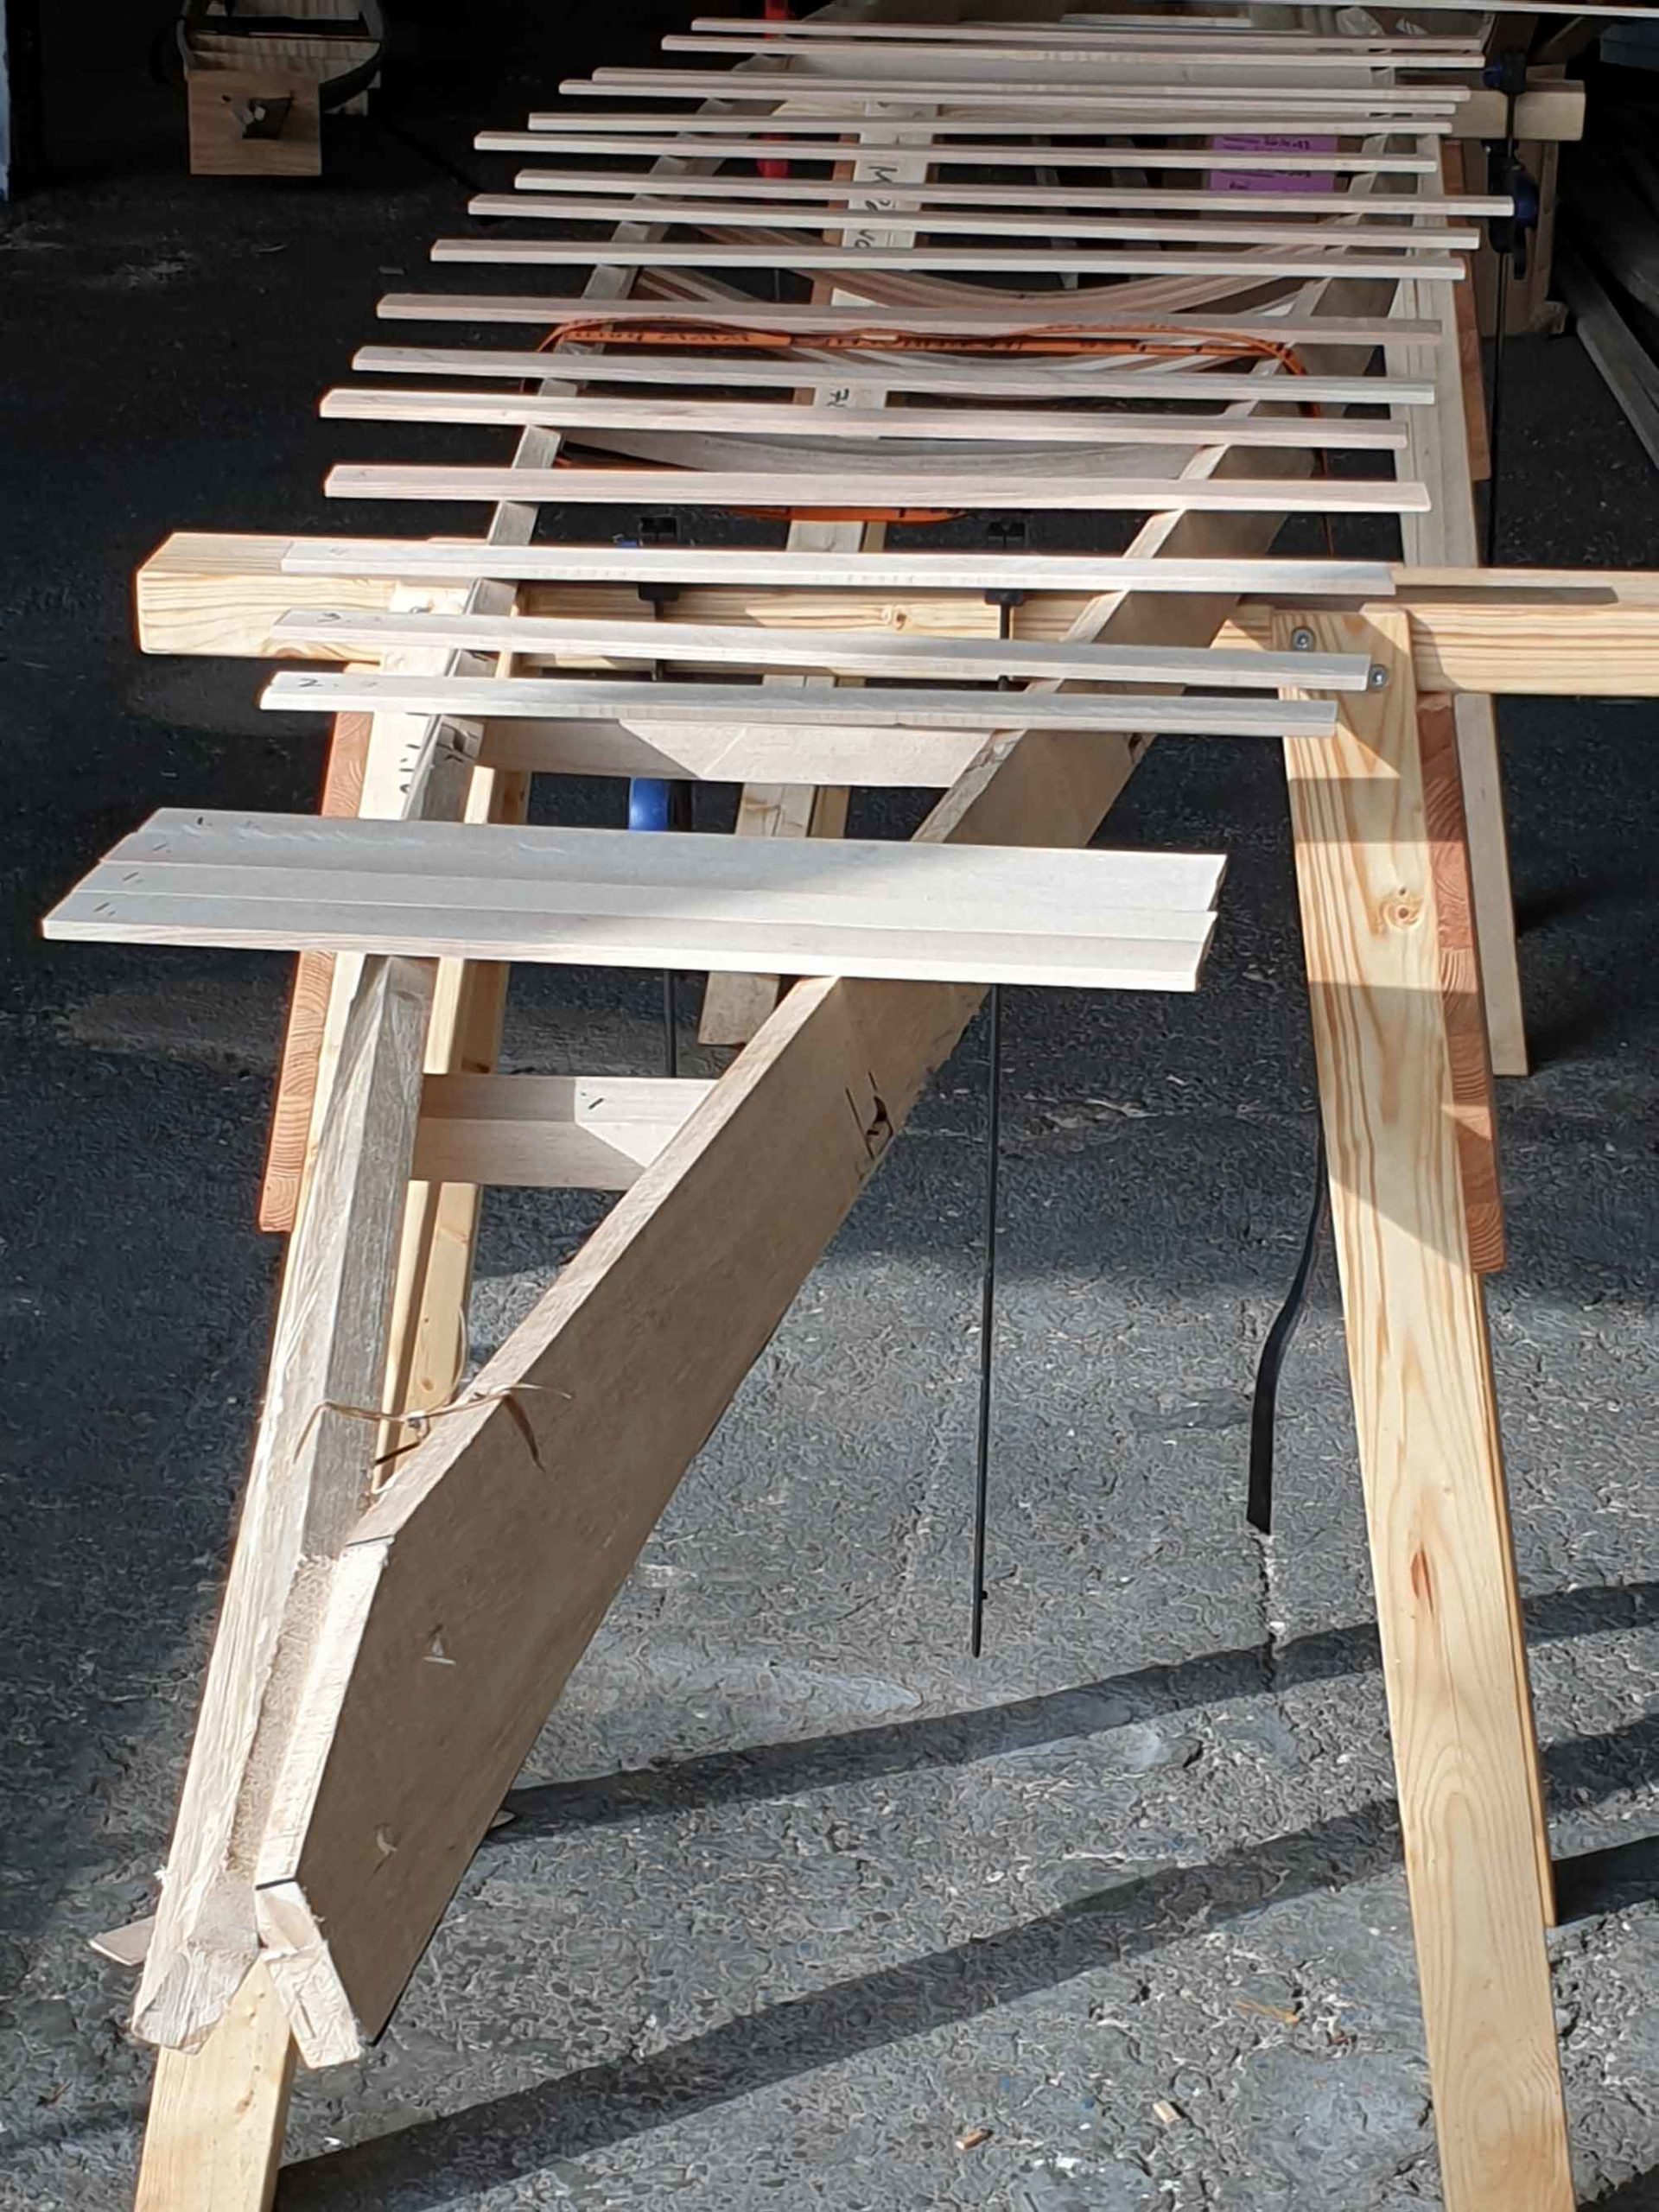
I salvaged the Ash we still had in the boatyard’s workshop and ripped some of it to ribs. The thickness planer came in handy because with our setup, it’s far too easy to rip wood with uneven thickness. In the afternoon I had the opportunity to try out one of the workshop guys’ table saw where the blade cost as much as our saw. I’m awestruck!
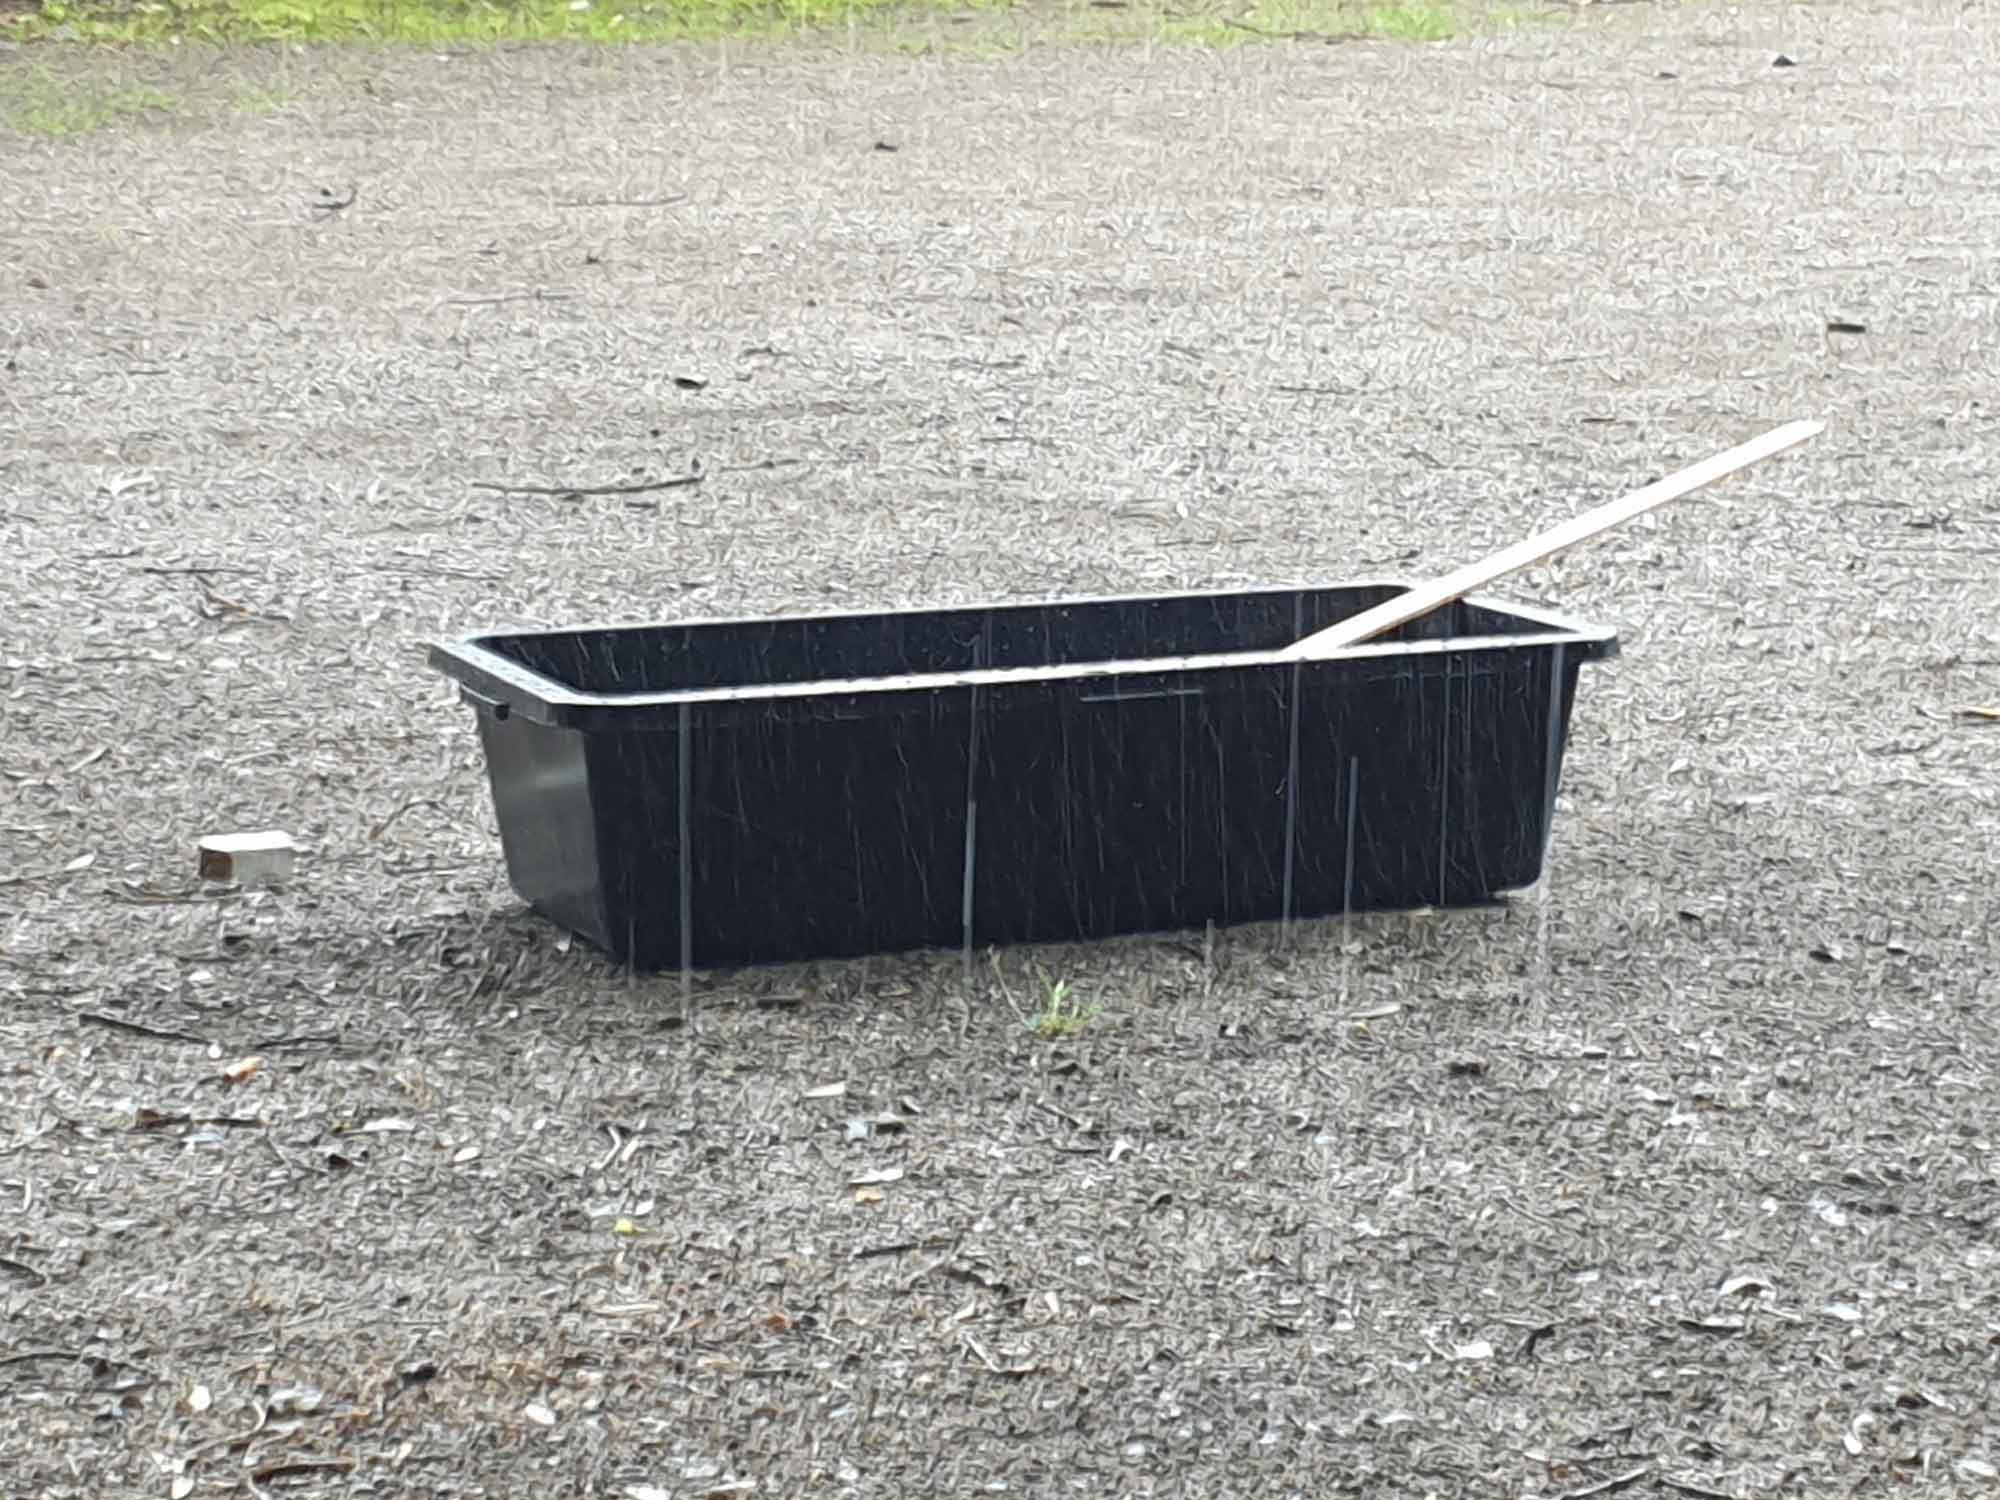
An occasional shower half-filled the rib bucket. Nice to recycle water from above 😉
Here’s how the steamed, fitted and some cracked ribs look once they are in place. Small cracks can be glued. Pinch them immediately with your fingers and put a clamp on them. When you have finished bending the ribs, glue all cracks, tape them over hard and let dry with a clamp on. Your rib will be fine.