
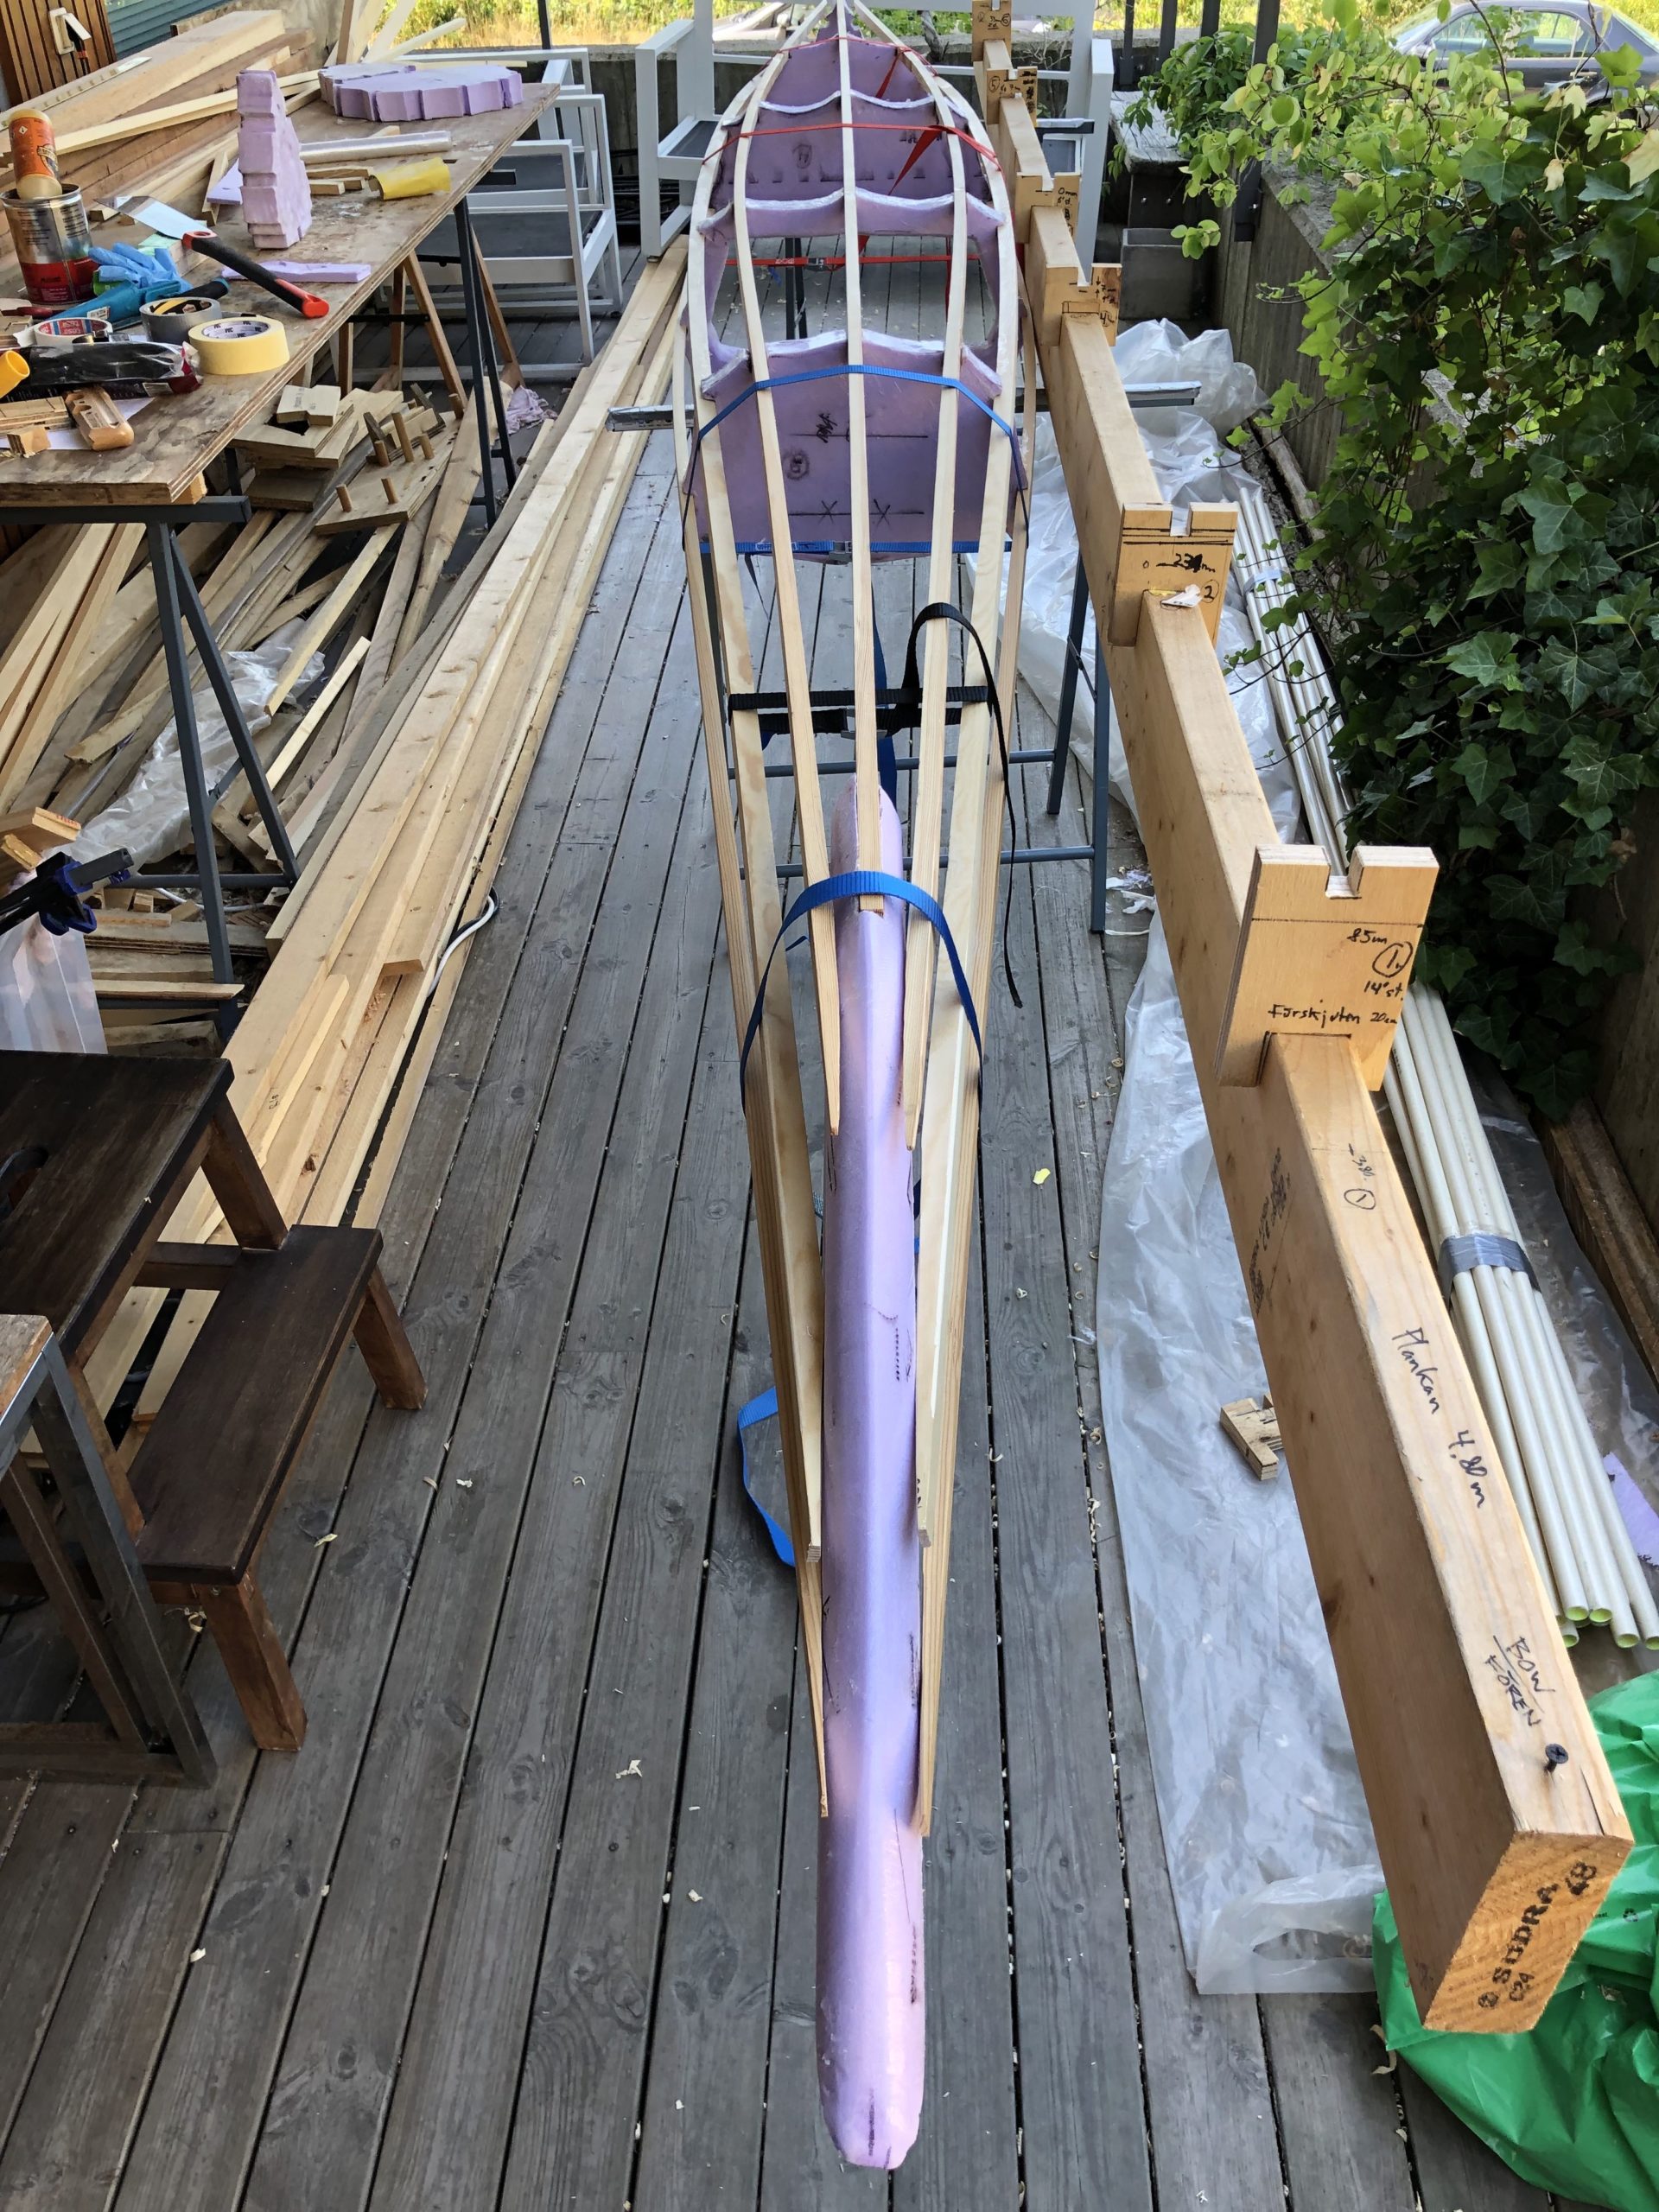
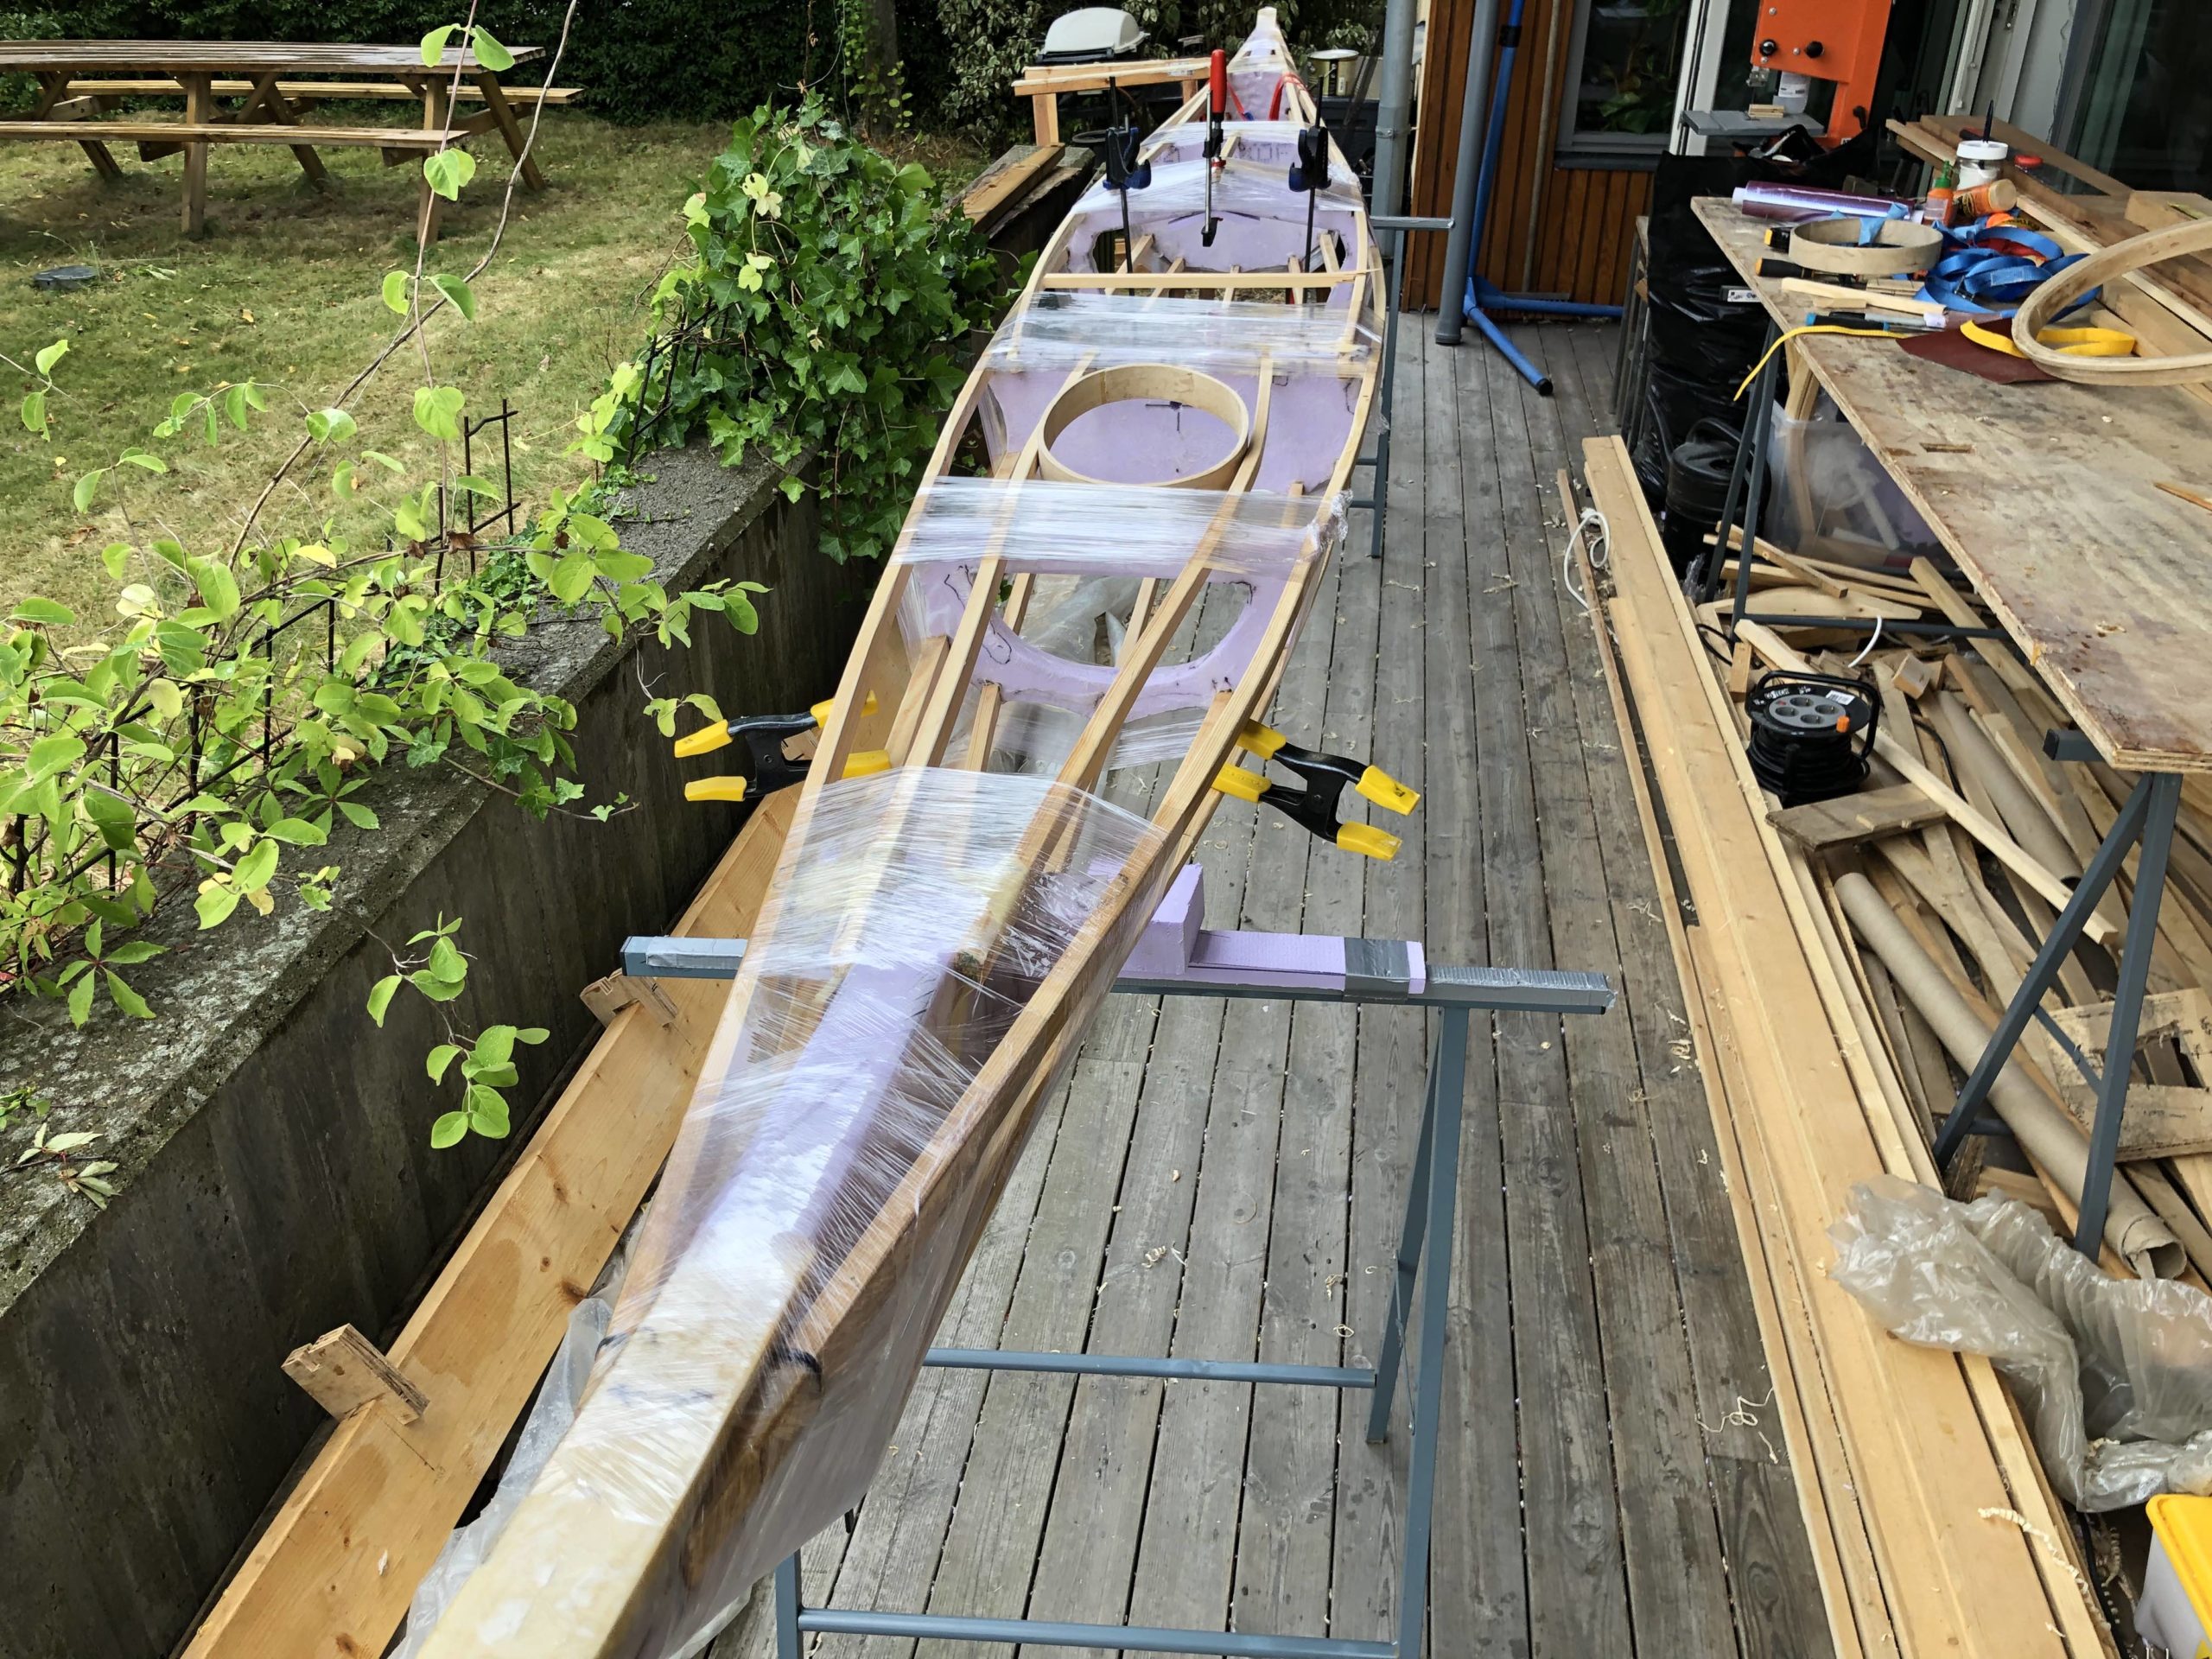
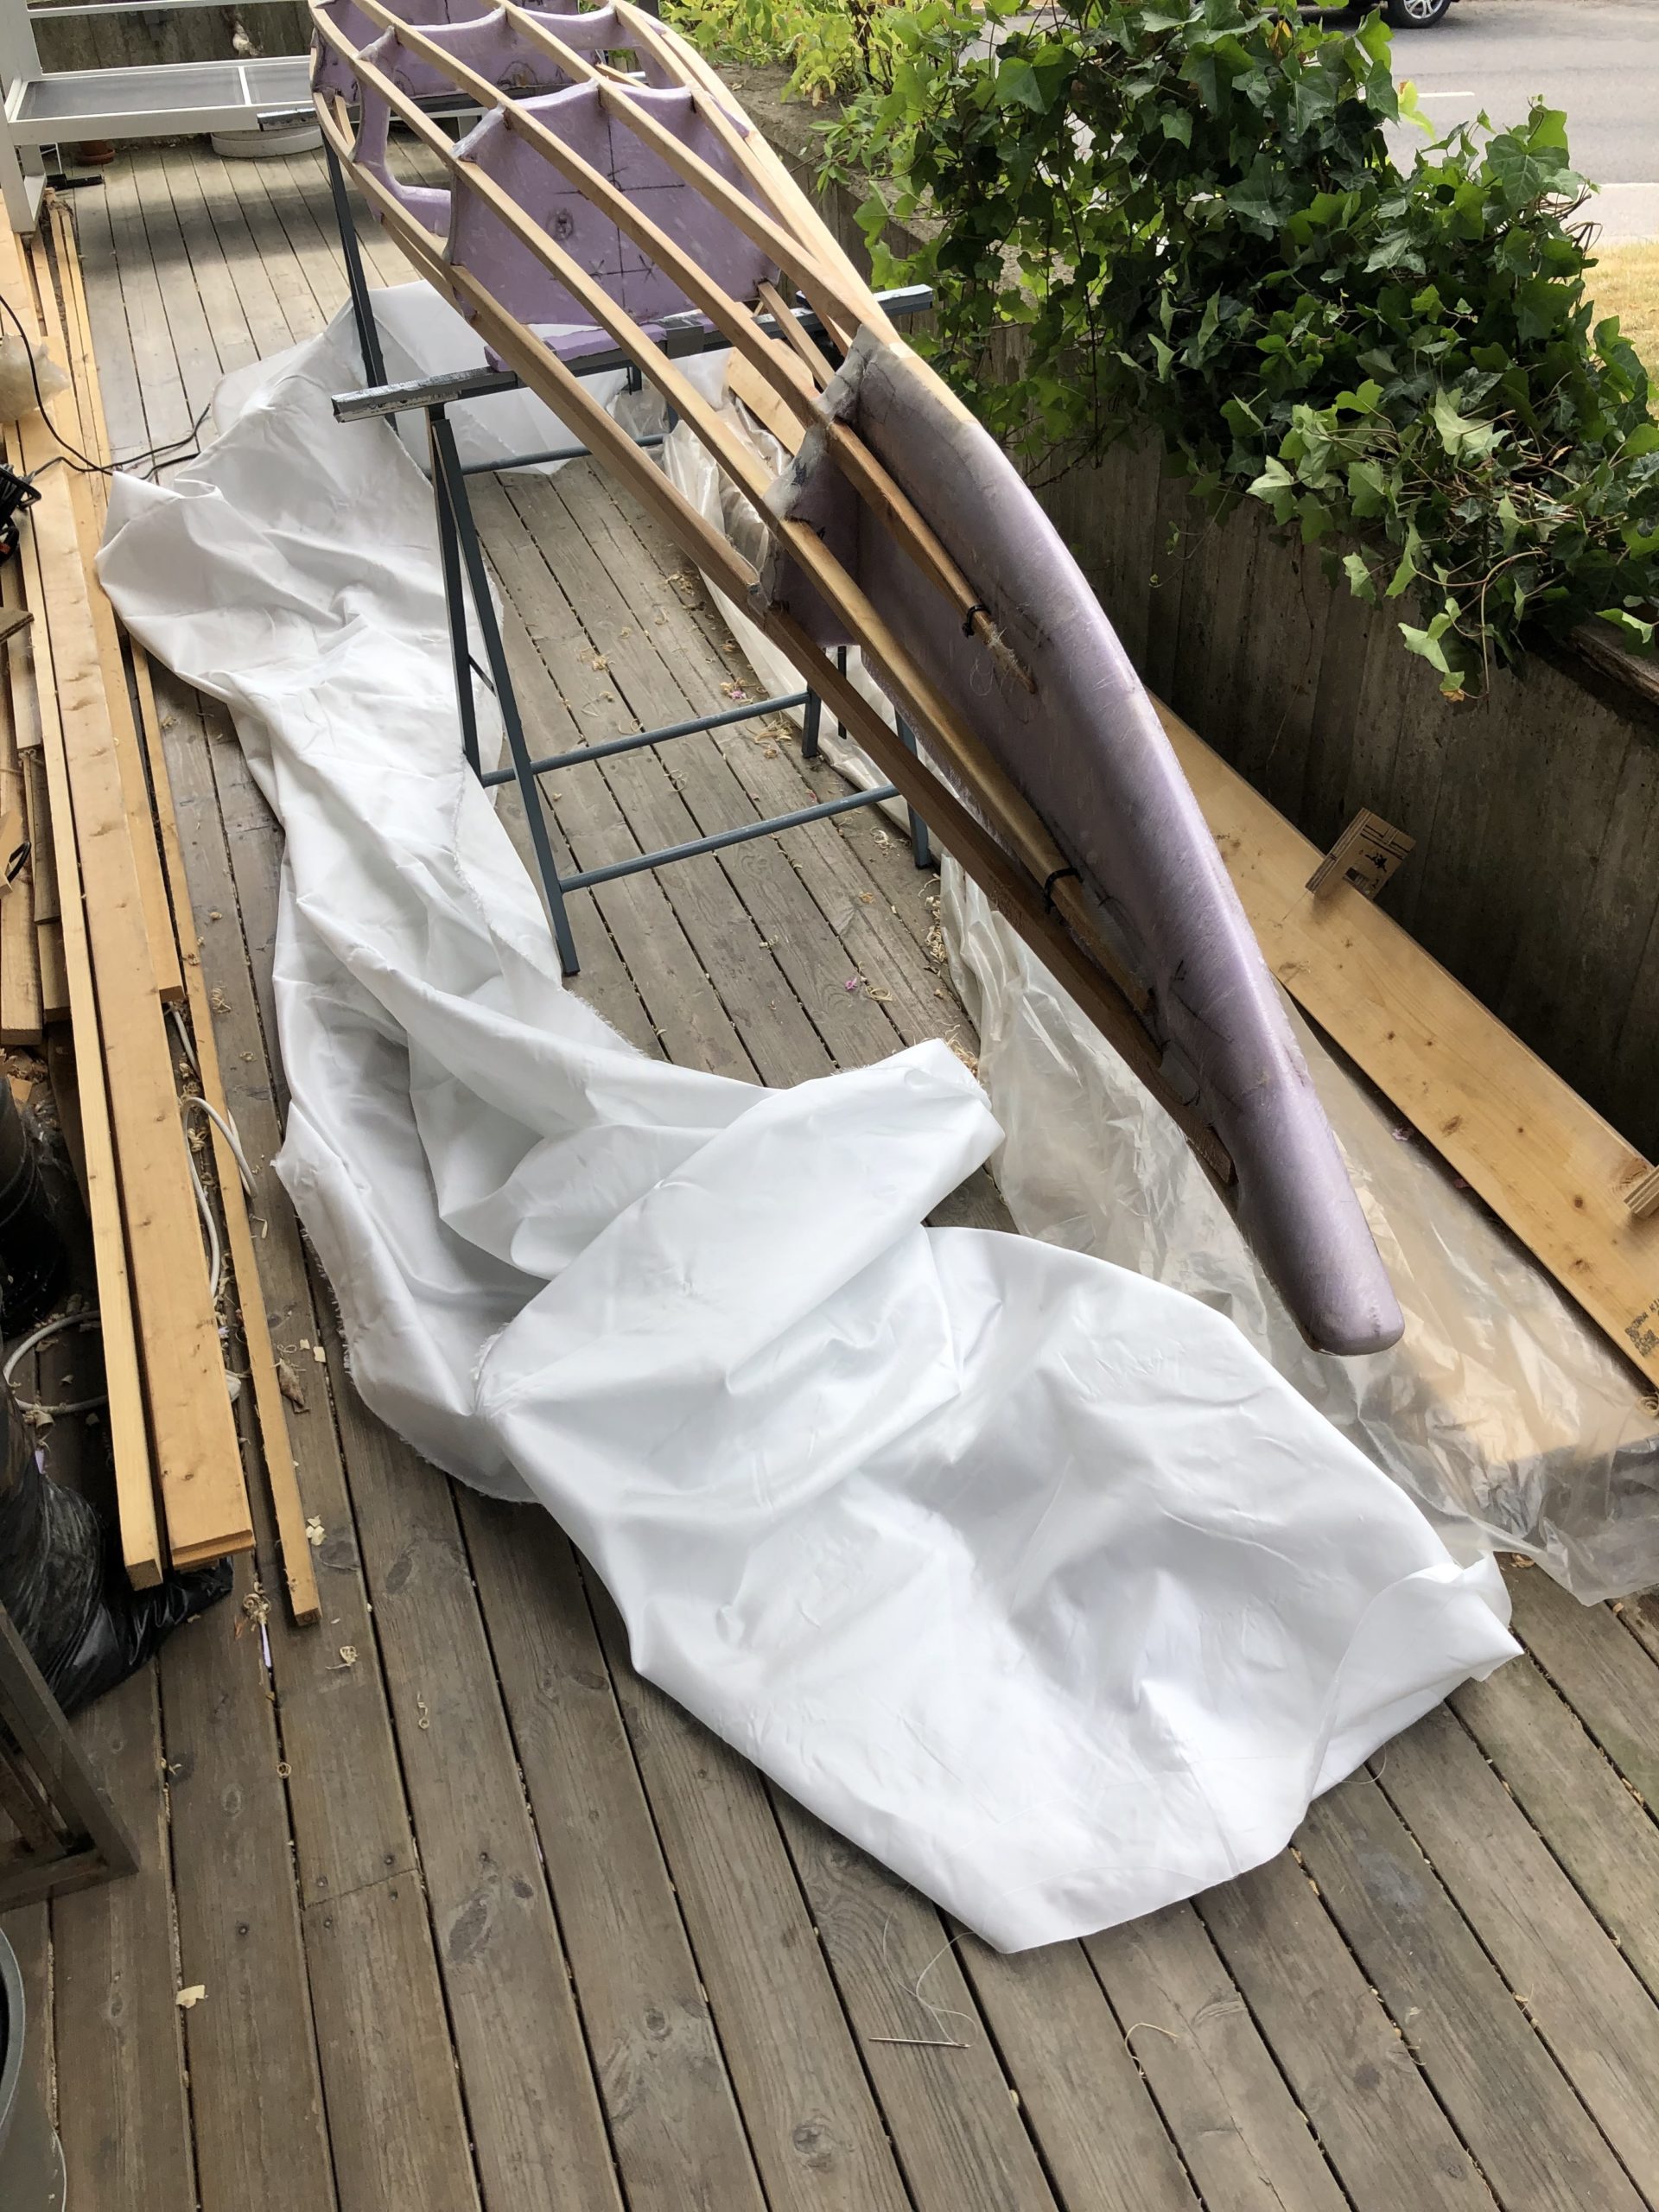
Couldn’t find the time during the whole spring but when I got to summer vacay I finally got around to starting the build of a new Skin On Frame “Mule” kayak. It’s gonna be ultra light but sturdy enough to take all my (minimalistic) gear for a week or two.
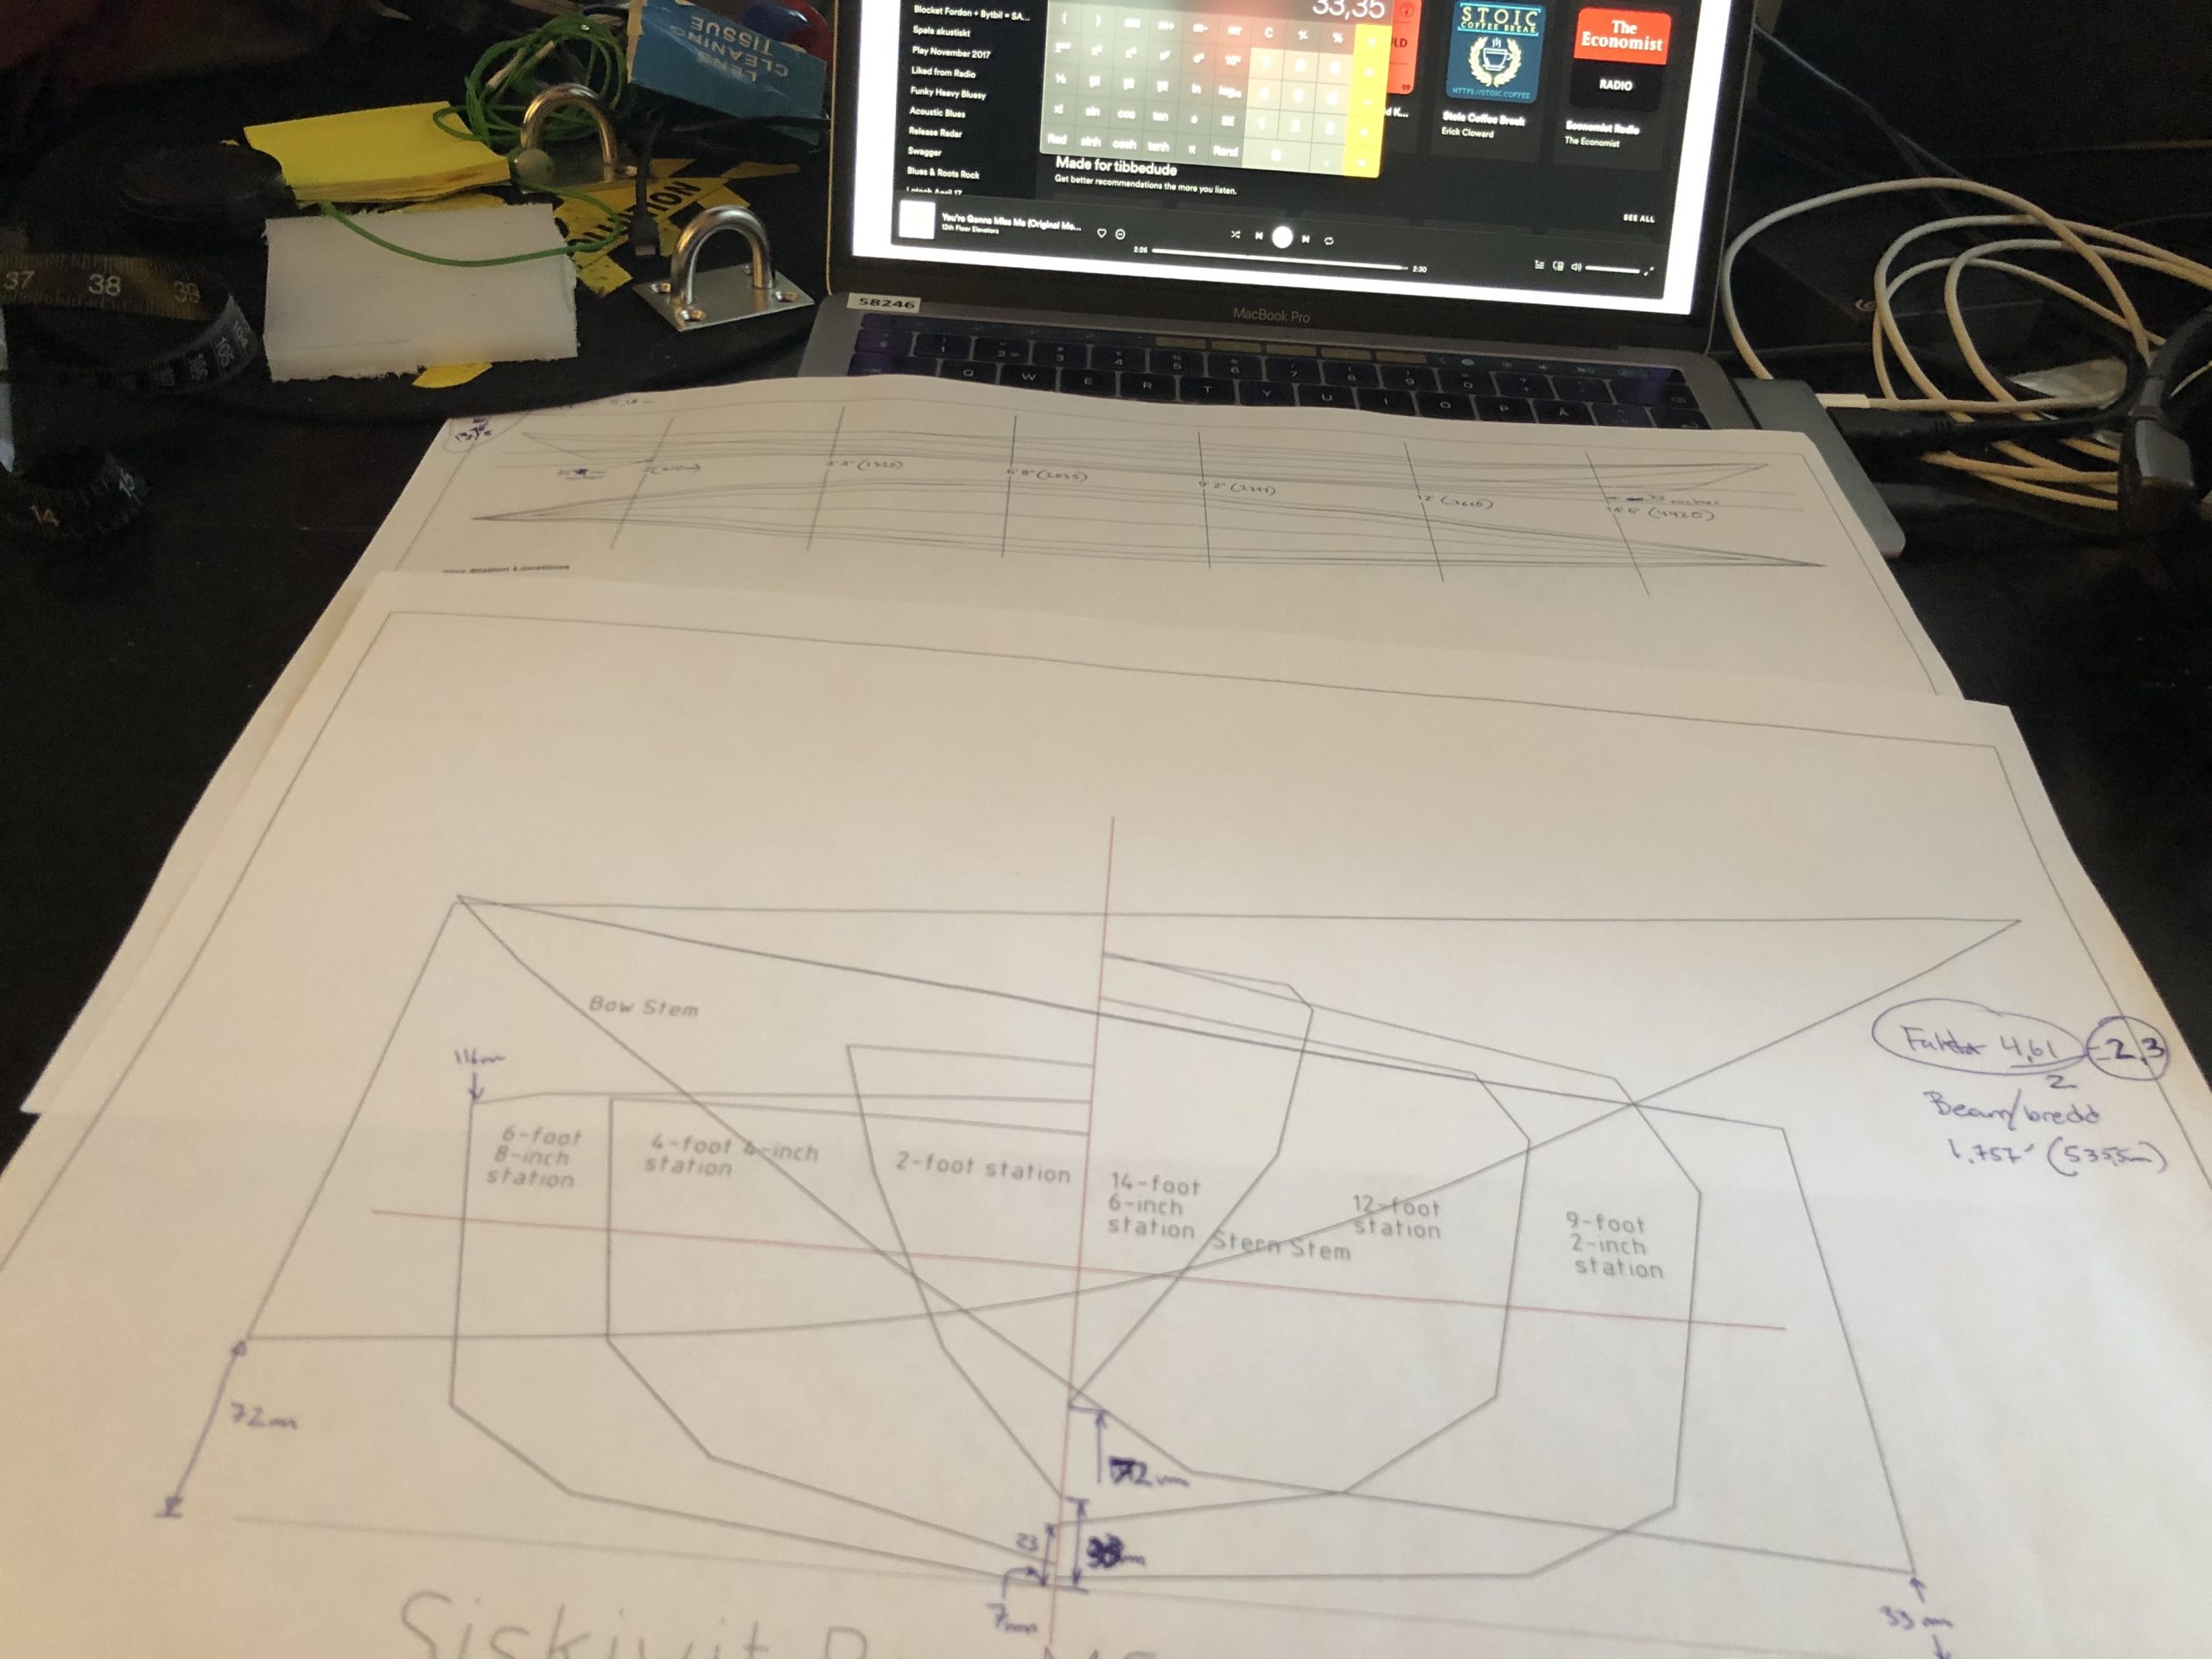
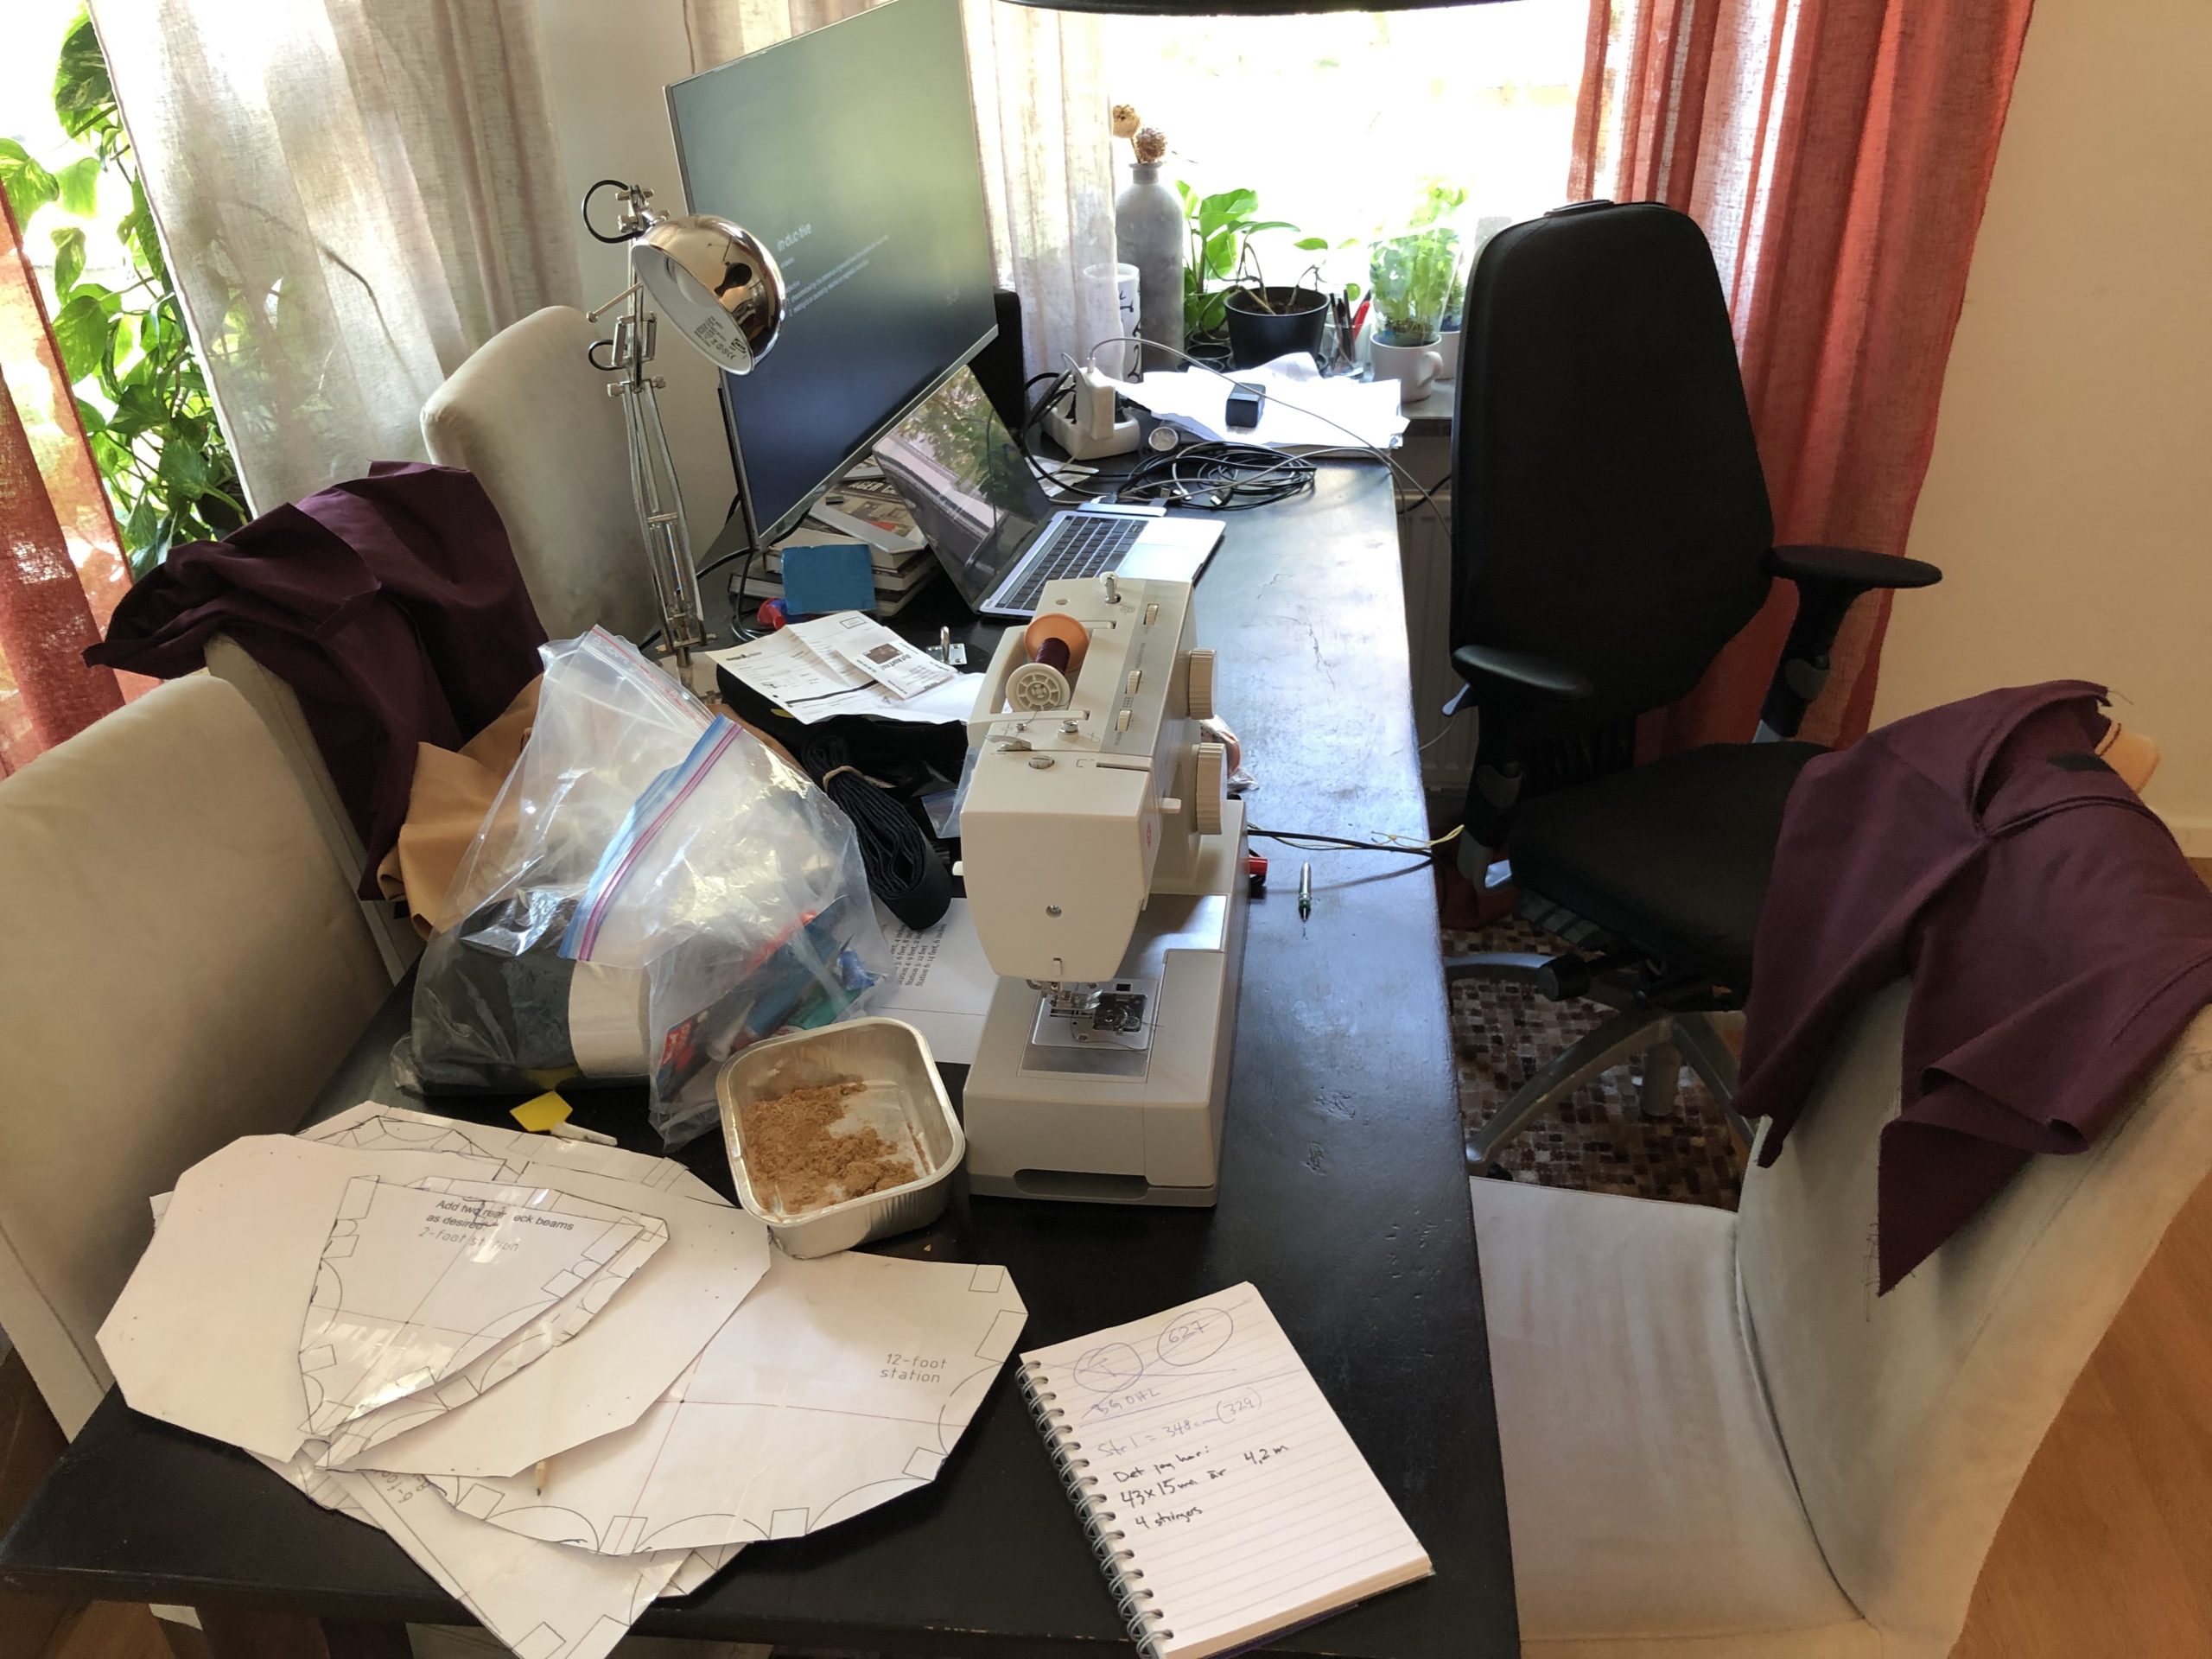
Will post a lot of images here for my own reference because I am making it up as I go. This time the build is with insulation foam to get bulkheads and floatation, but also to stay light. My target weight is less than 11Kg but that is more like a wish… To get a jump start I got some great drawings from Bryan Hansel at Paddlinglight.com. Check them out!
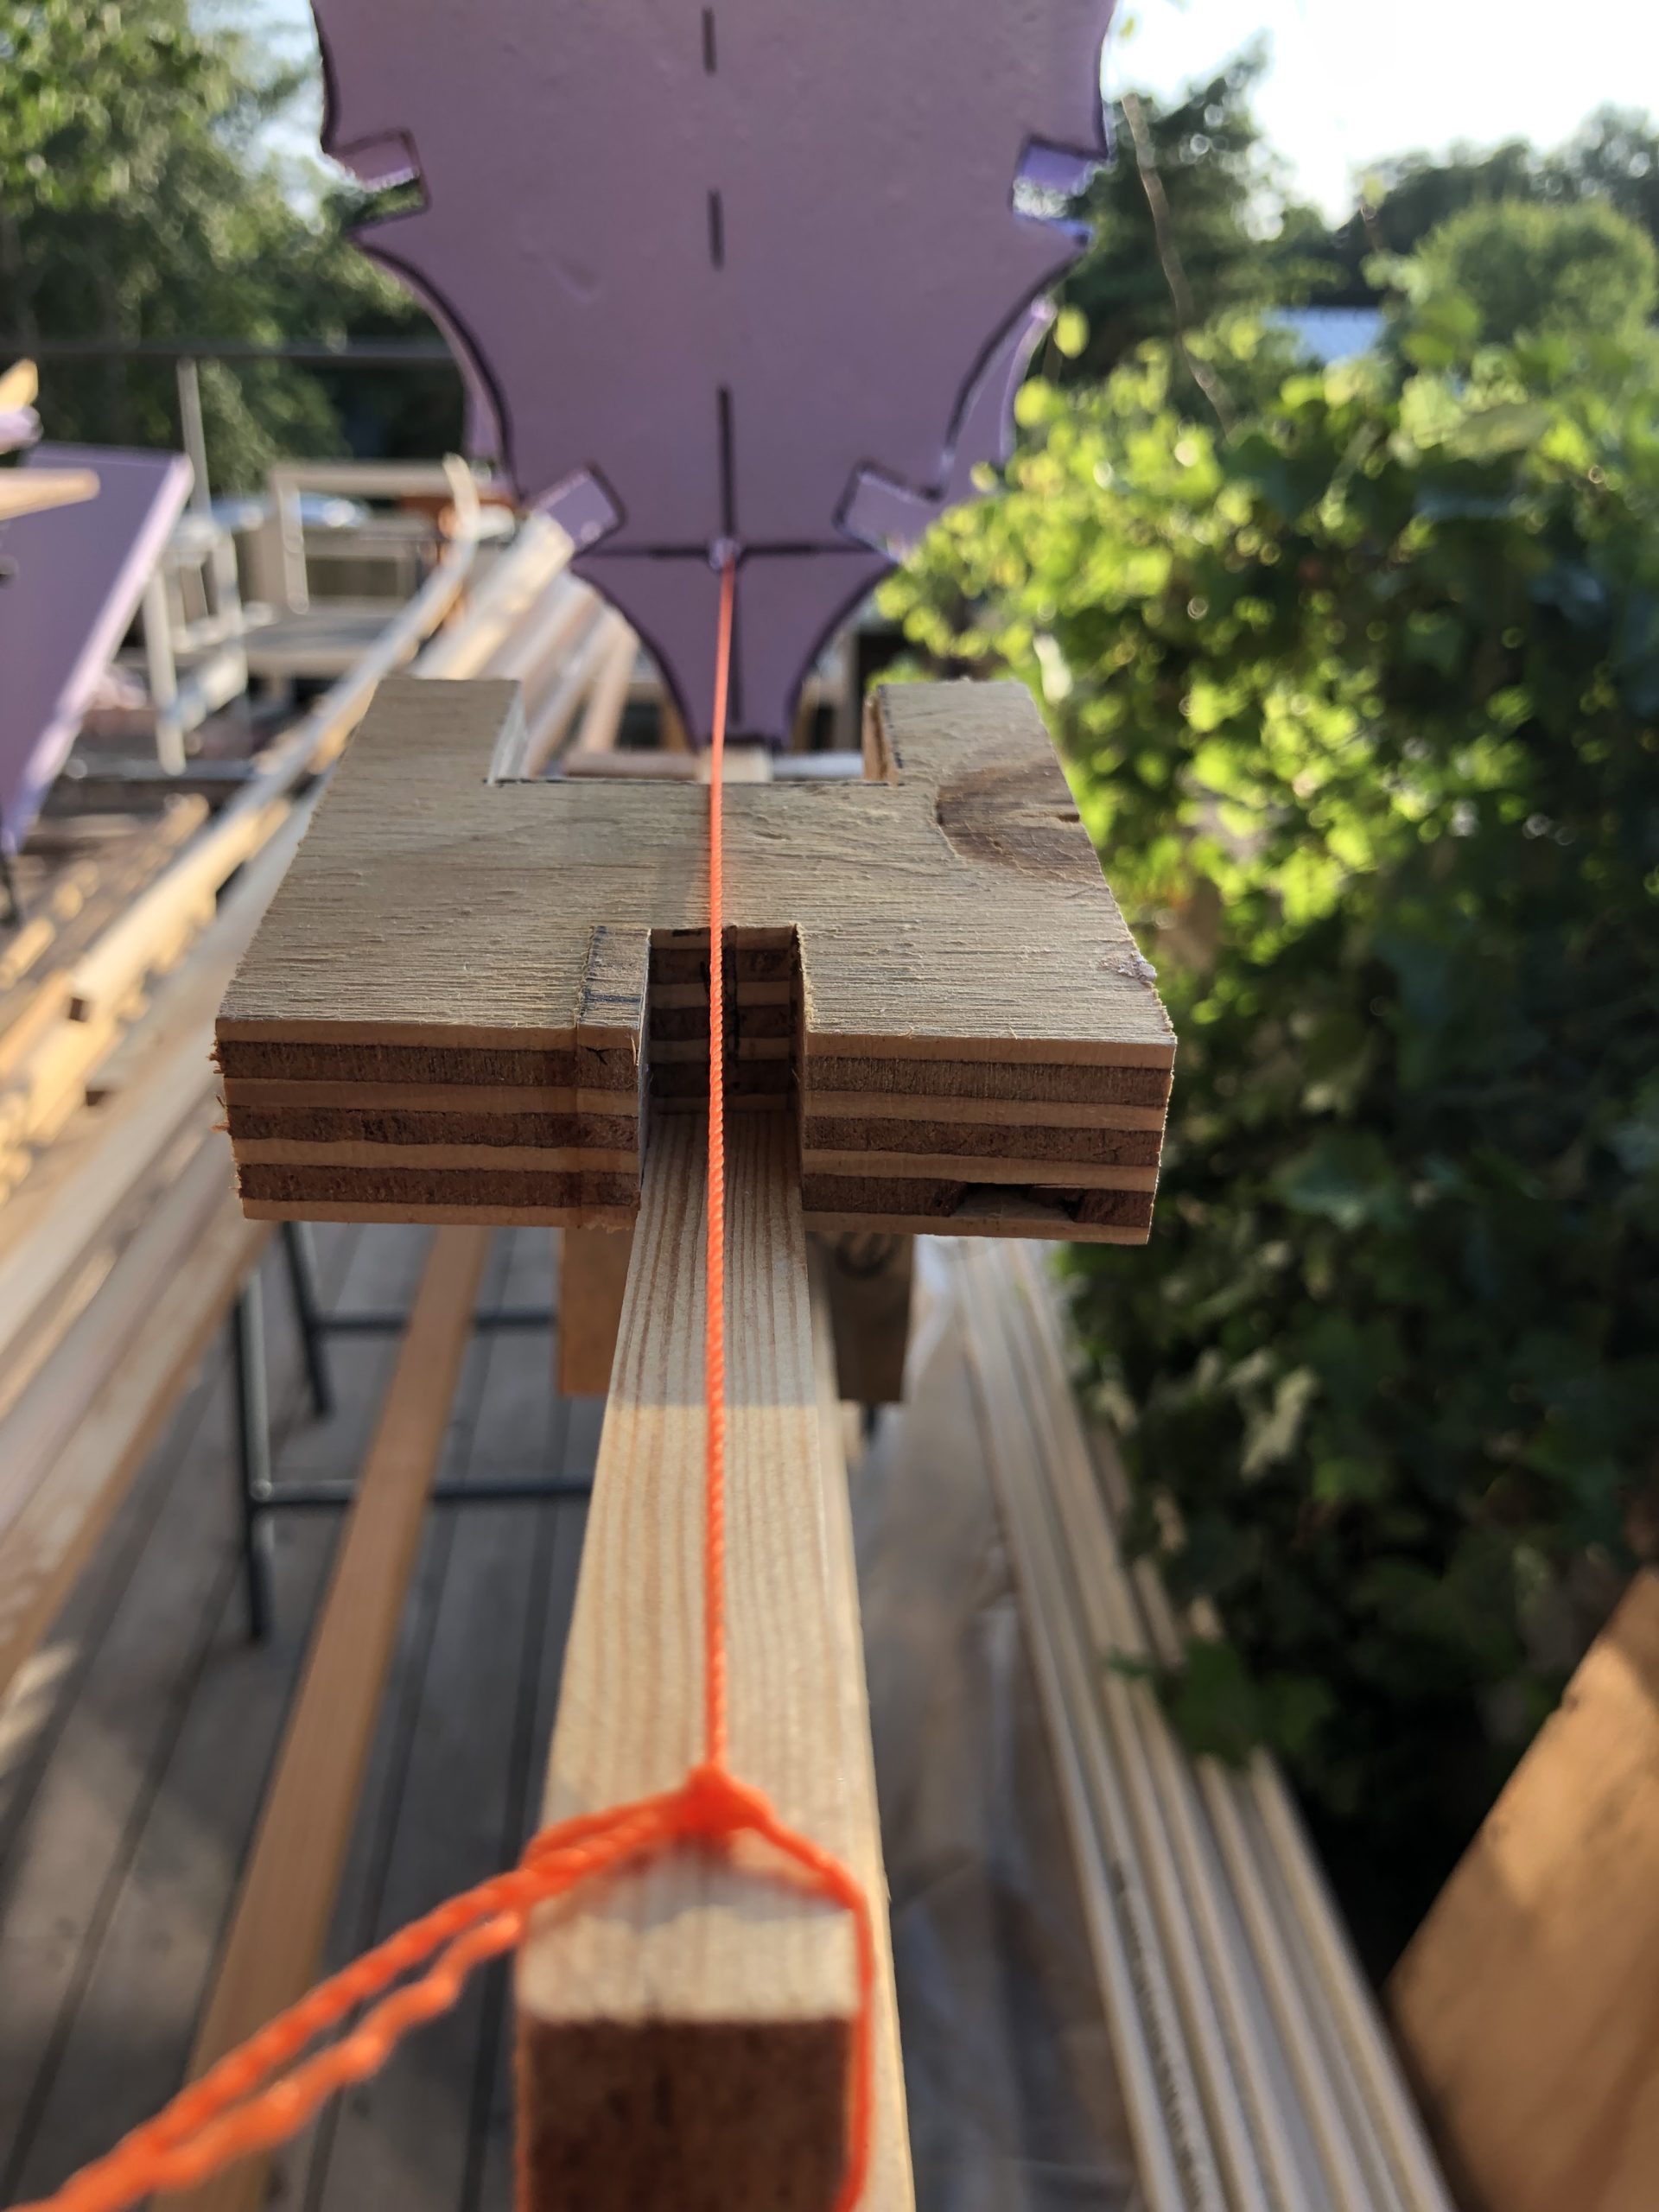
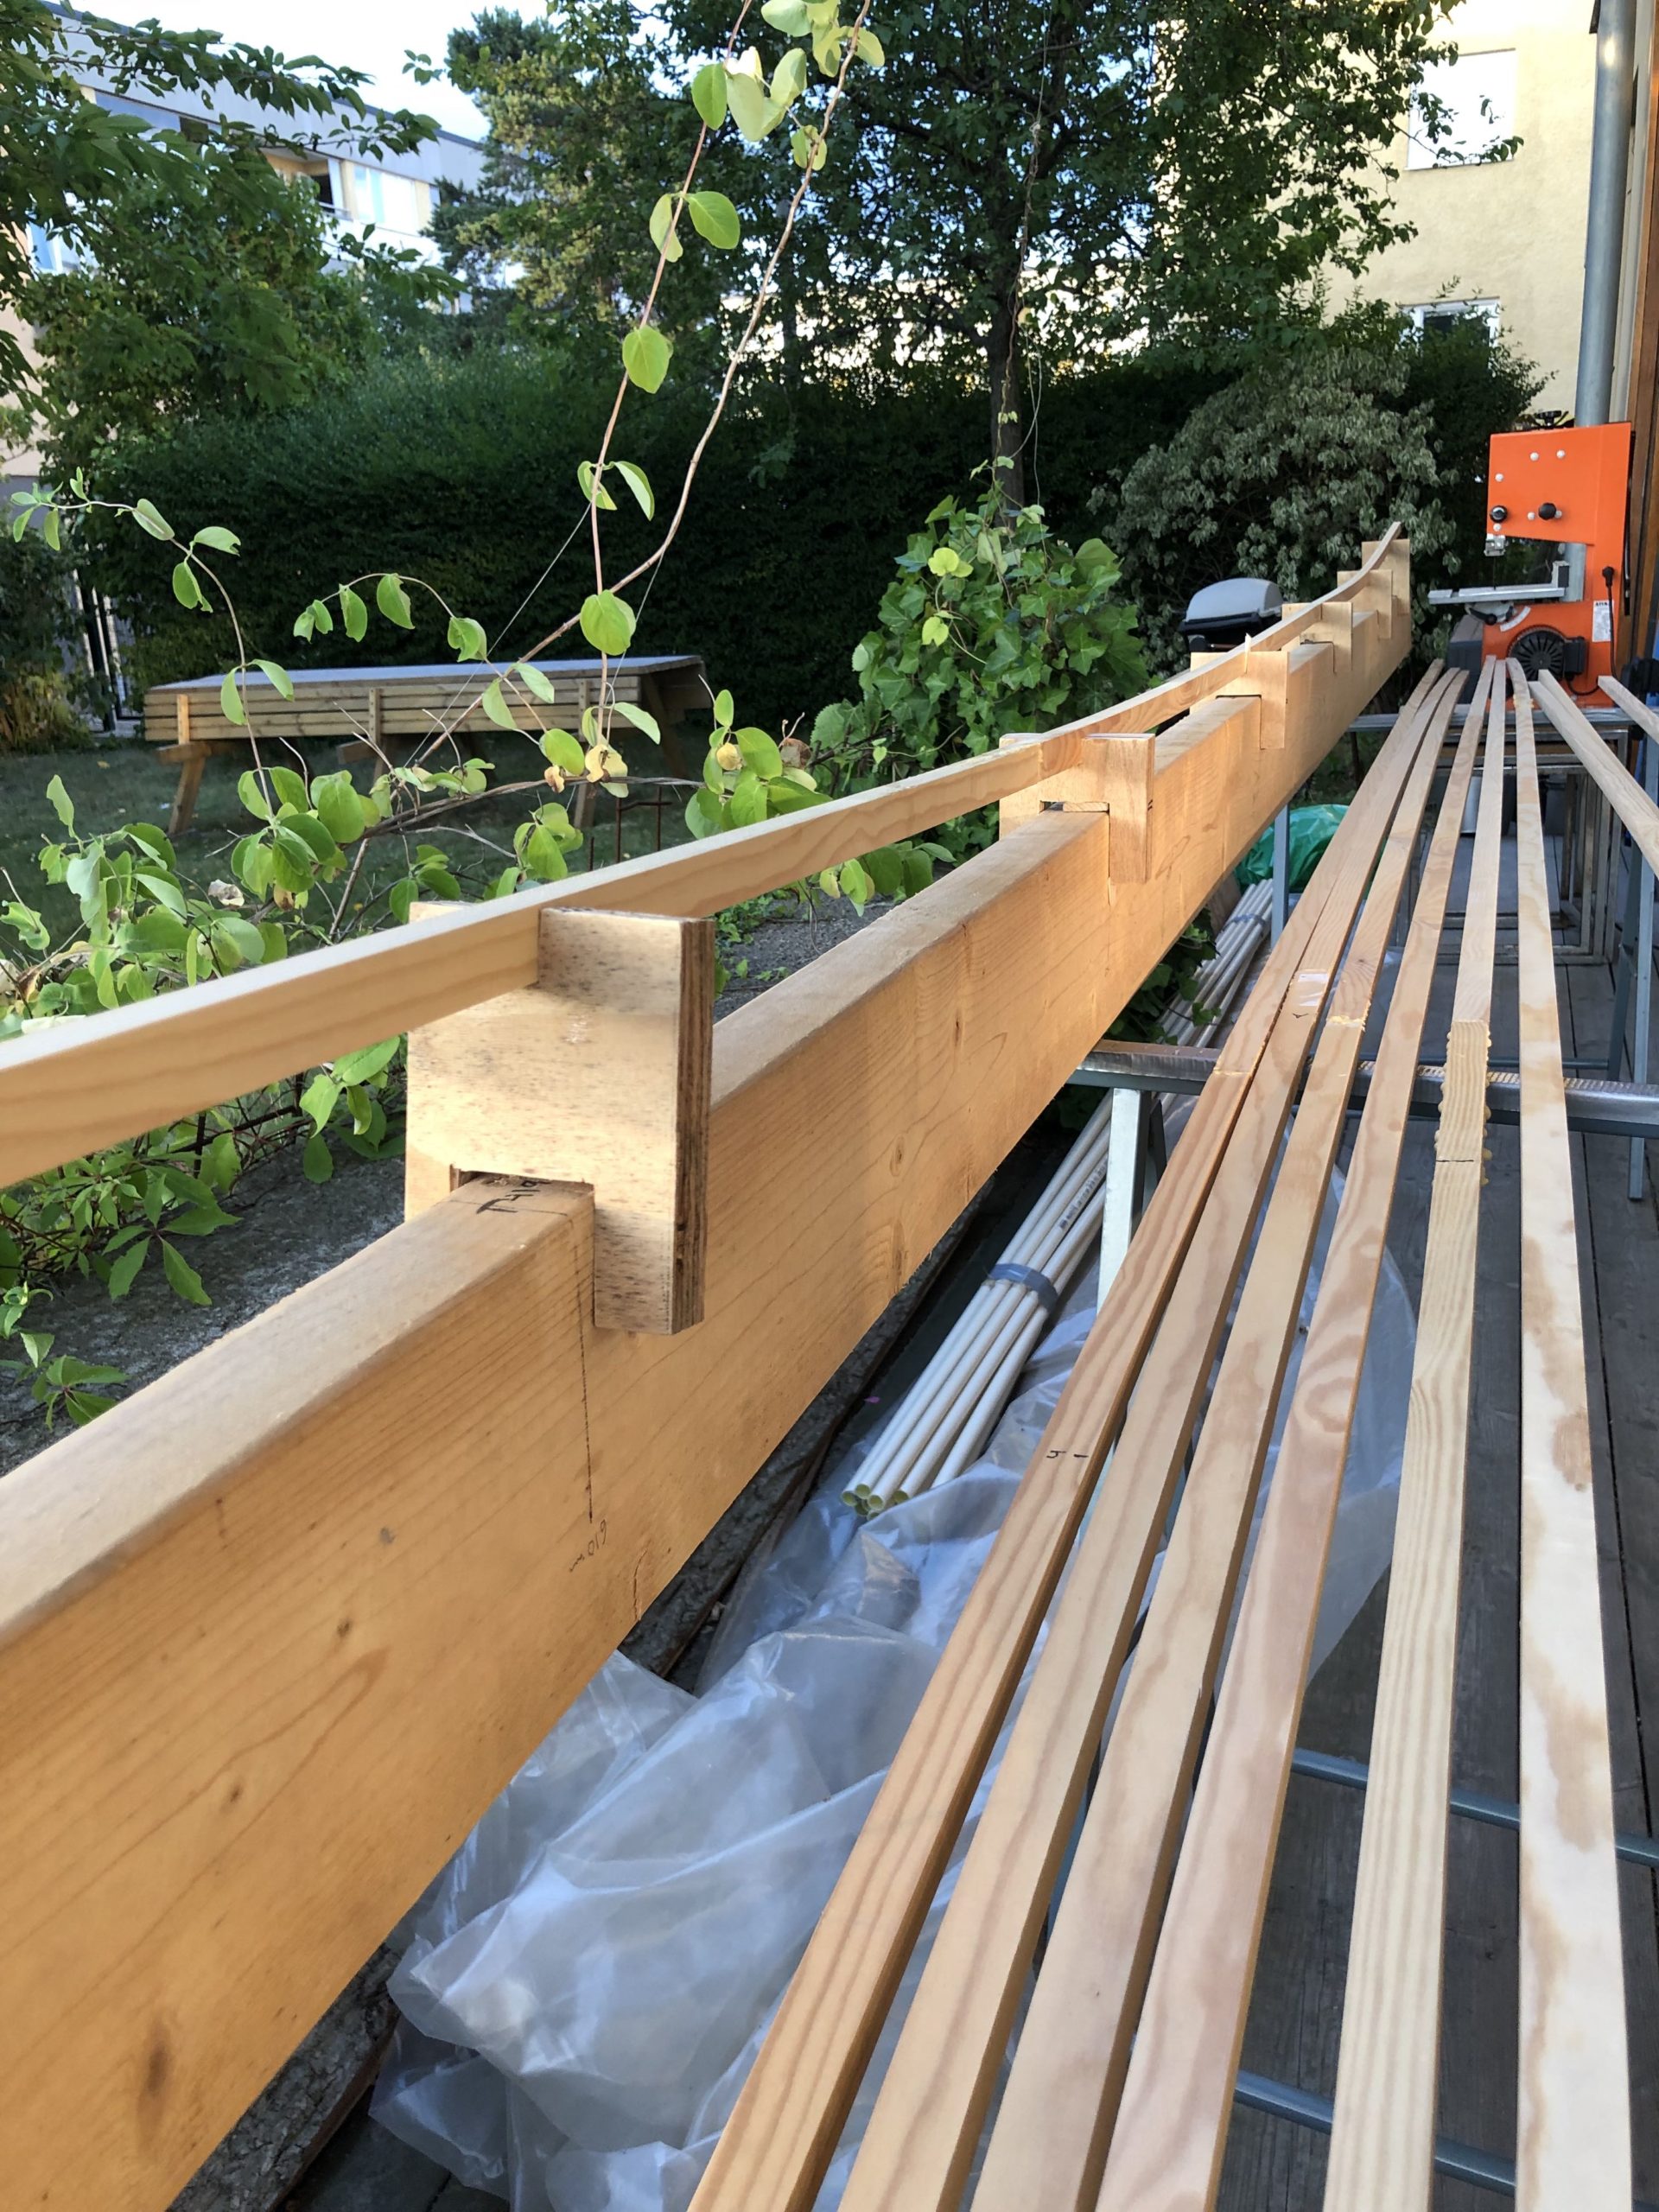
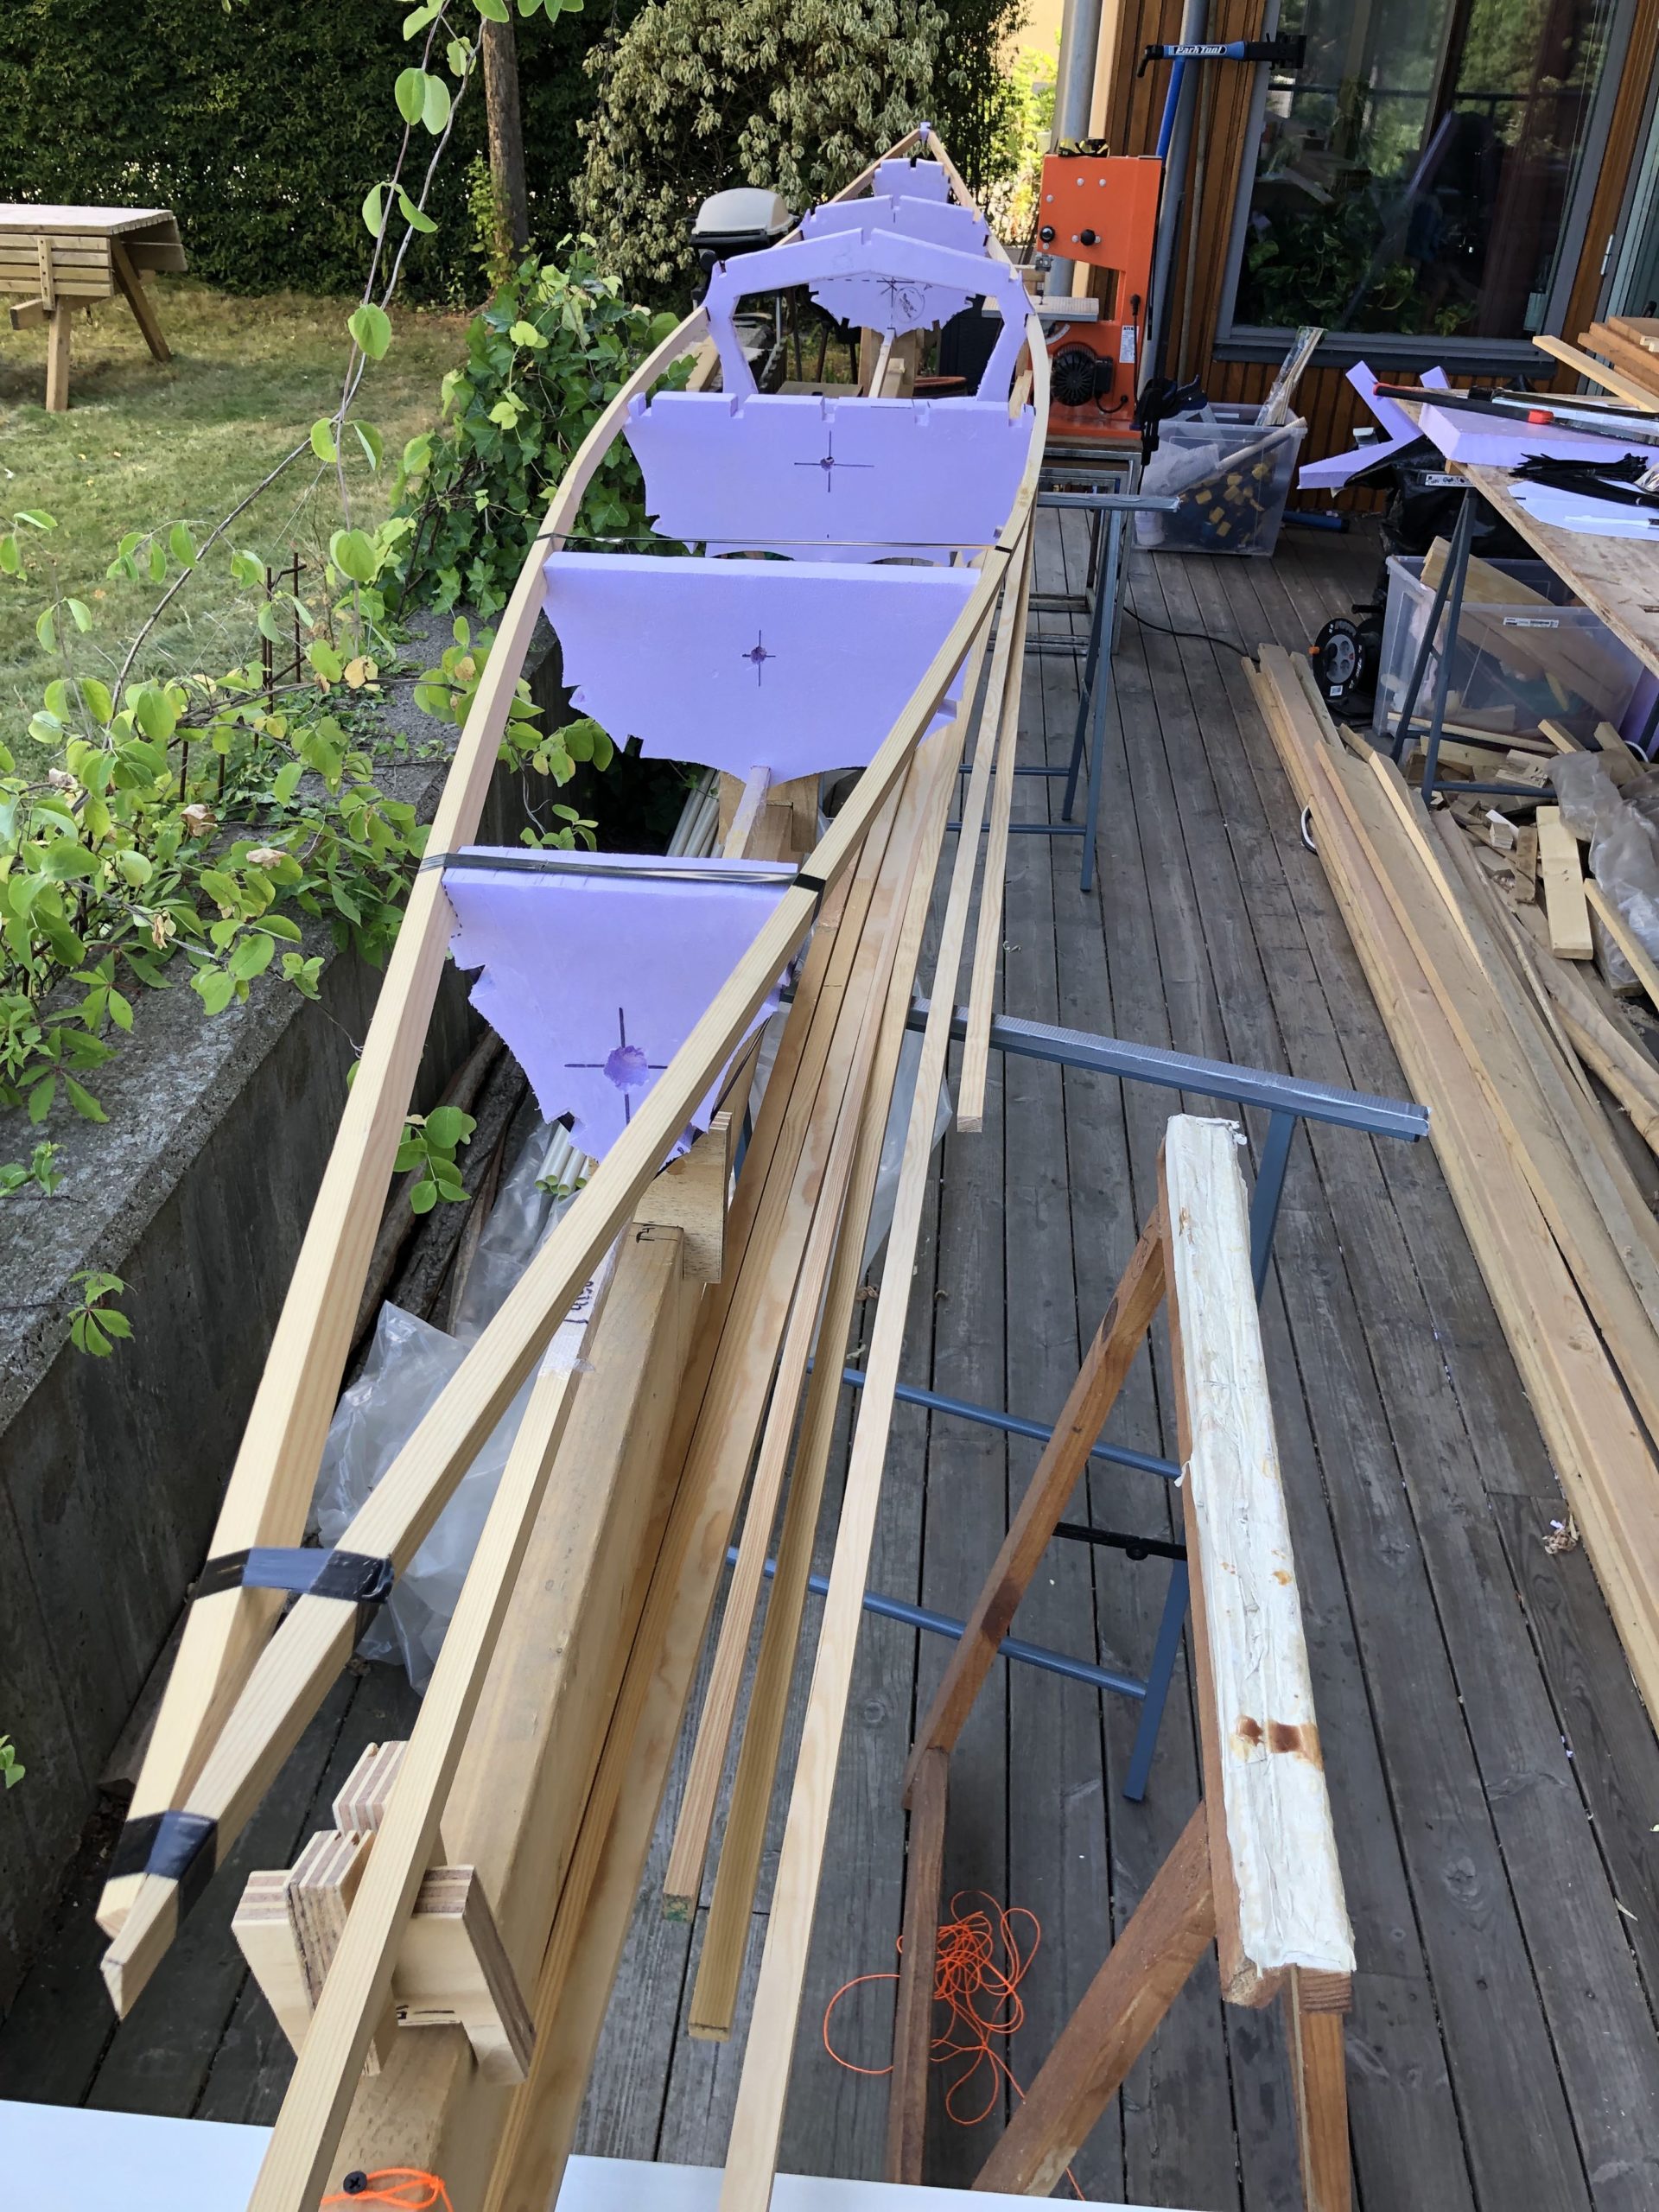
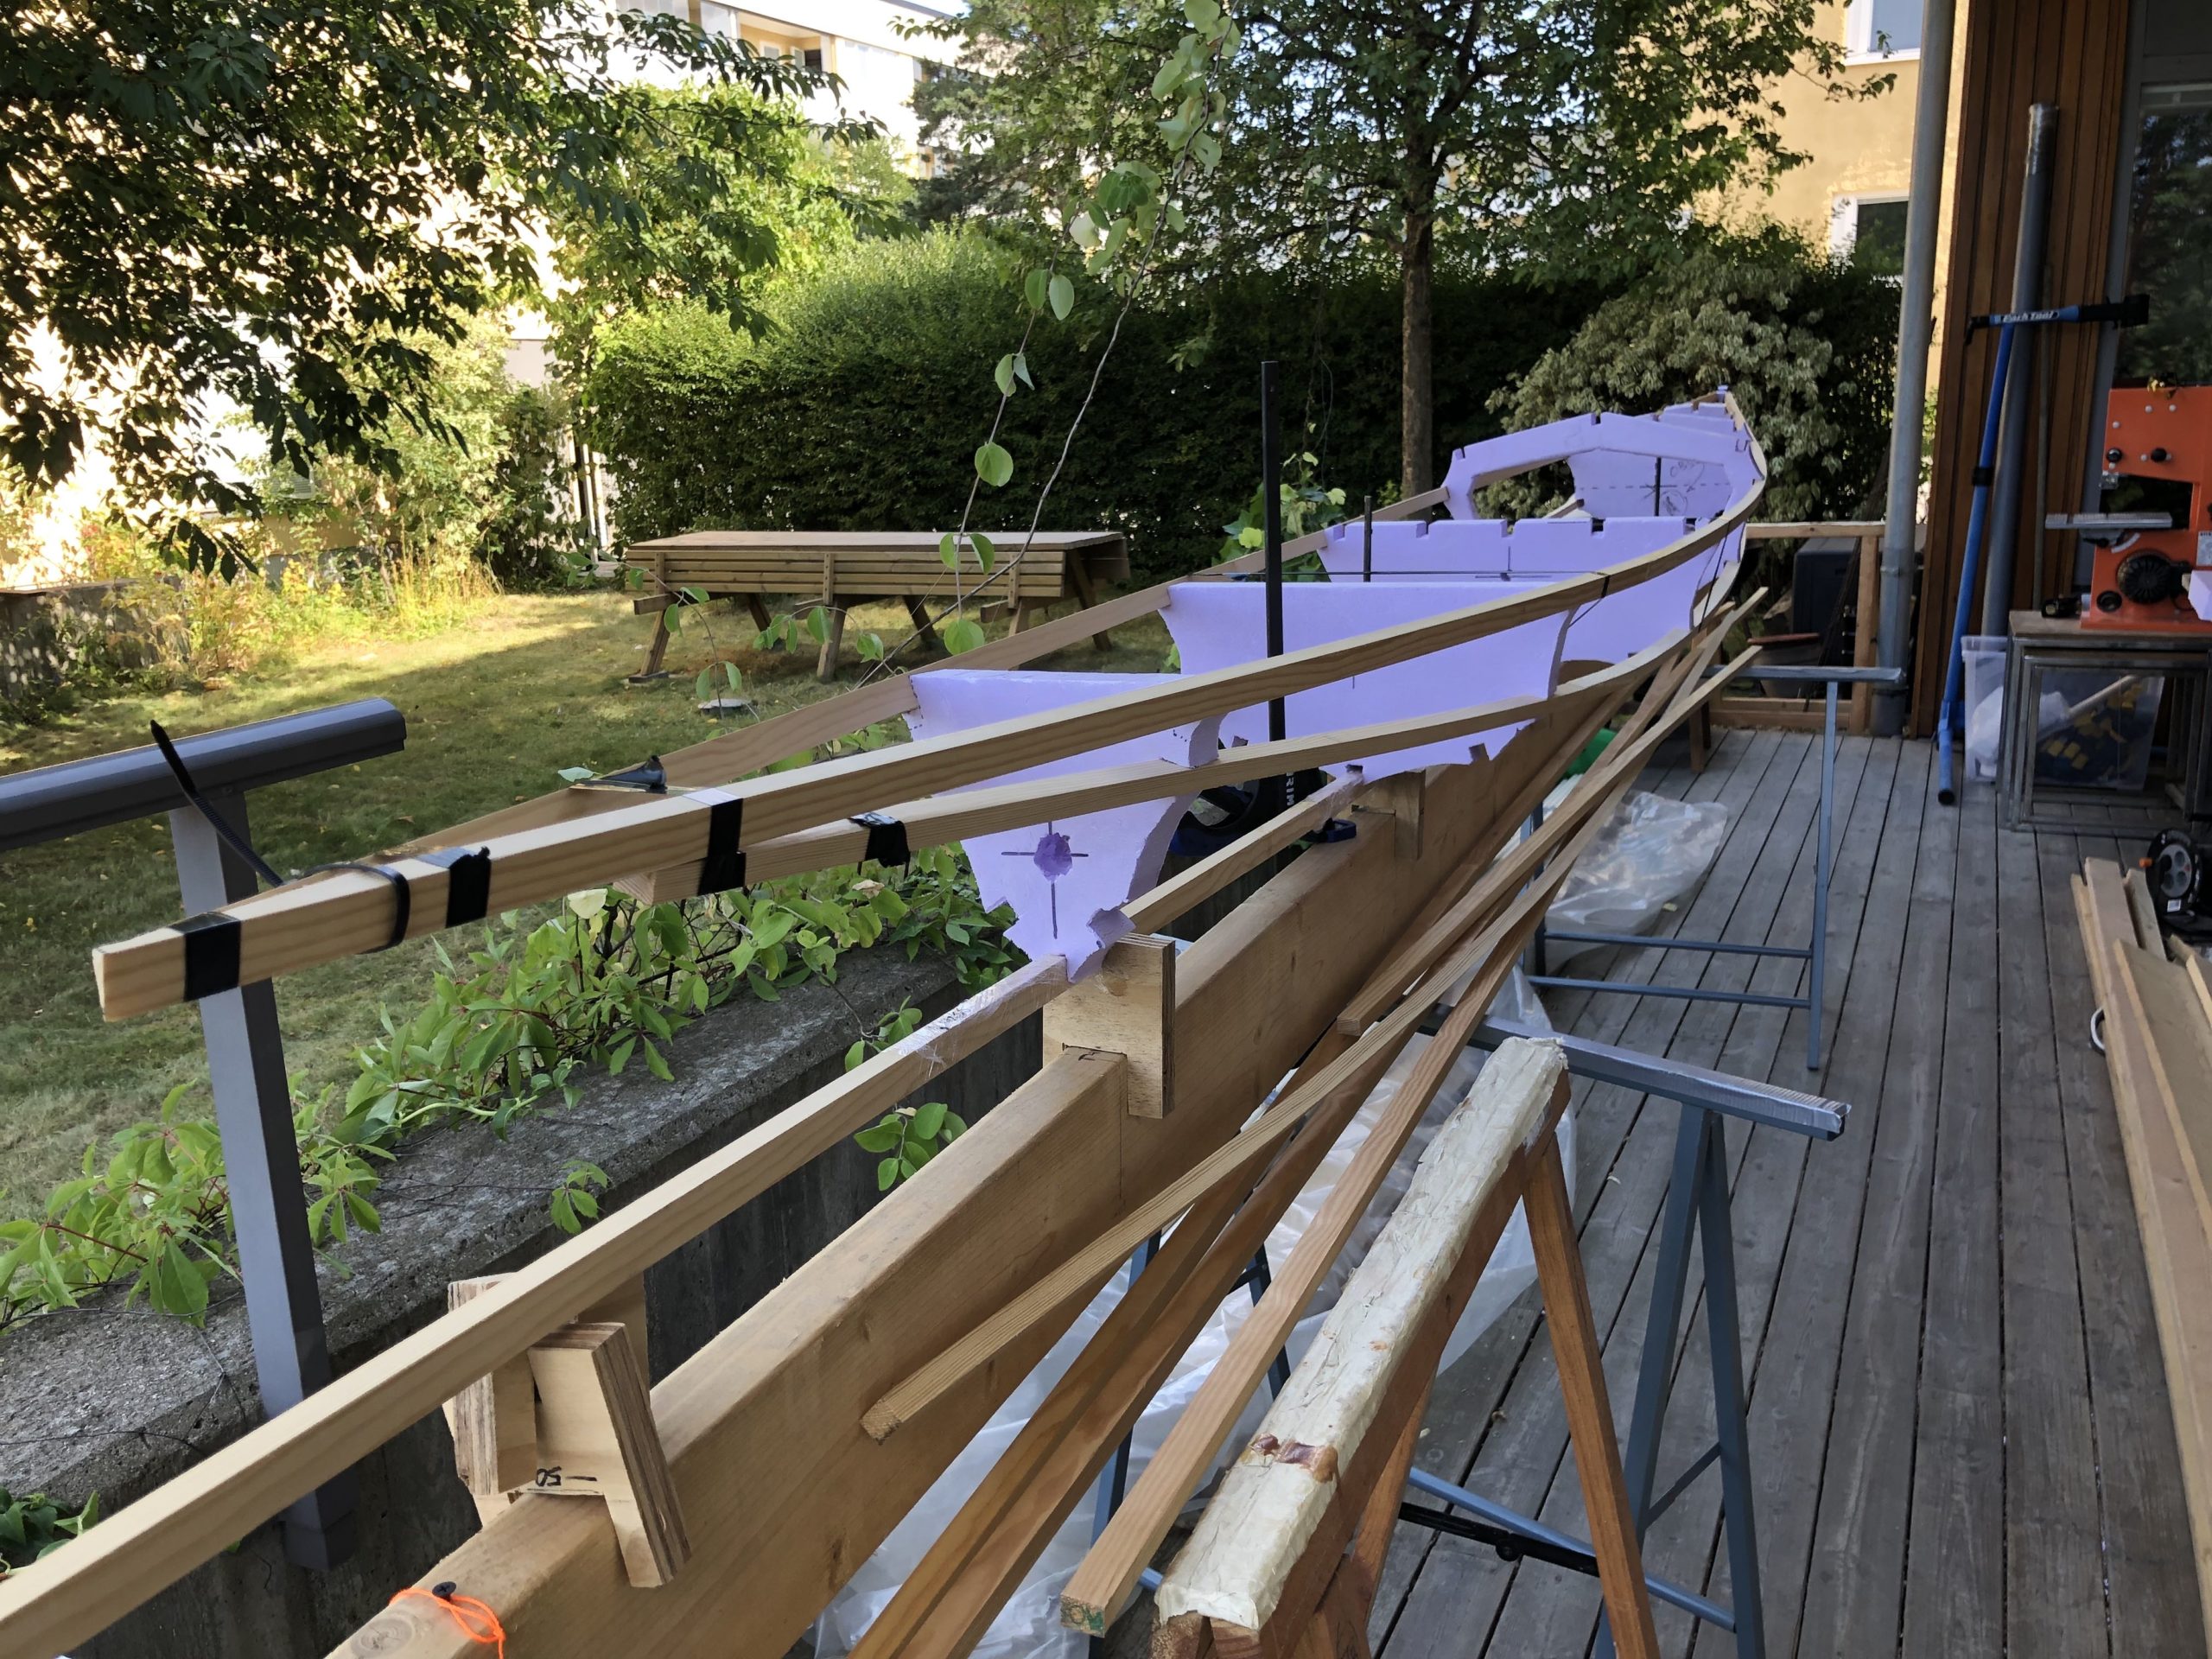
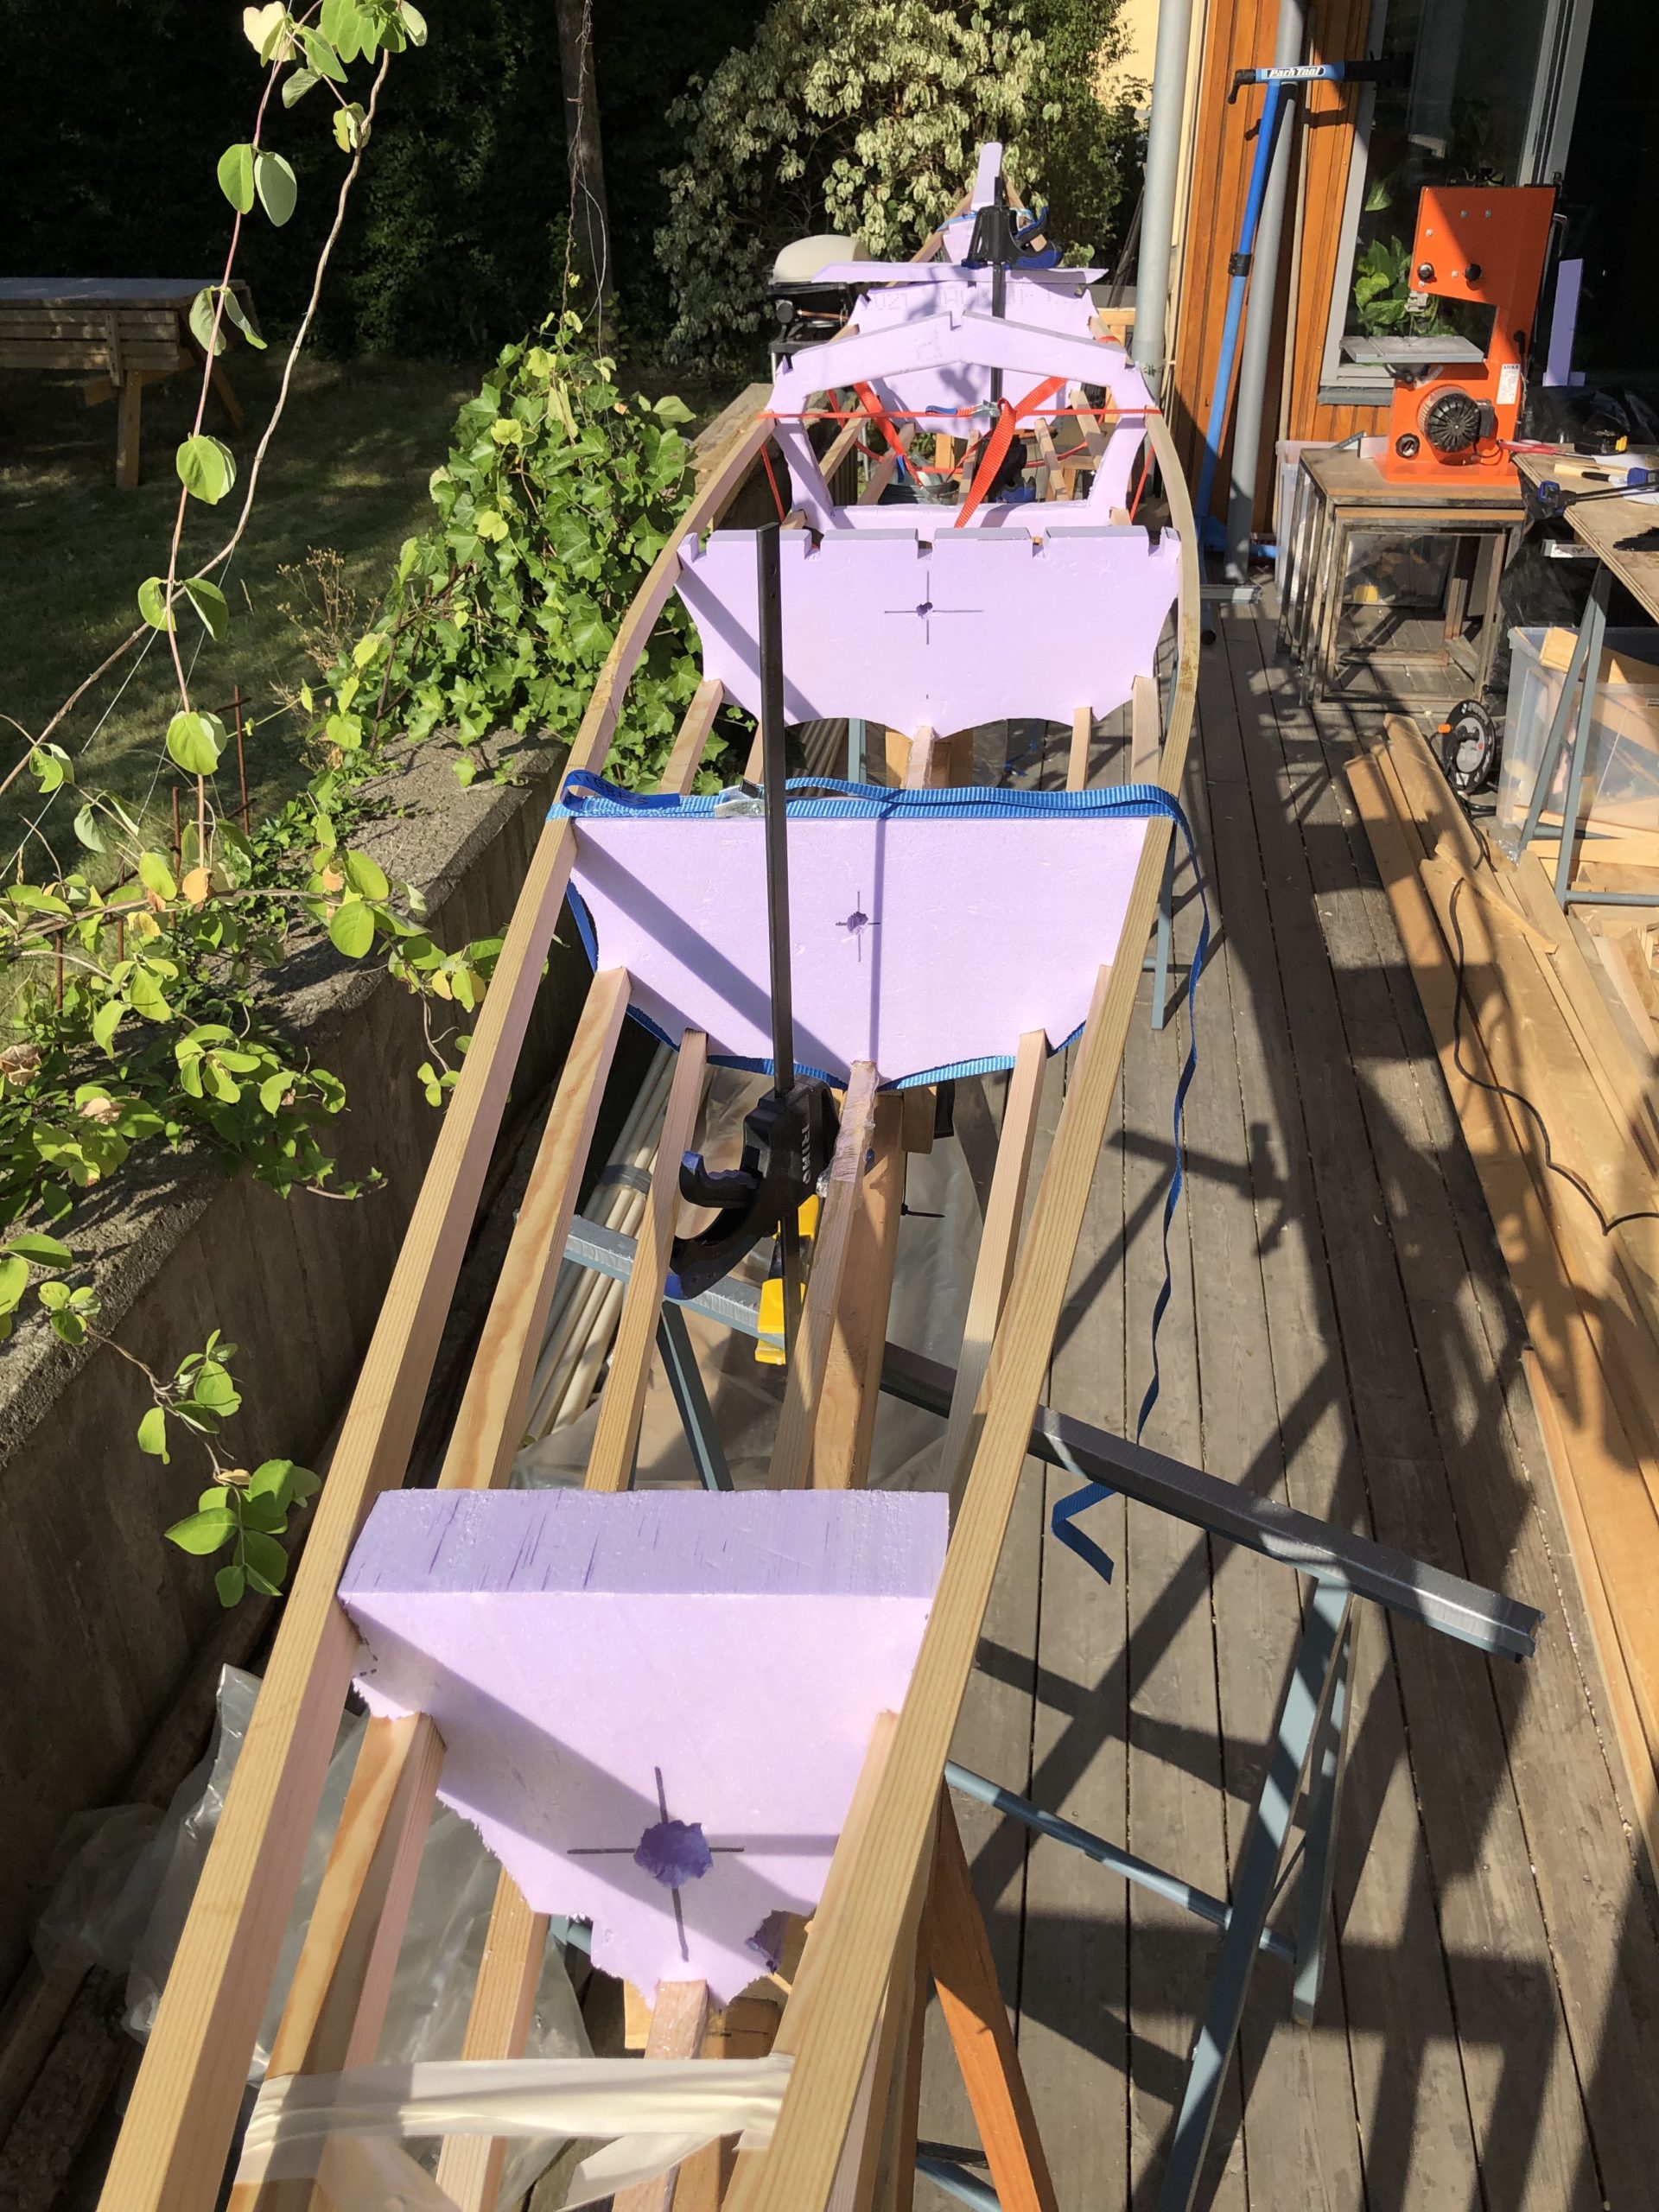
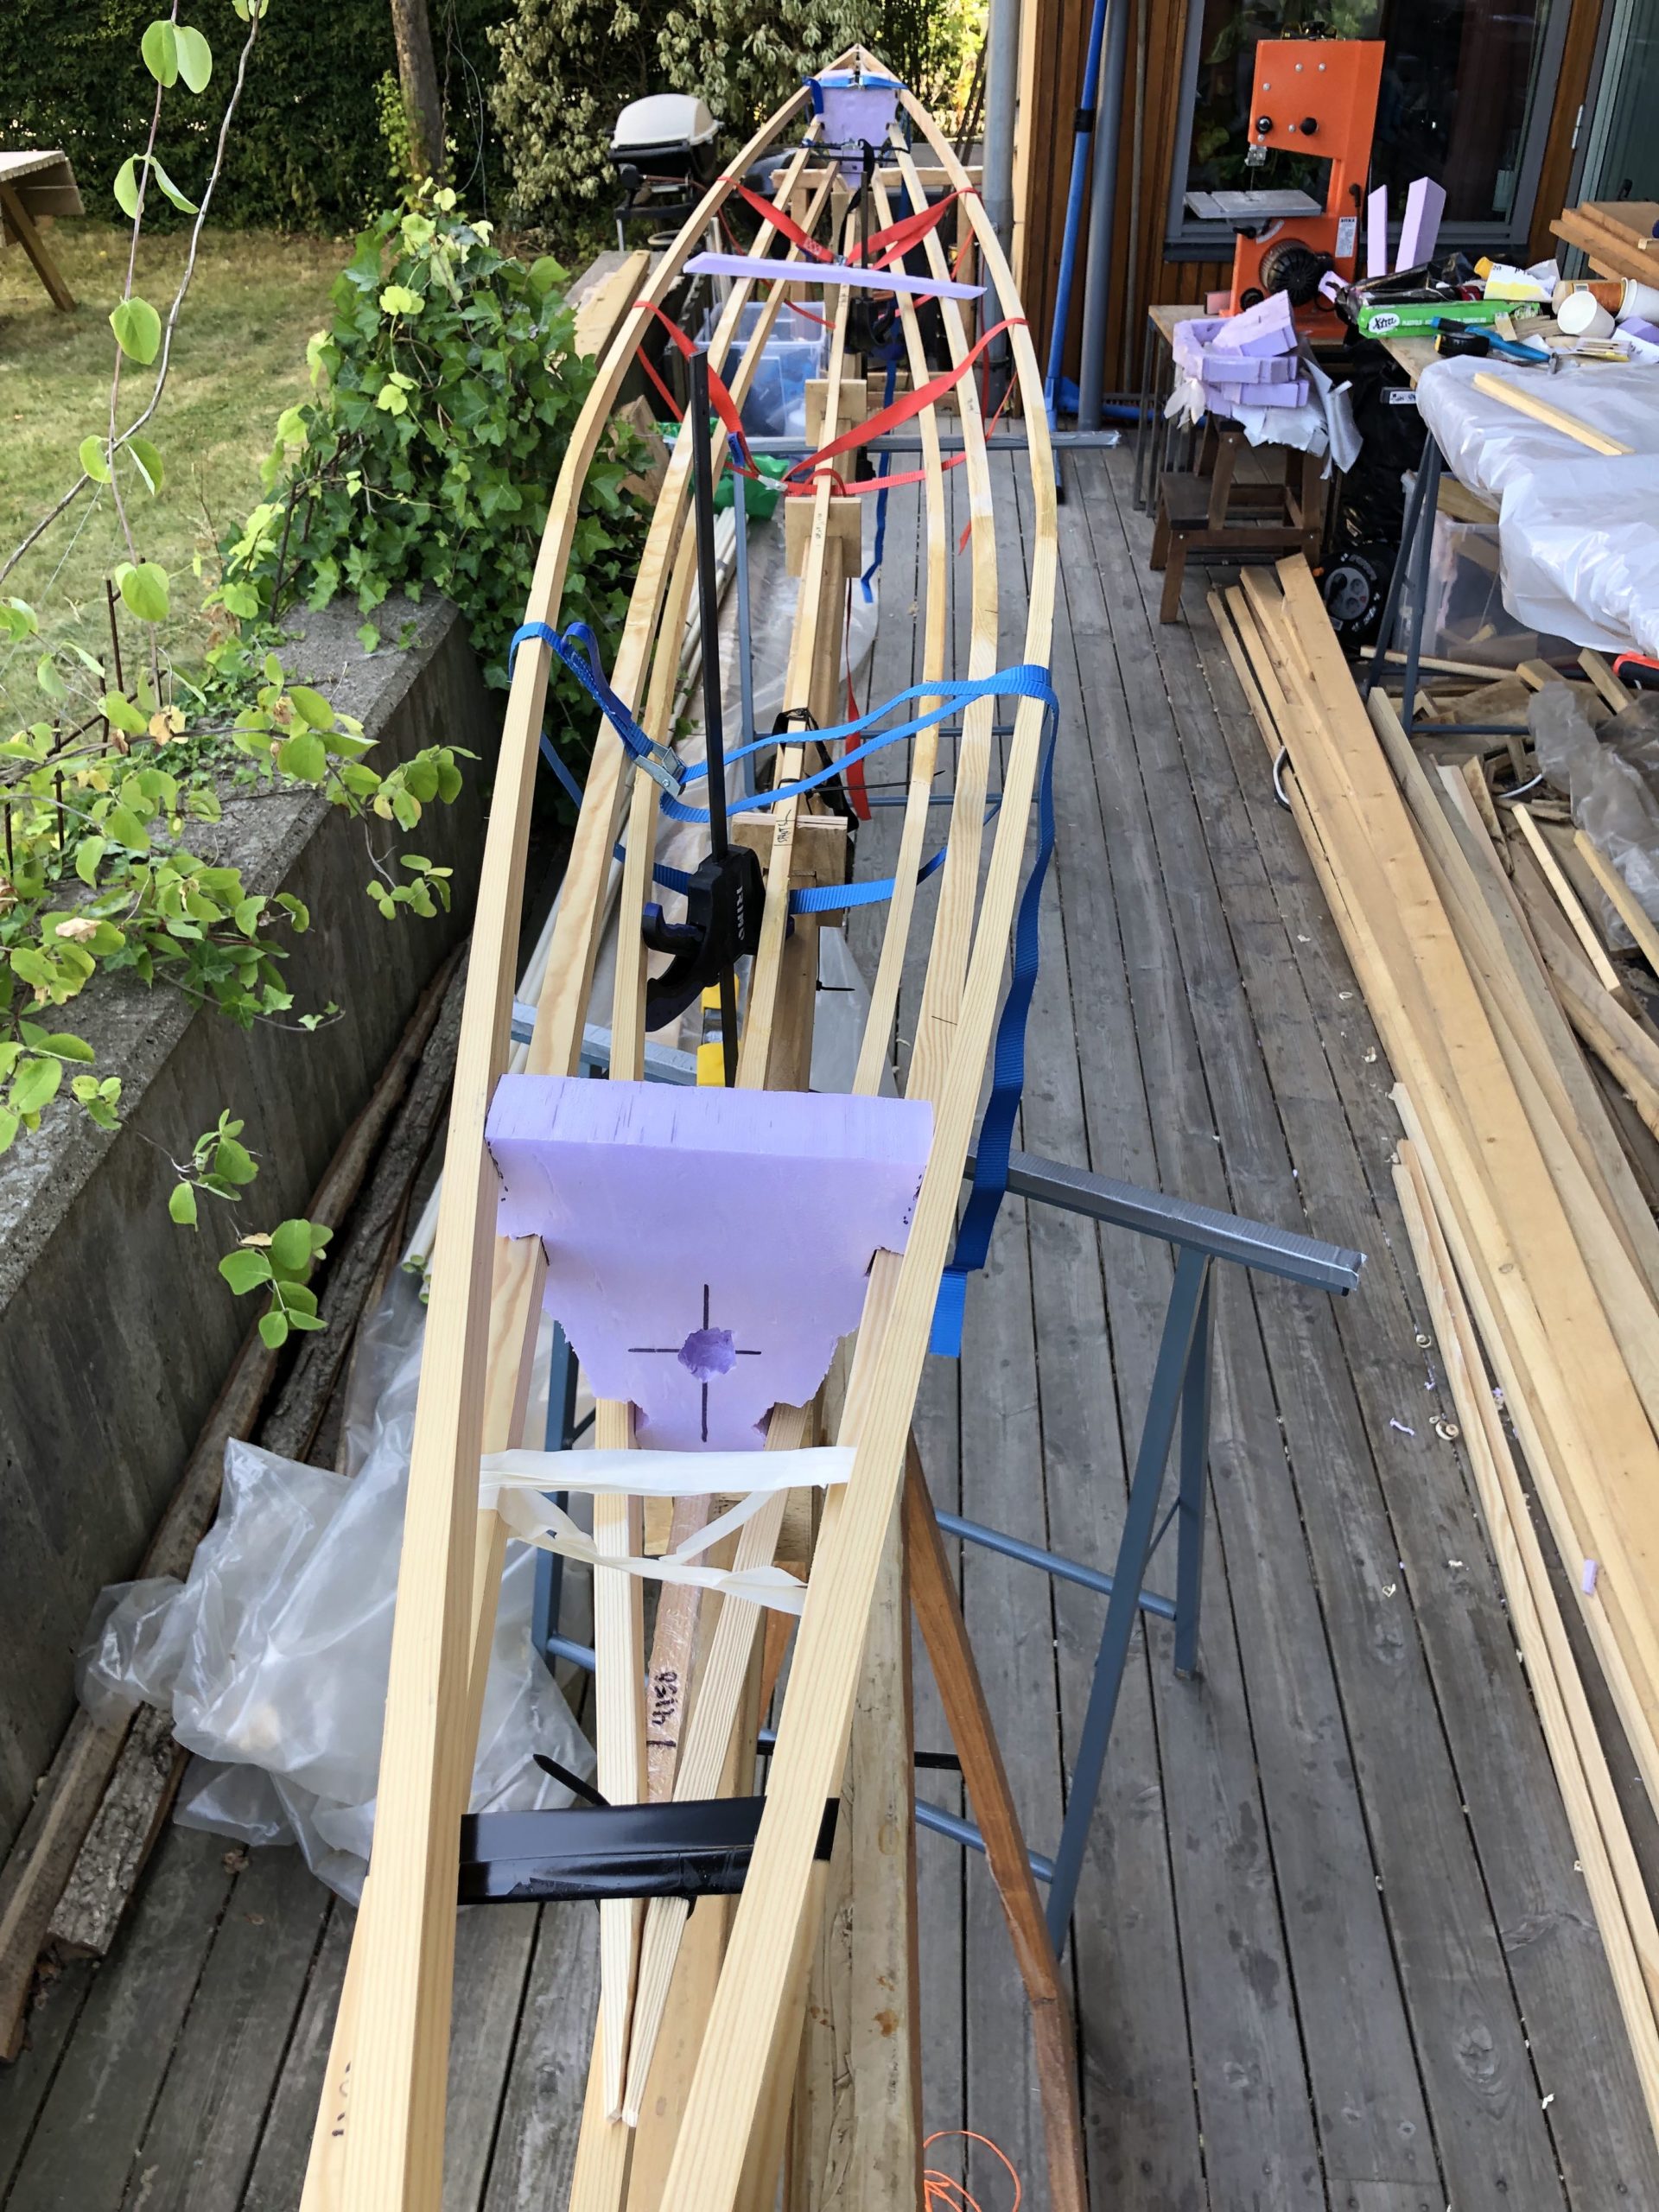
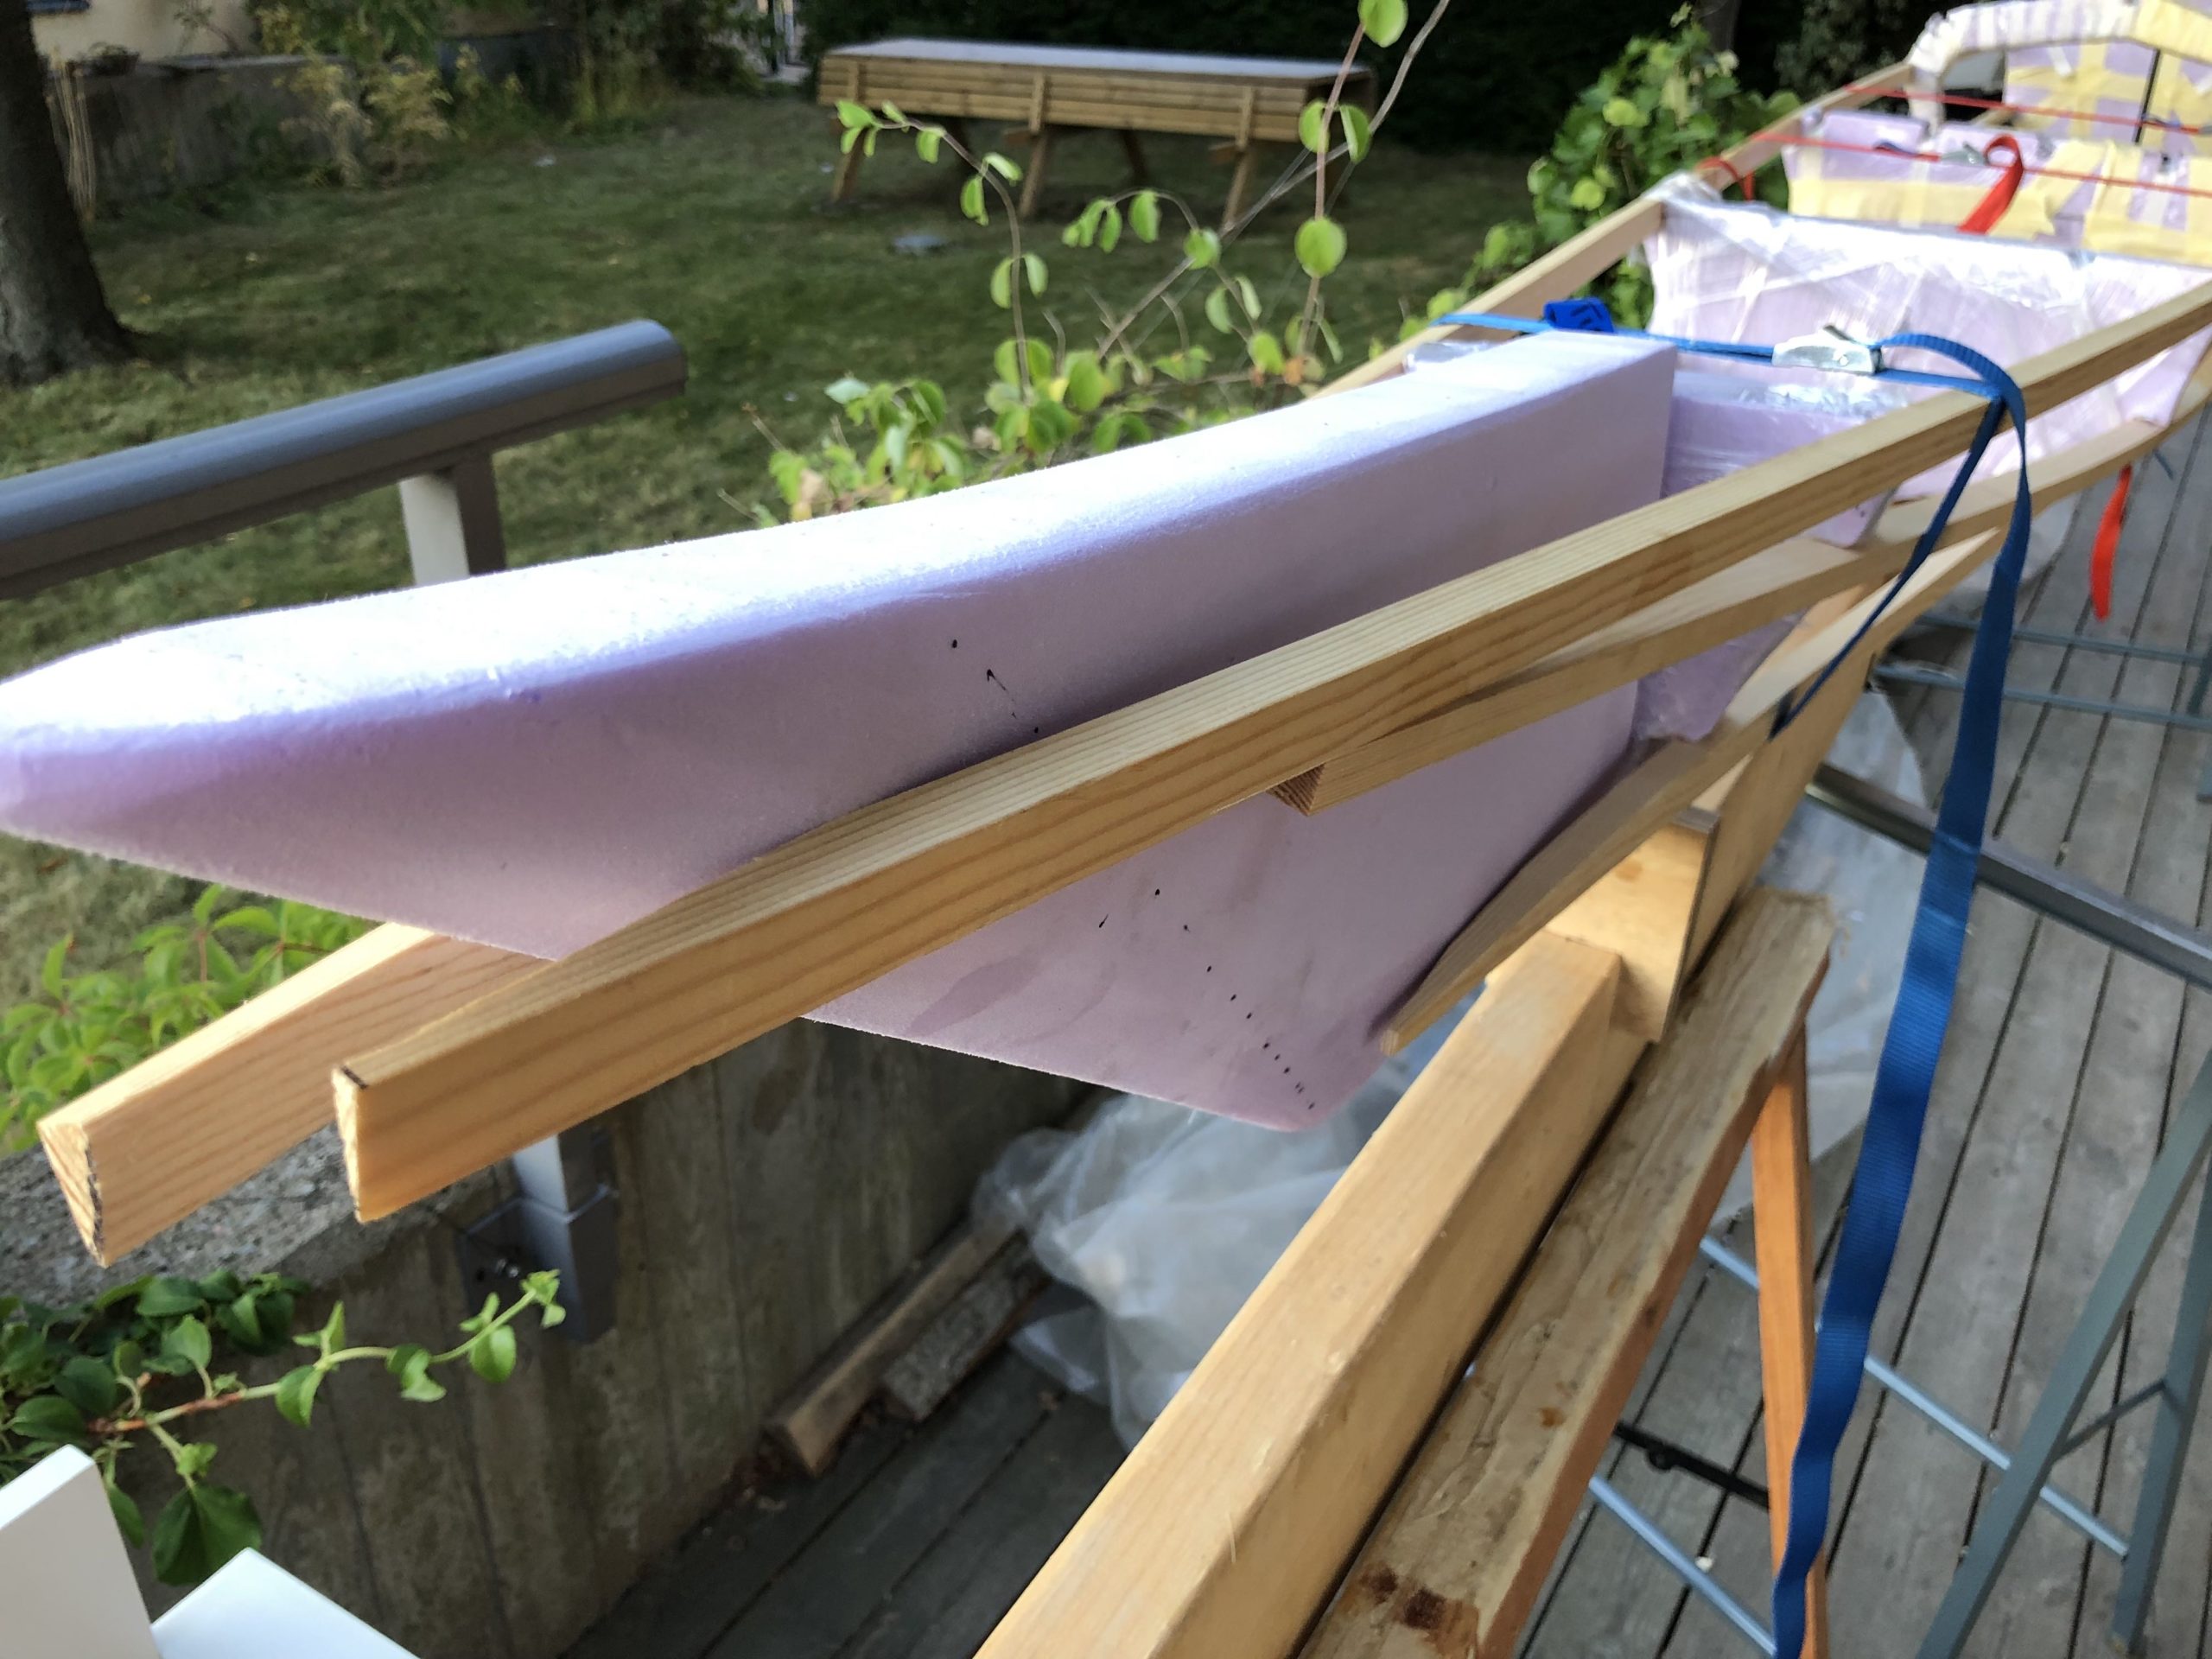
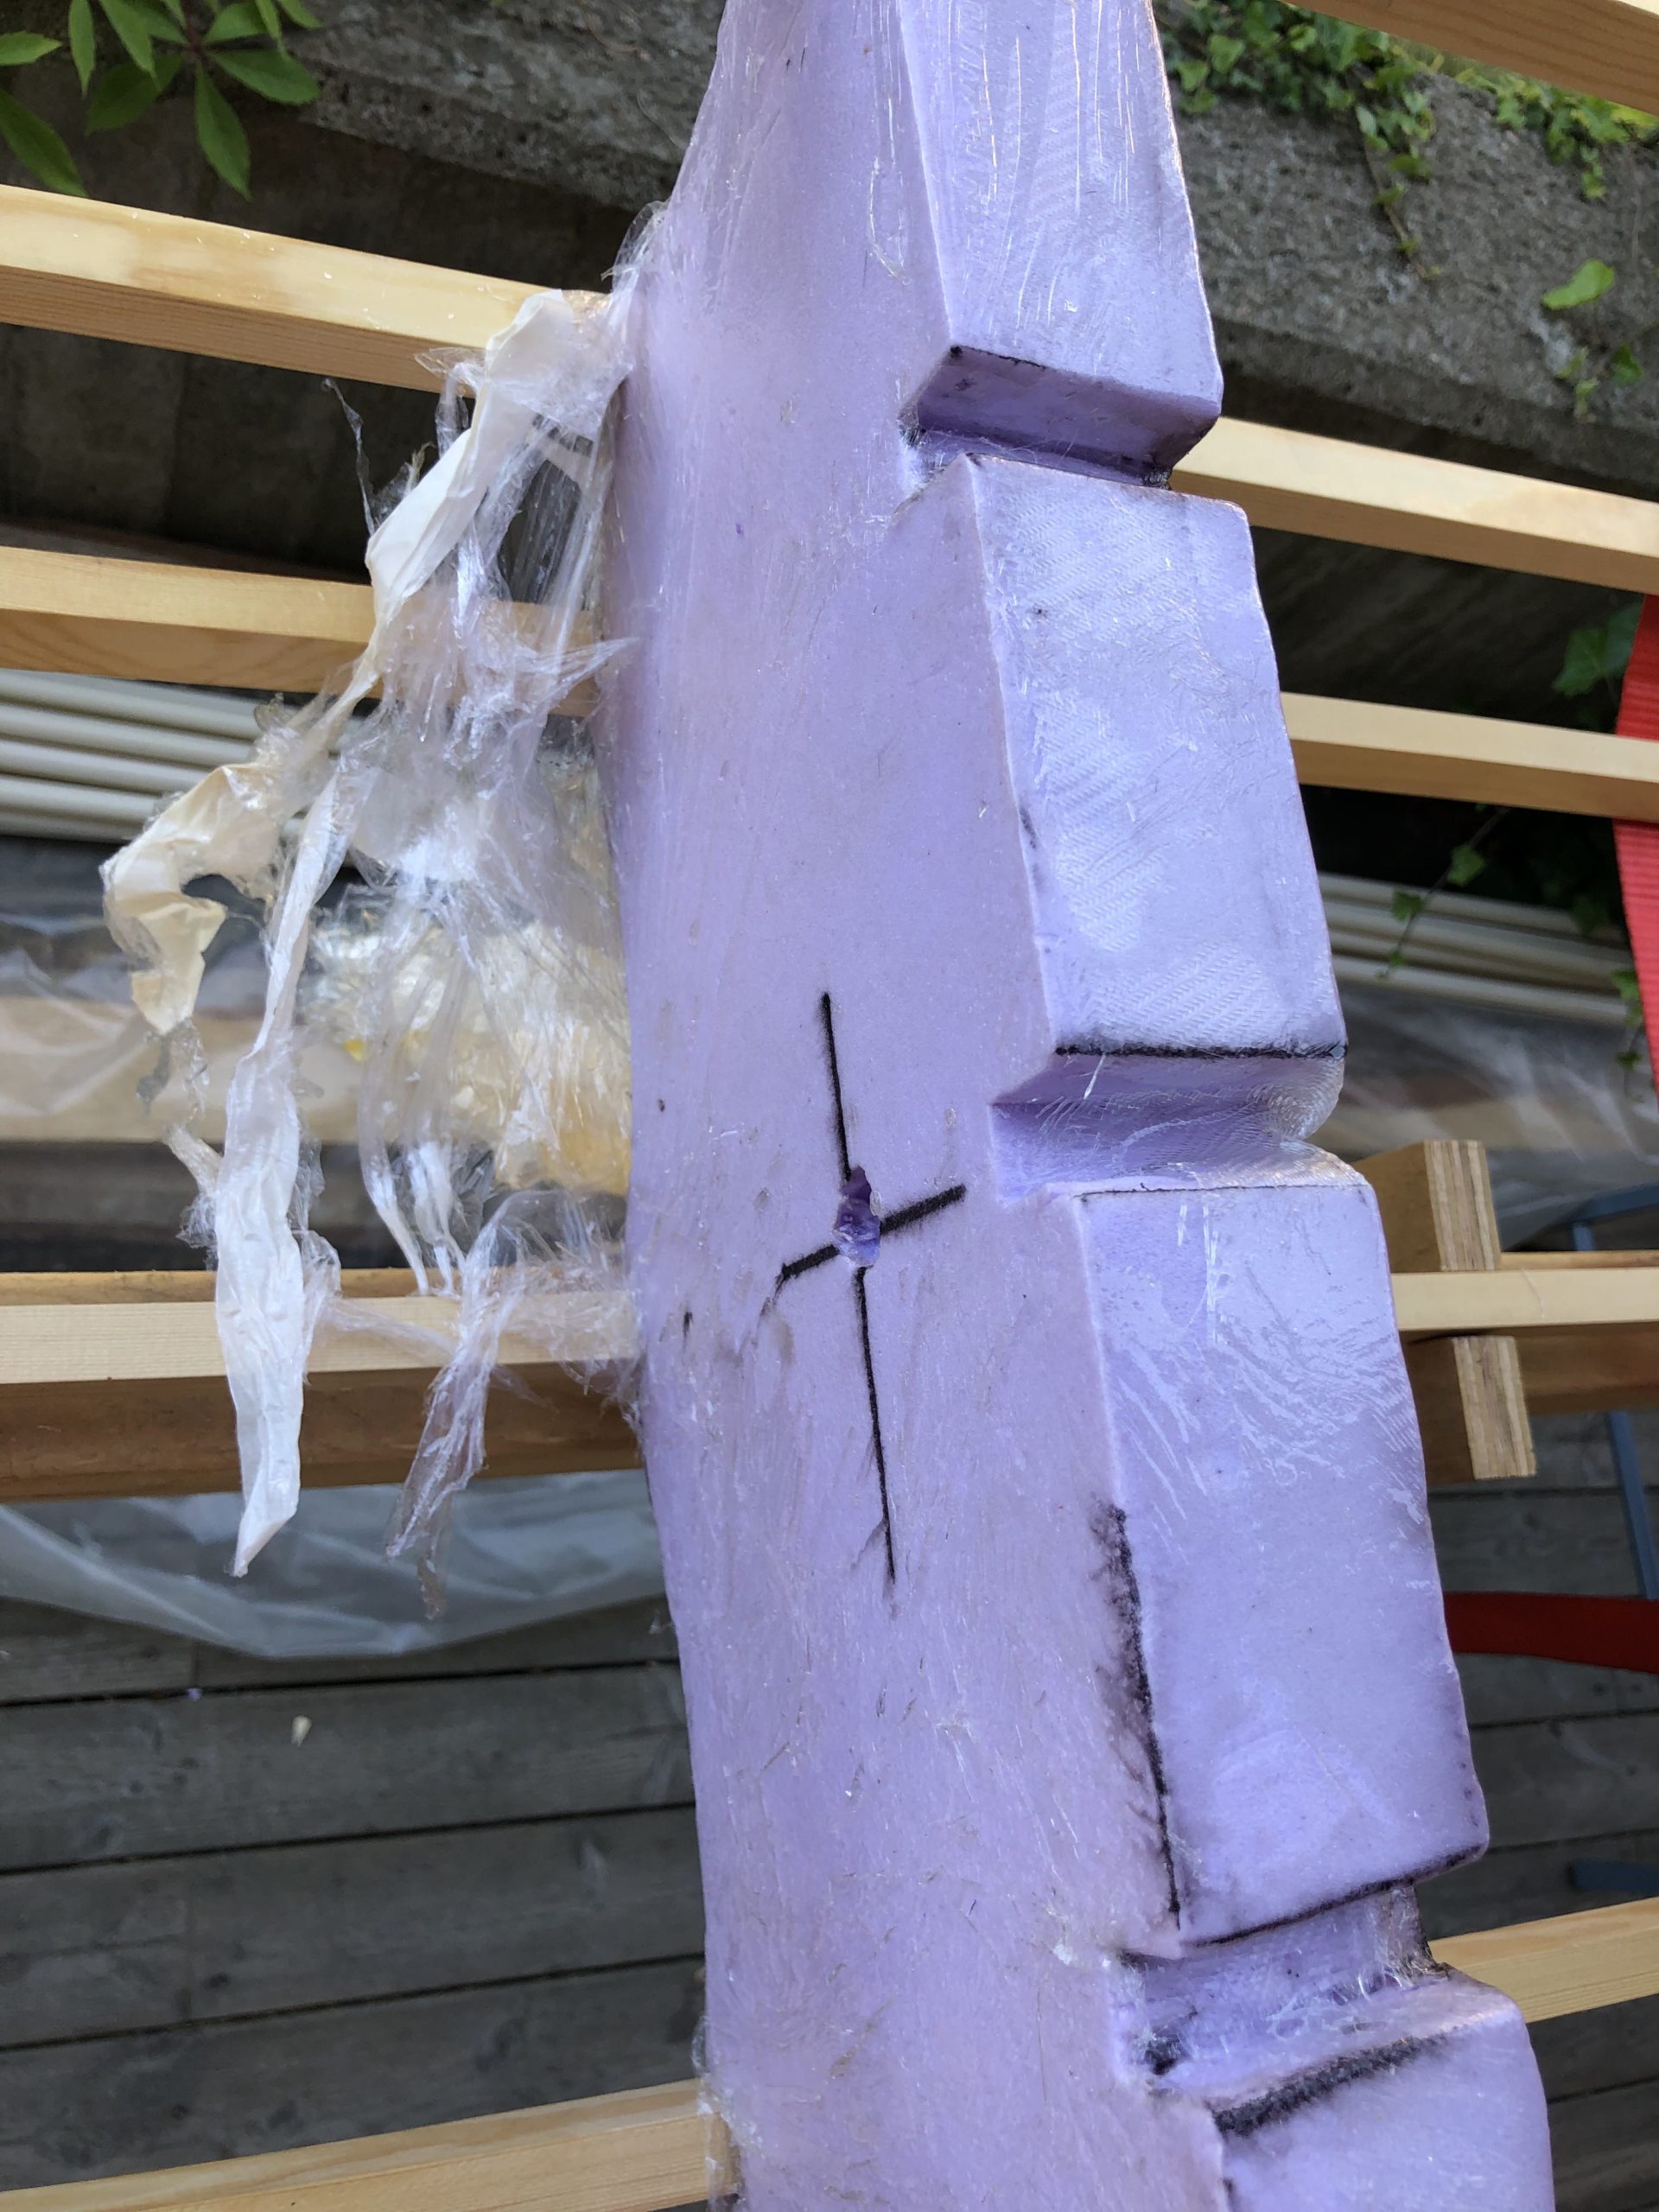
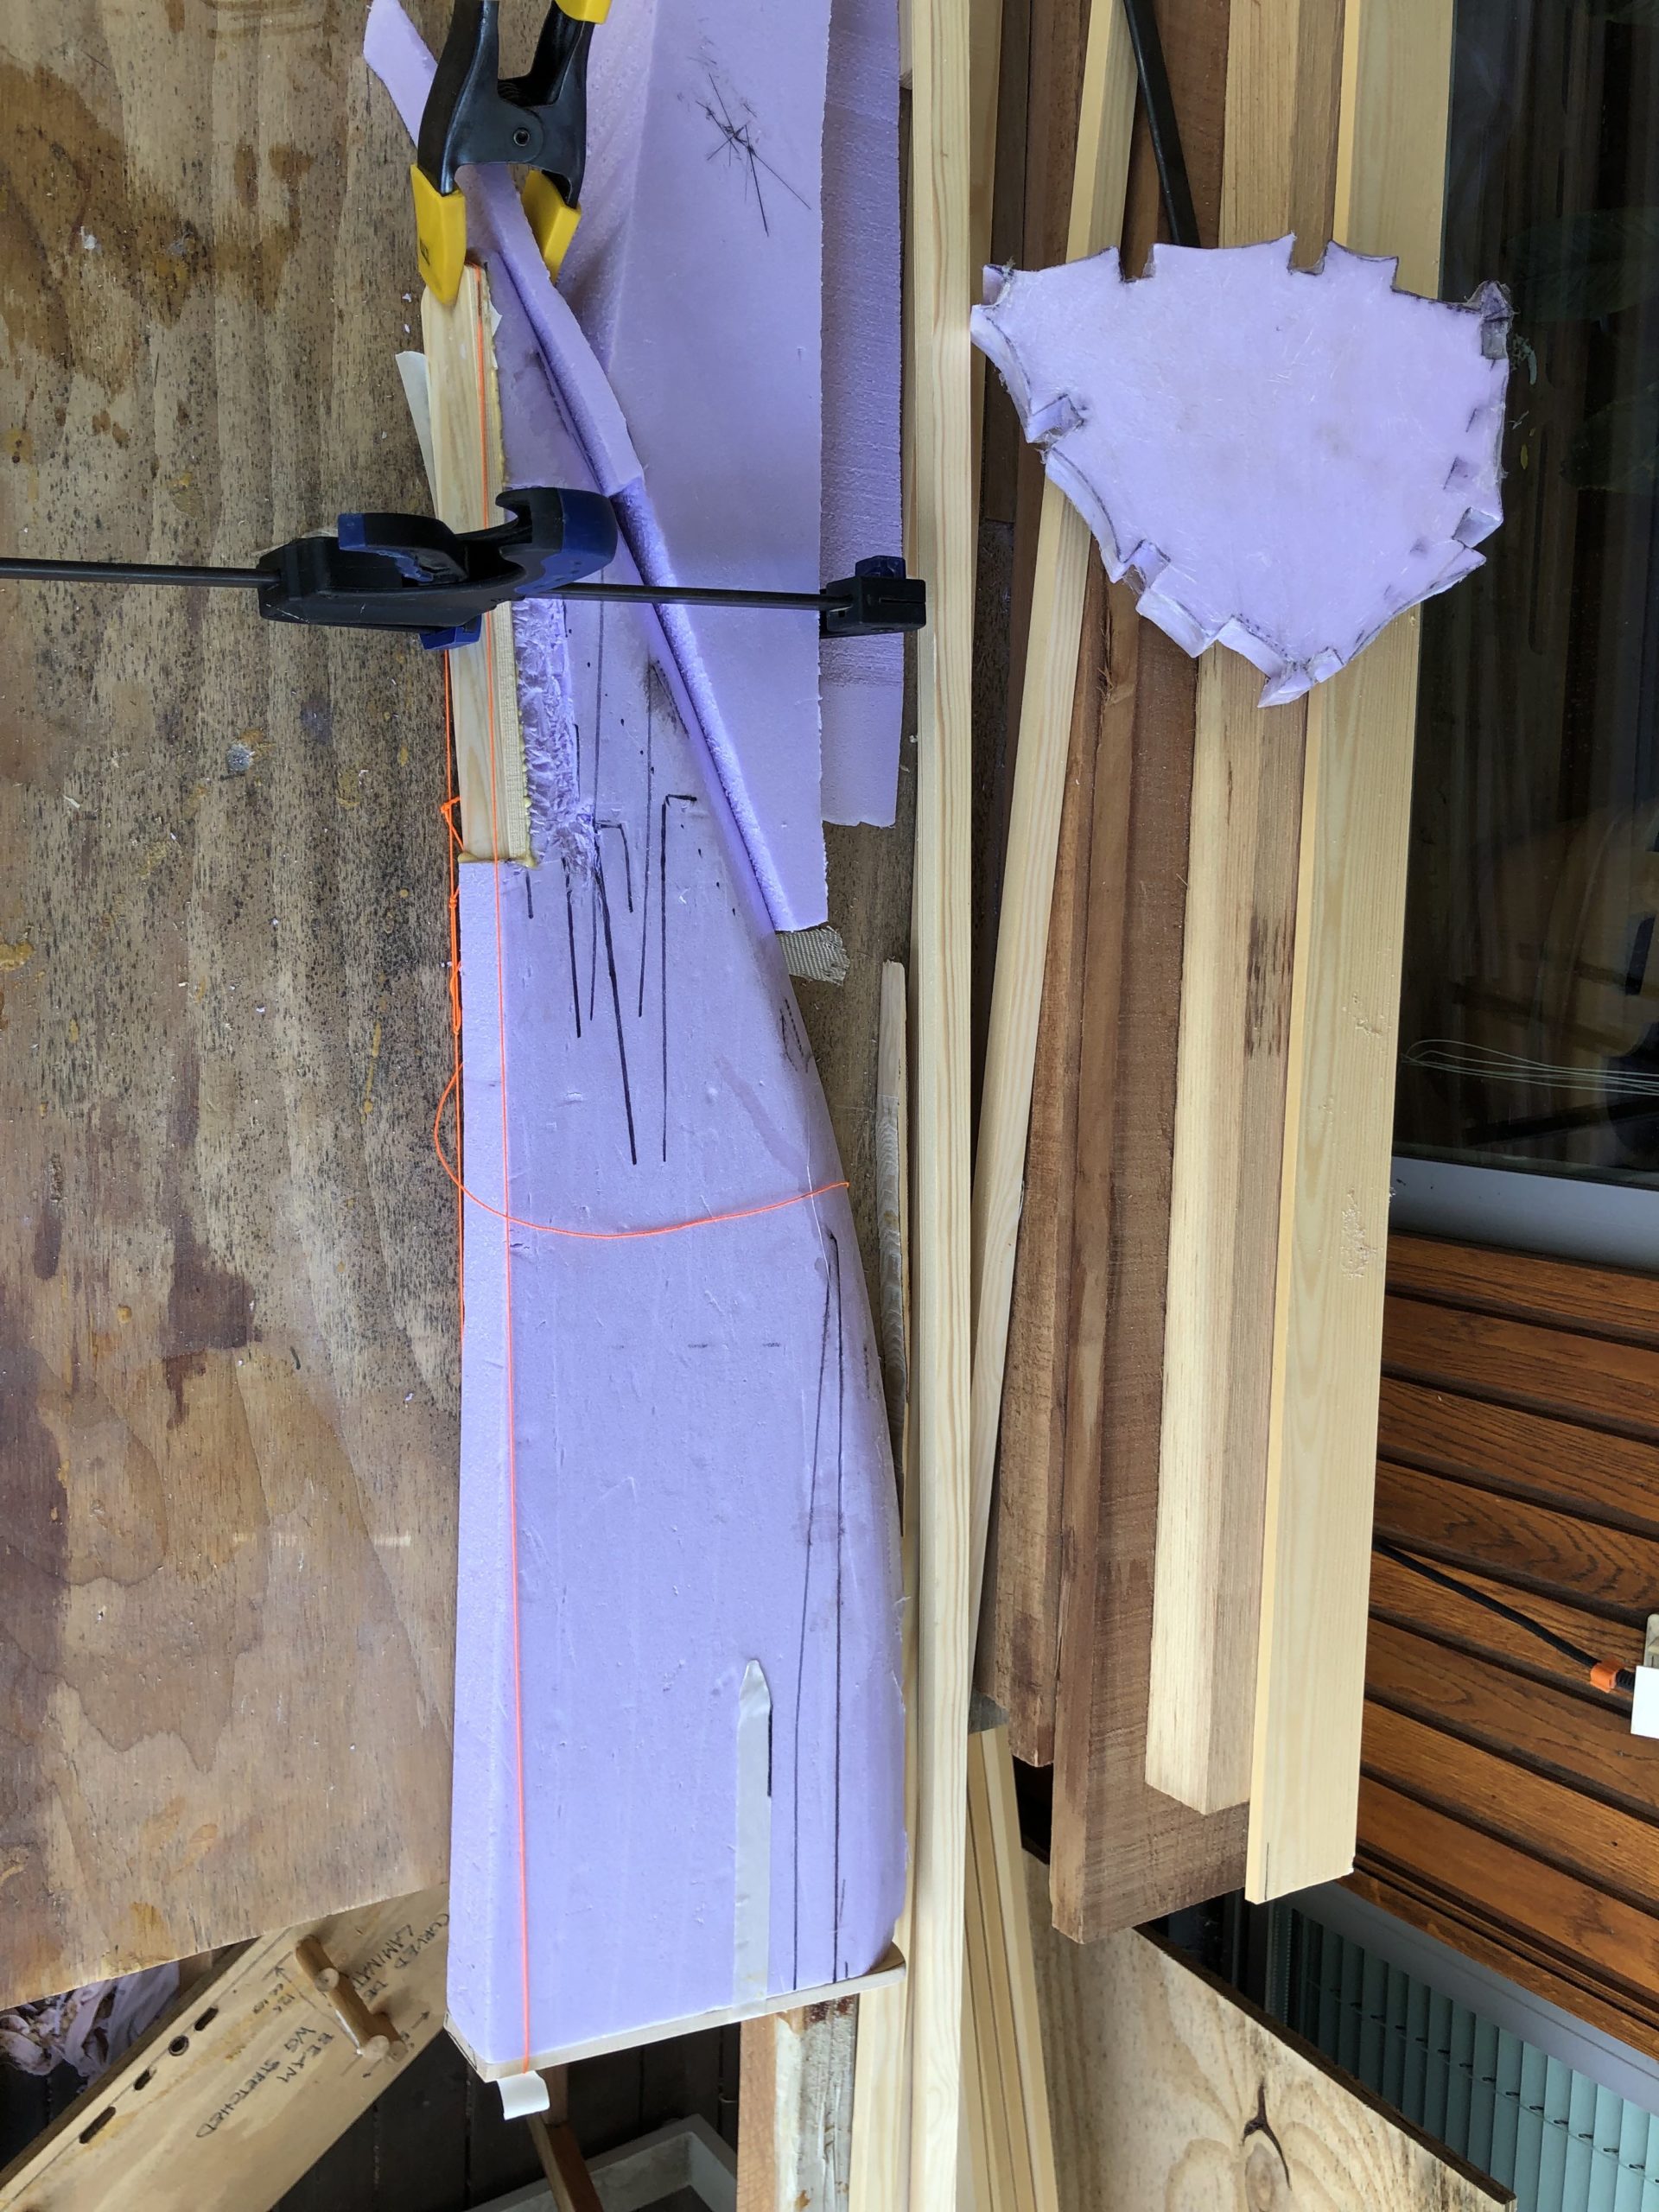
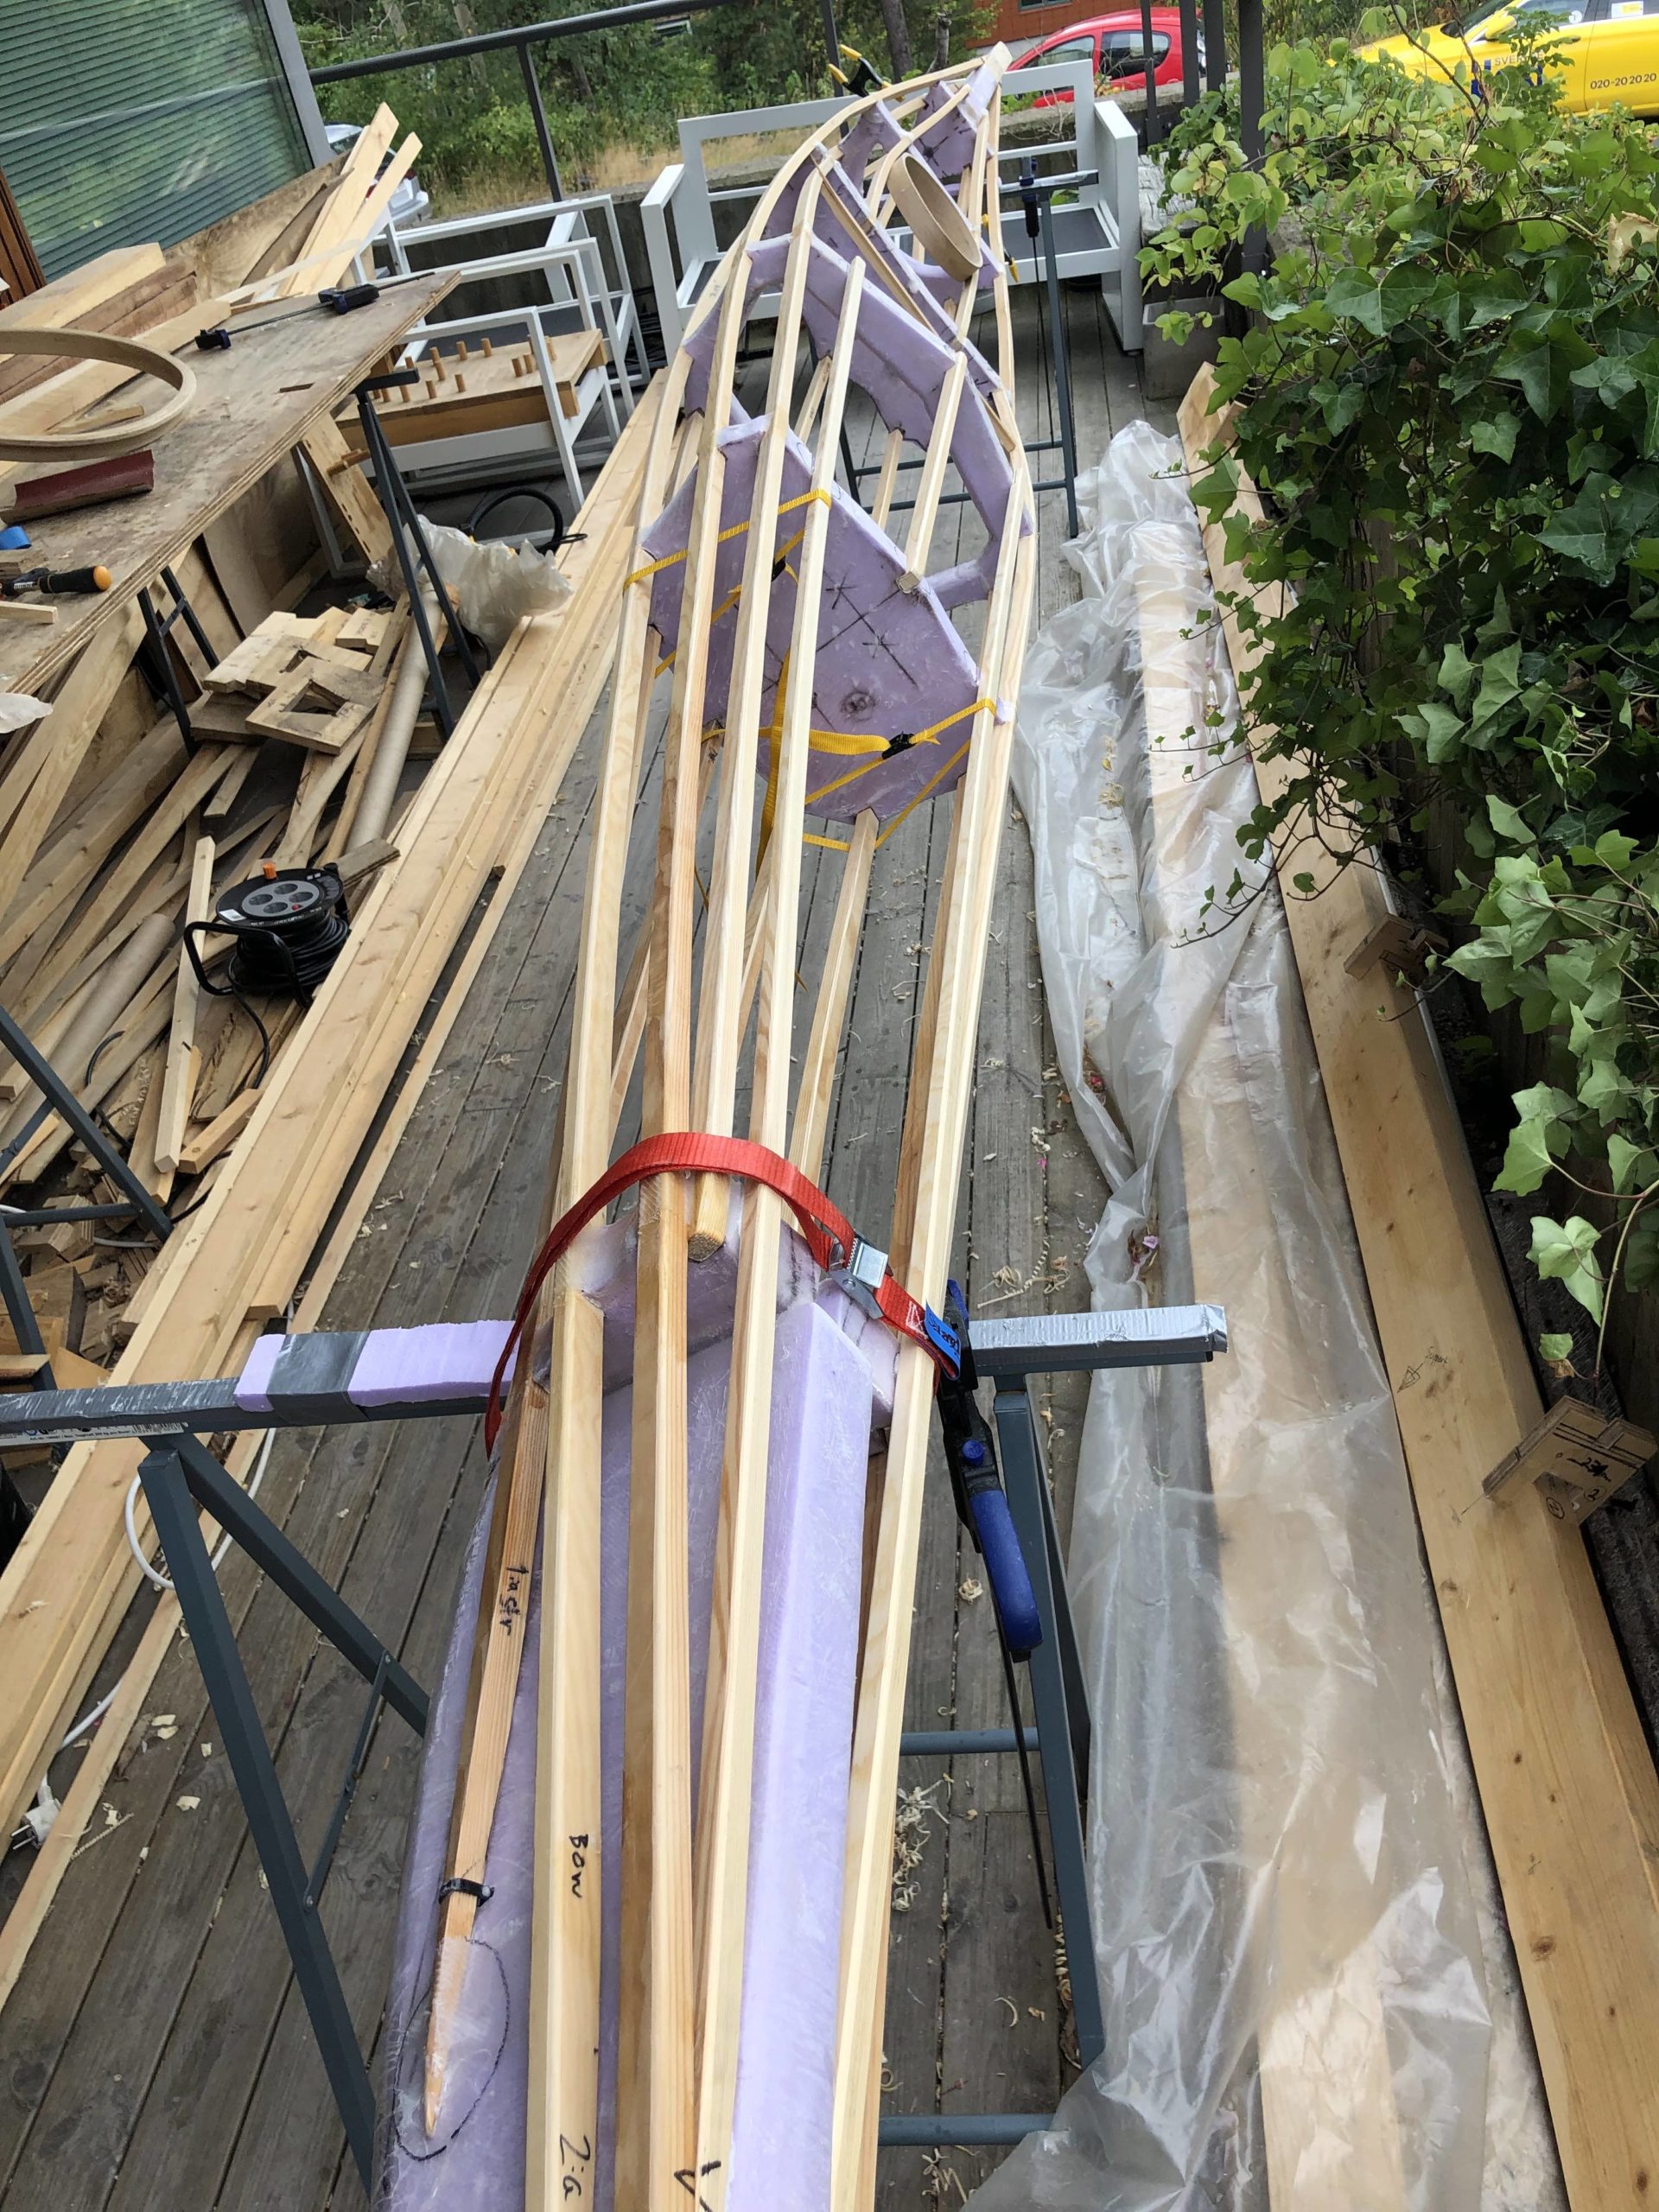
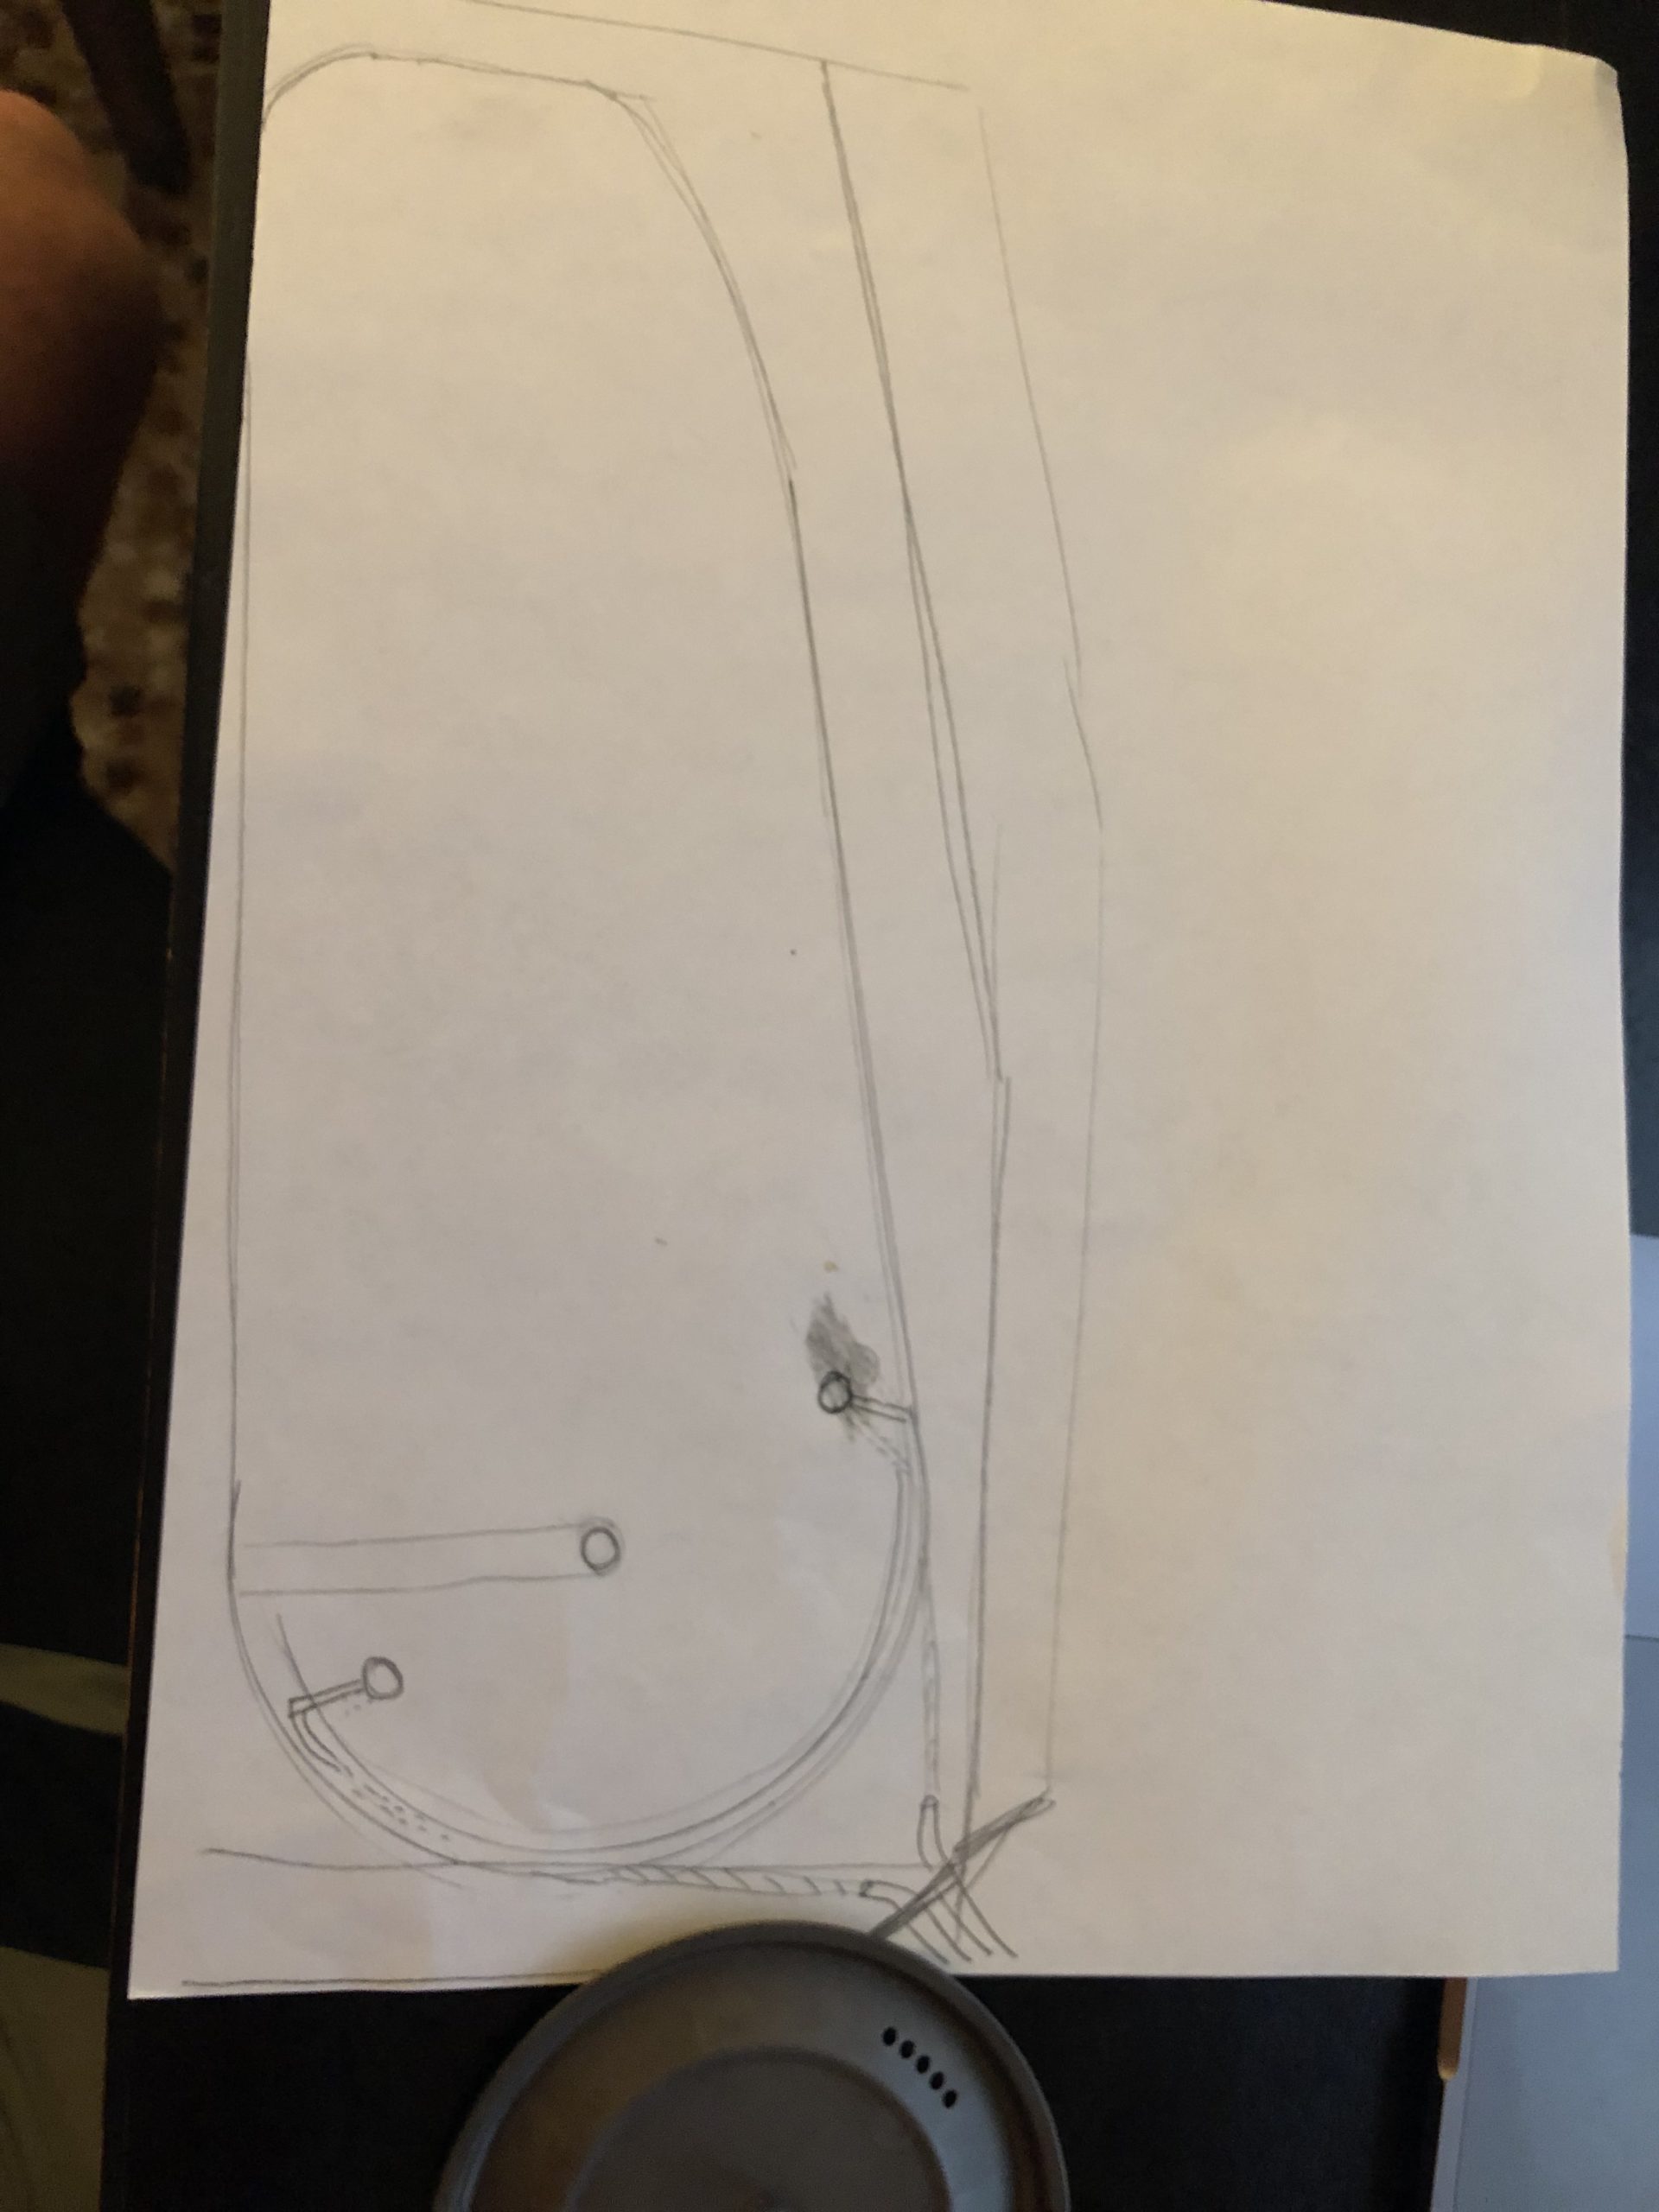
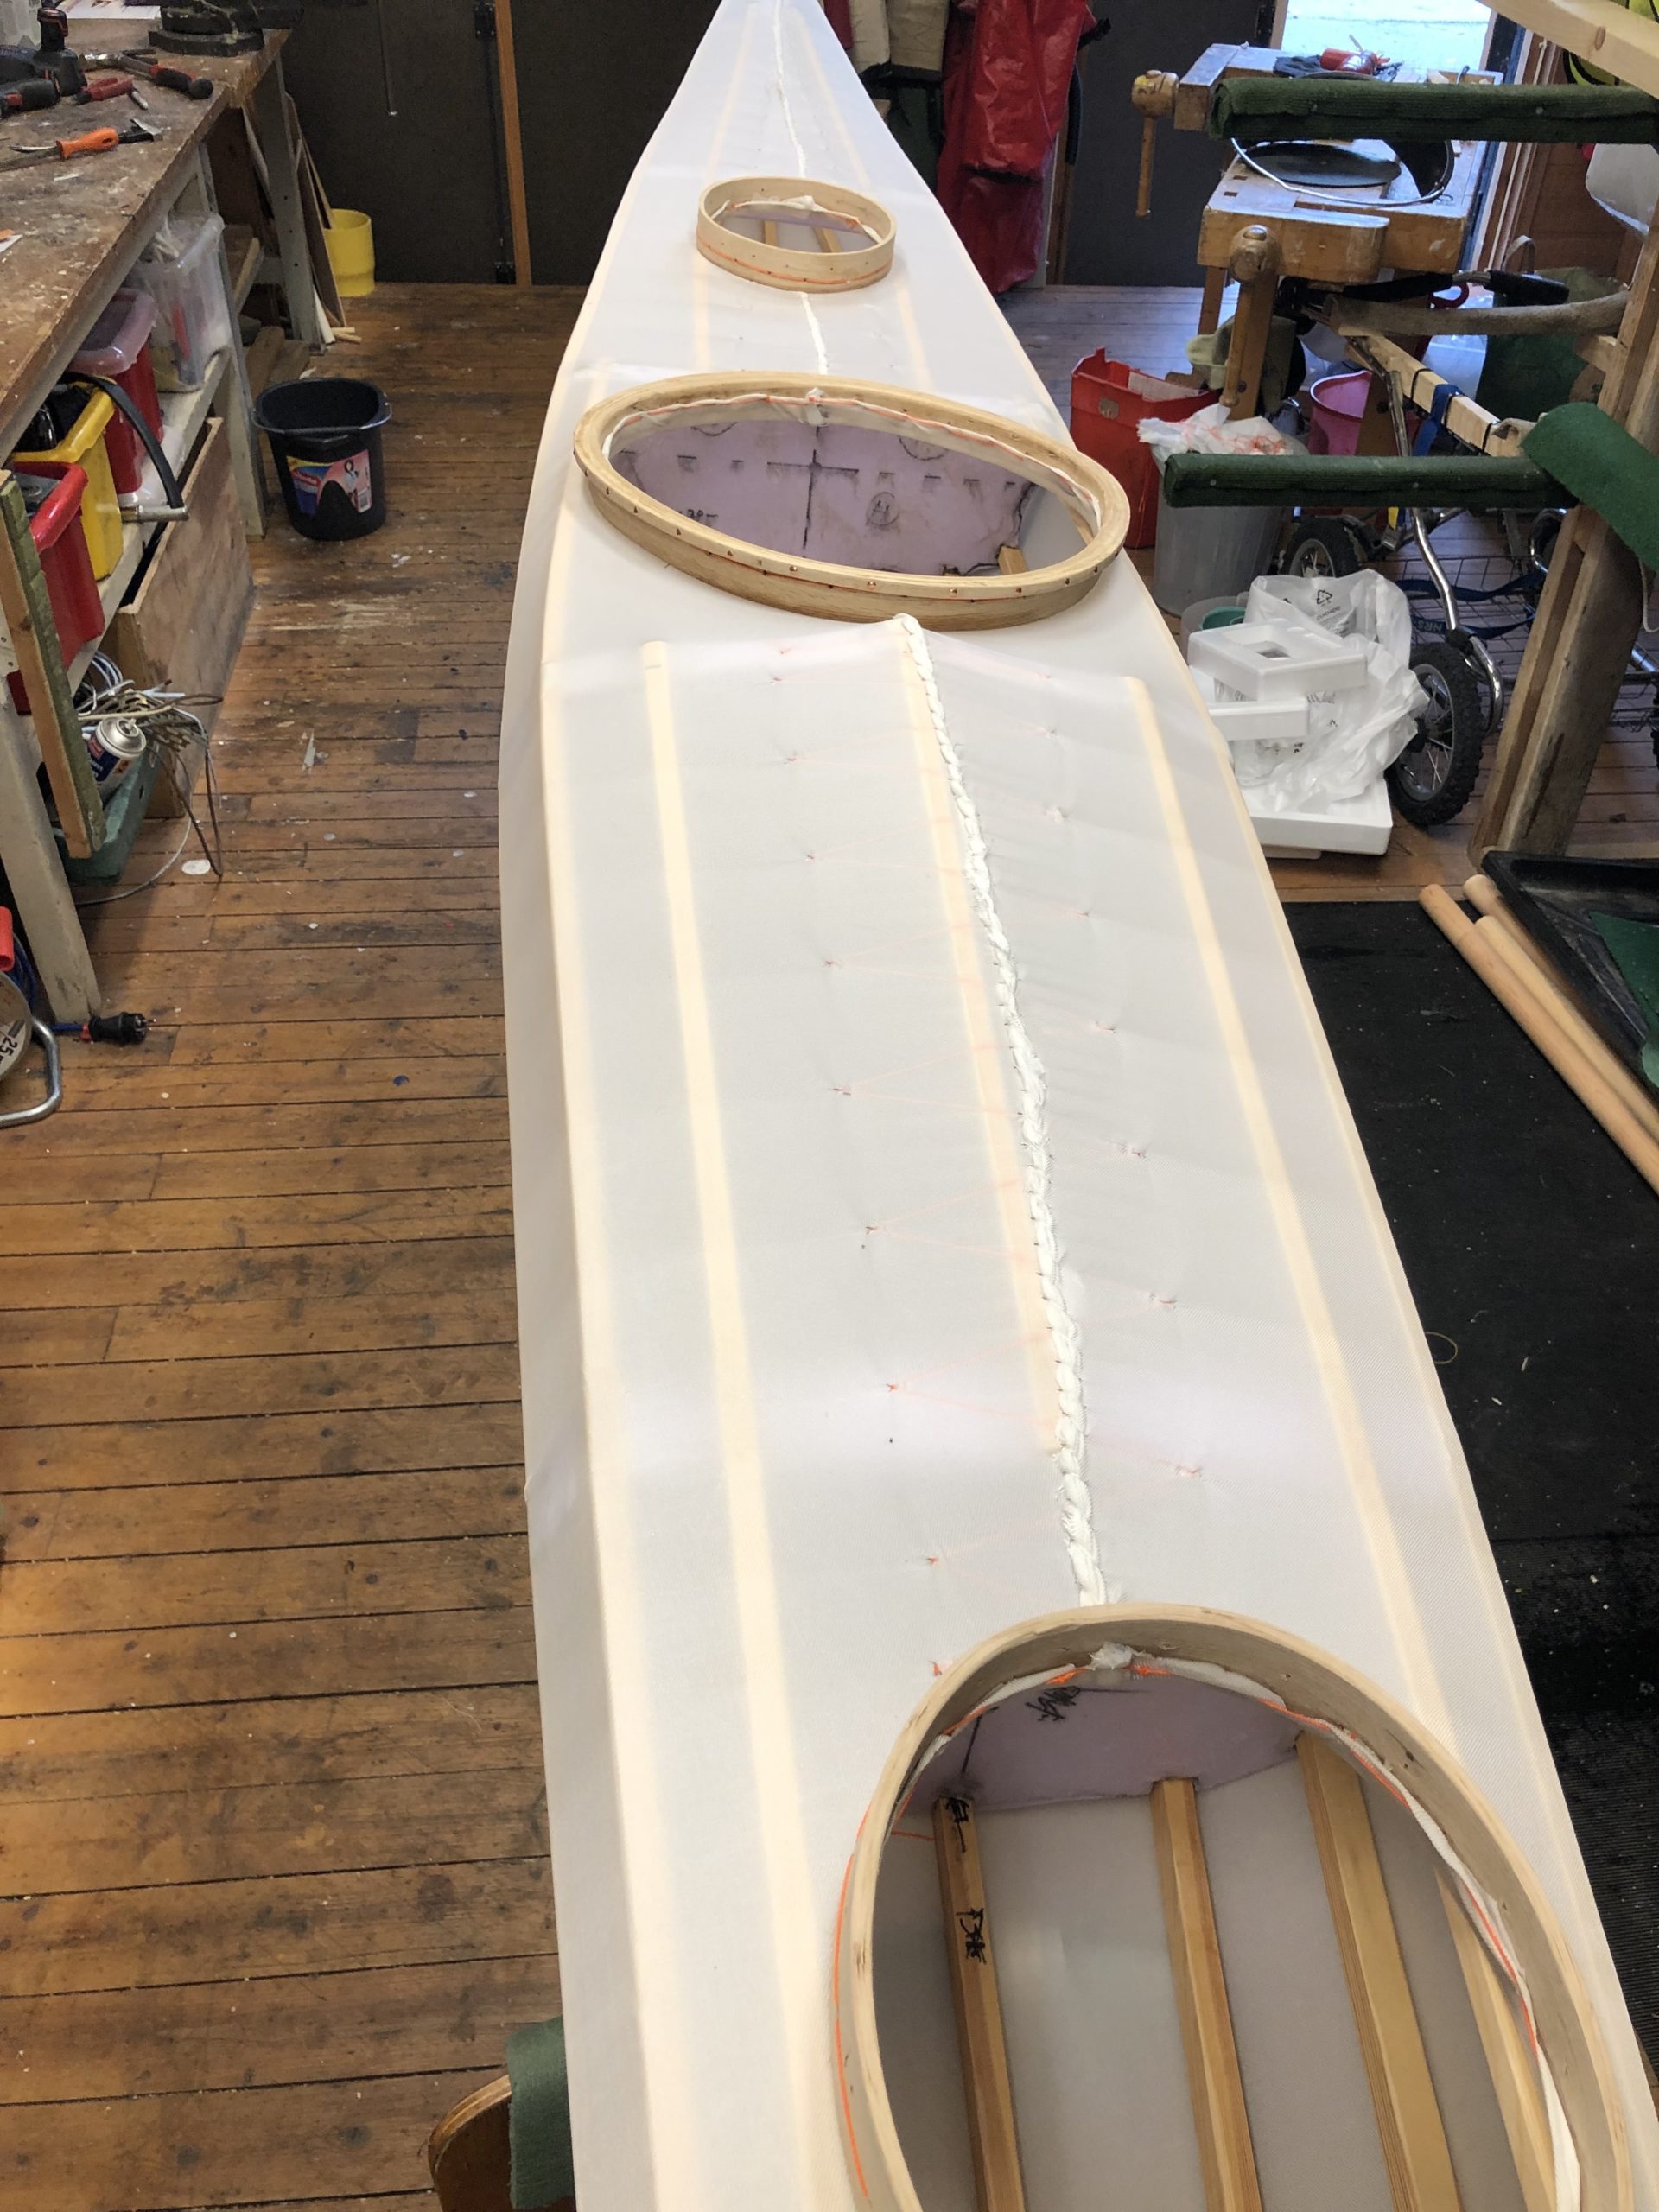
UPDATE: I modified the kayak slightly to my liking, ocean cockpit, hatches, water tight bulkheads. To get a bigger storage volume I moved around the bulkheads with following recalculations for late boundary layer separation and what not… naah, I was just winging it actually! Took some stringer-to-keel measurements and went to the band saw 🙂


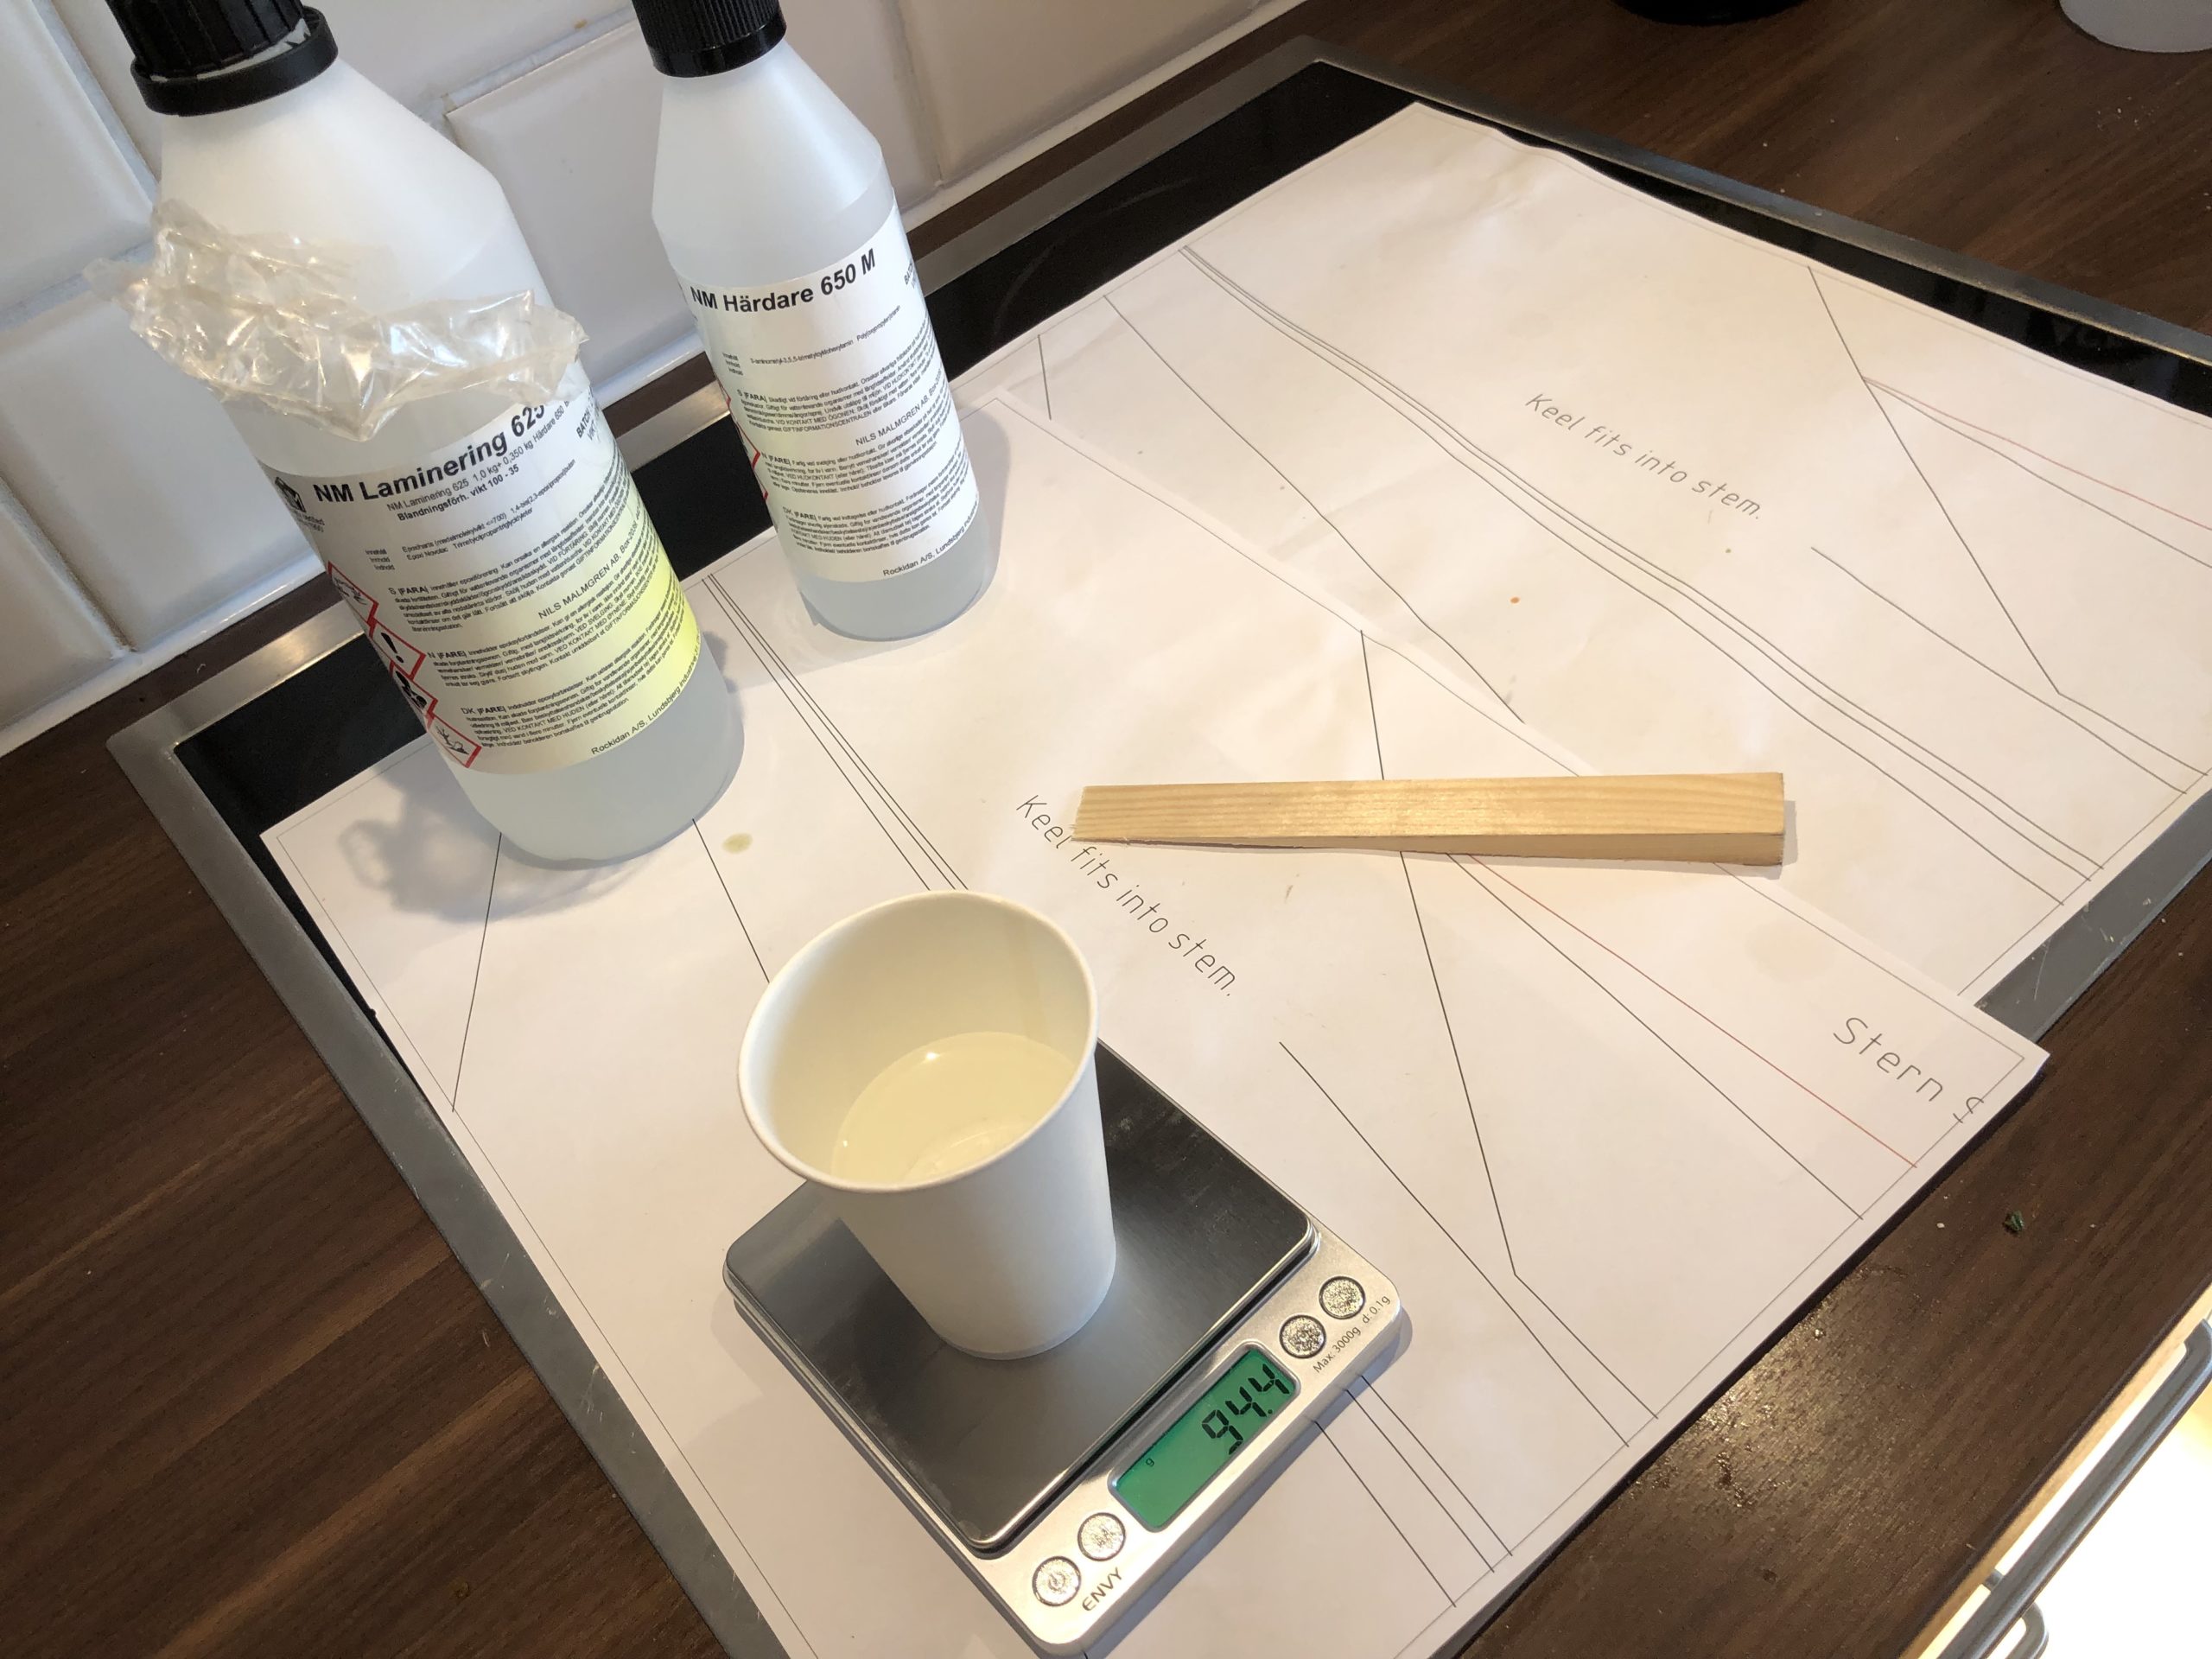

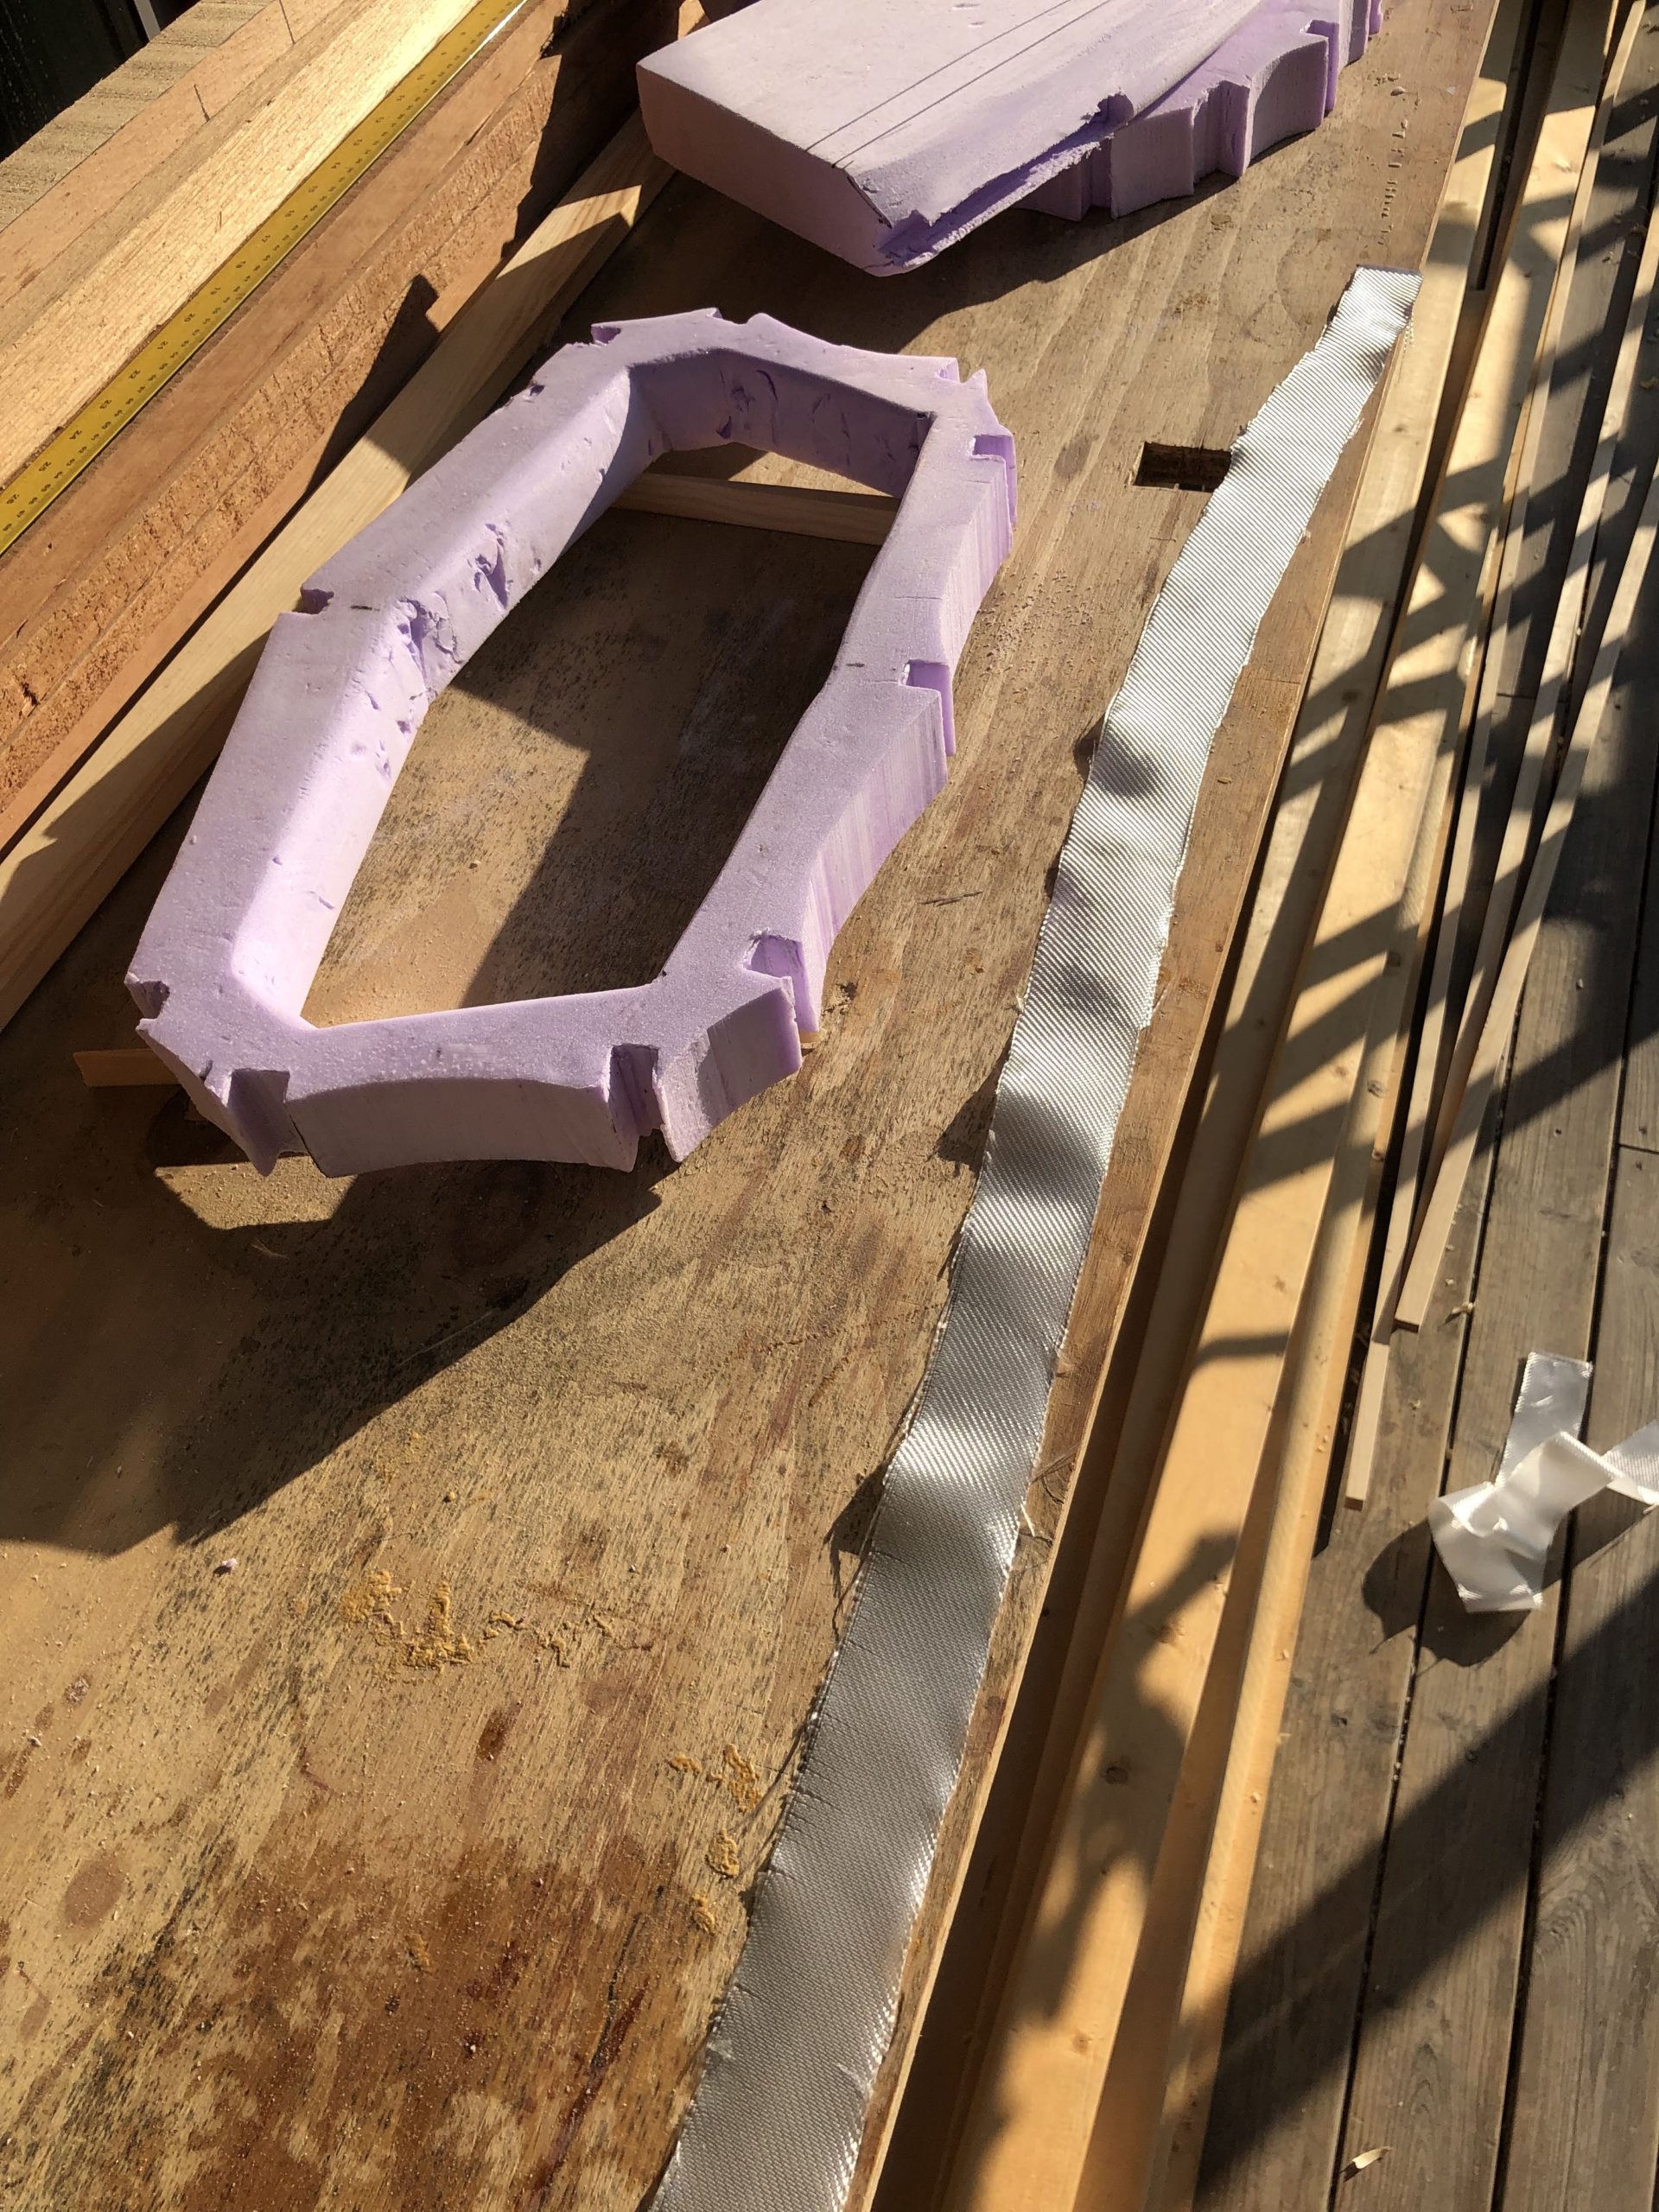
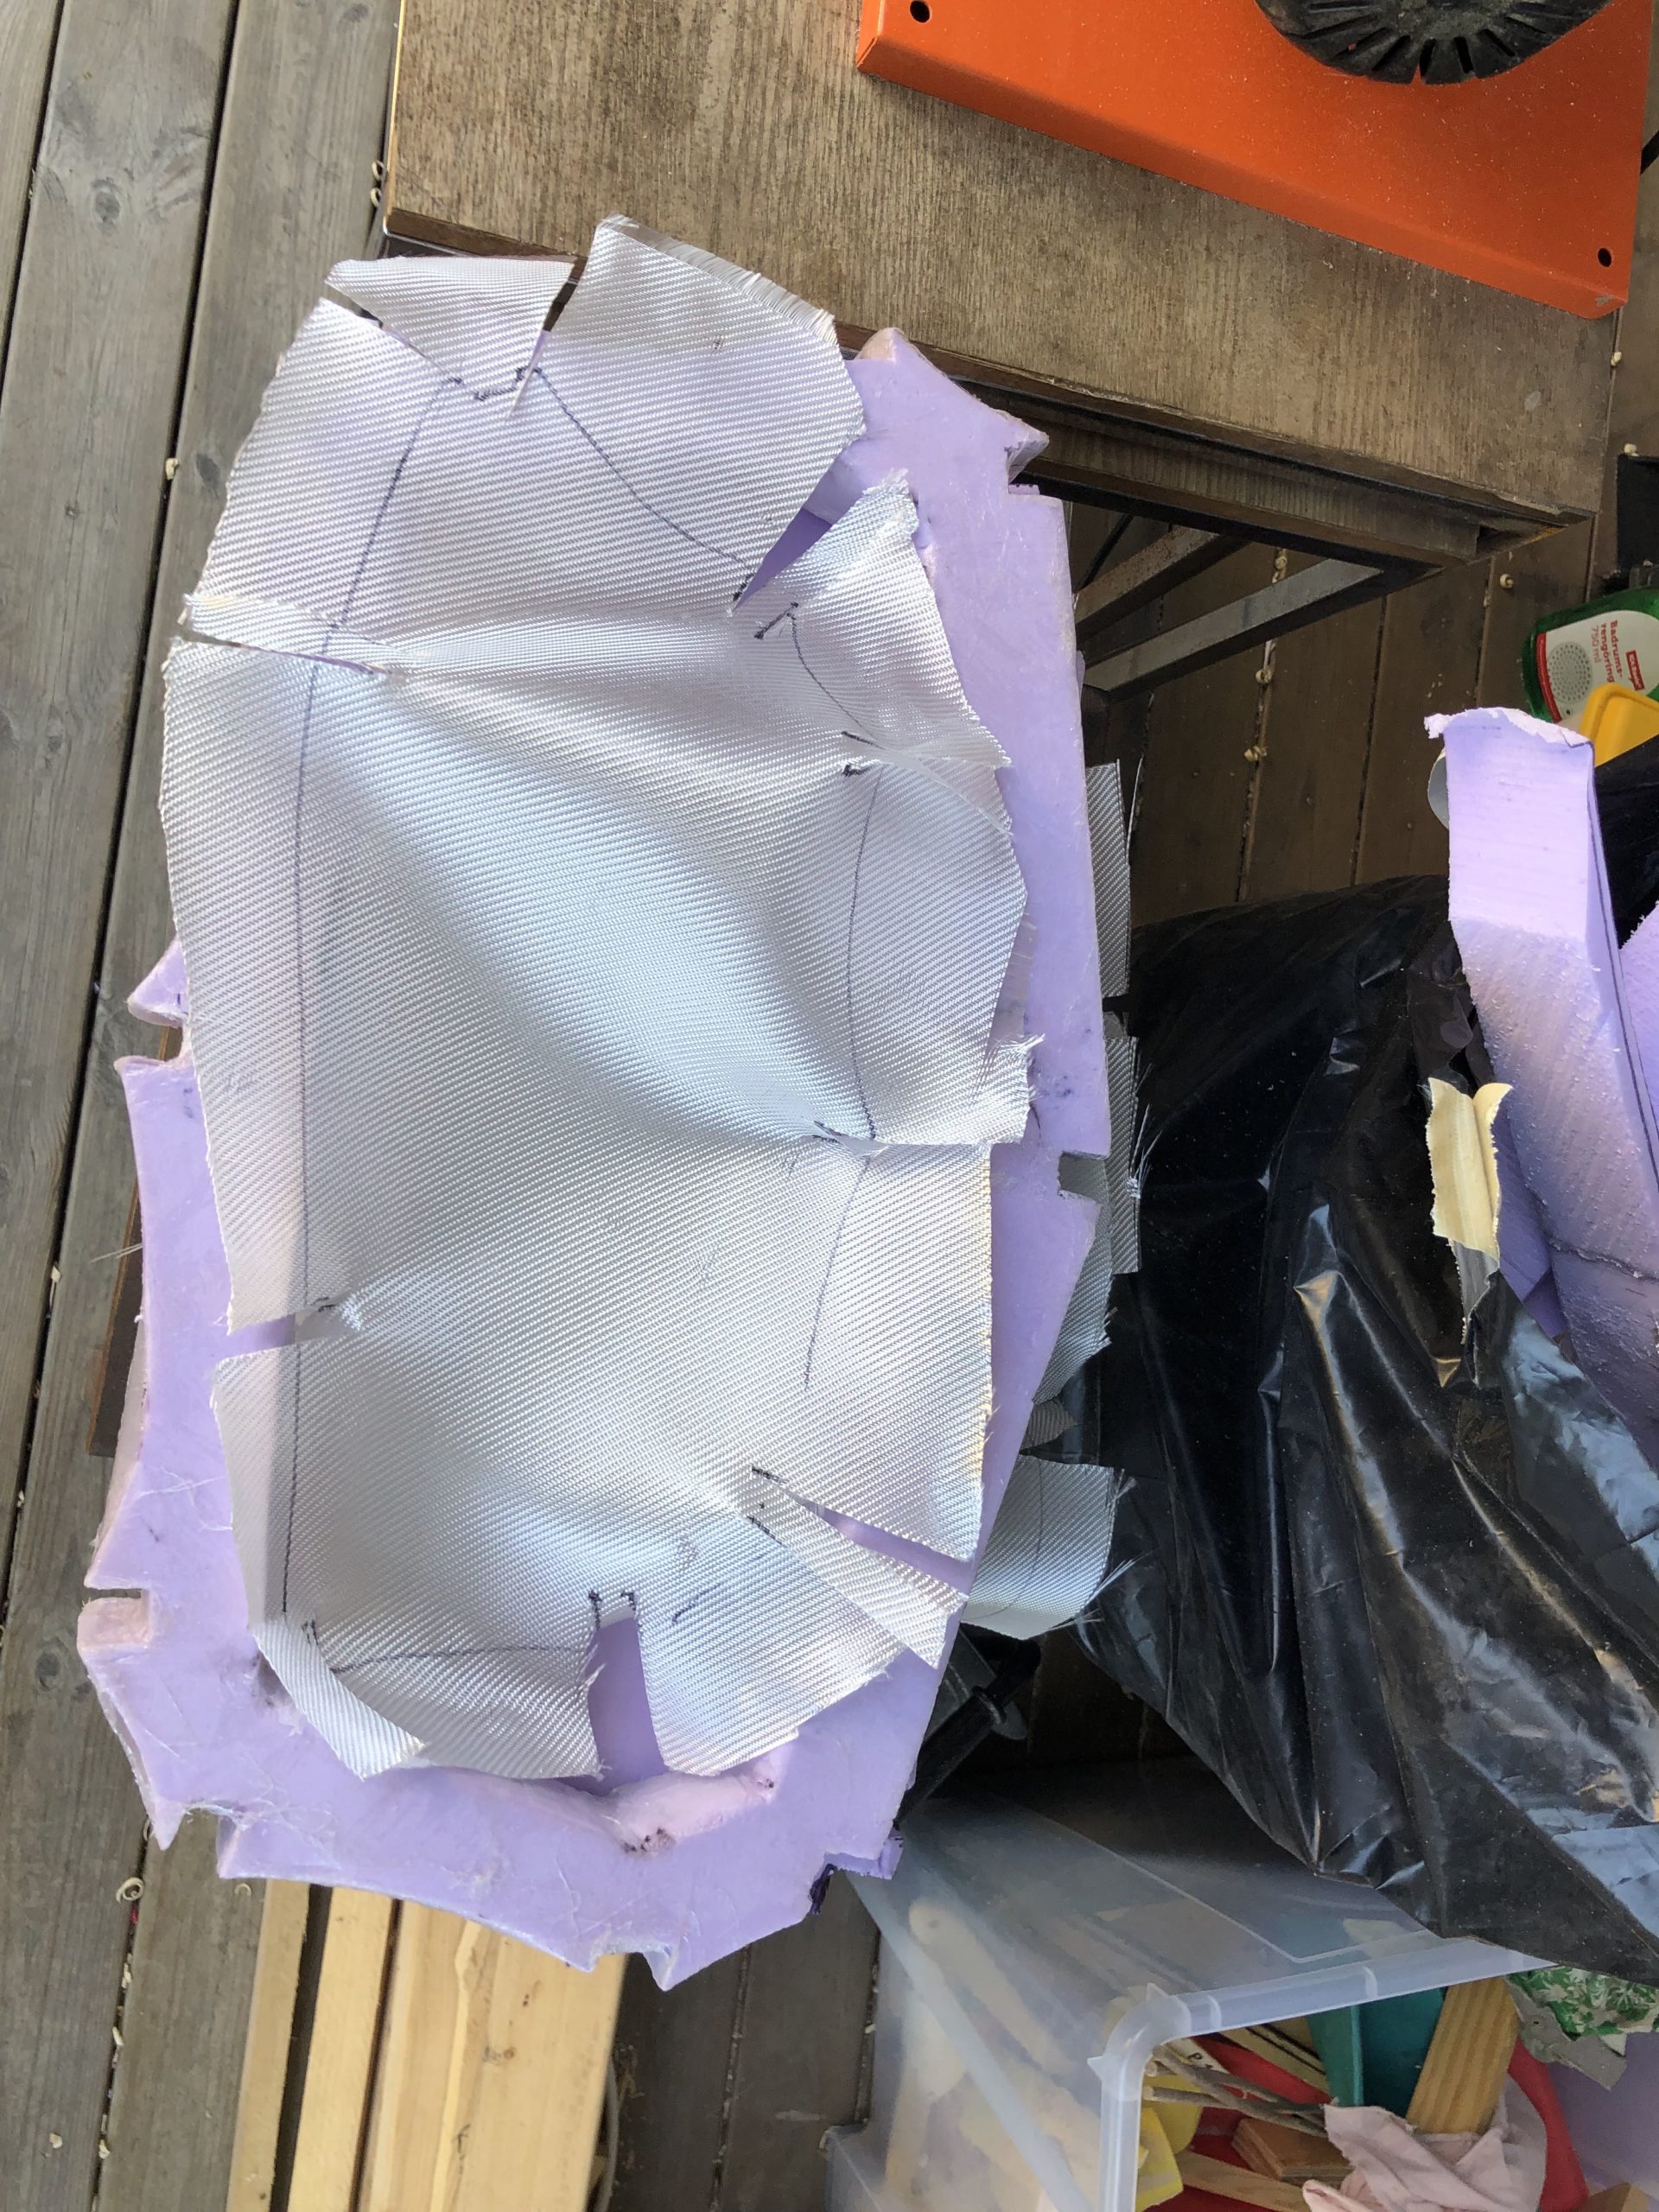
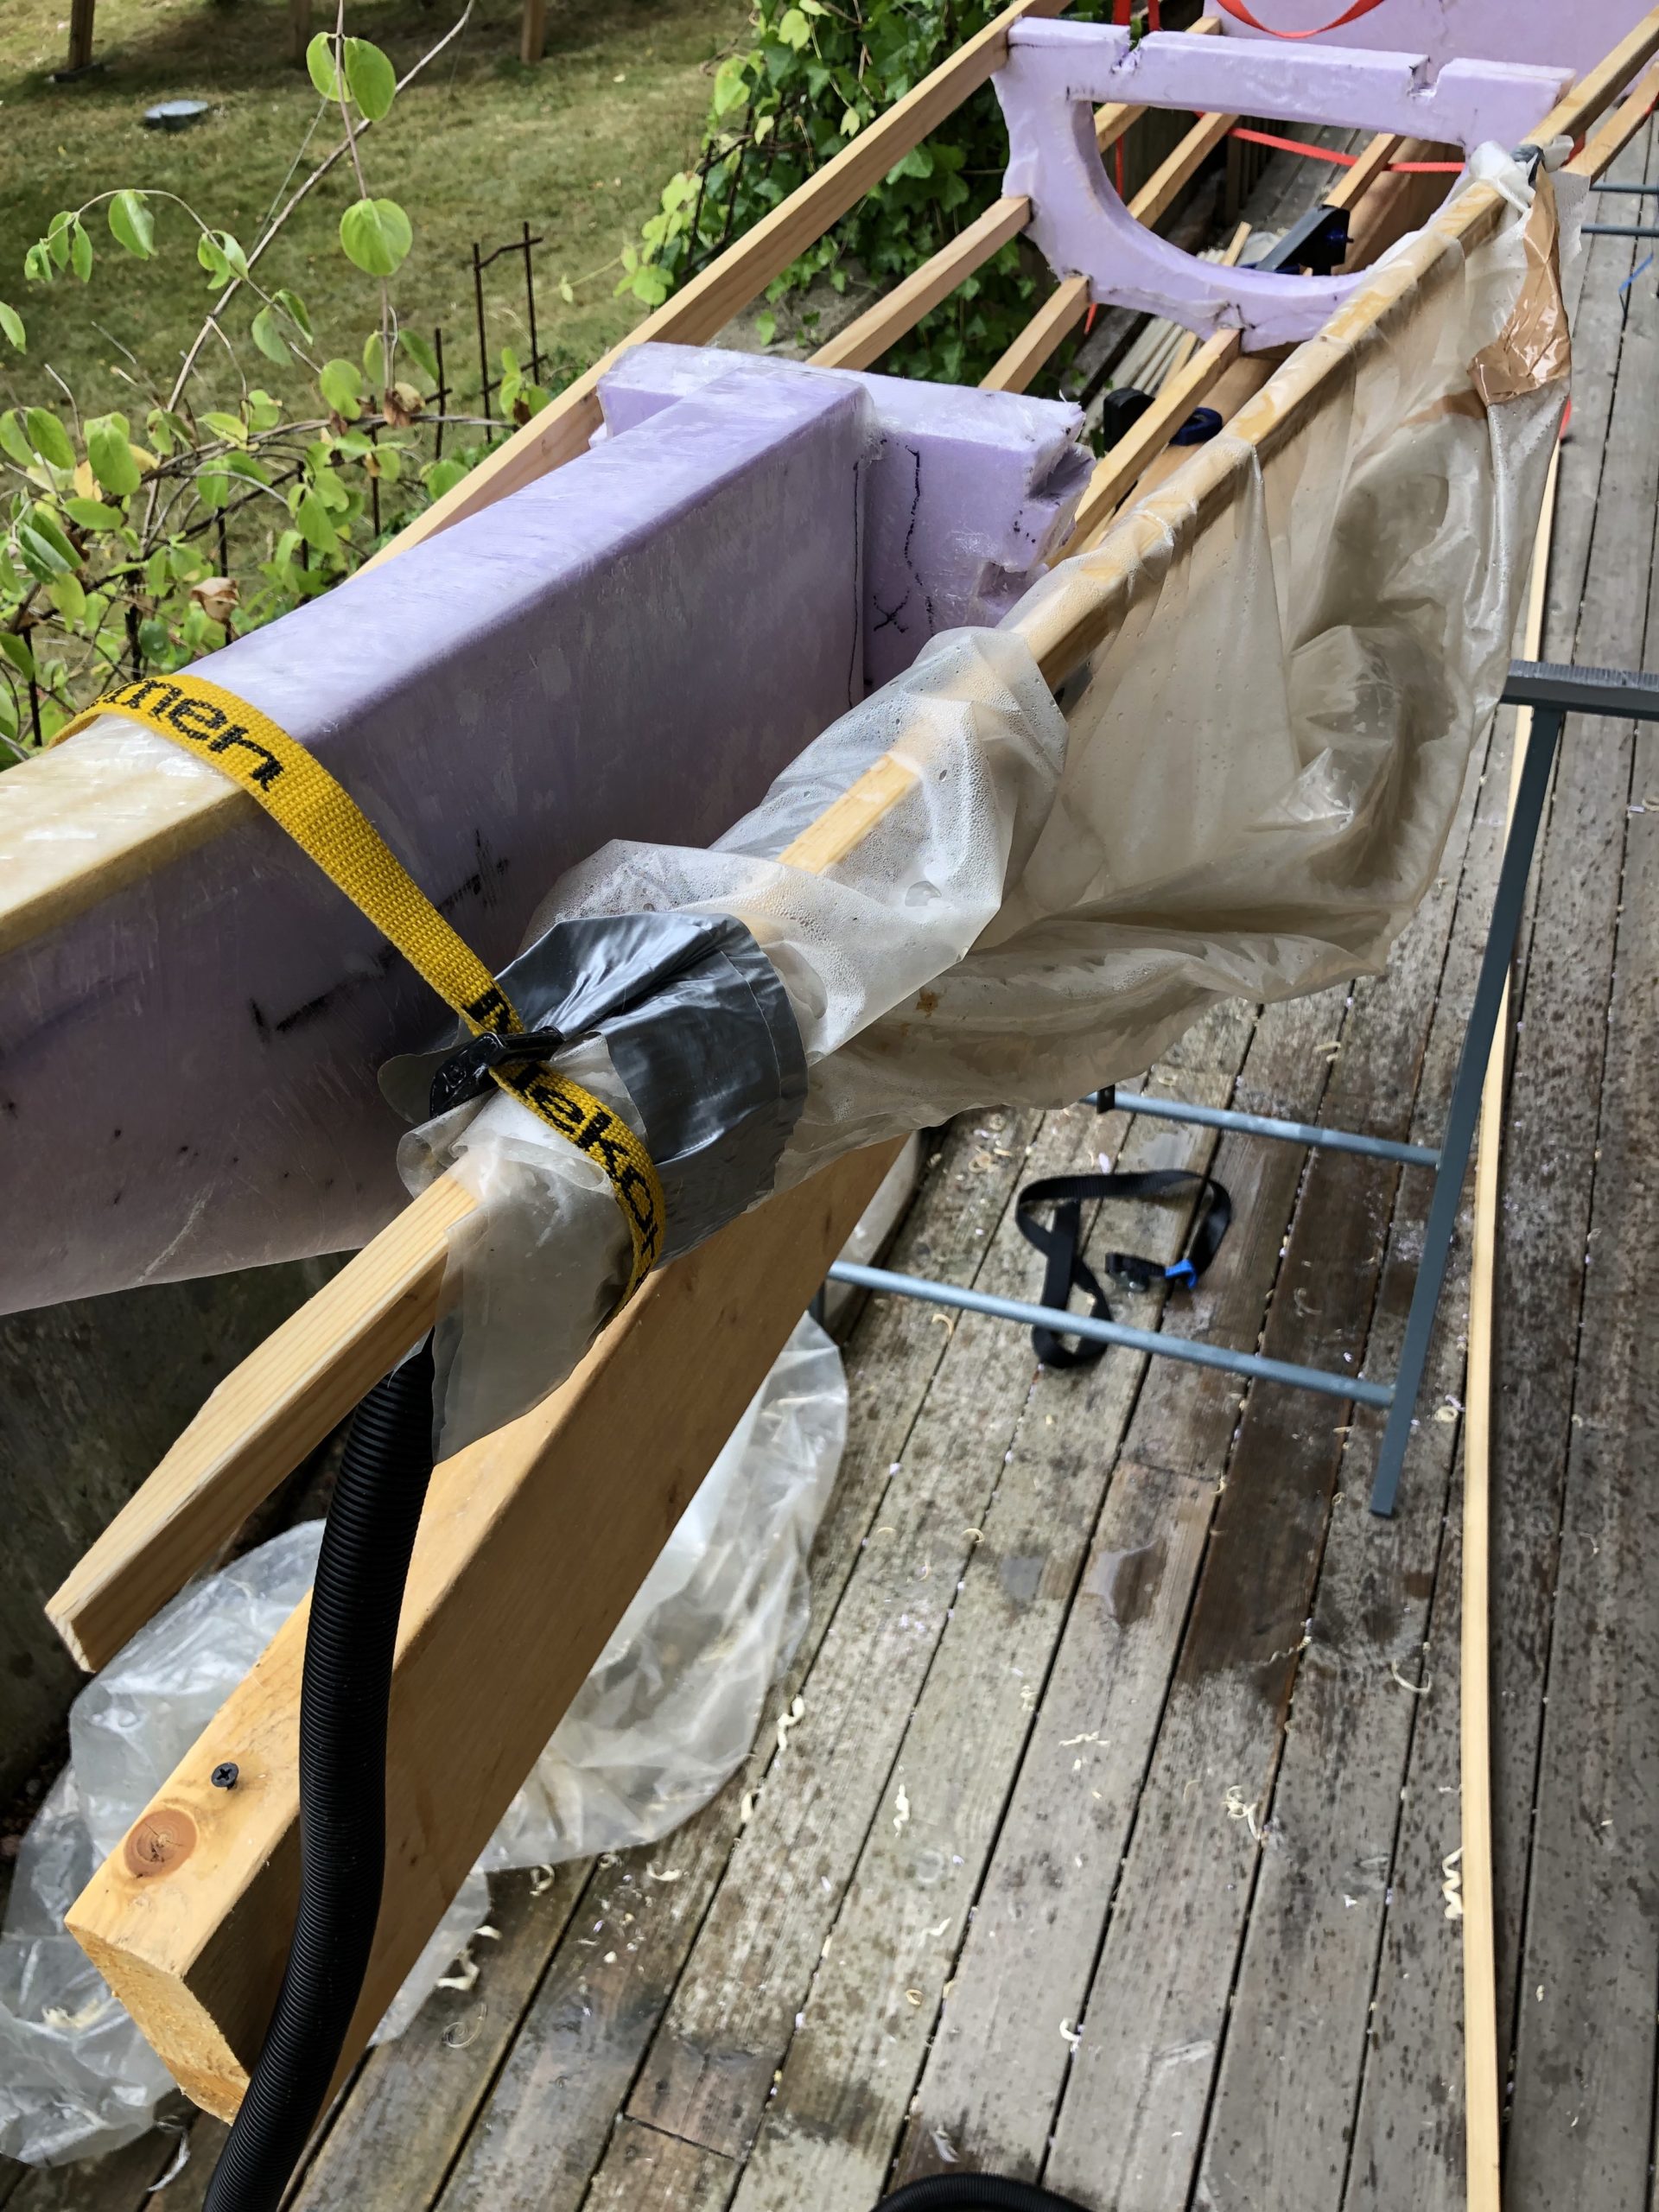
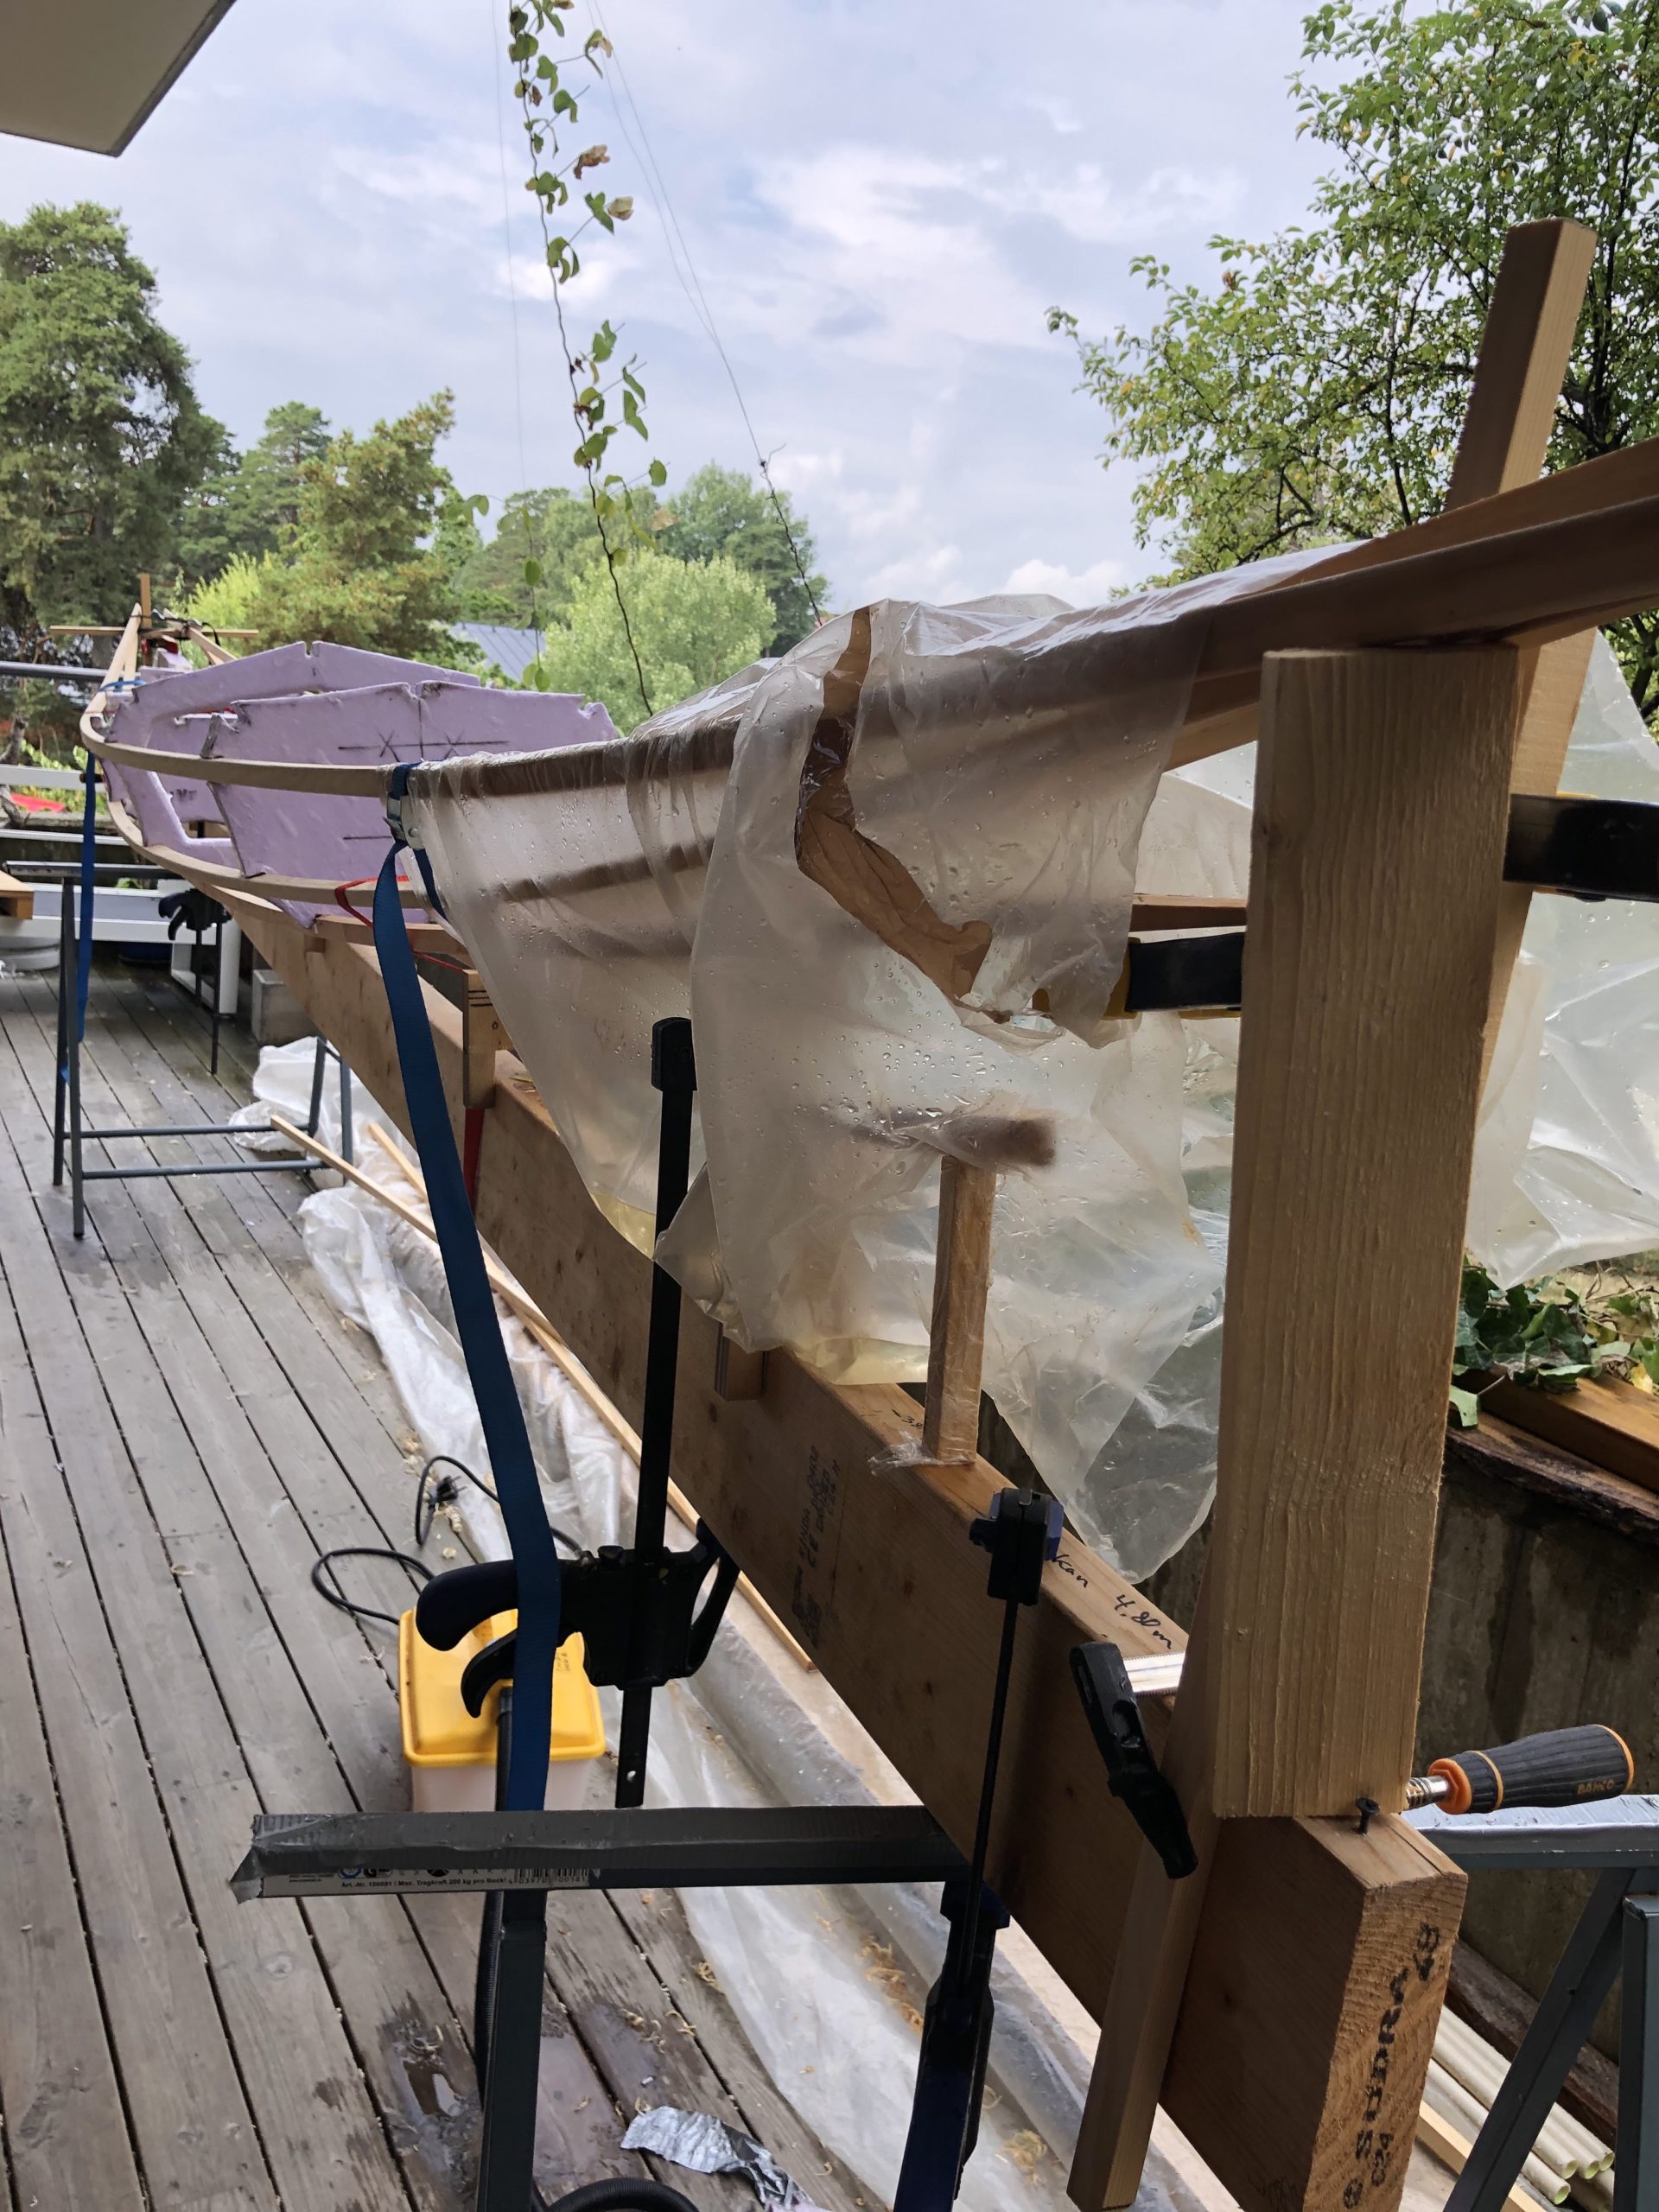
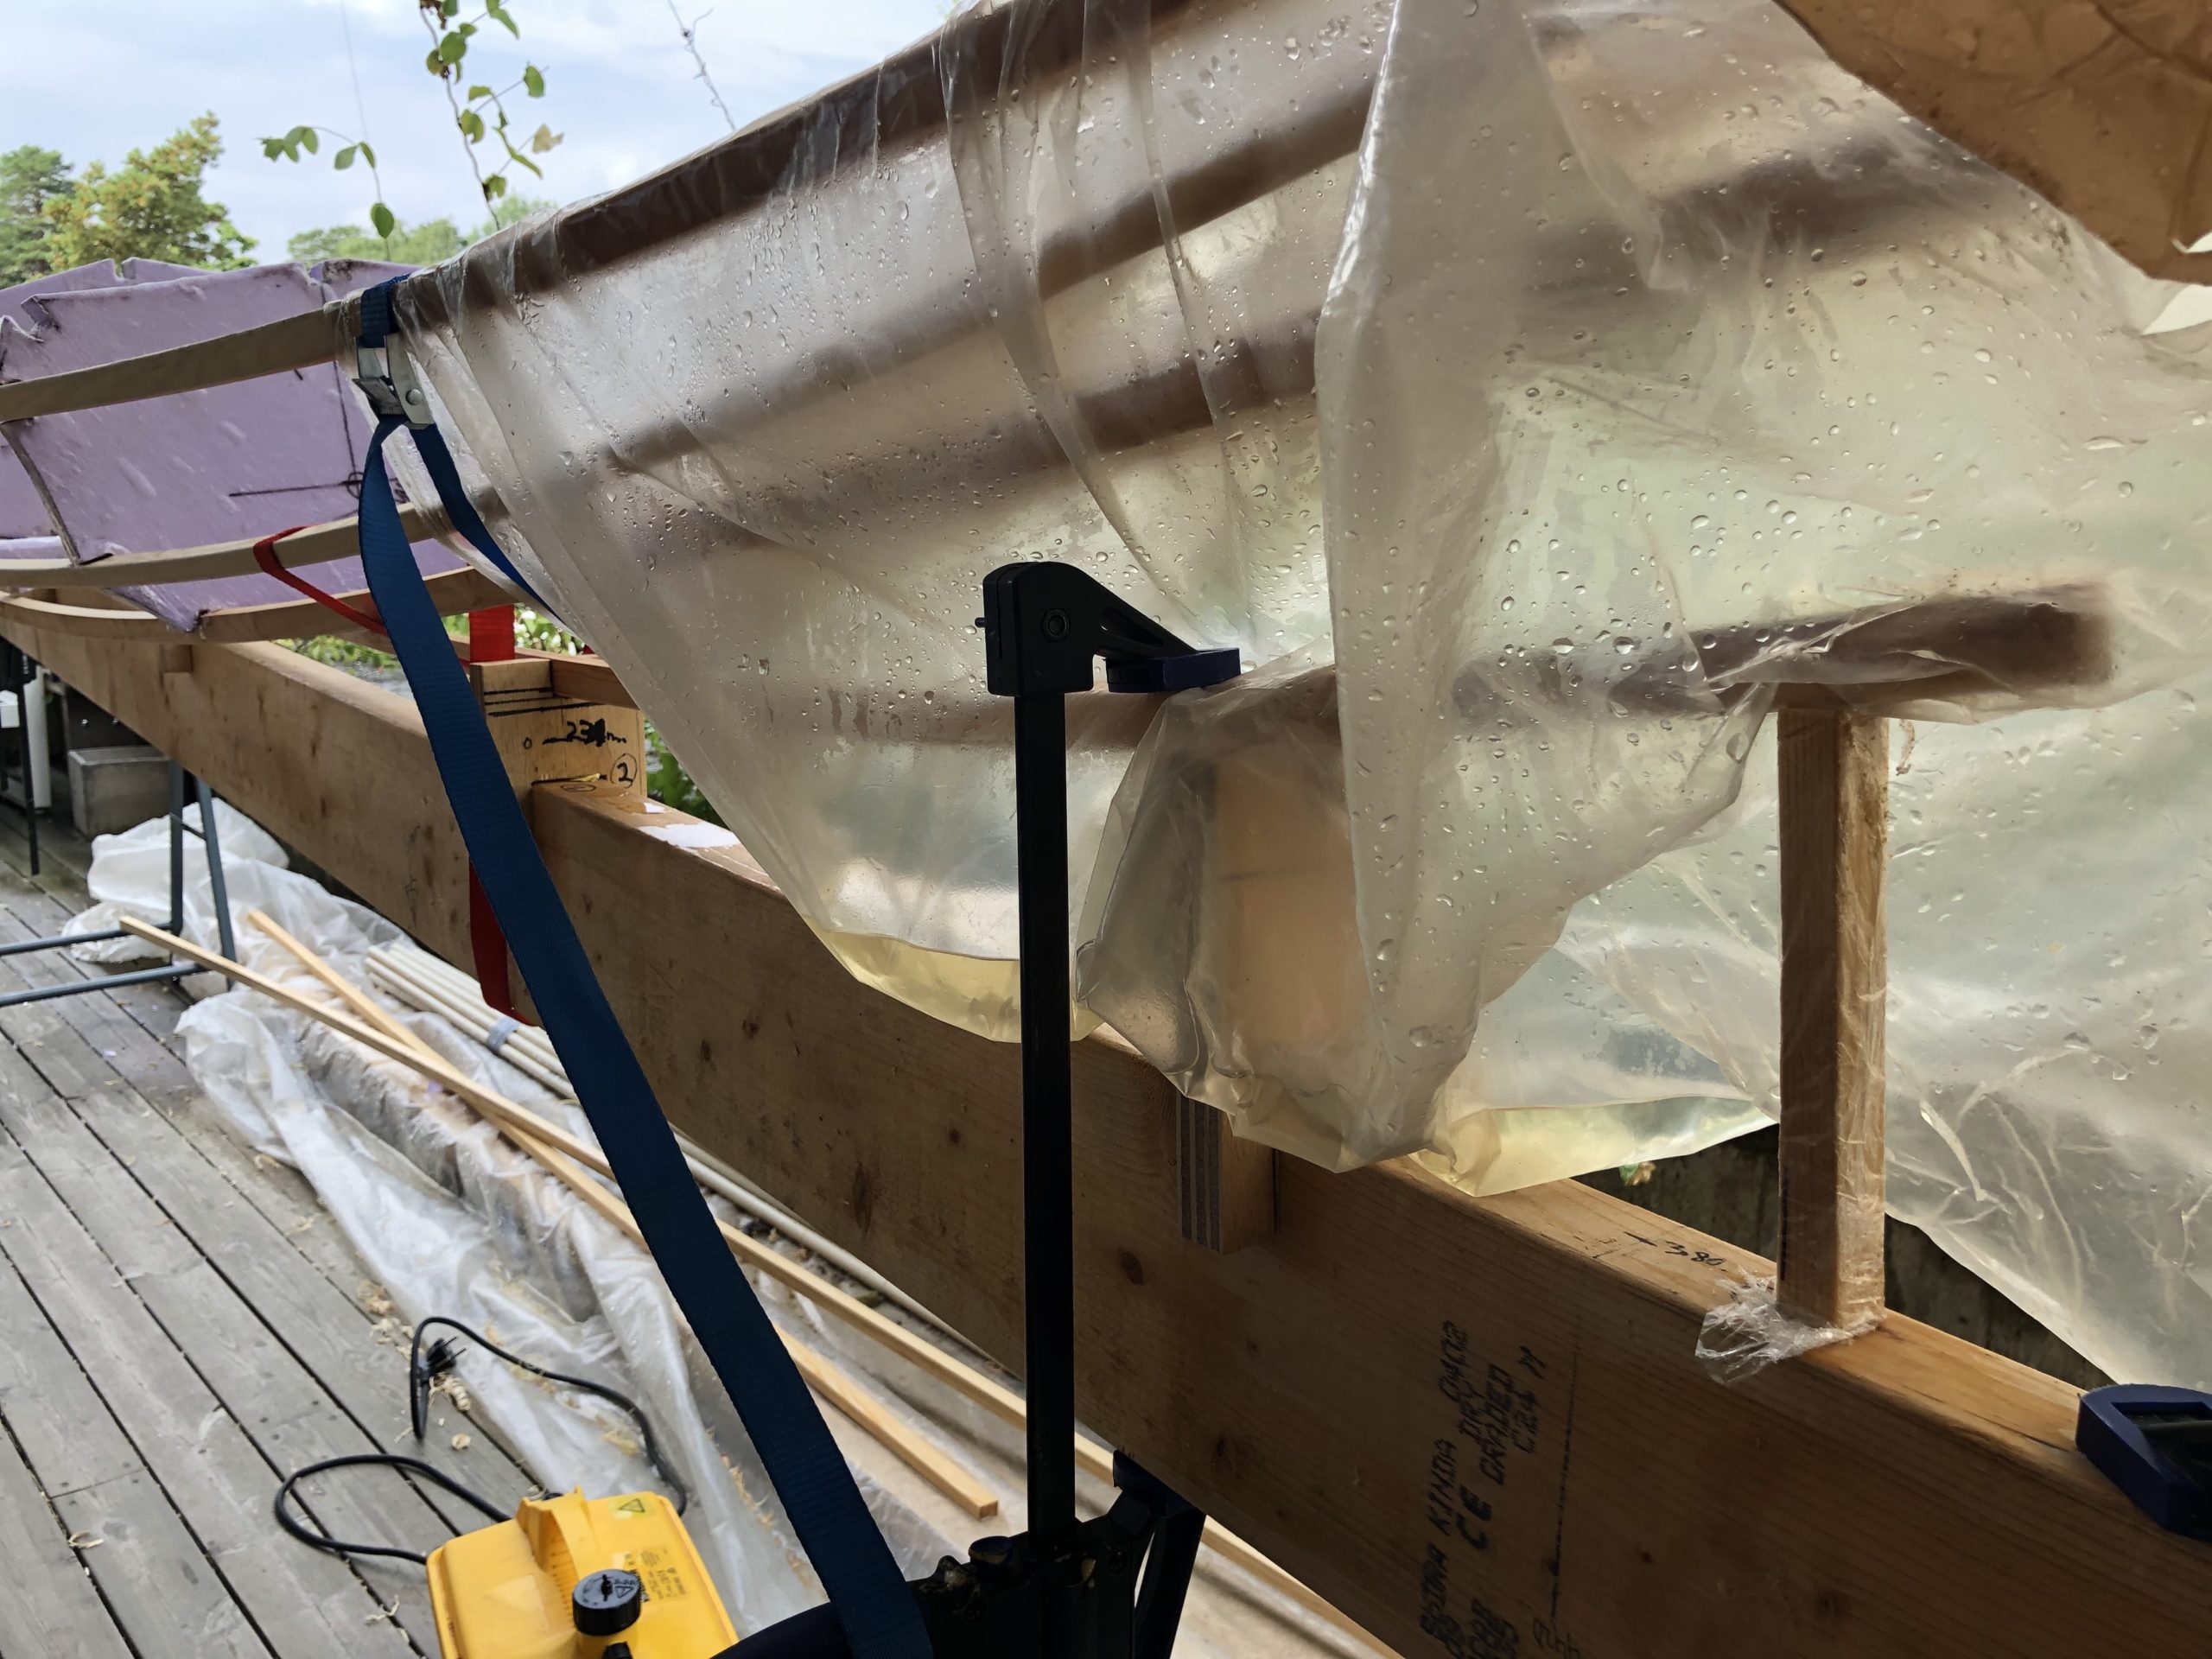
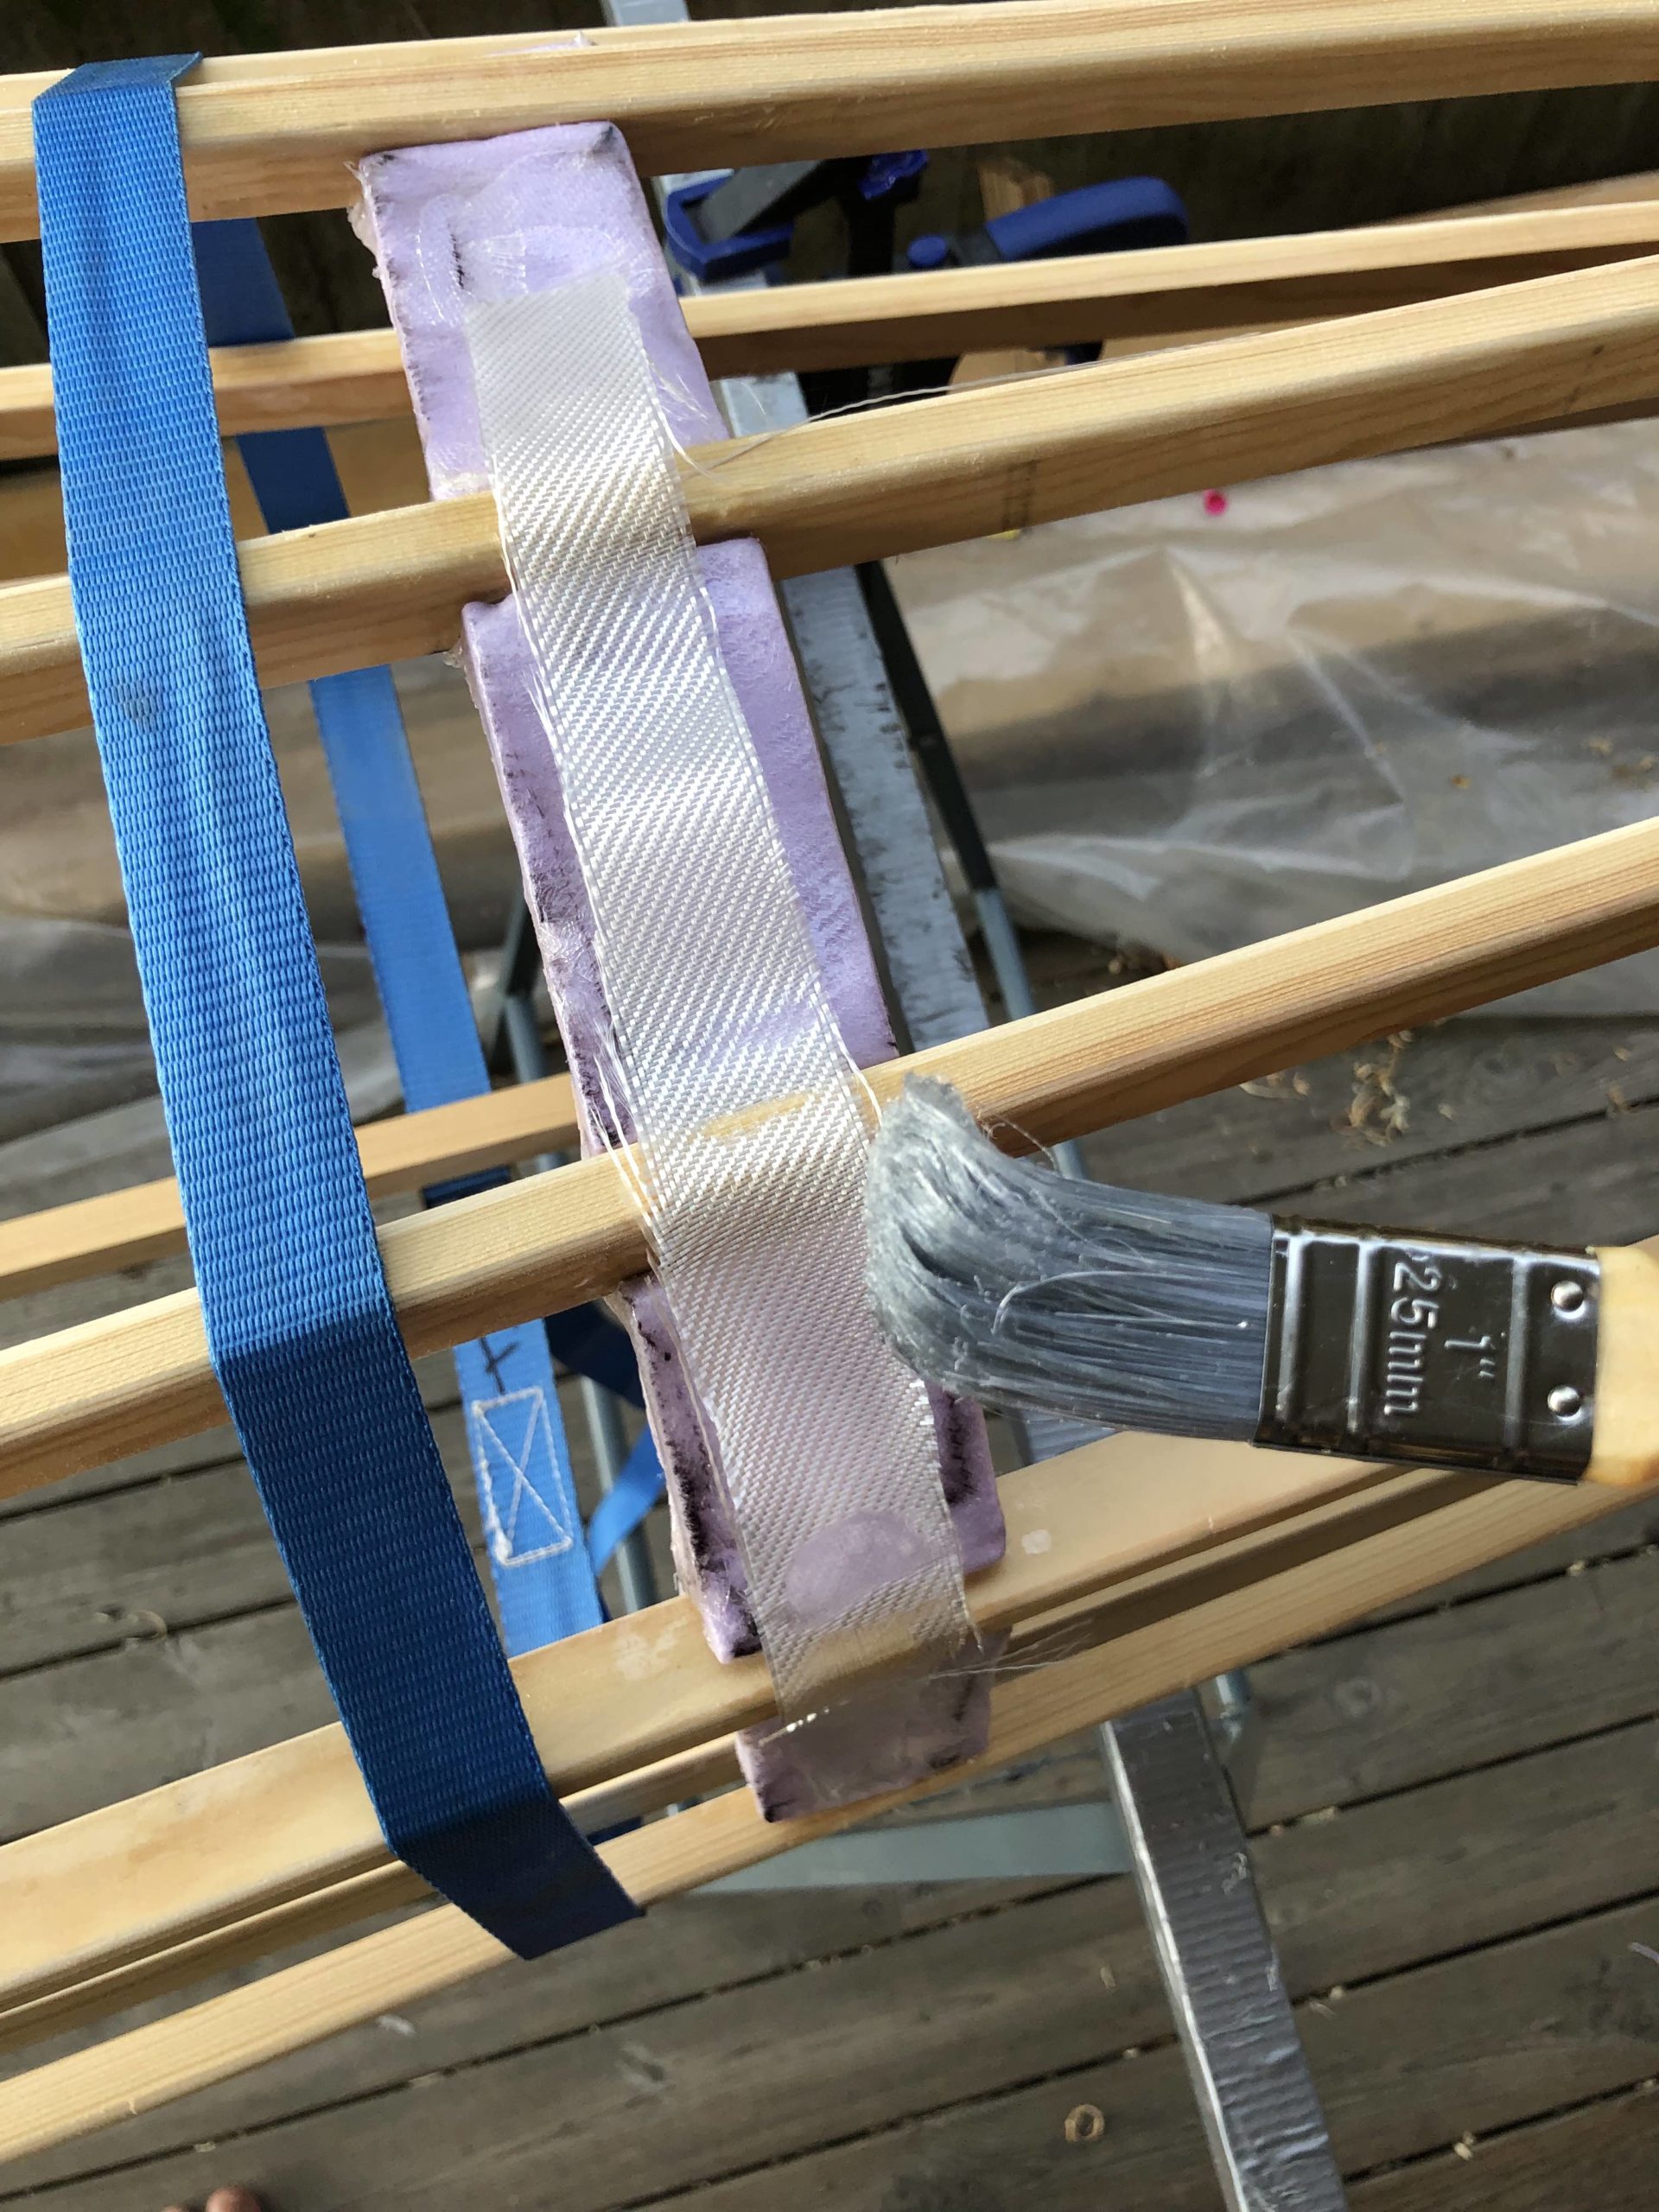
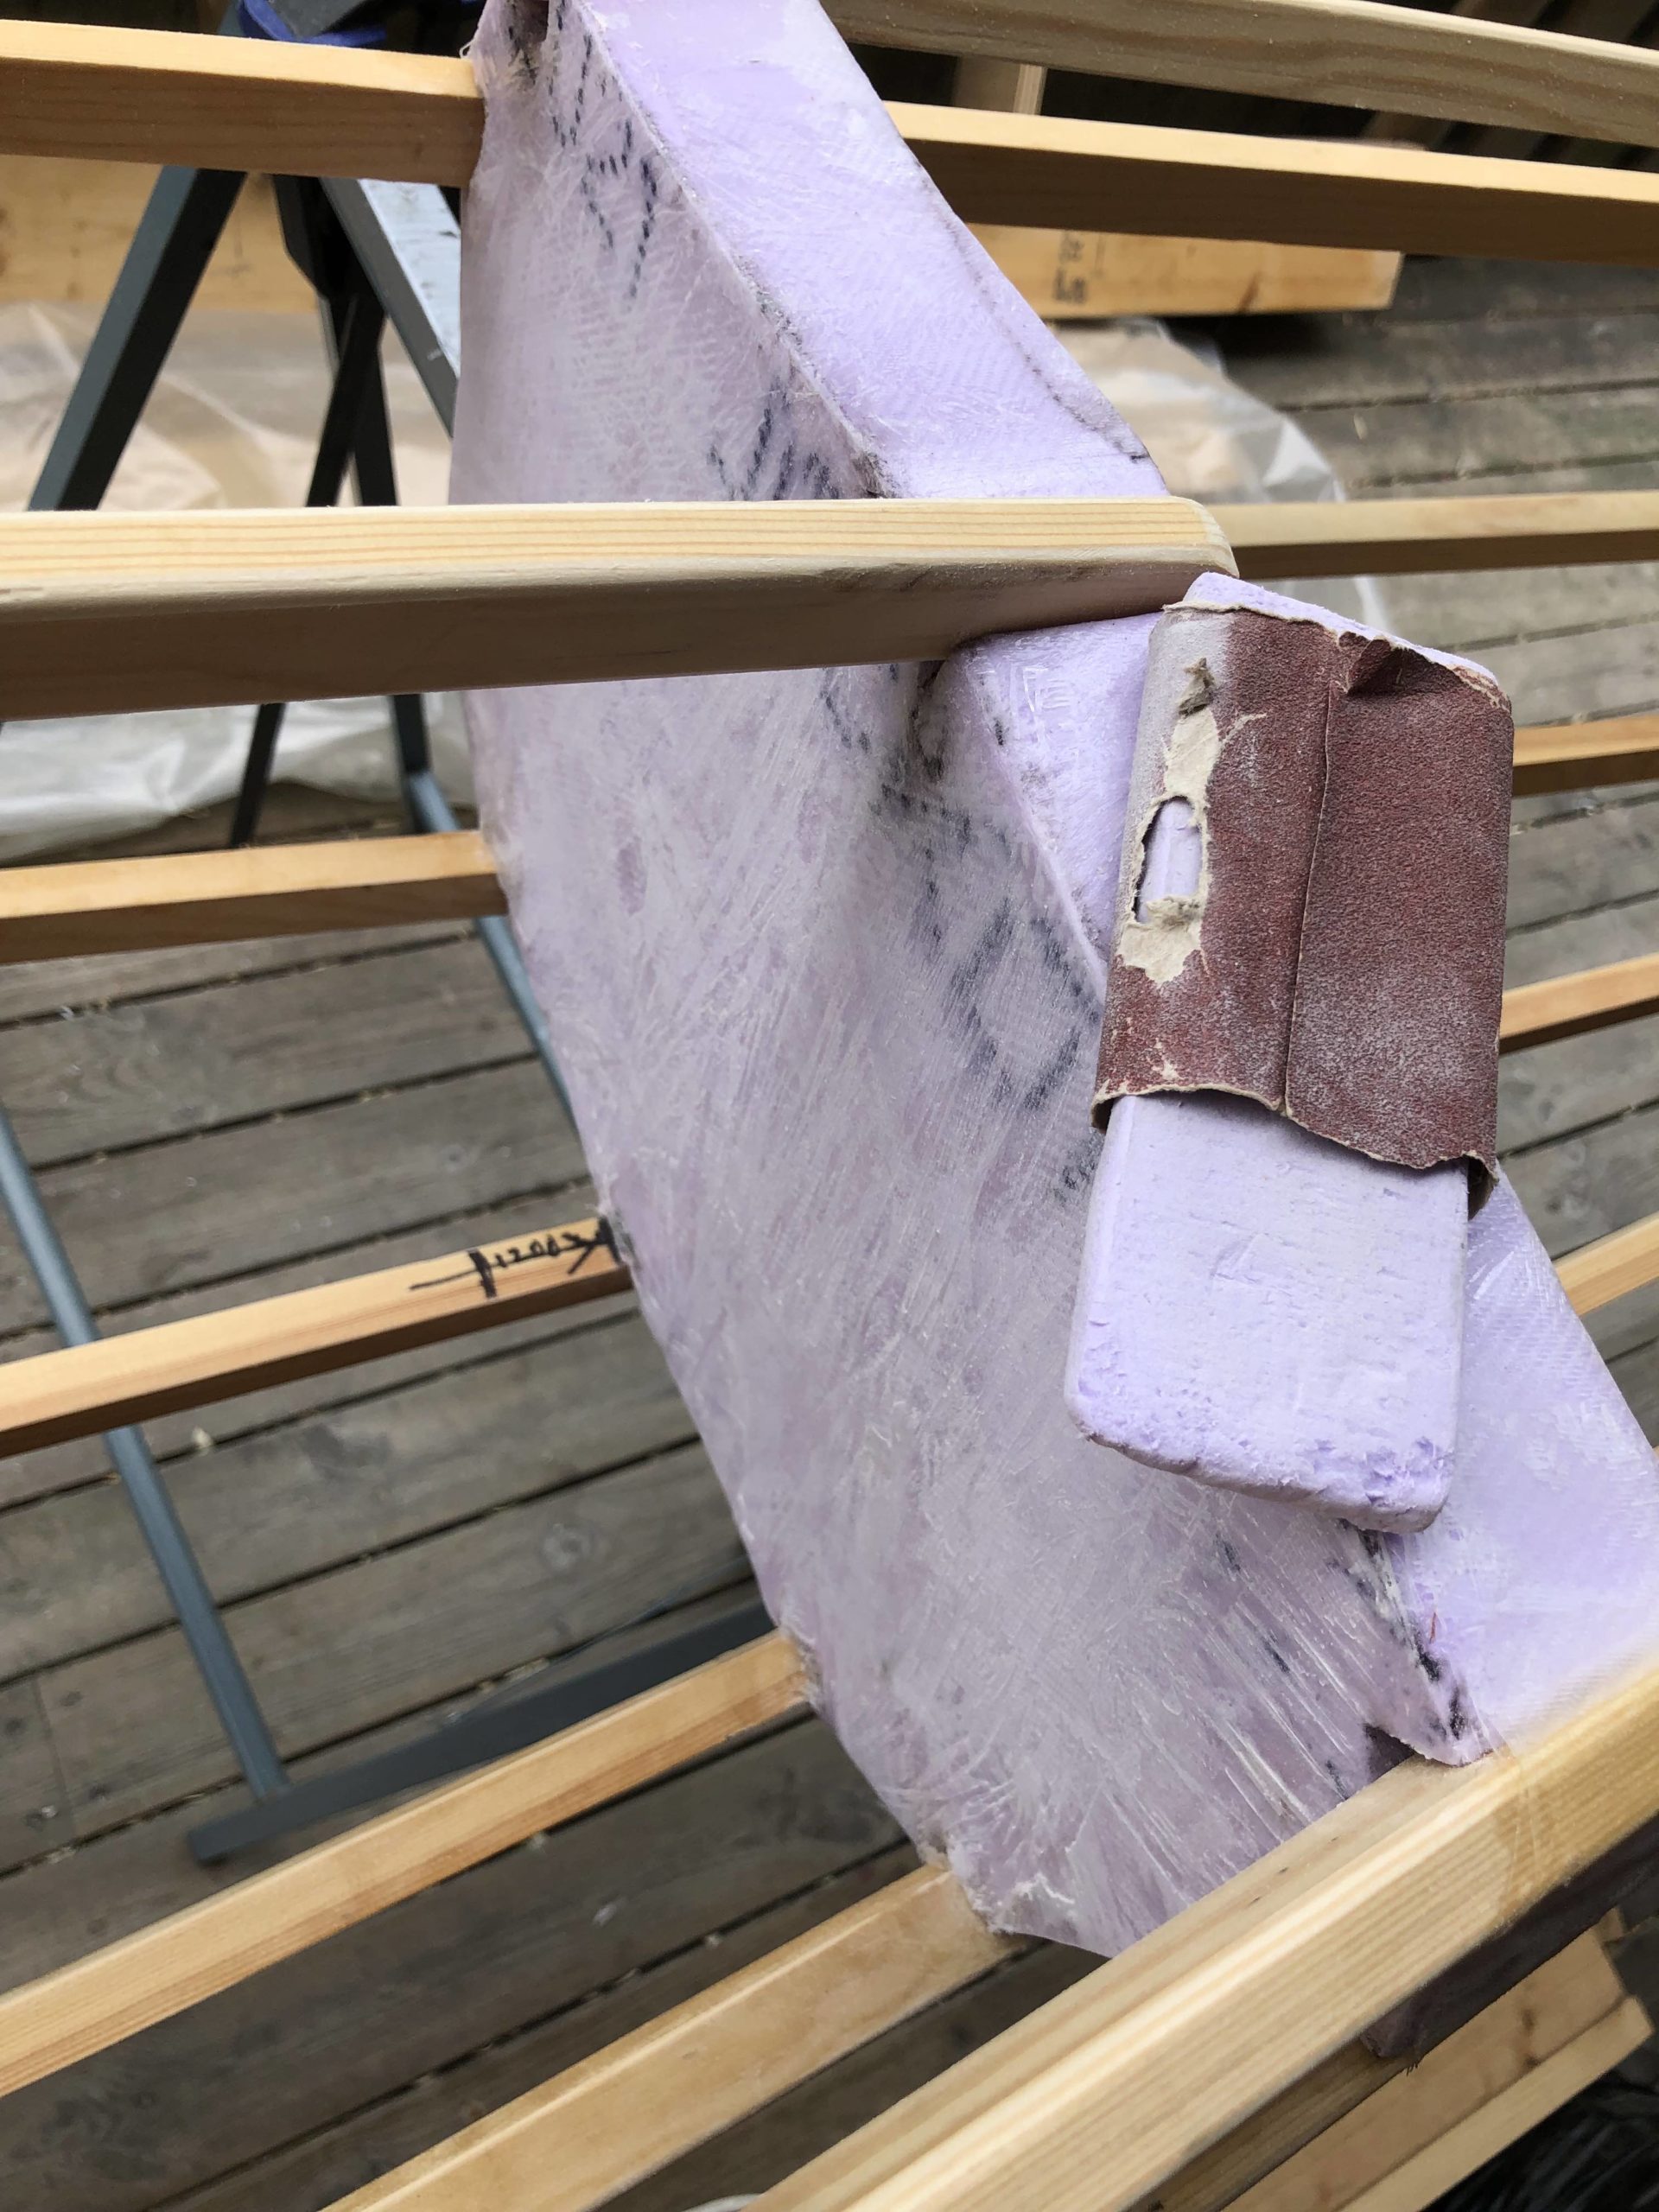
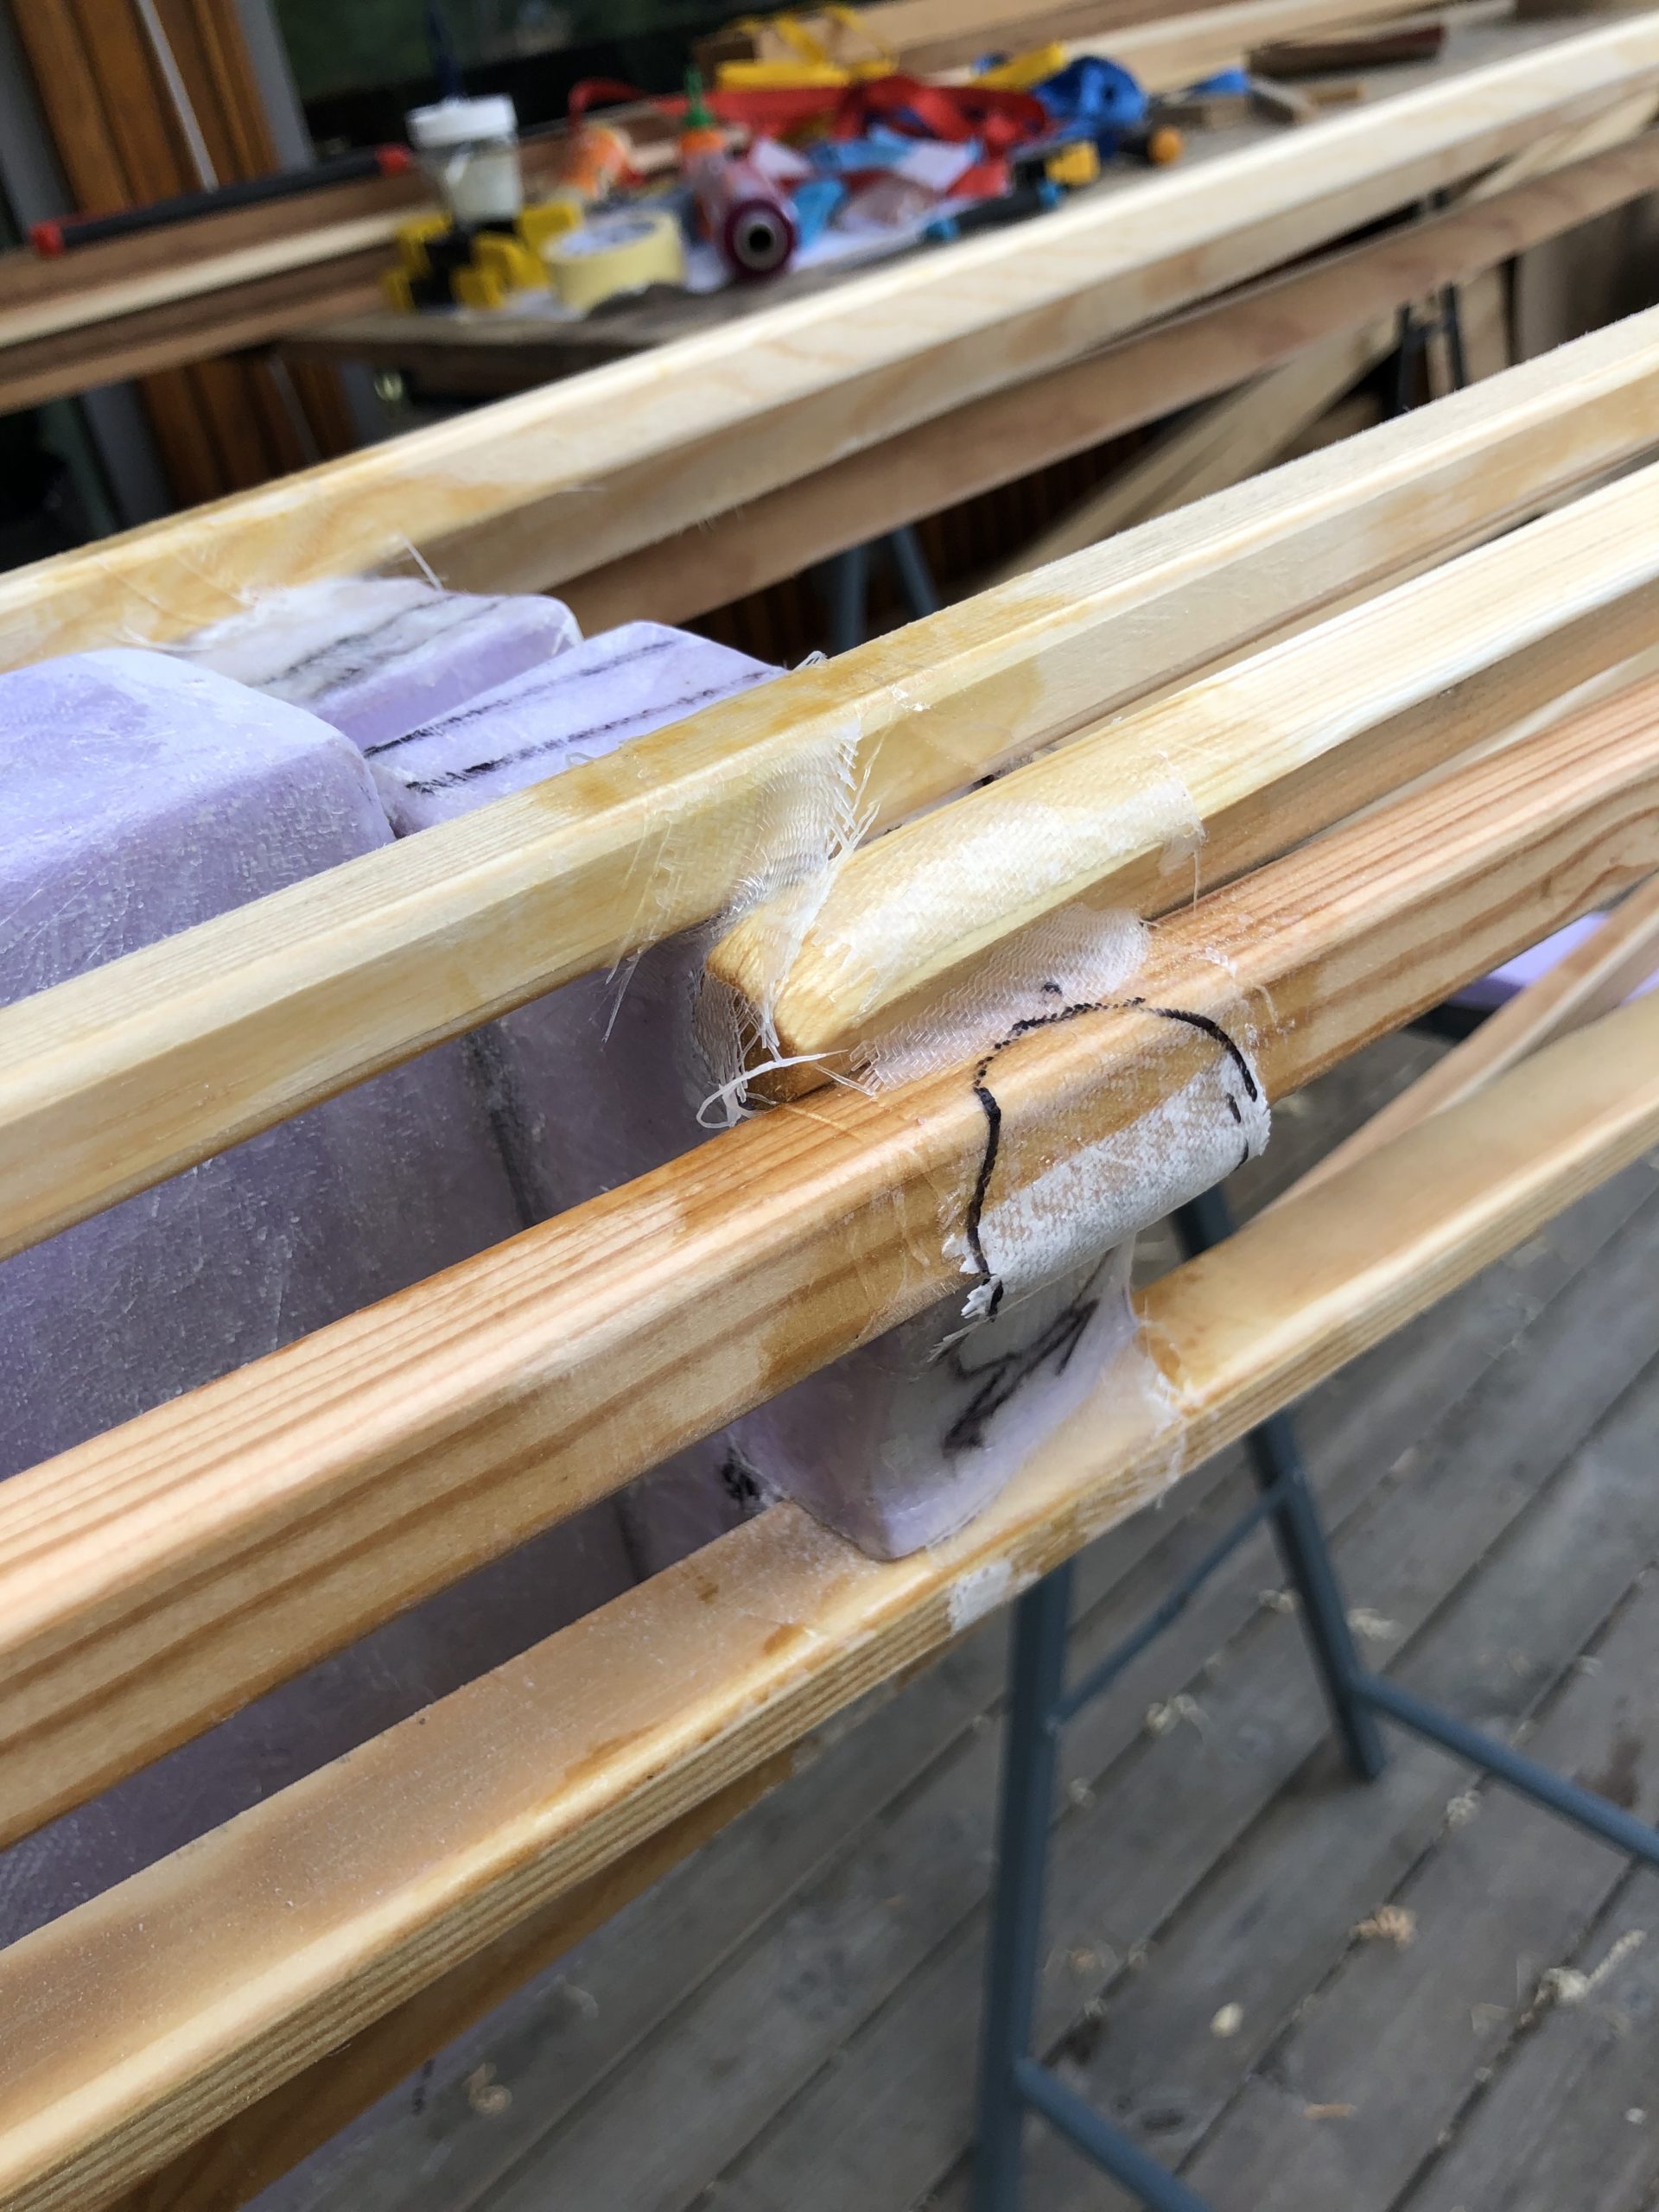
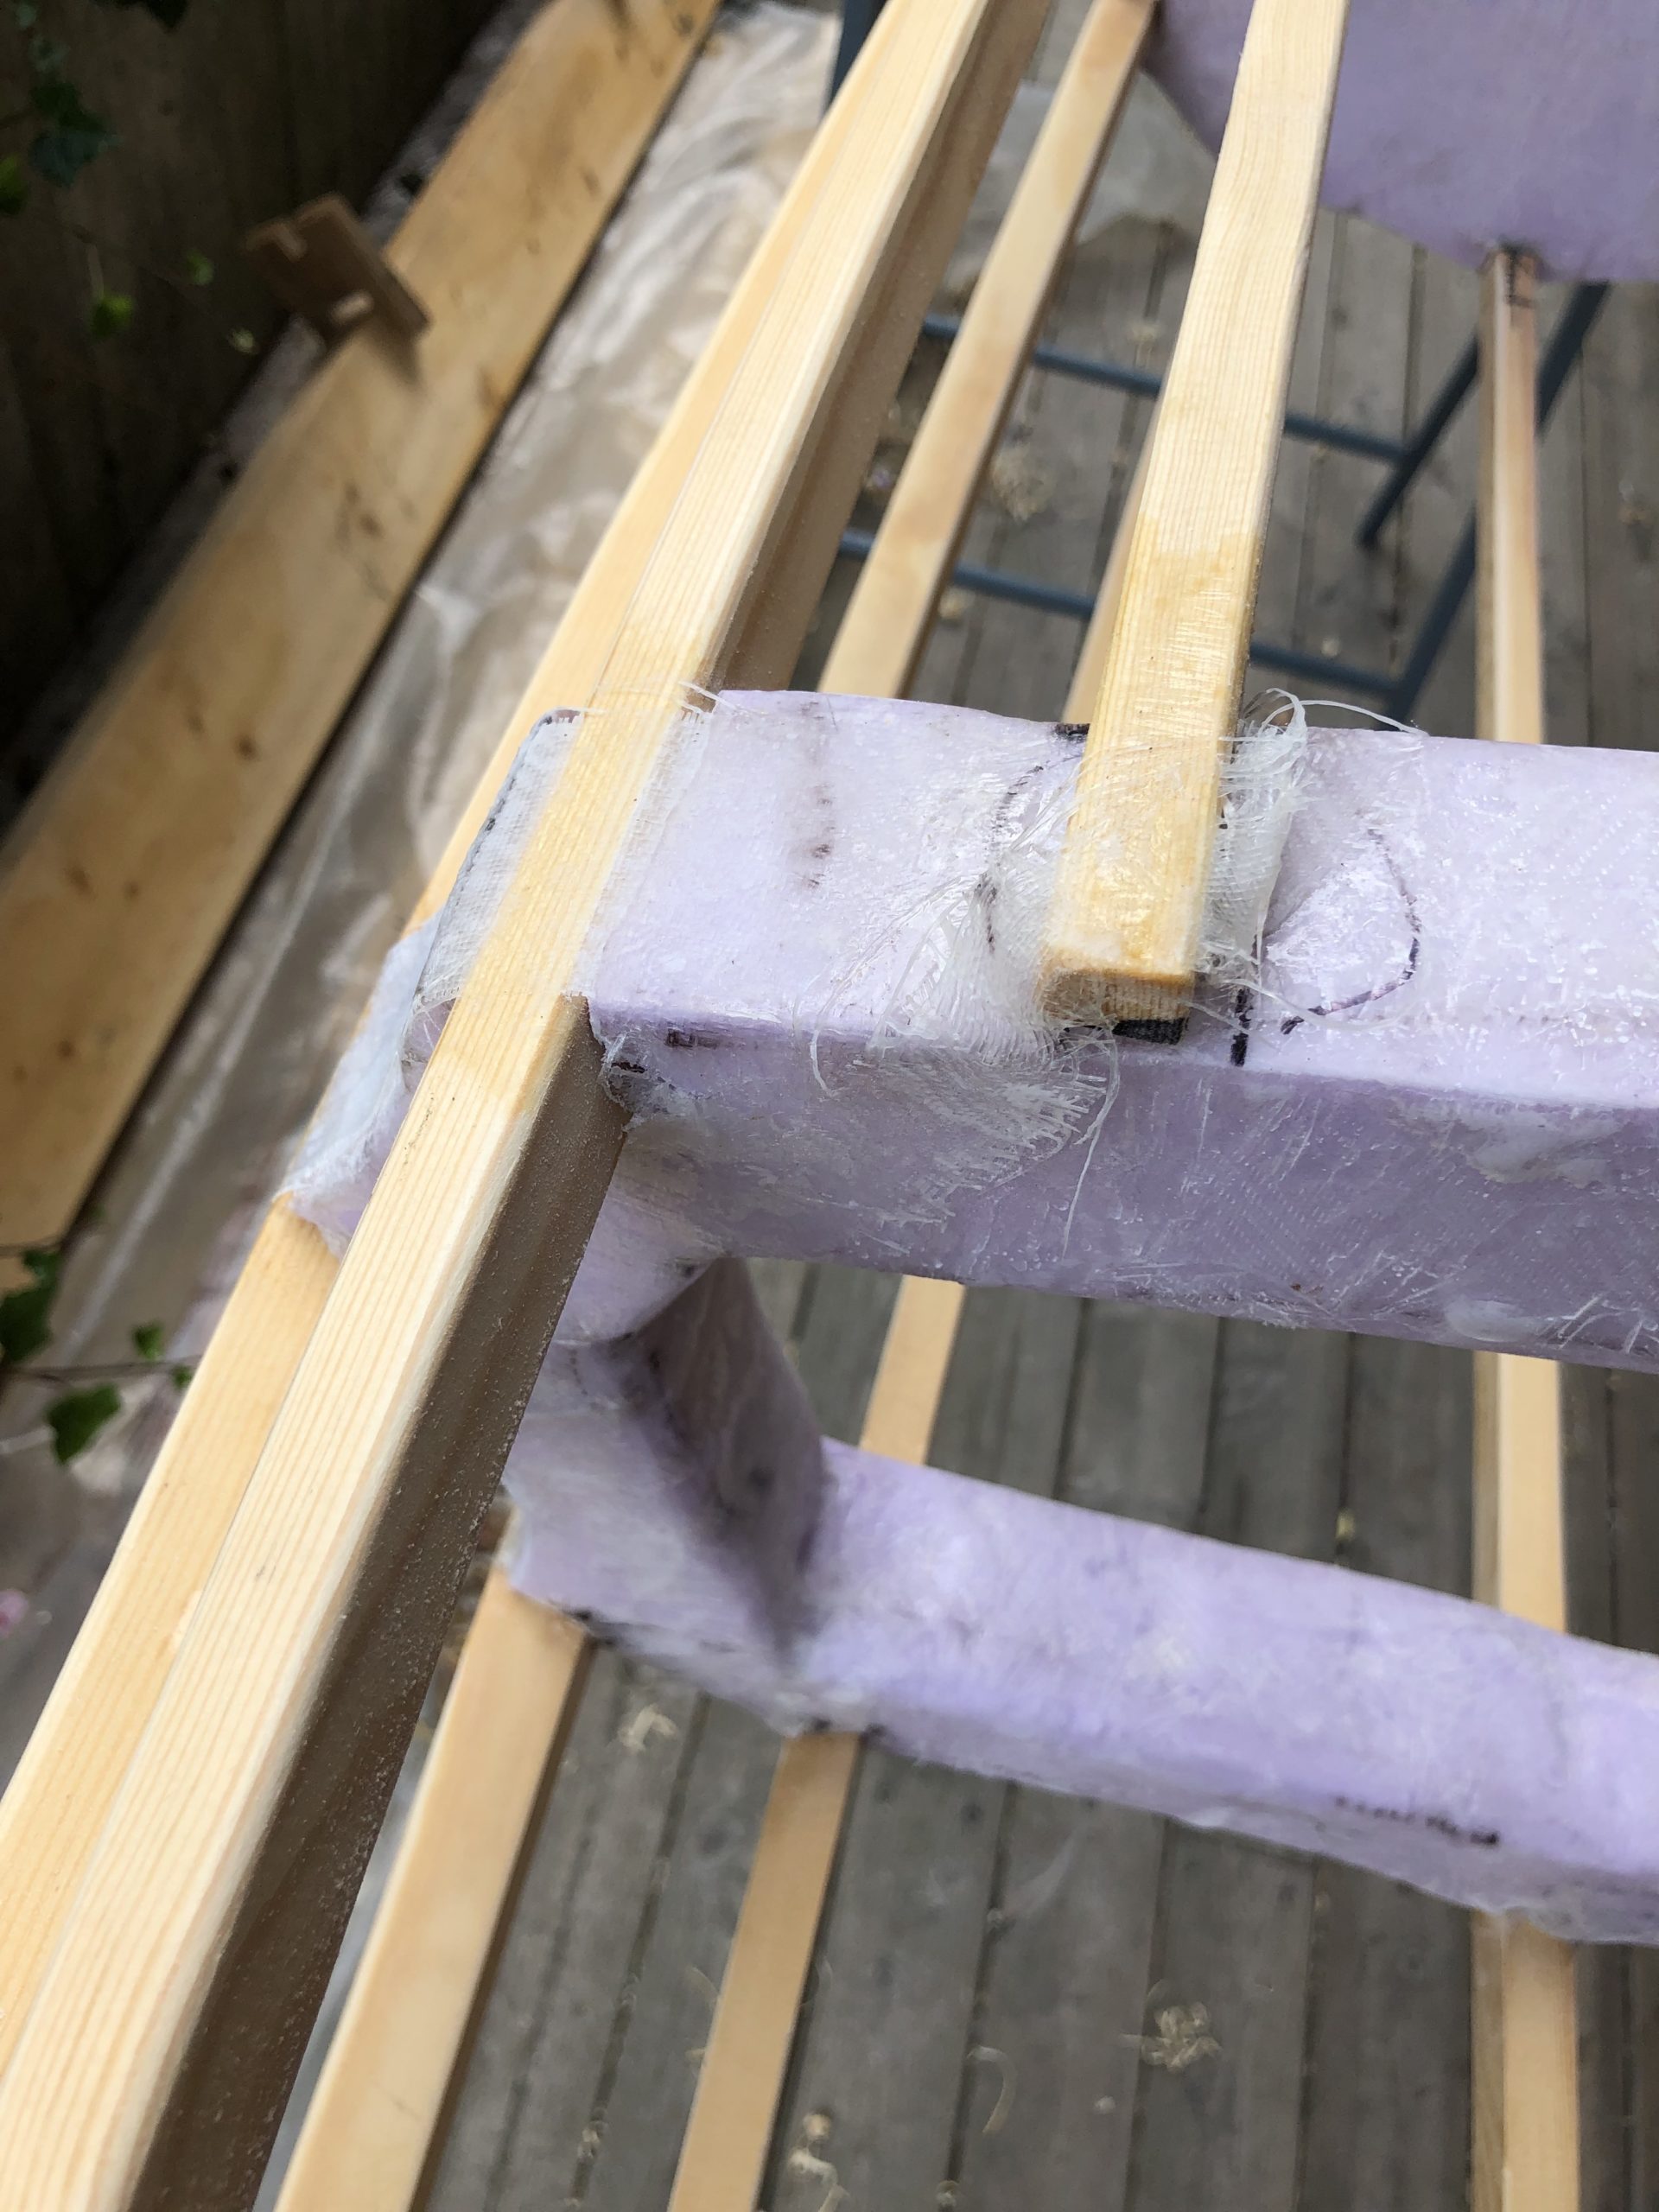
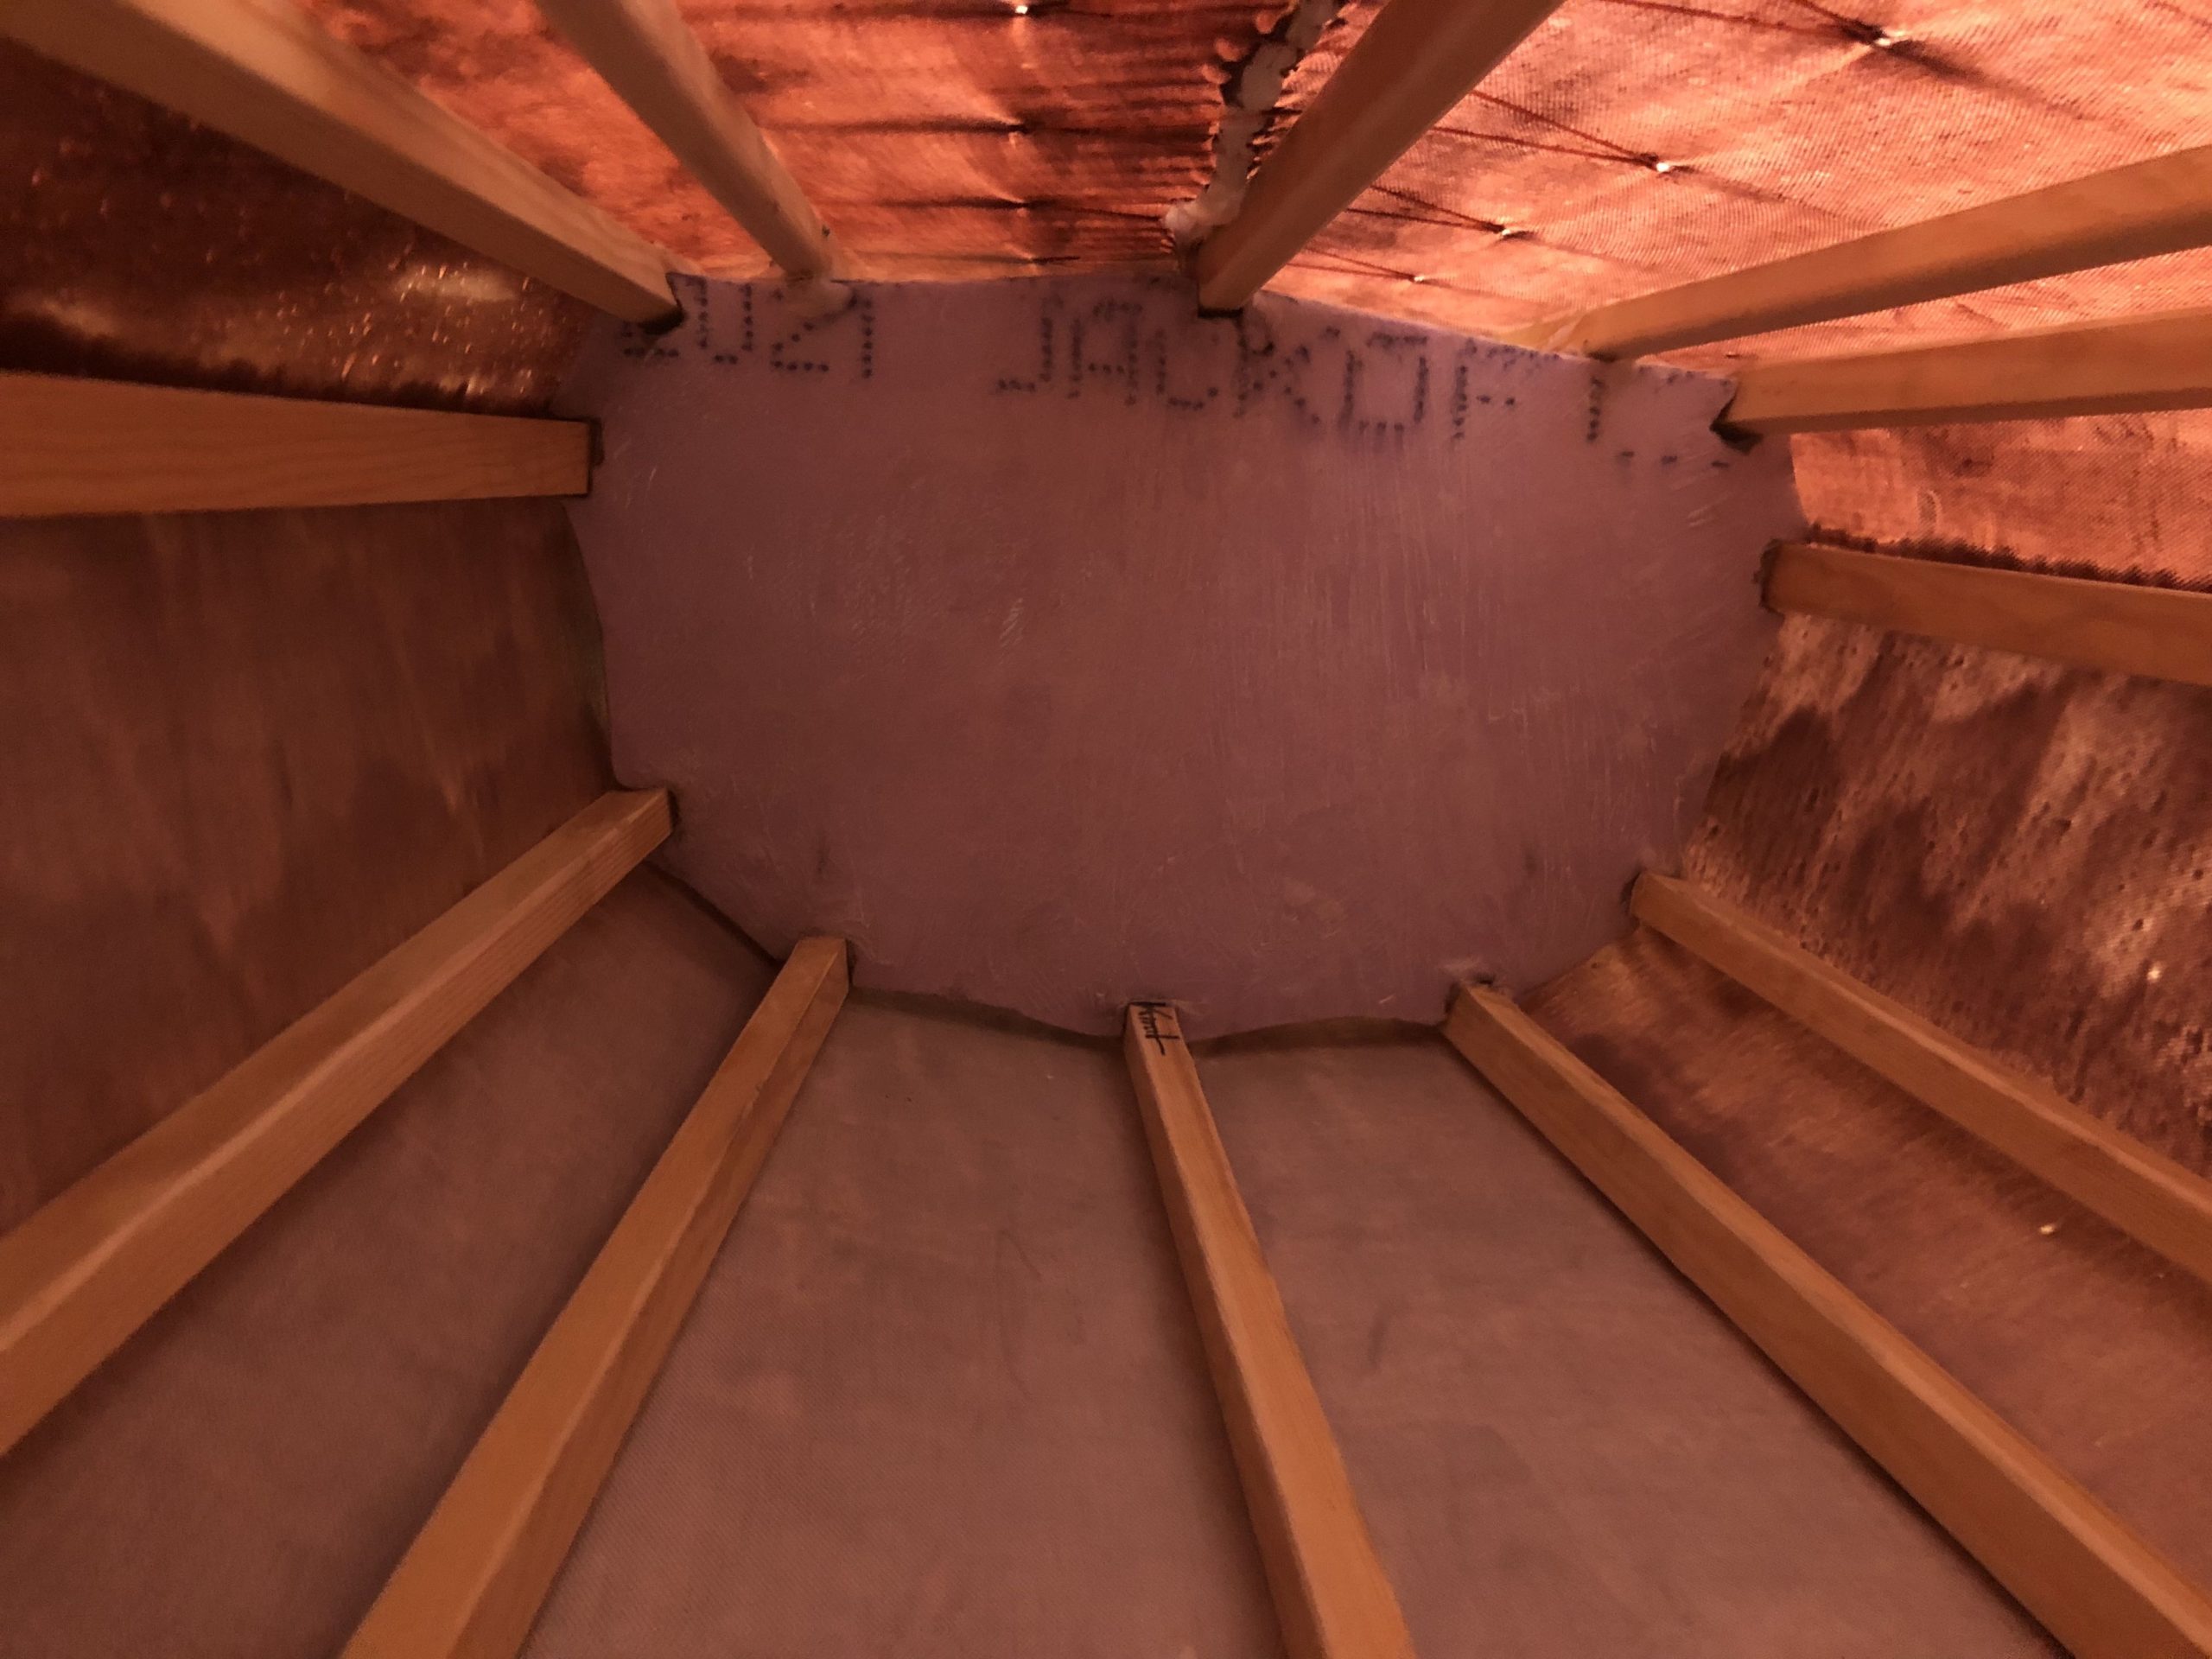
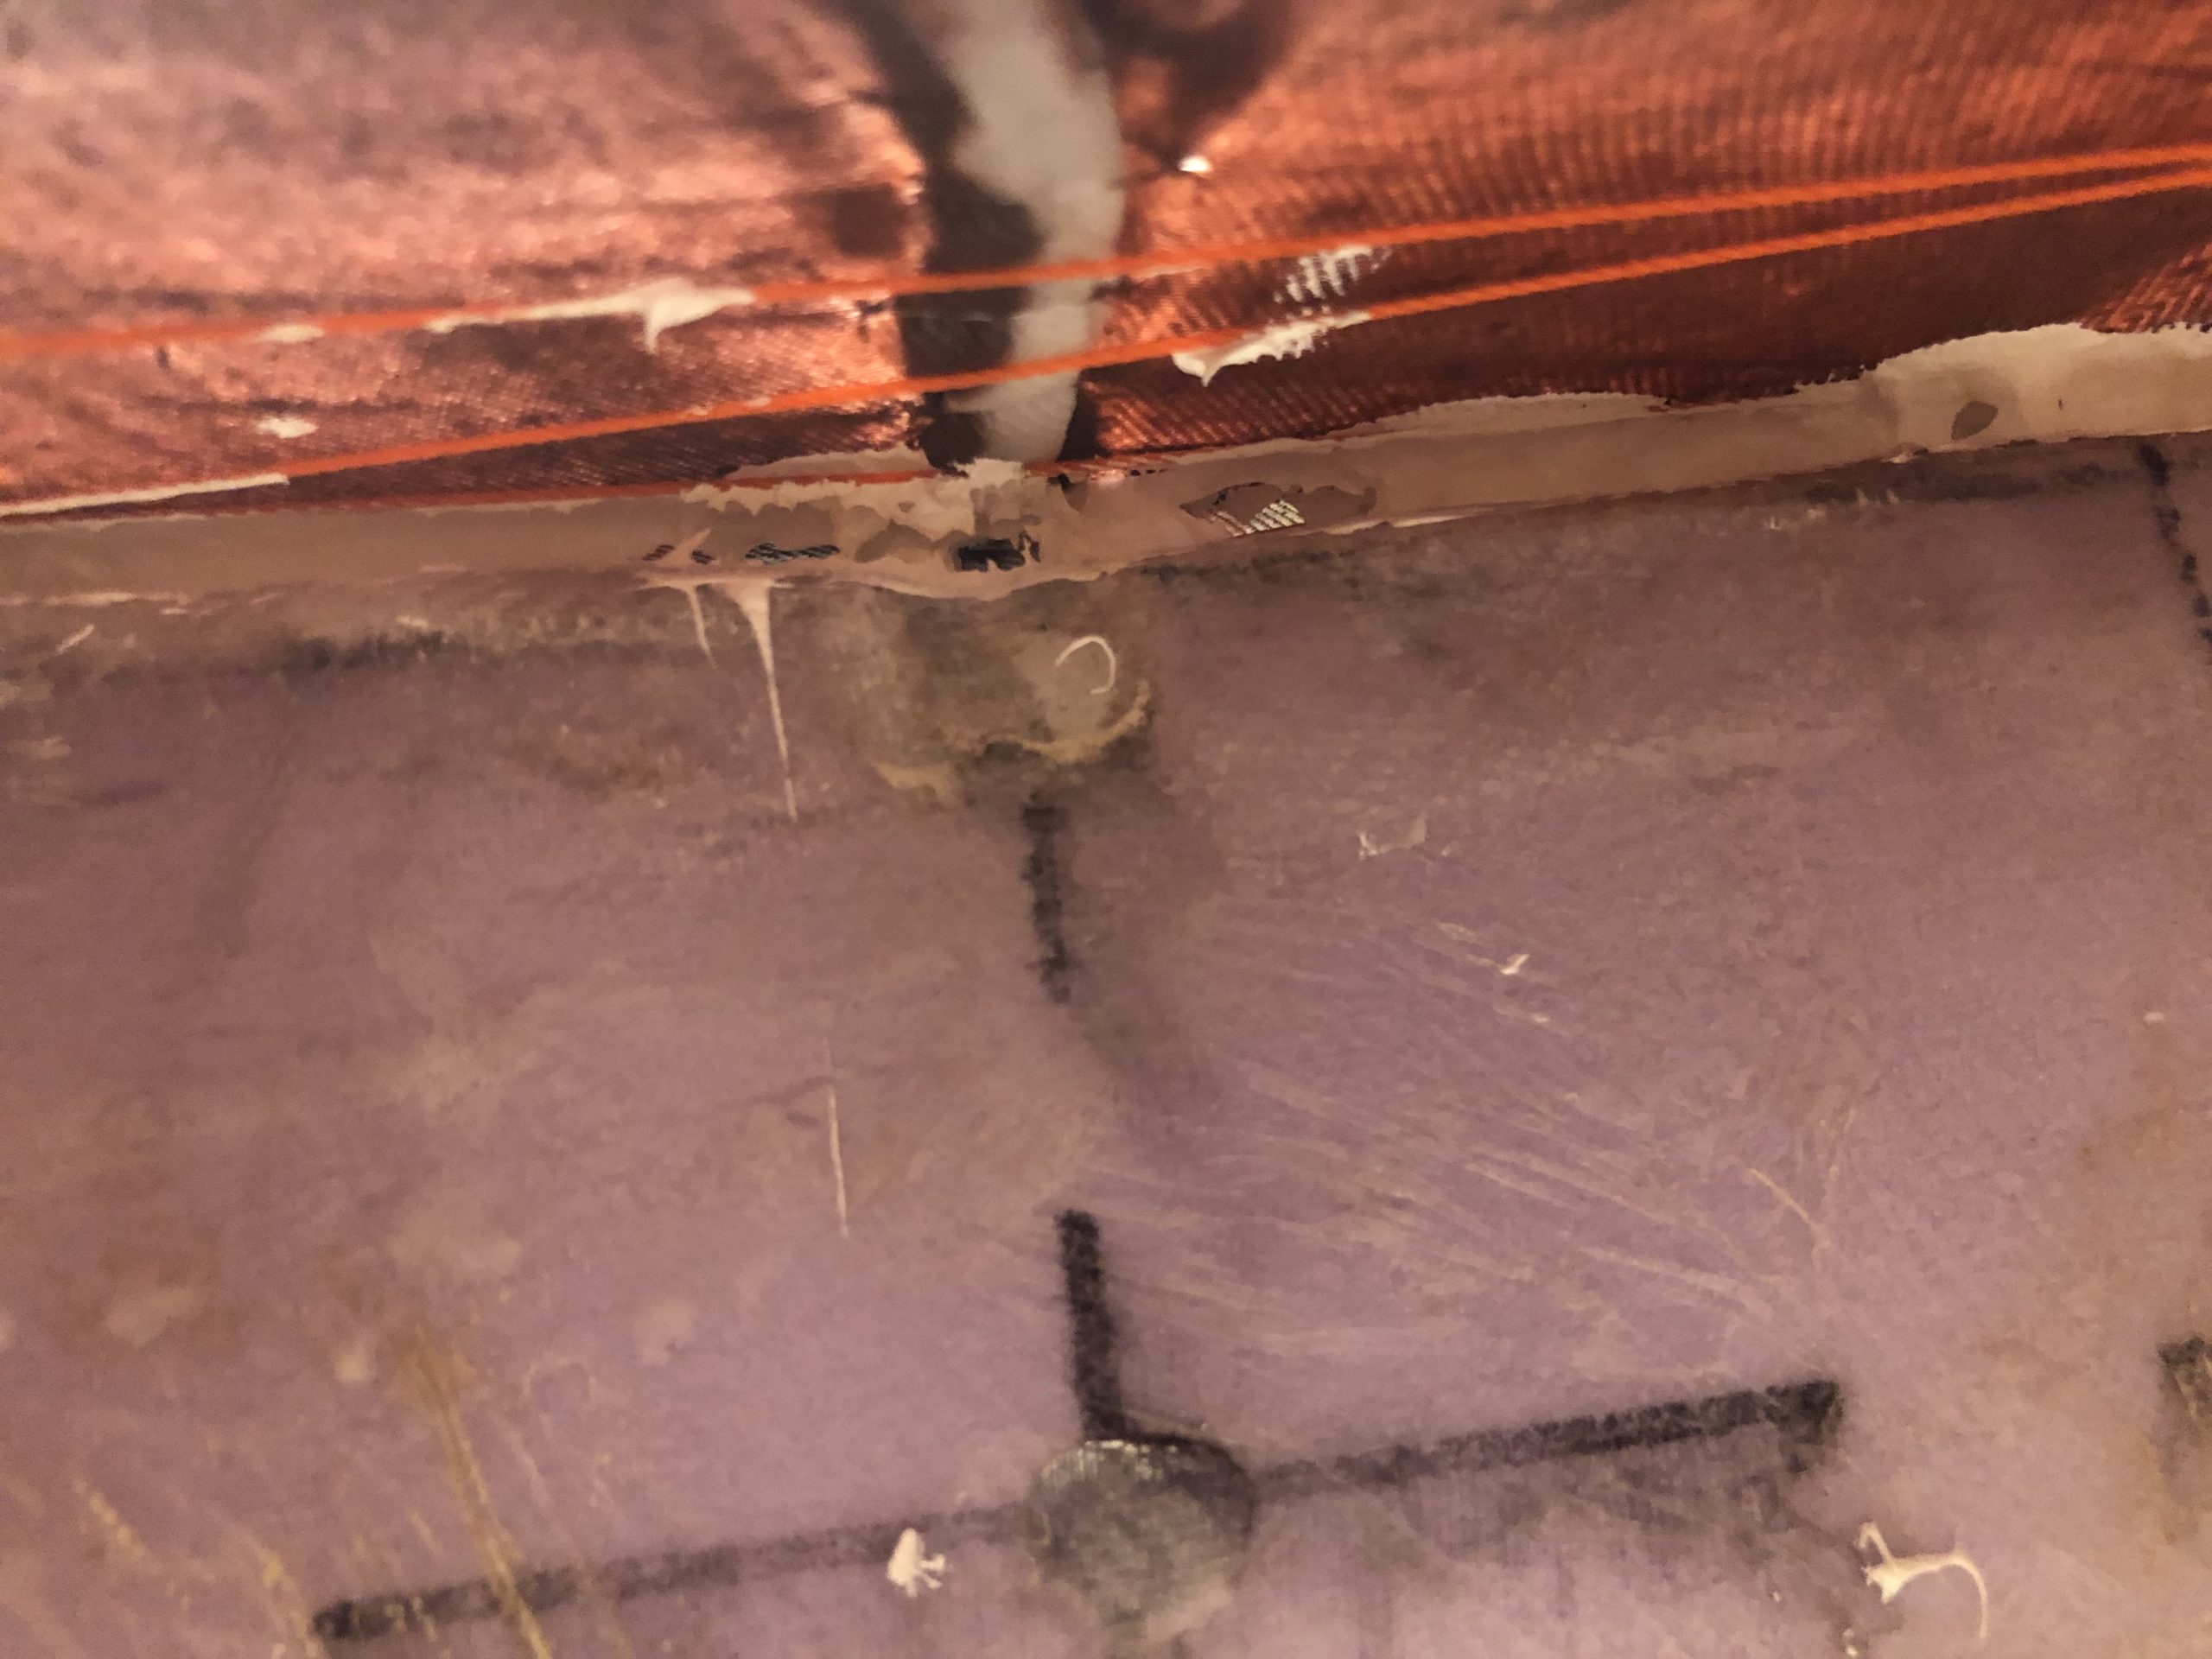
To keep The Mule light and strong, there will be no wooden cross members nor ribs. Instead I will laminate the foam cross sections with glass fibre. My one-layer test is less than 100g even with the plastic wrapping still in place. For such a small bulkhead one glass layer seems to be enough.
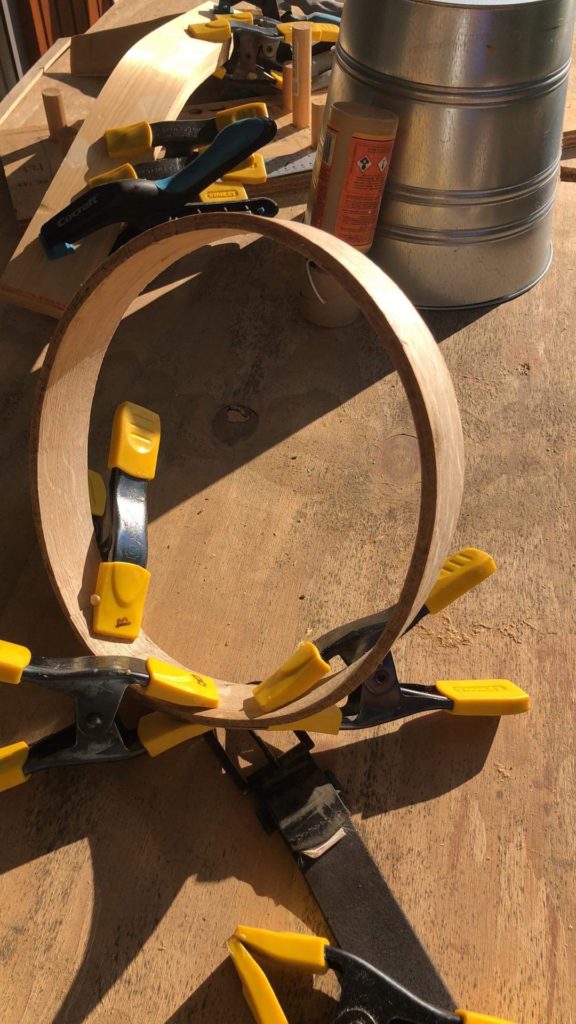
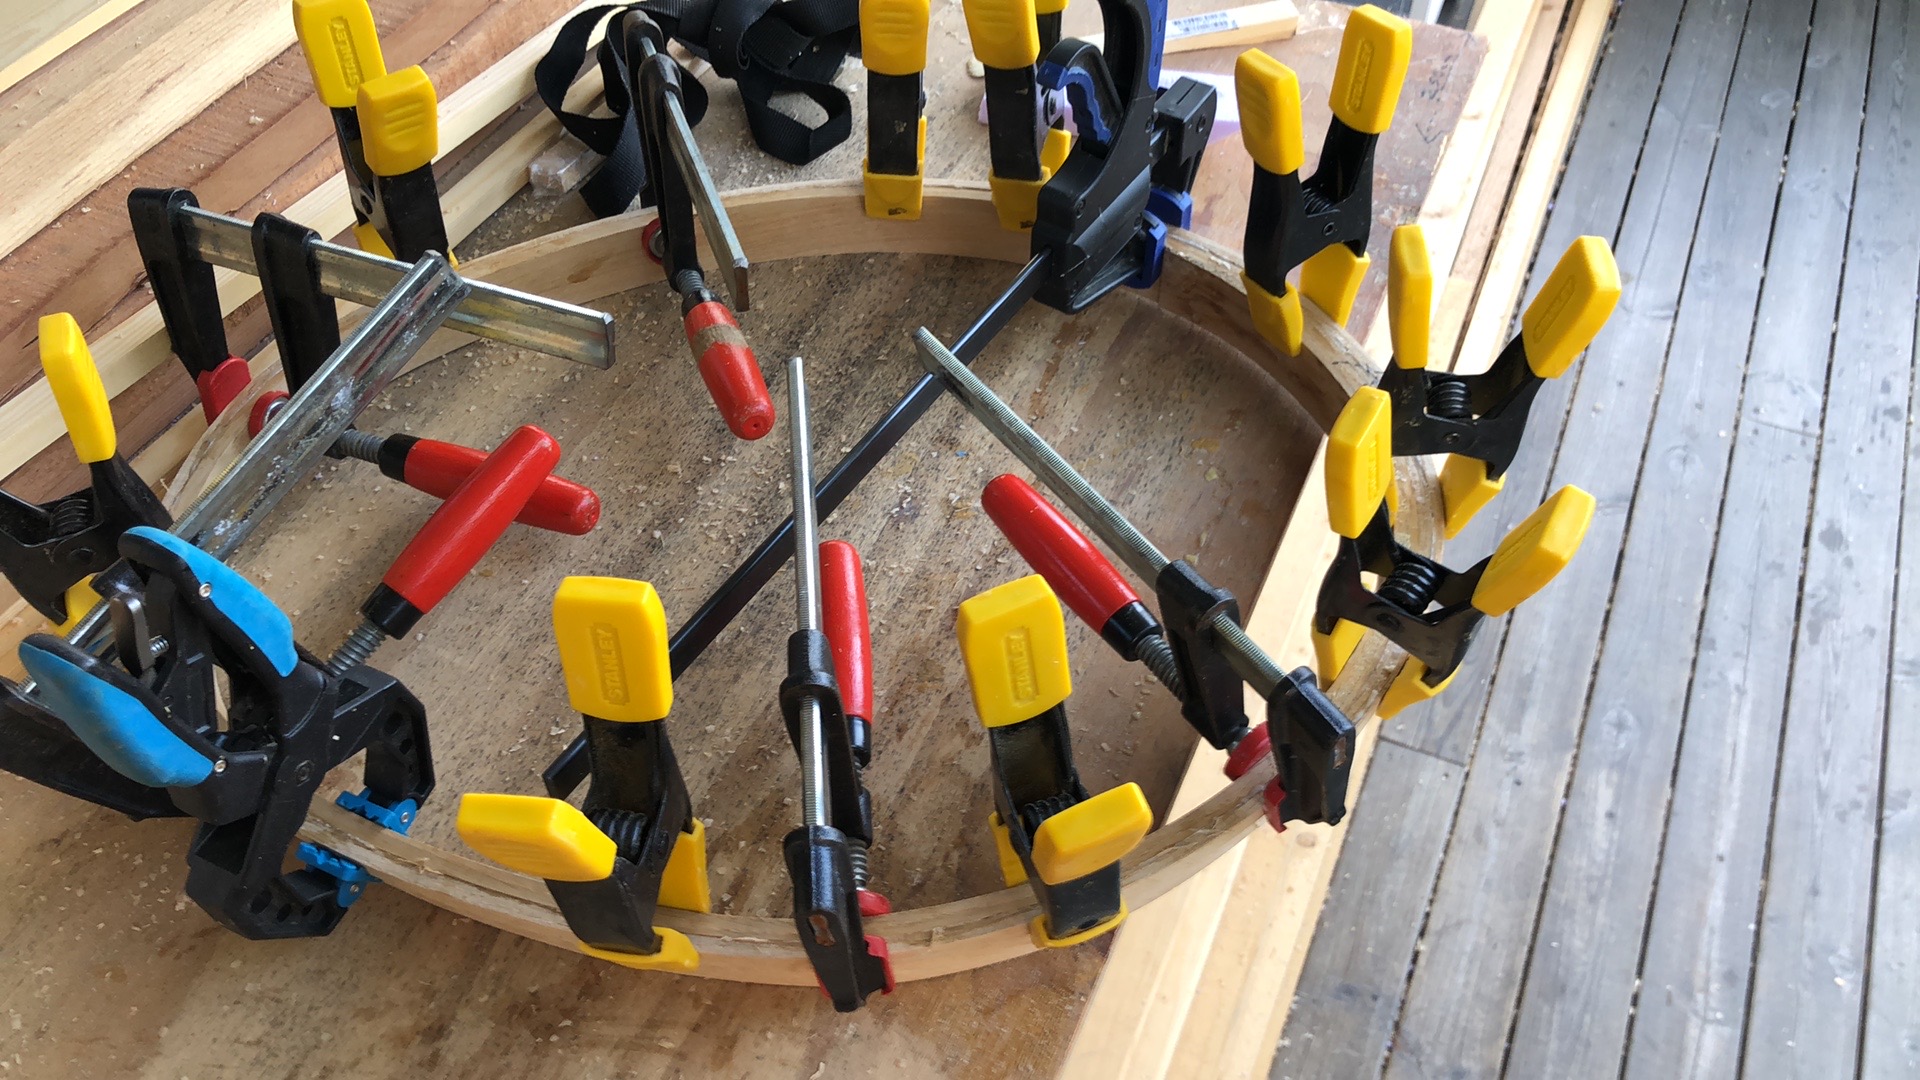
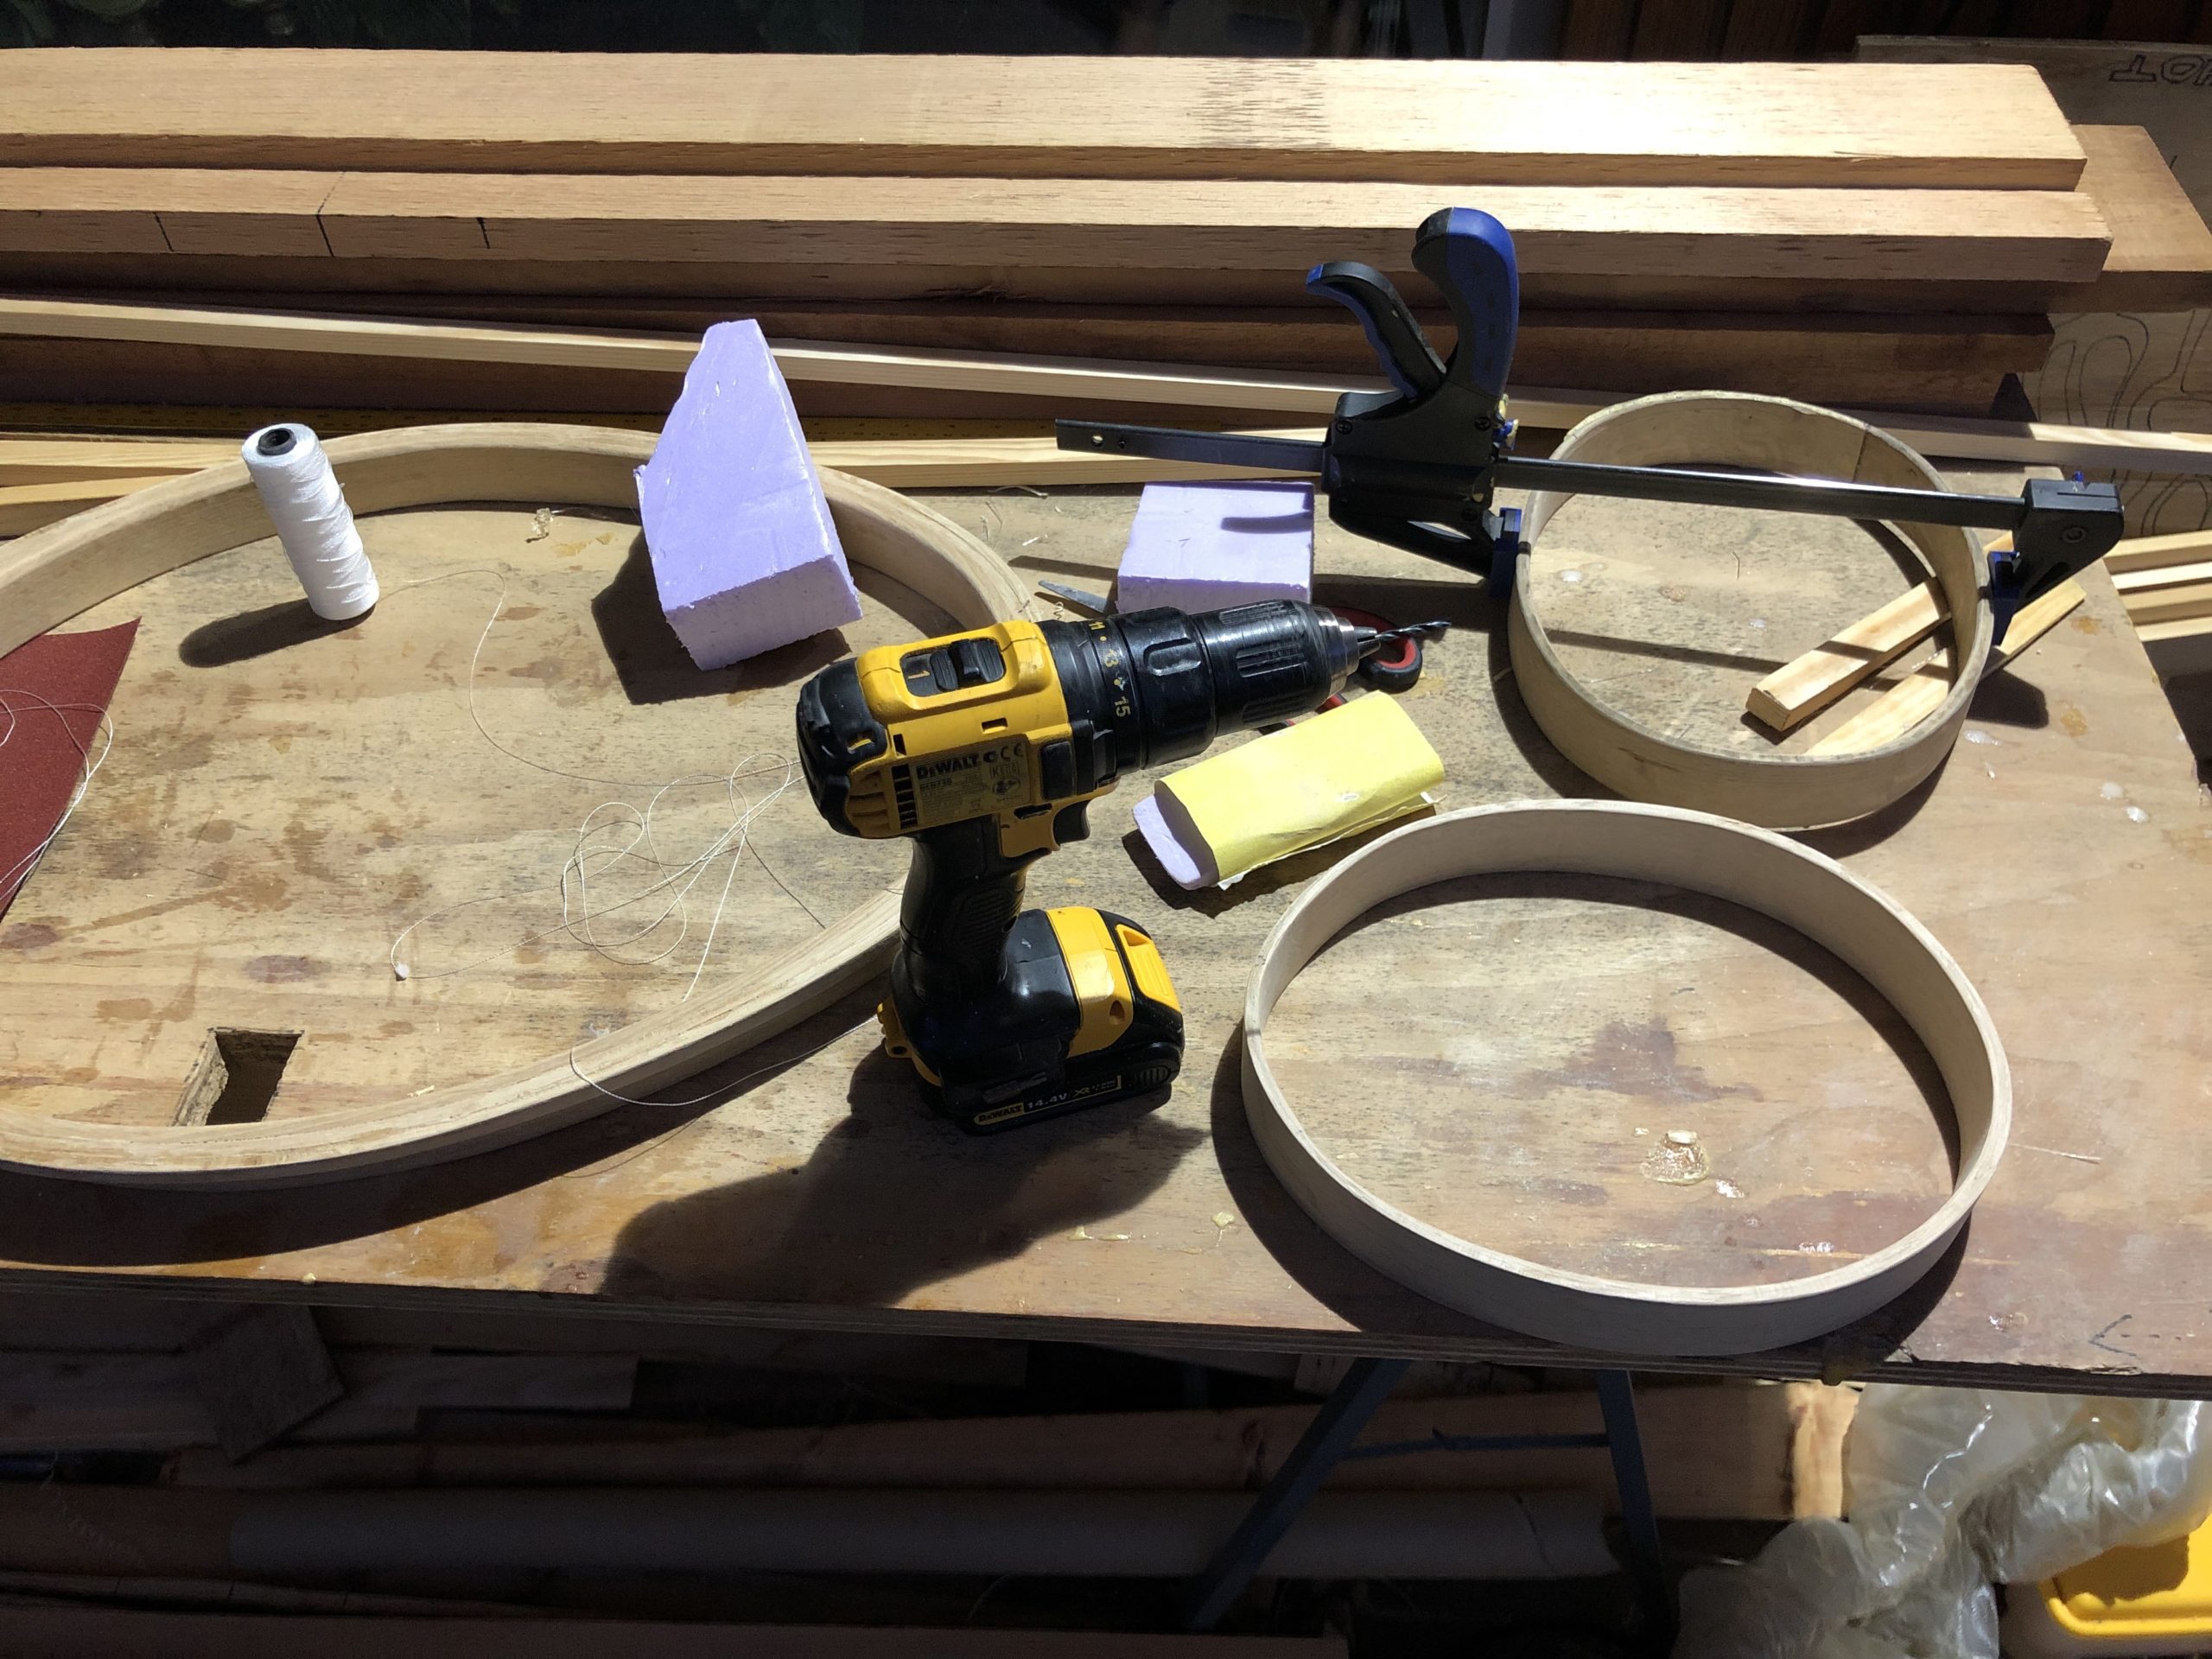
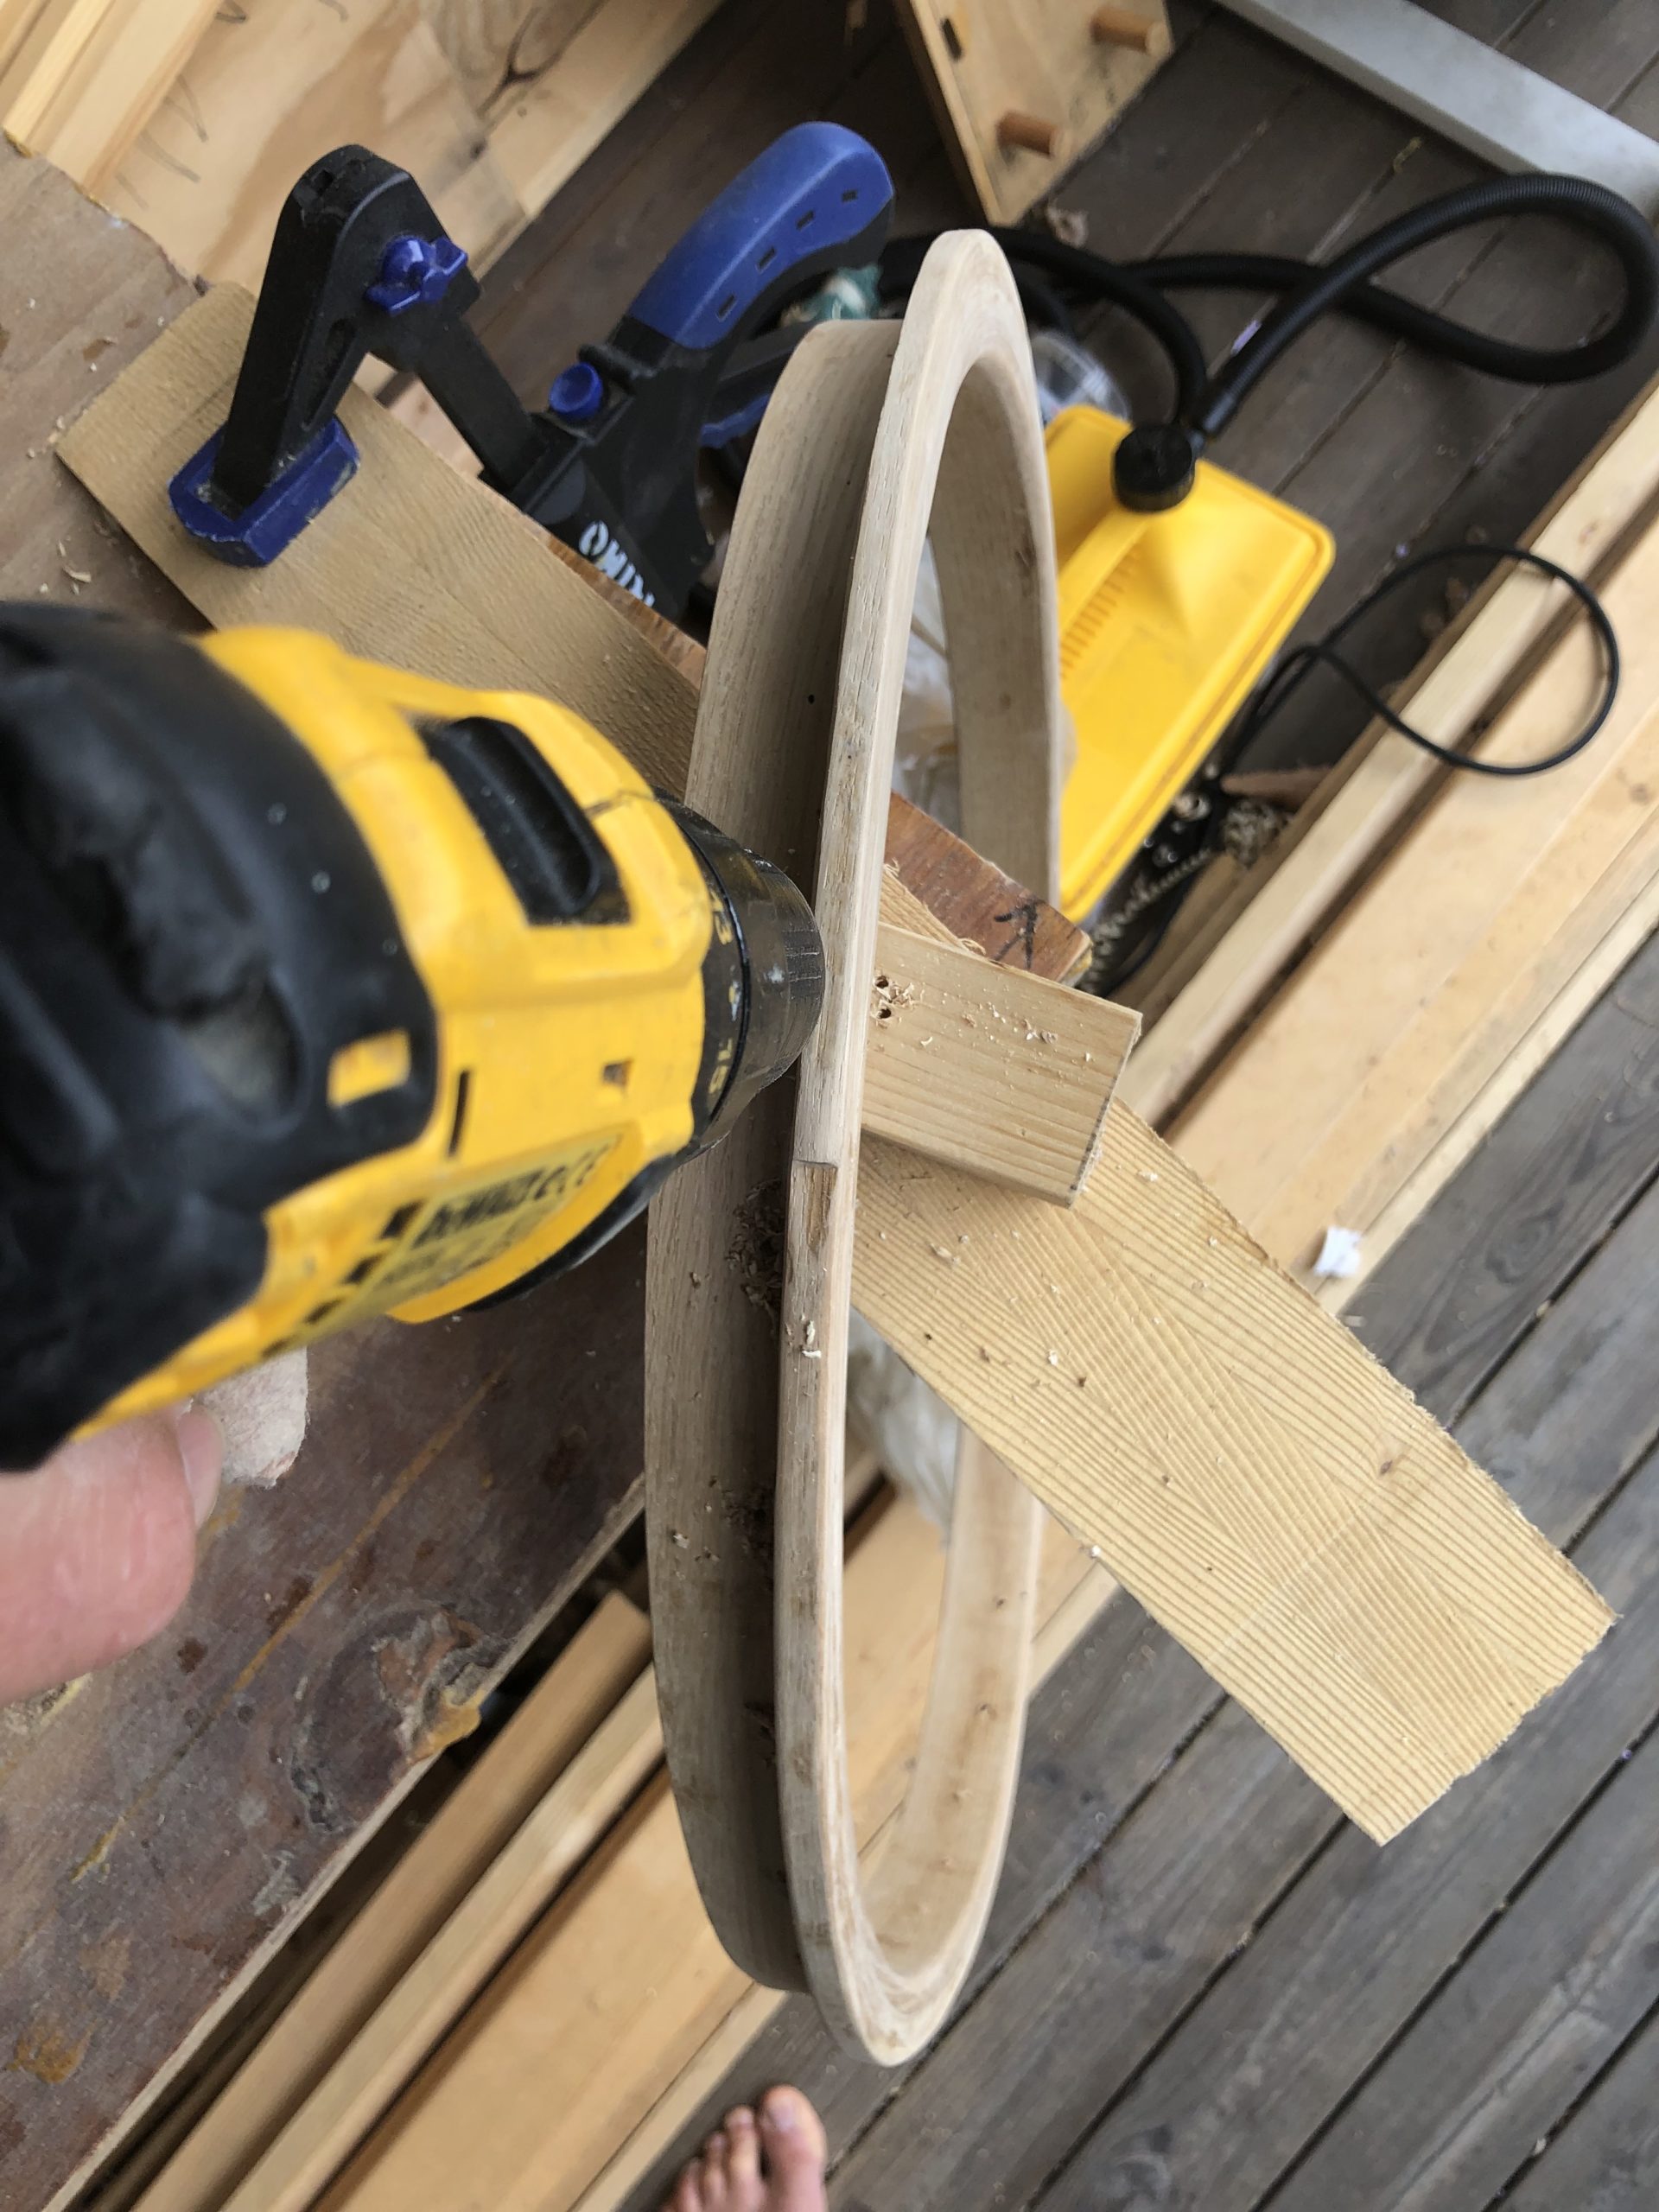
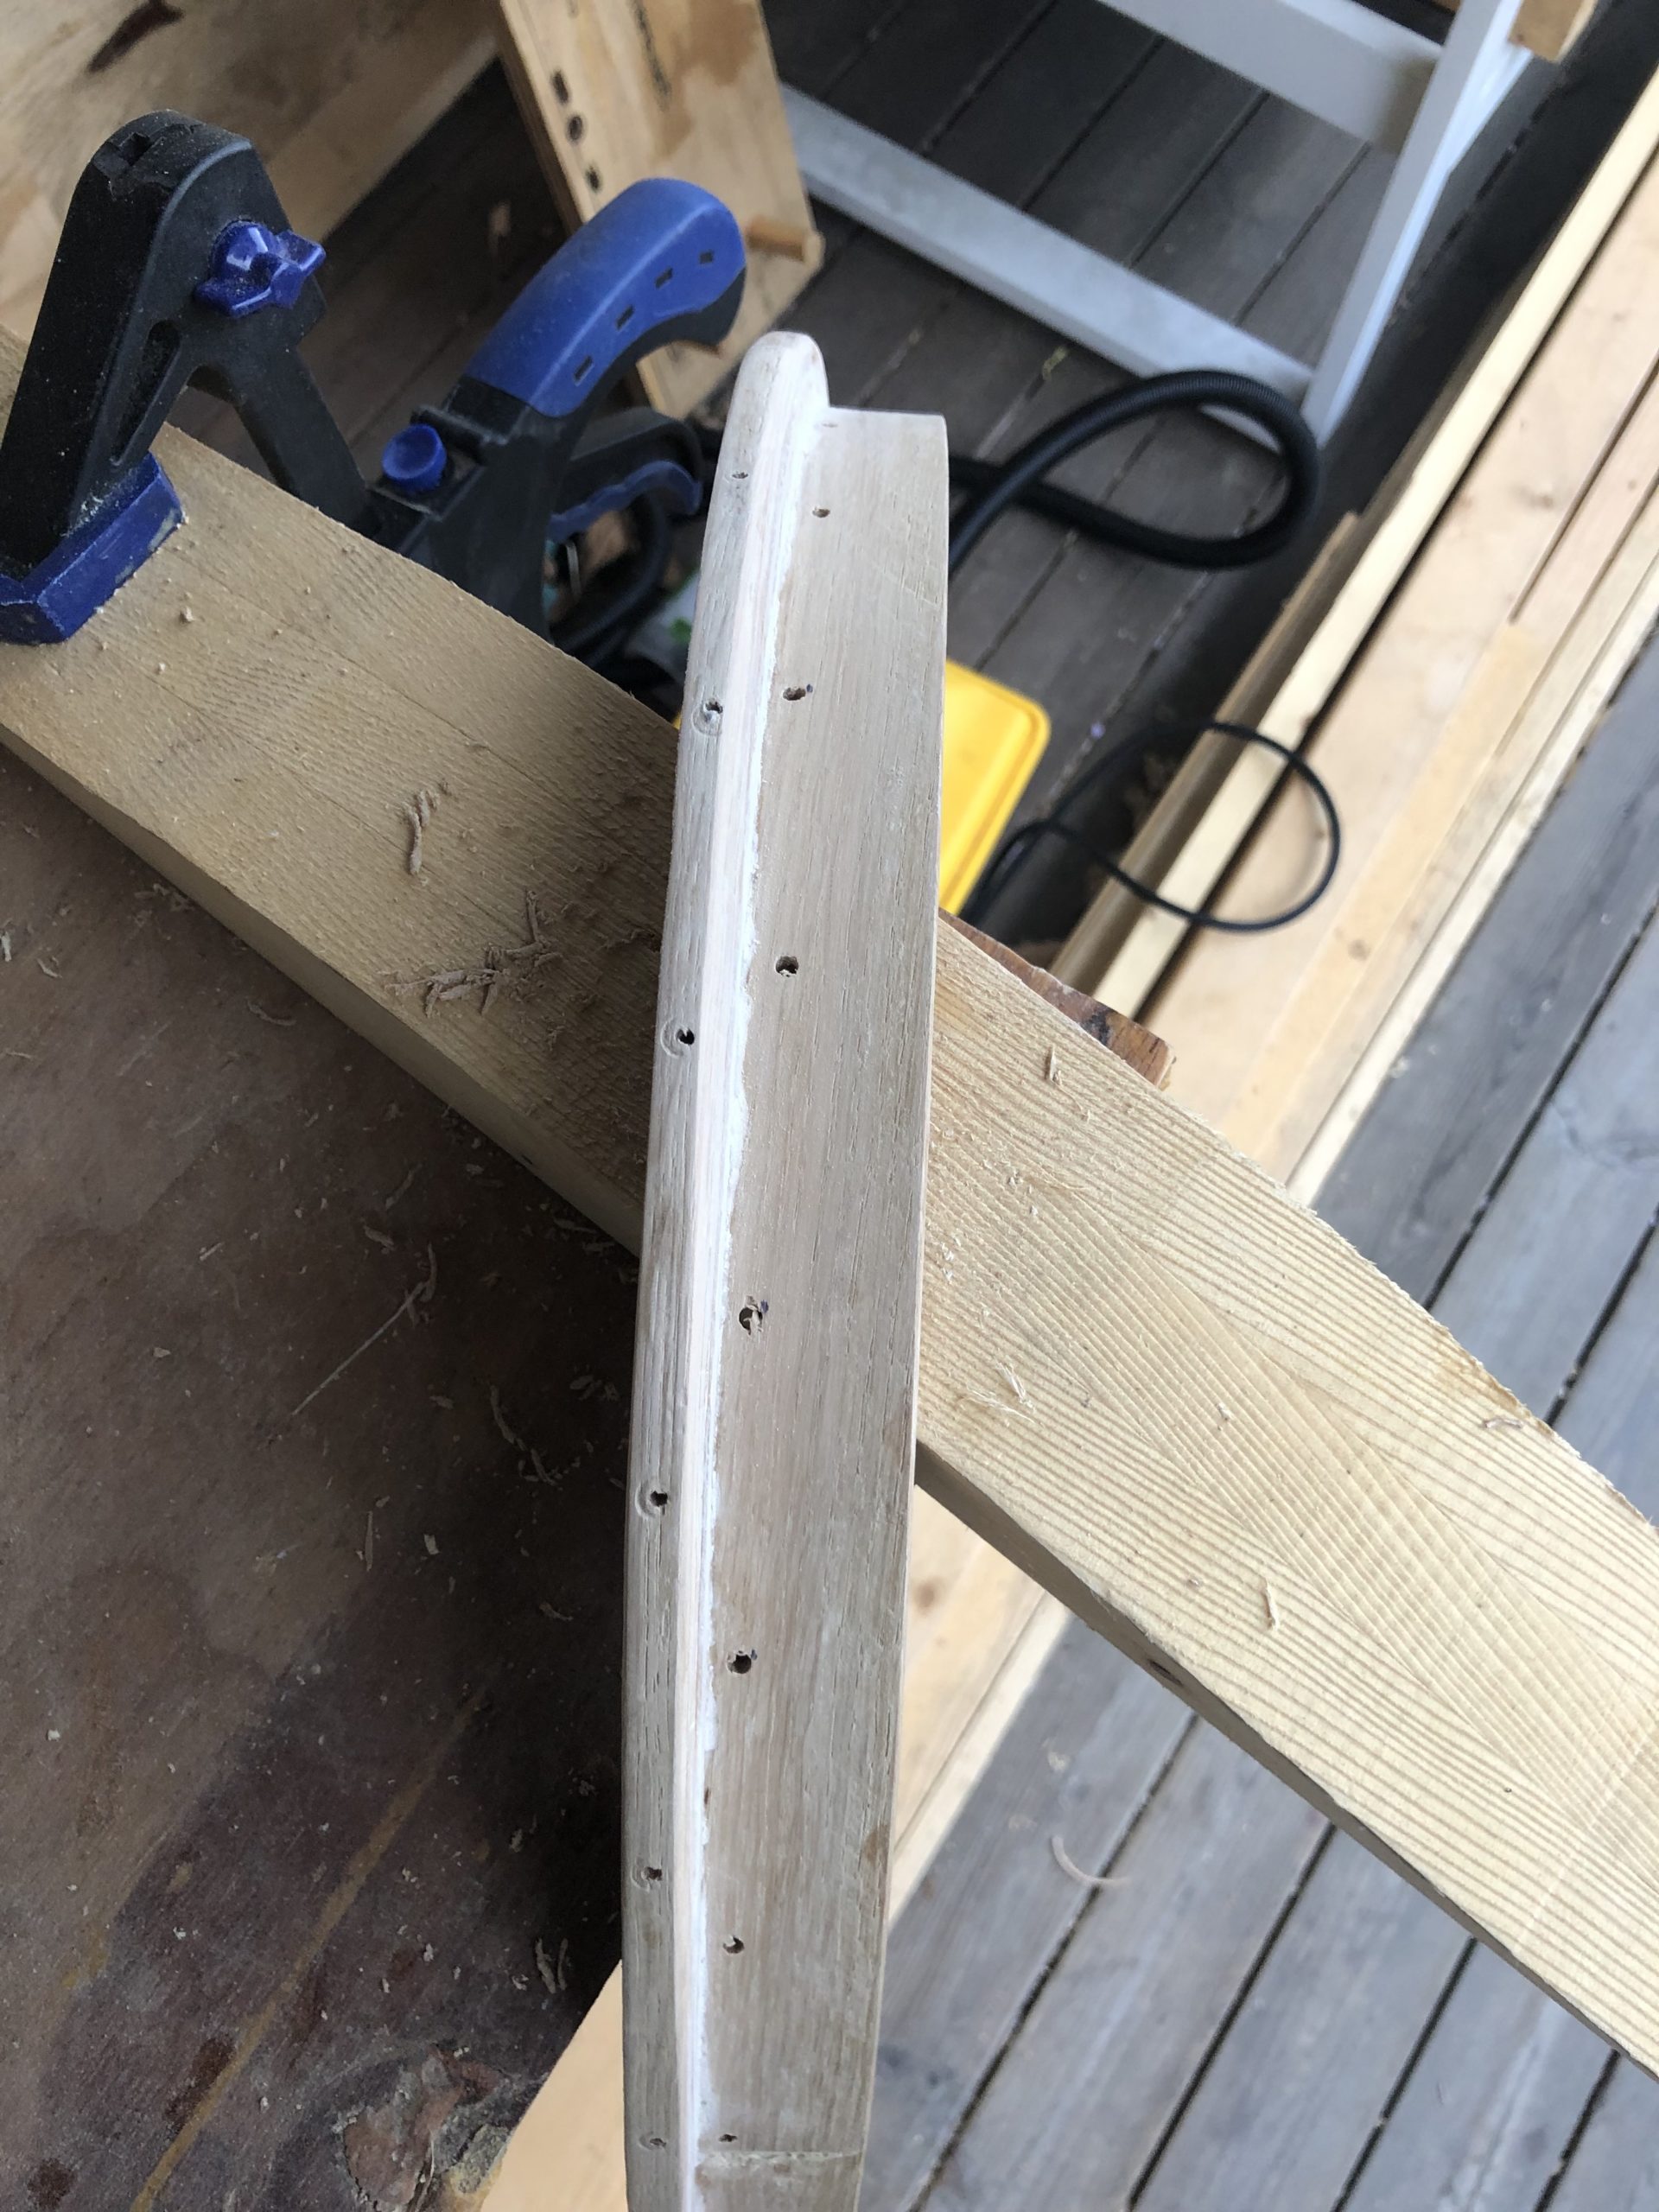
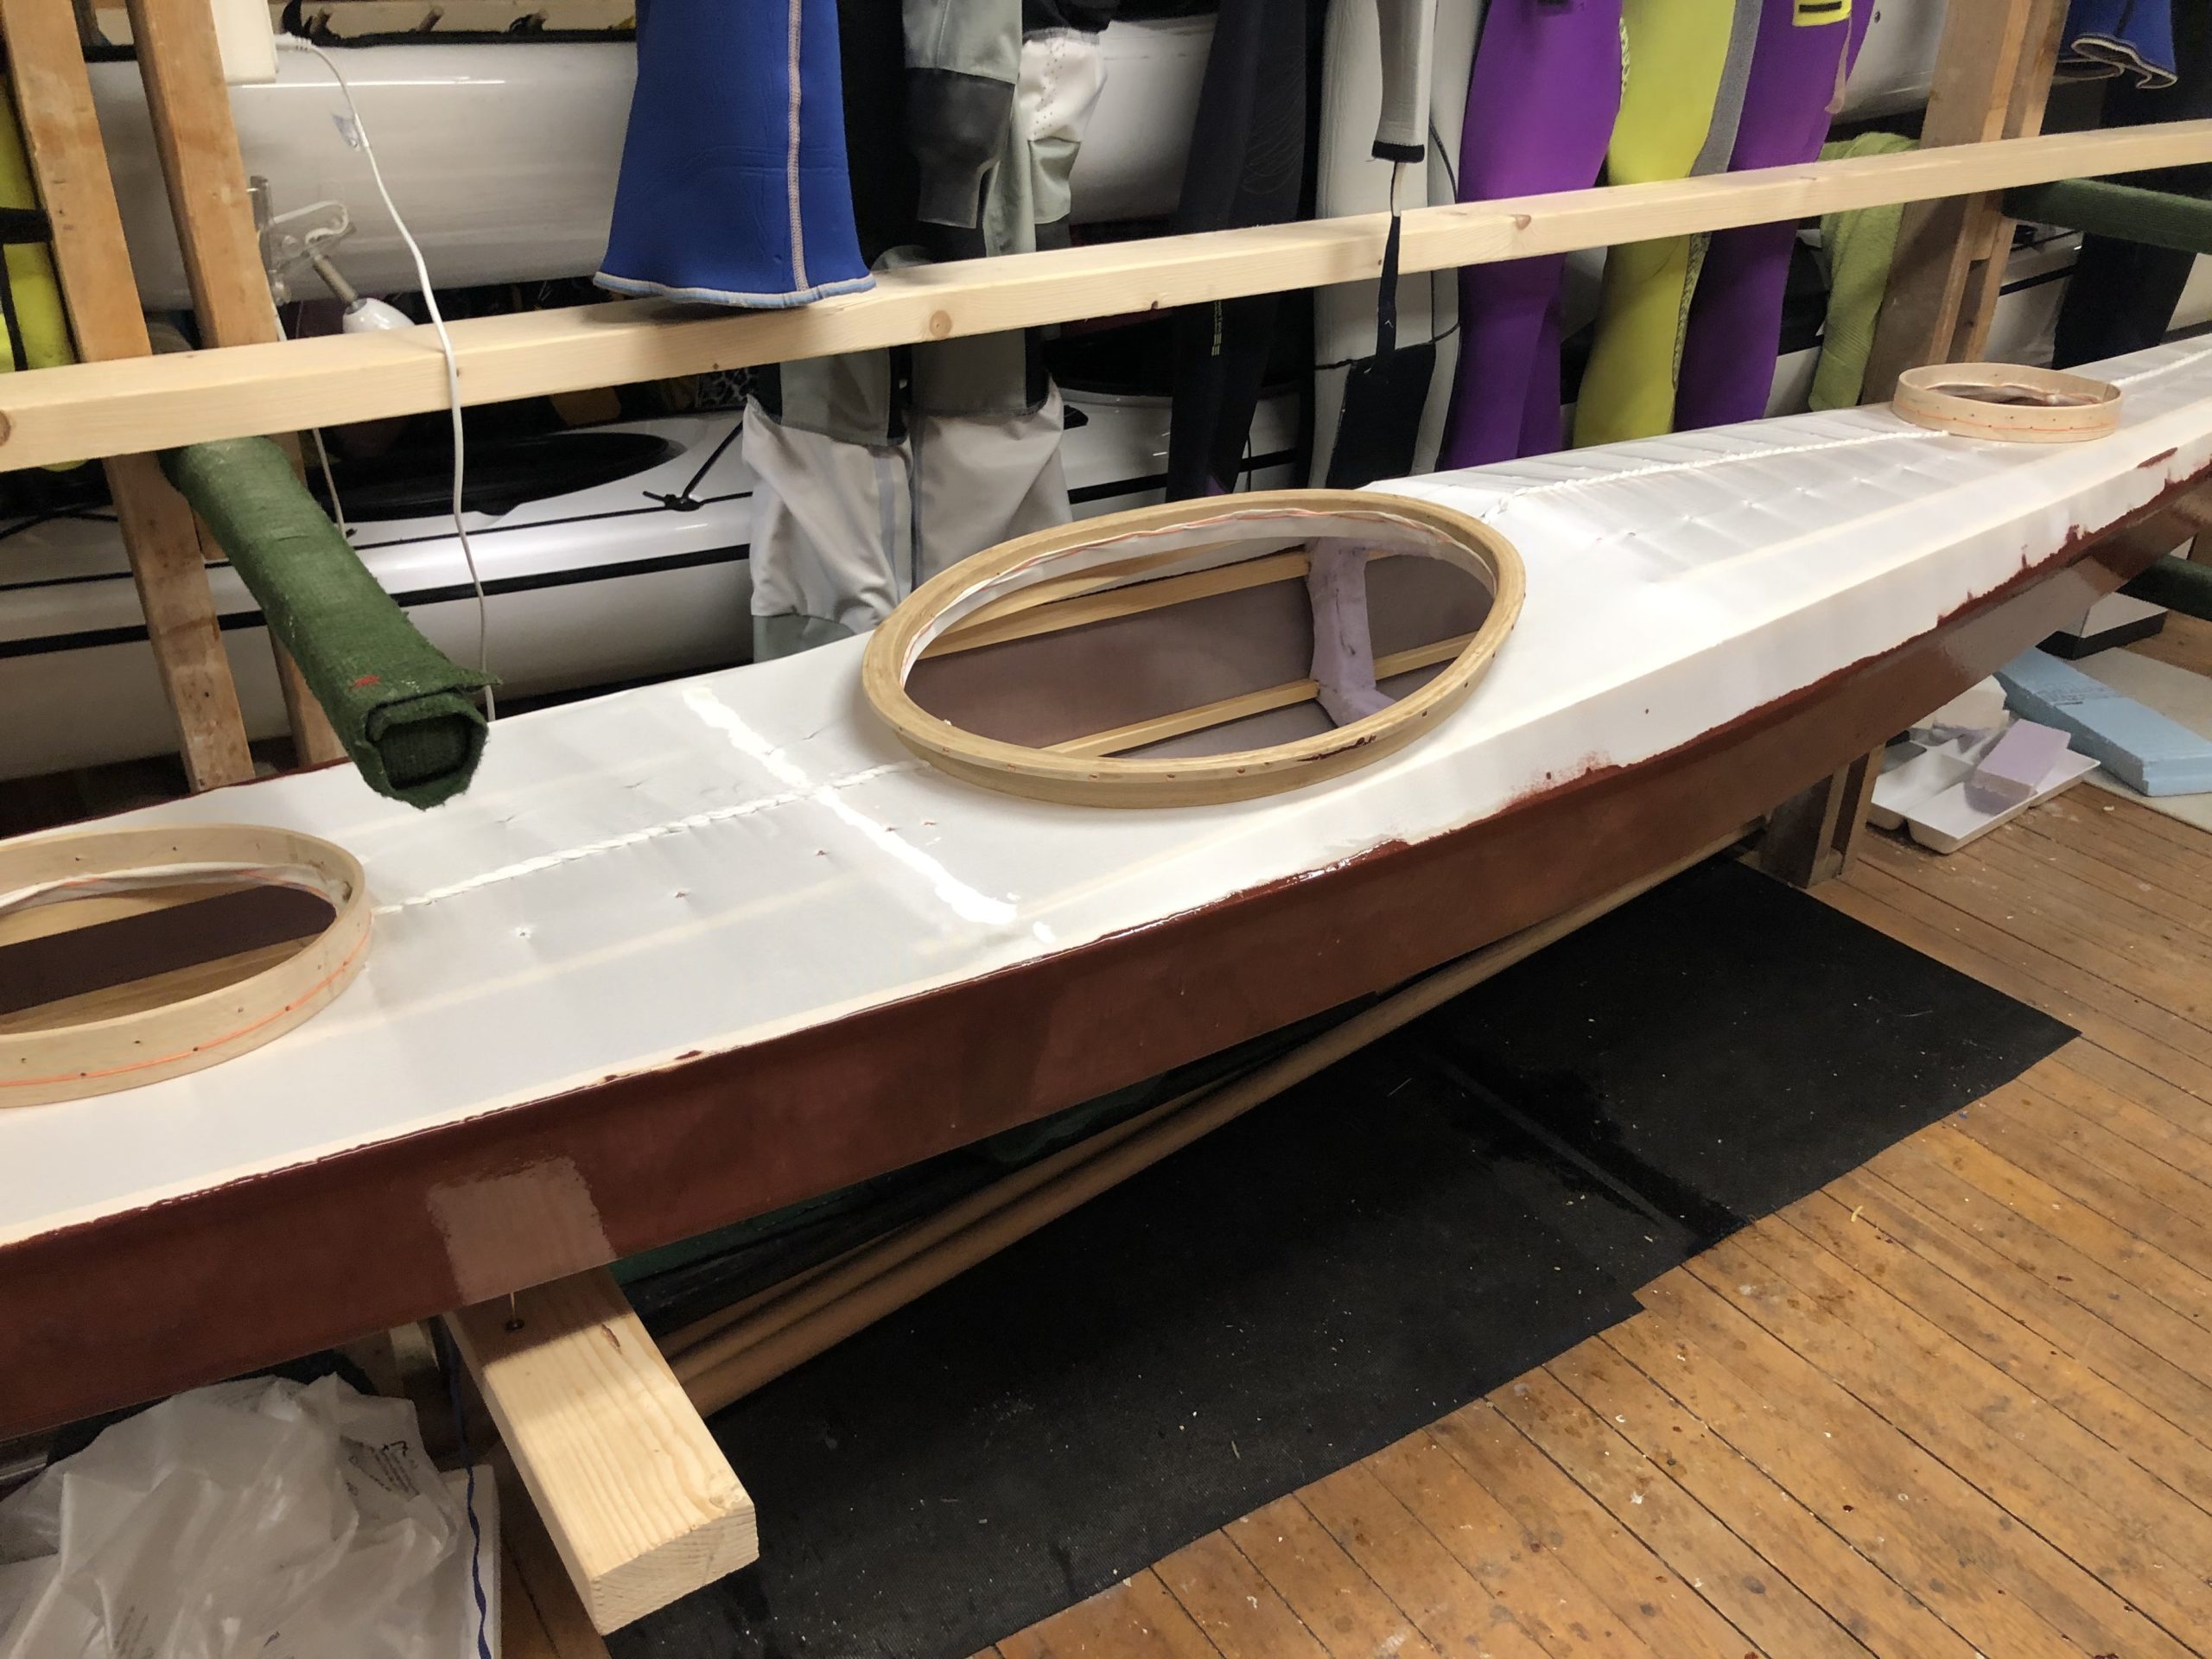
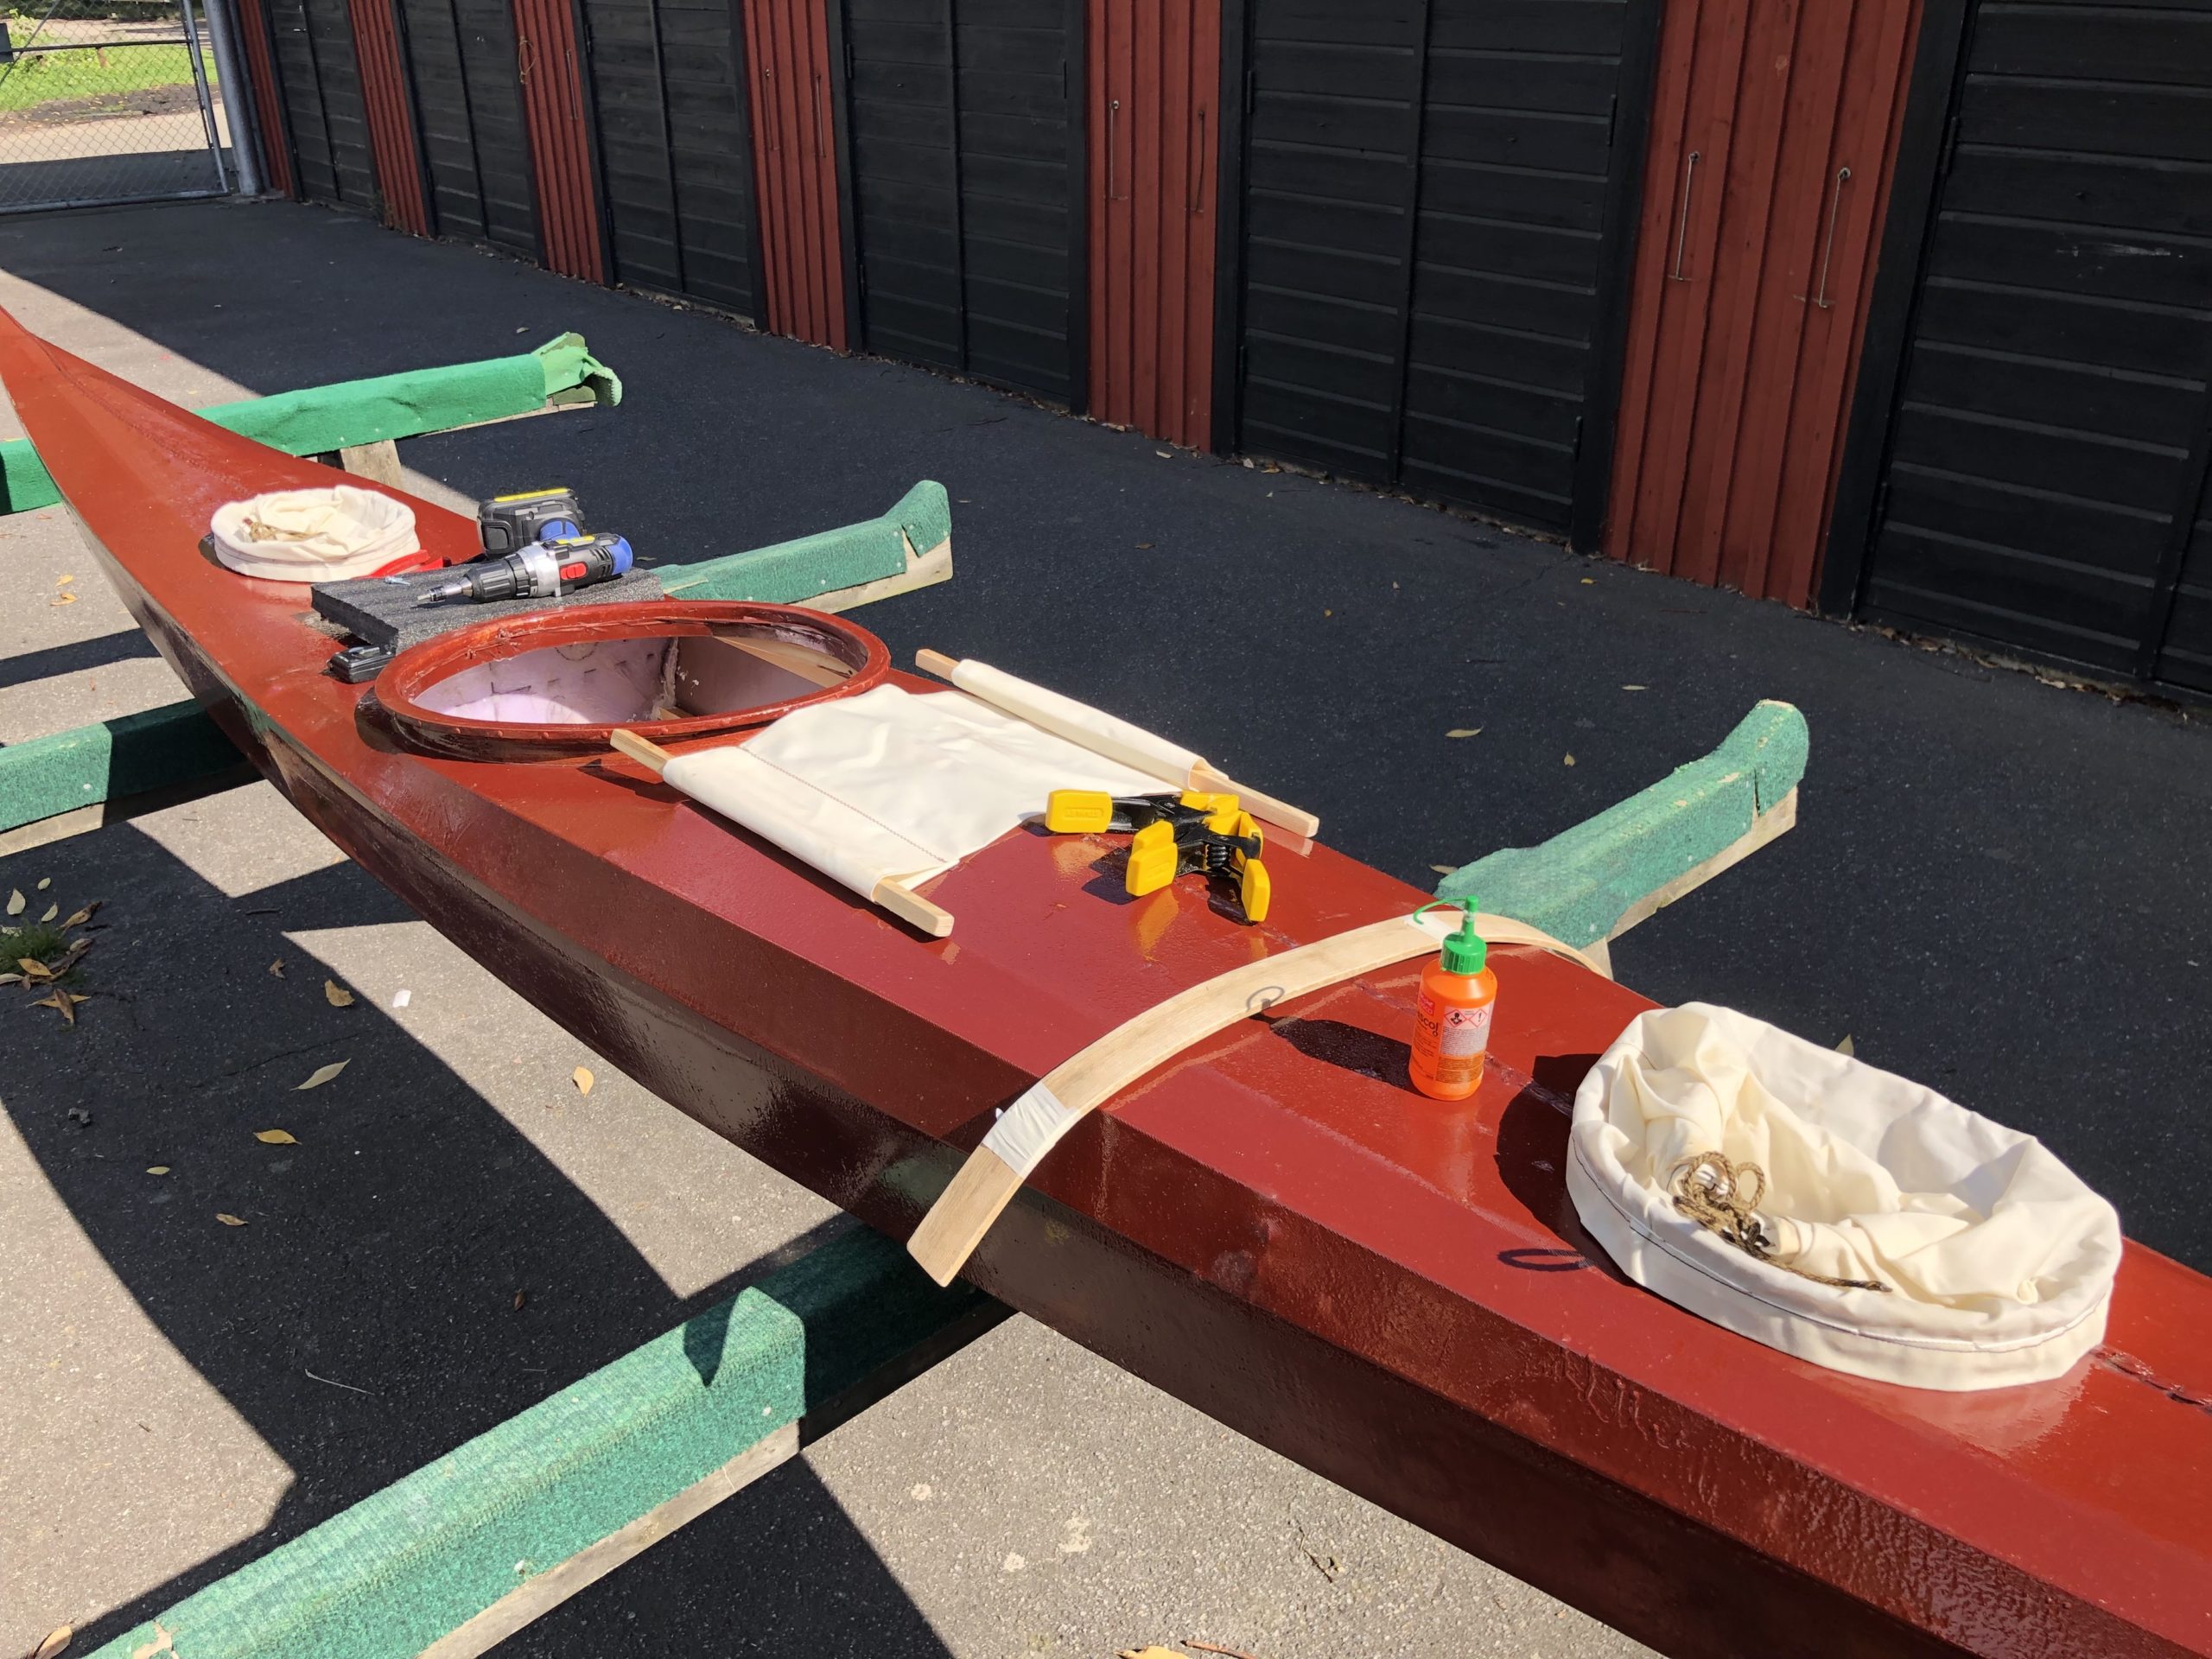
For the hatches I started the build by steambending the oak rims. My friend Greg and I ripped the oak in January but I recently soaked it for a week. Here is the result. Steamed in a plastic bag for about 12 minutes, belt backed bending without cracks. I used a bucket with 25cm diameter as a form to bend around but if the wood is uniformly thick you could do it without a form. Before steaming I tapered the ends about 20cm and then glued them with polyurethane glue, like Gorilla or something. Use as many clamps as you can fit around the rim’s taper. The image shows the rim freshly bent. In the background is a masik experiment that I’ve steambent. Fir is trickier than oak or ash, but can be steambent if it’s clear, straight grained and laminated thin enough.


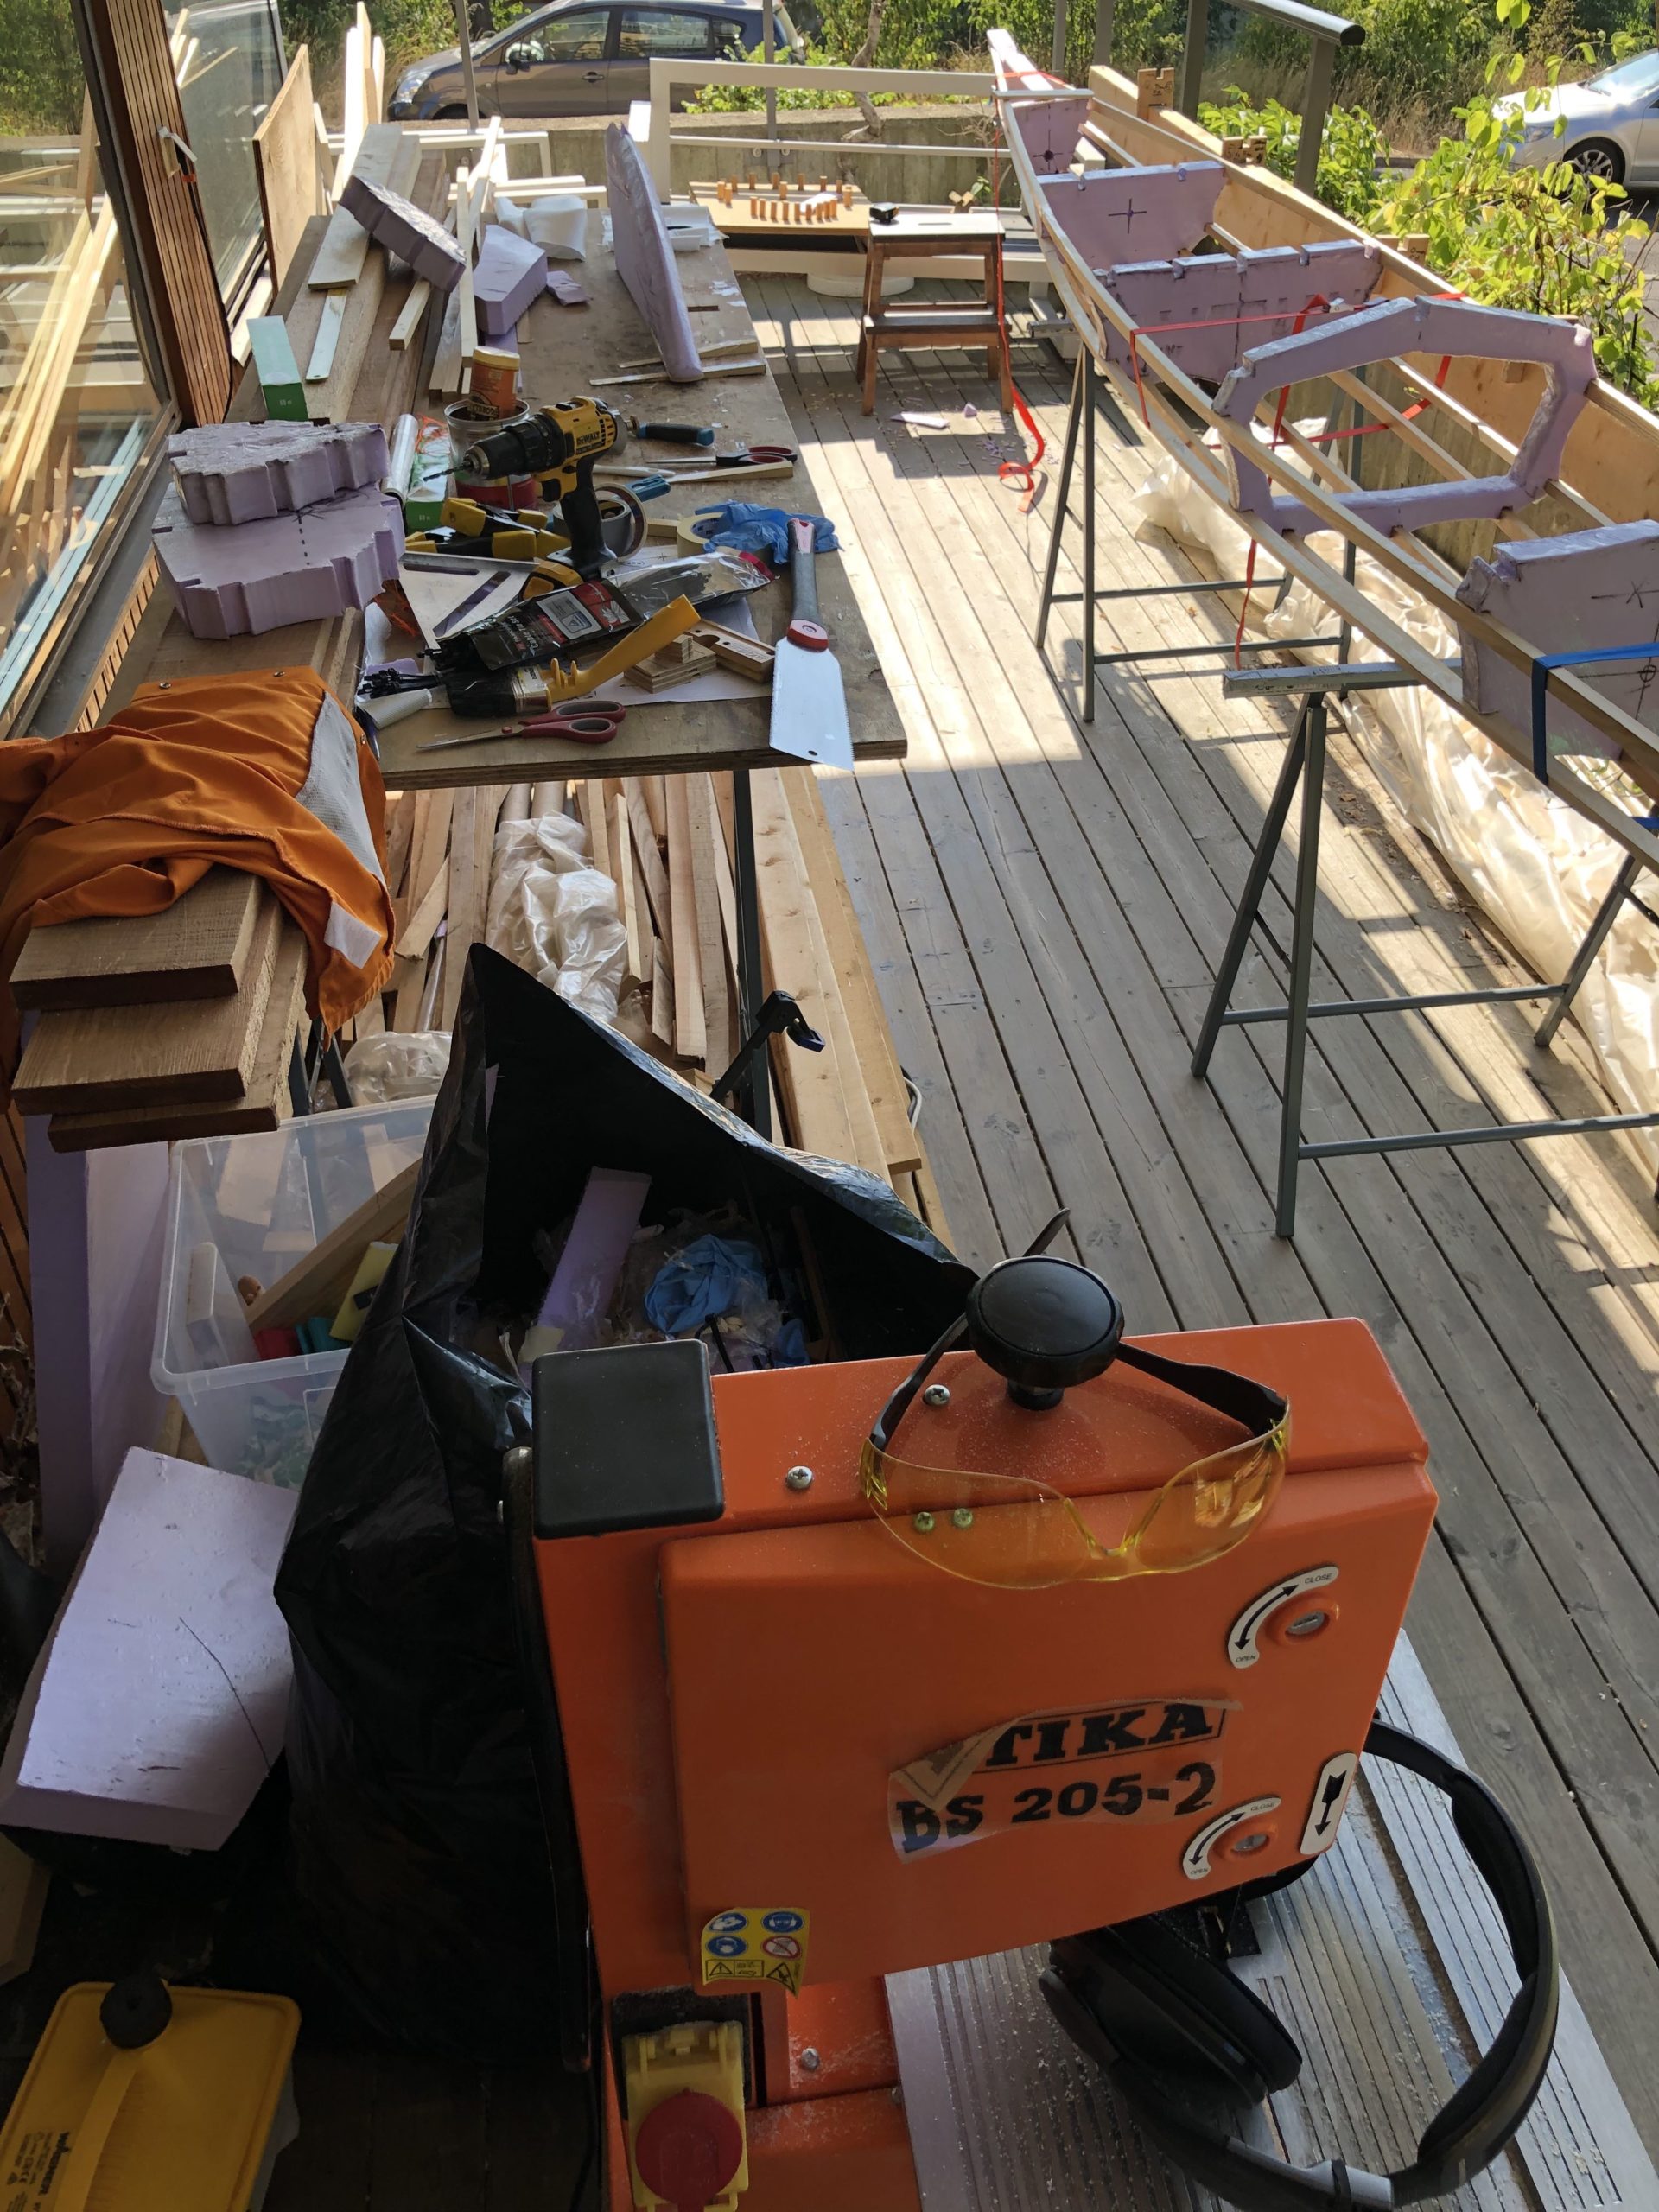
The buld is kinda slow and tedious, mostly due to my inexperience with glass fibre and epoxy, which takes aaages to cure.

I am regretting the idea of glassing foam sheets already. It’s so tedious and I have to wait for a full day for the resin to cure, then sand and put on some other layer or places I missed, cut away failed strips etc. Normally I would make a SOF kayak in five 6h days and two 10h days. This build has been nothing but waiting for two weeks!

Starting to dislike my glassfibre. Decided this build takes way too long time and I now don’t care about the finish. Like, at all. It just has to float and take on some cargo. Normally, building a kayak out of wood gives me peace and satisfaction, but this time with waiting after every new little fibre reinforcement, just gave me frustration. Anyhoo, the boat is finished and writing this I’m waiting for it to cure. Again.


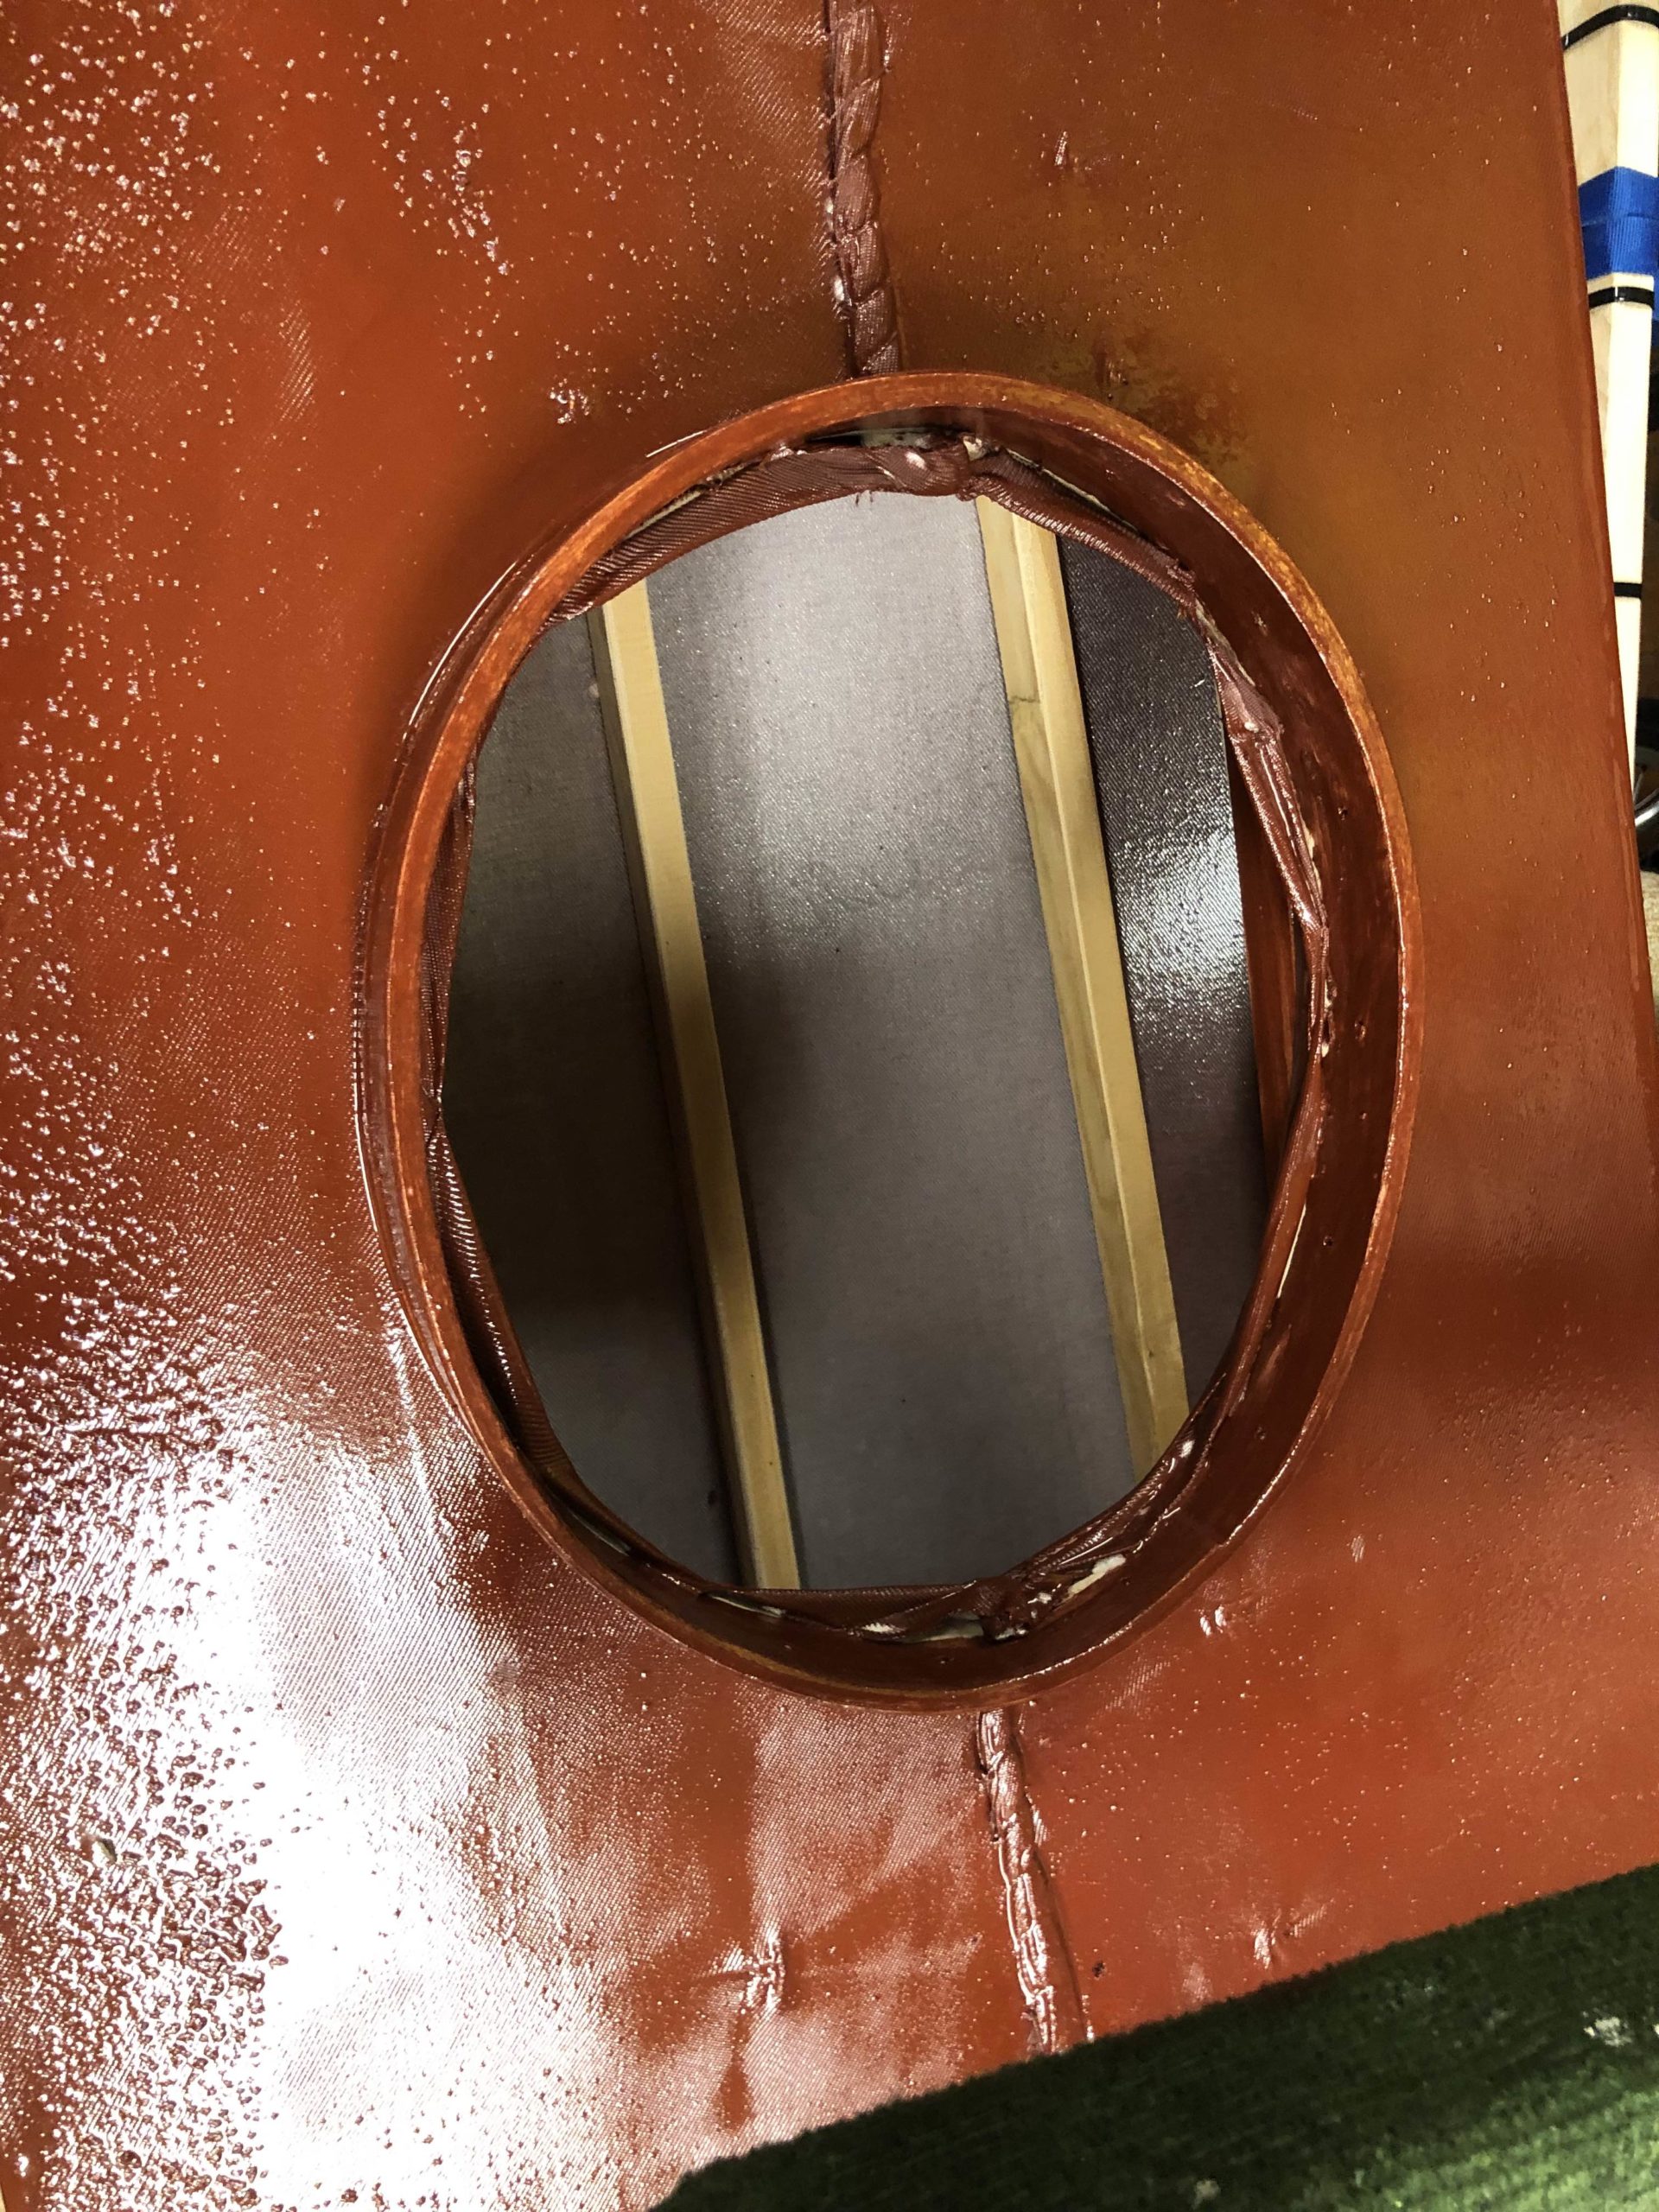
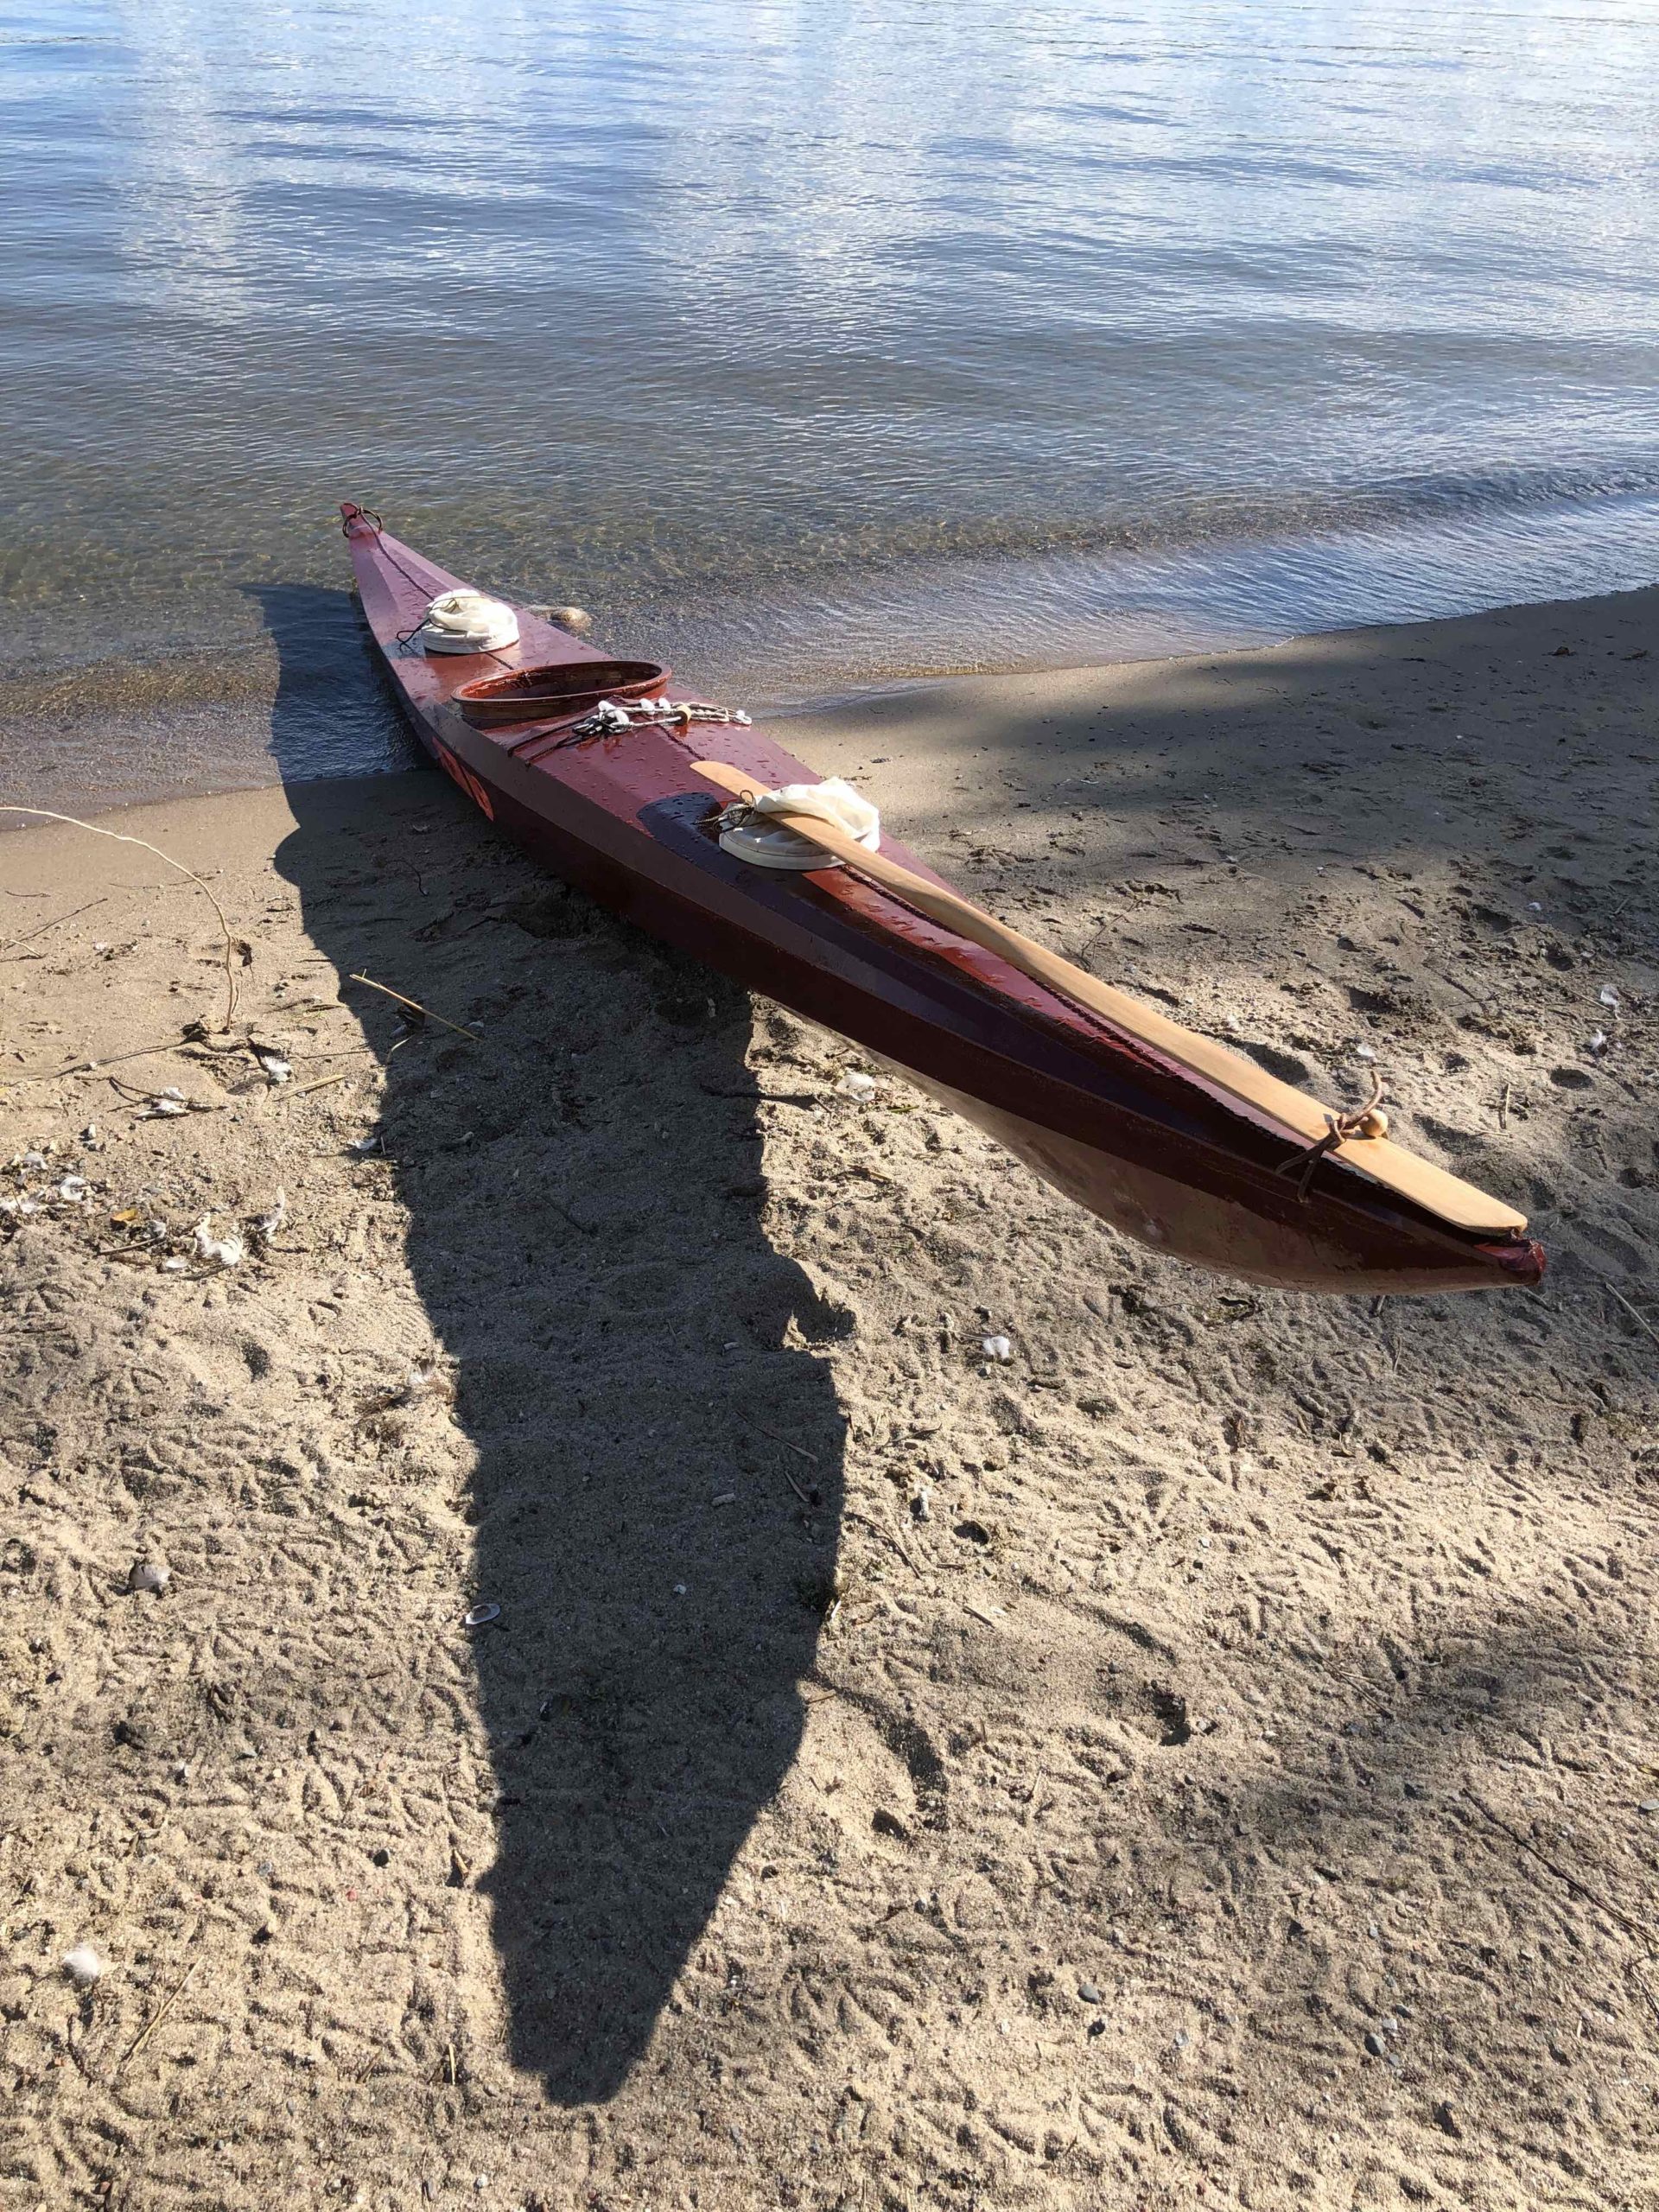
So, one question that has come up is why I didn’t install the skeg while building. Short answer: couldn’t be bothered. Long answer: you probably have more fun developing your paddling technique without one! And I made a rear hatch that could theoretically be used for installing a skeg box. We shall see.
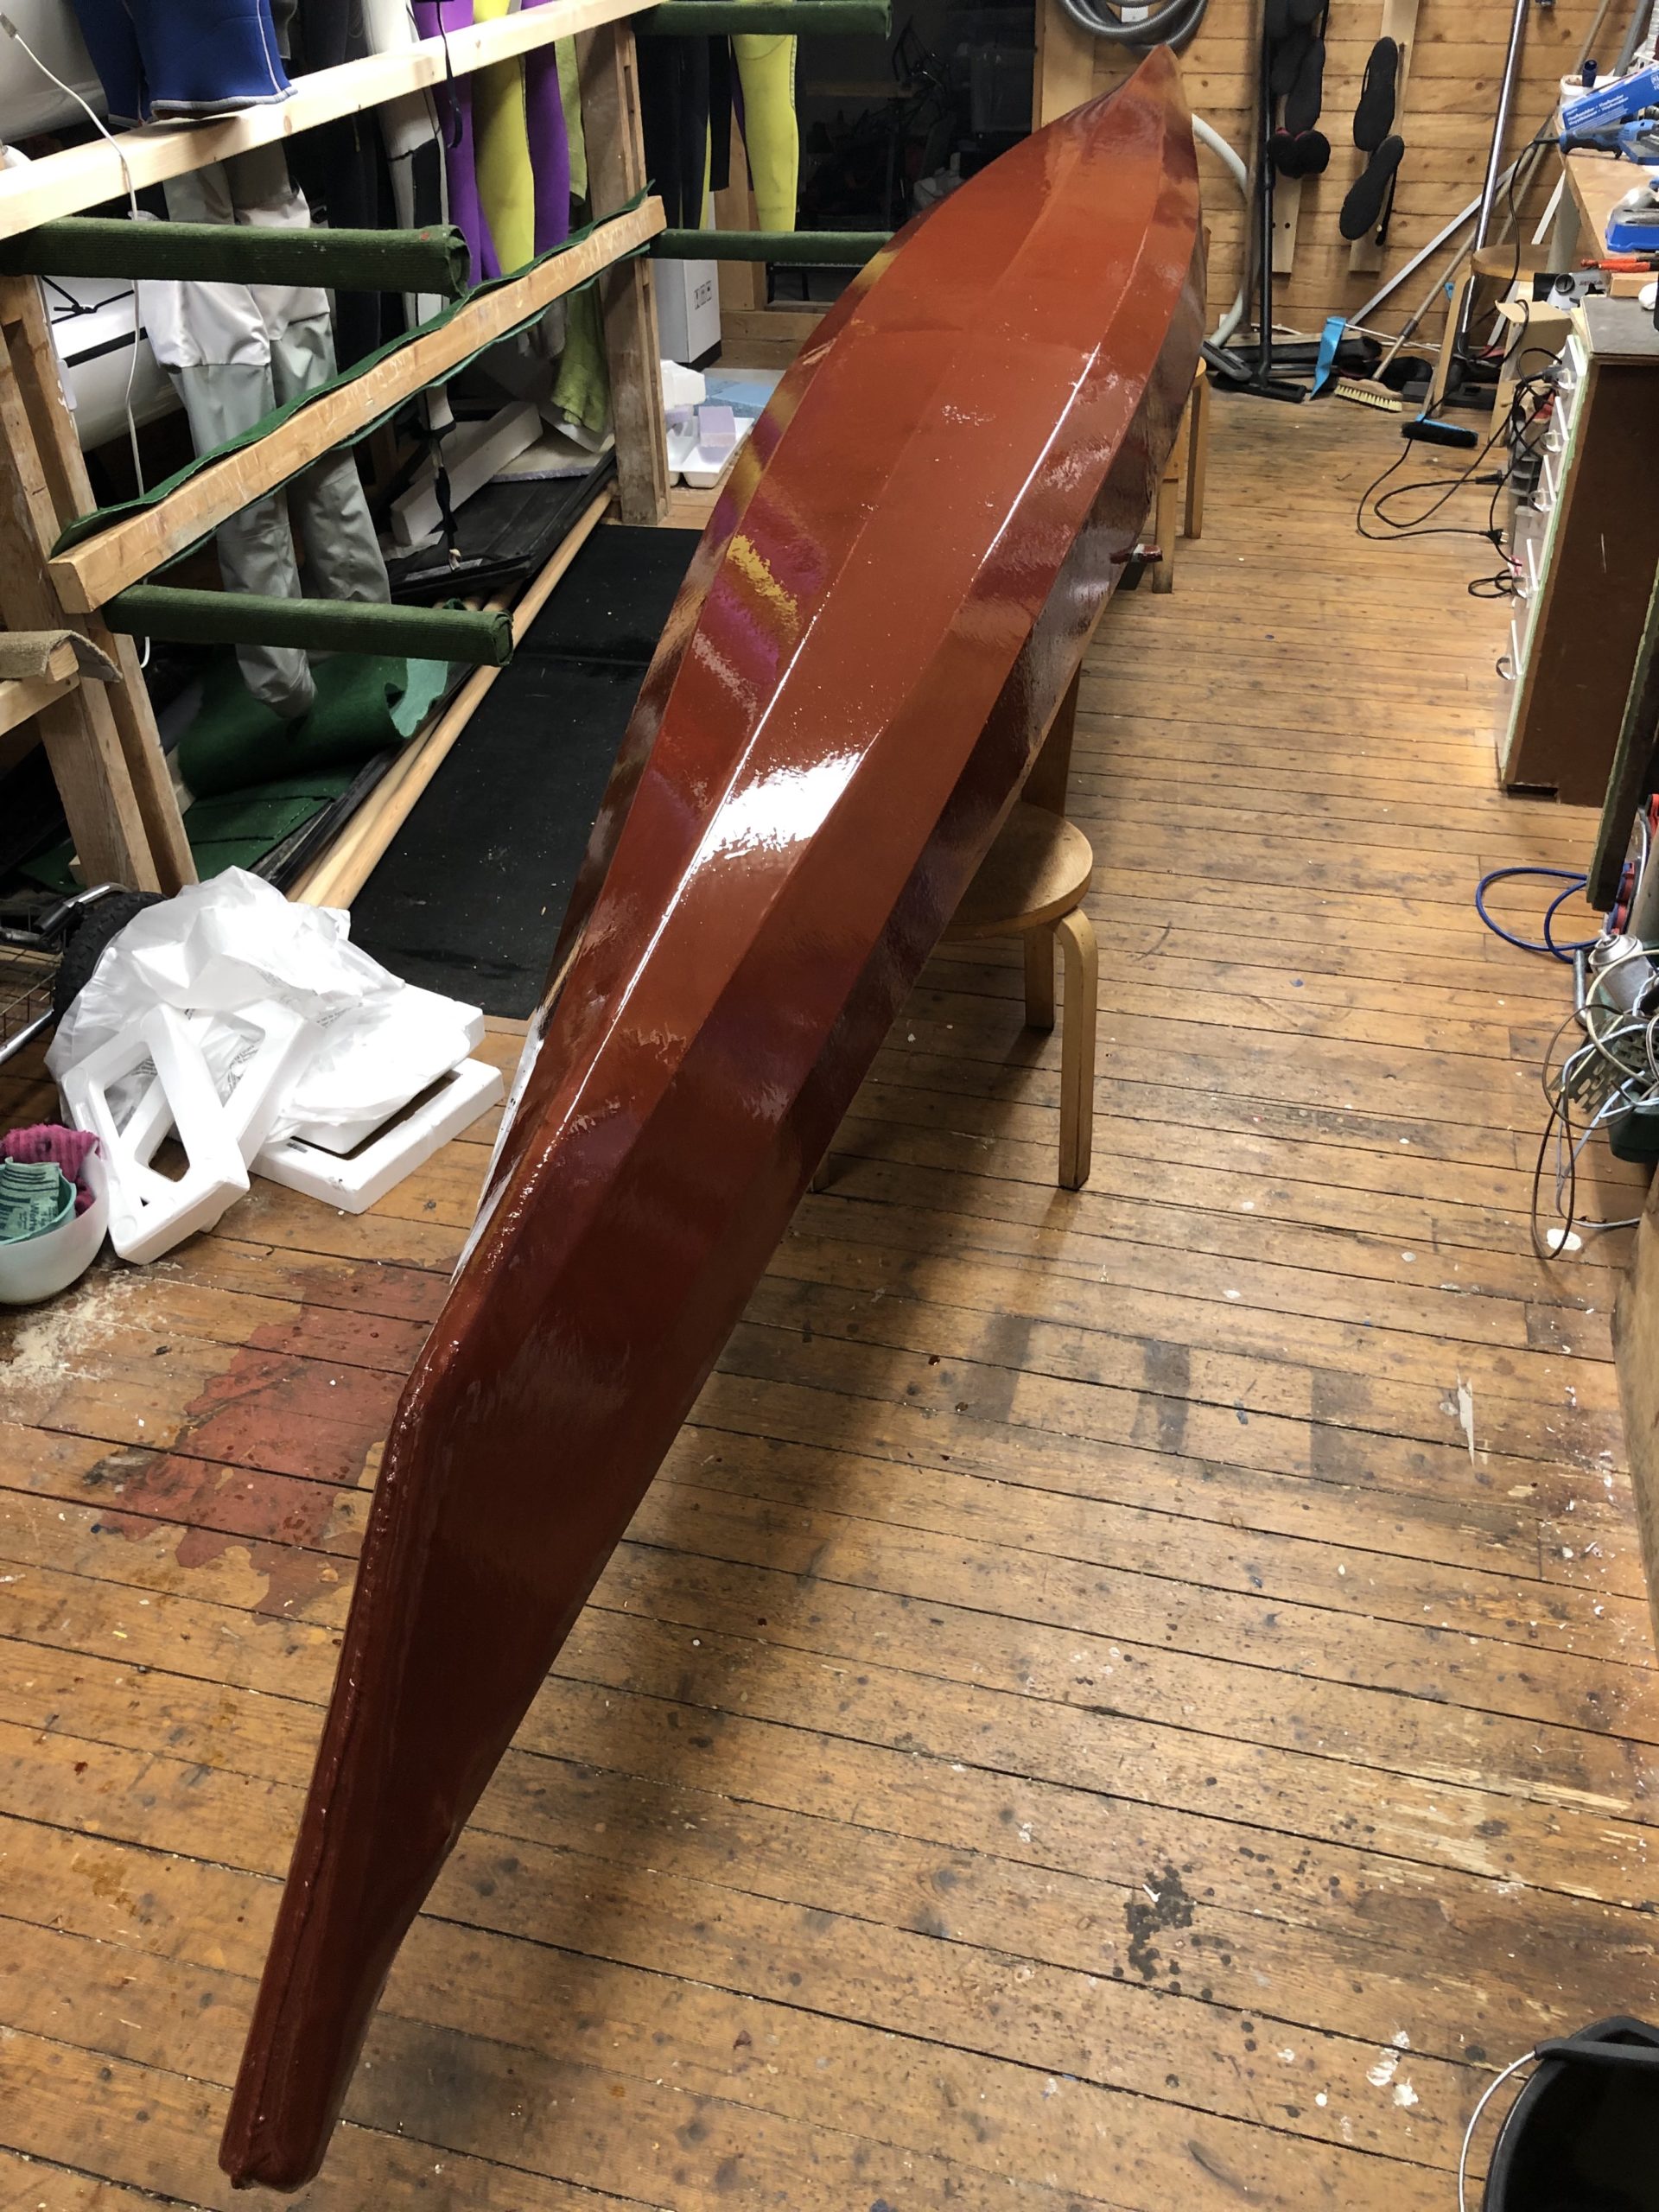
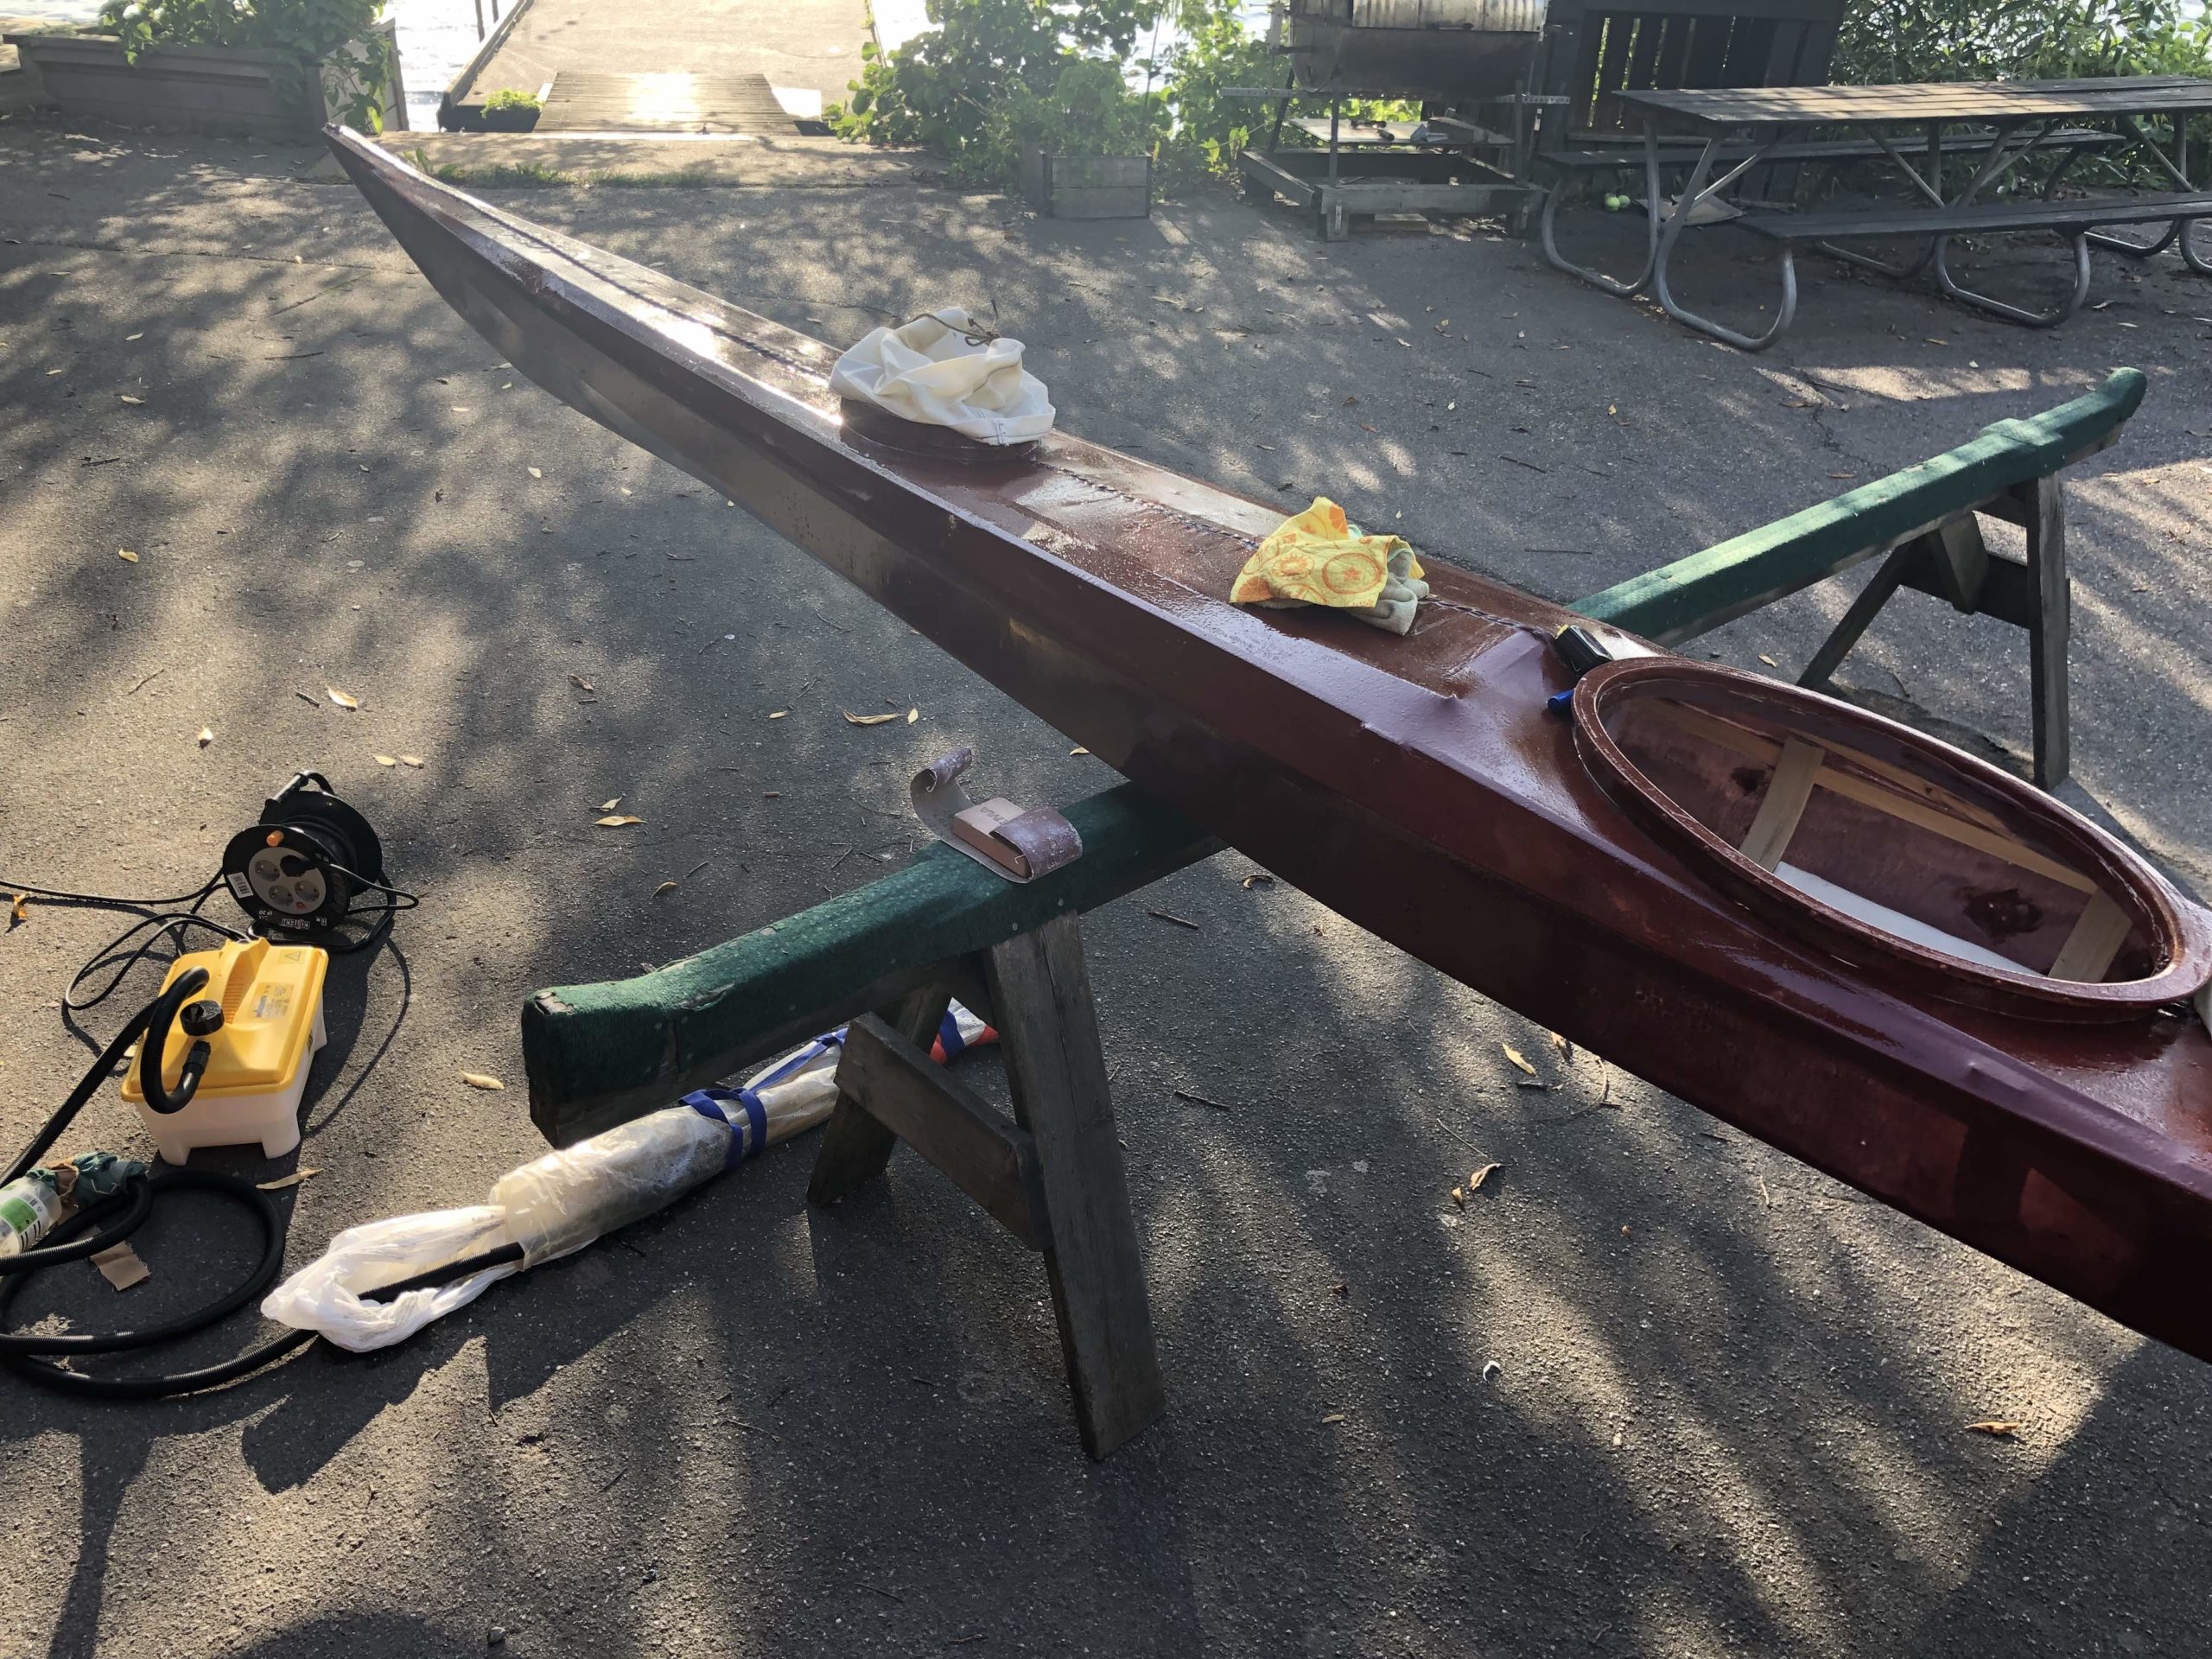
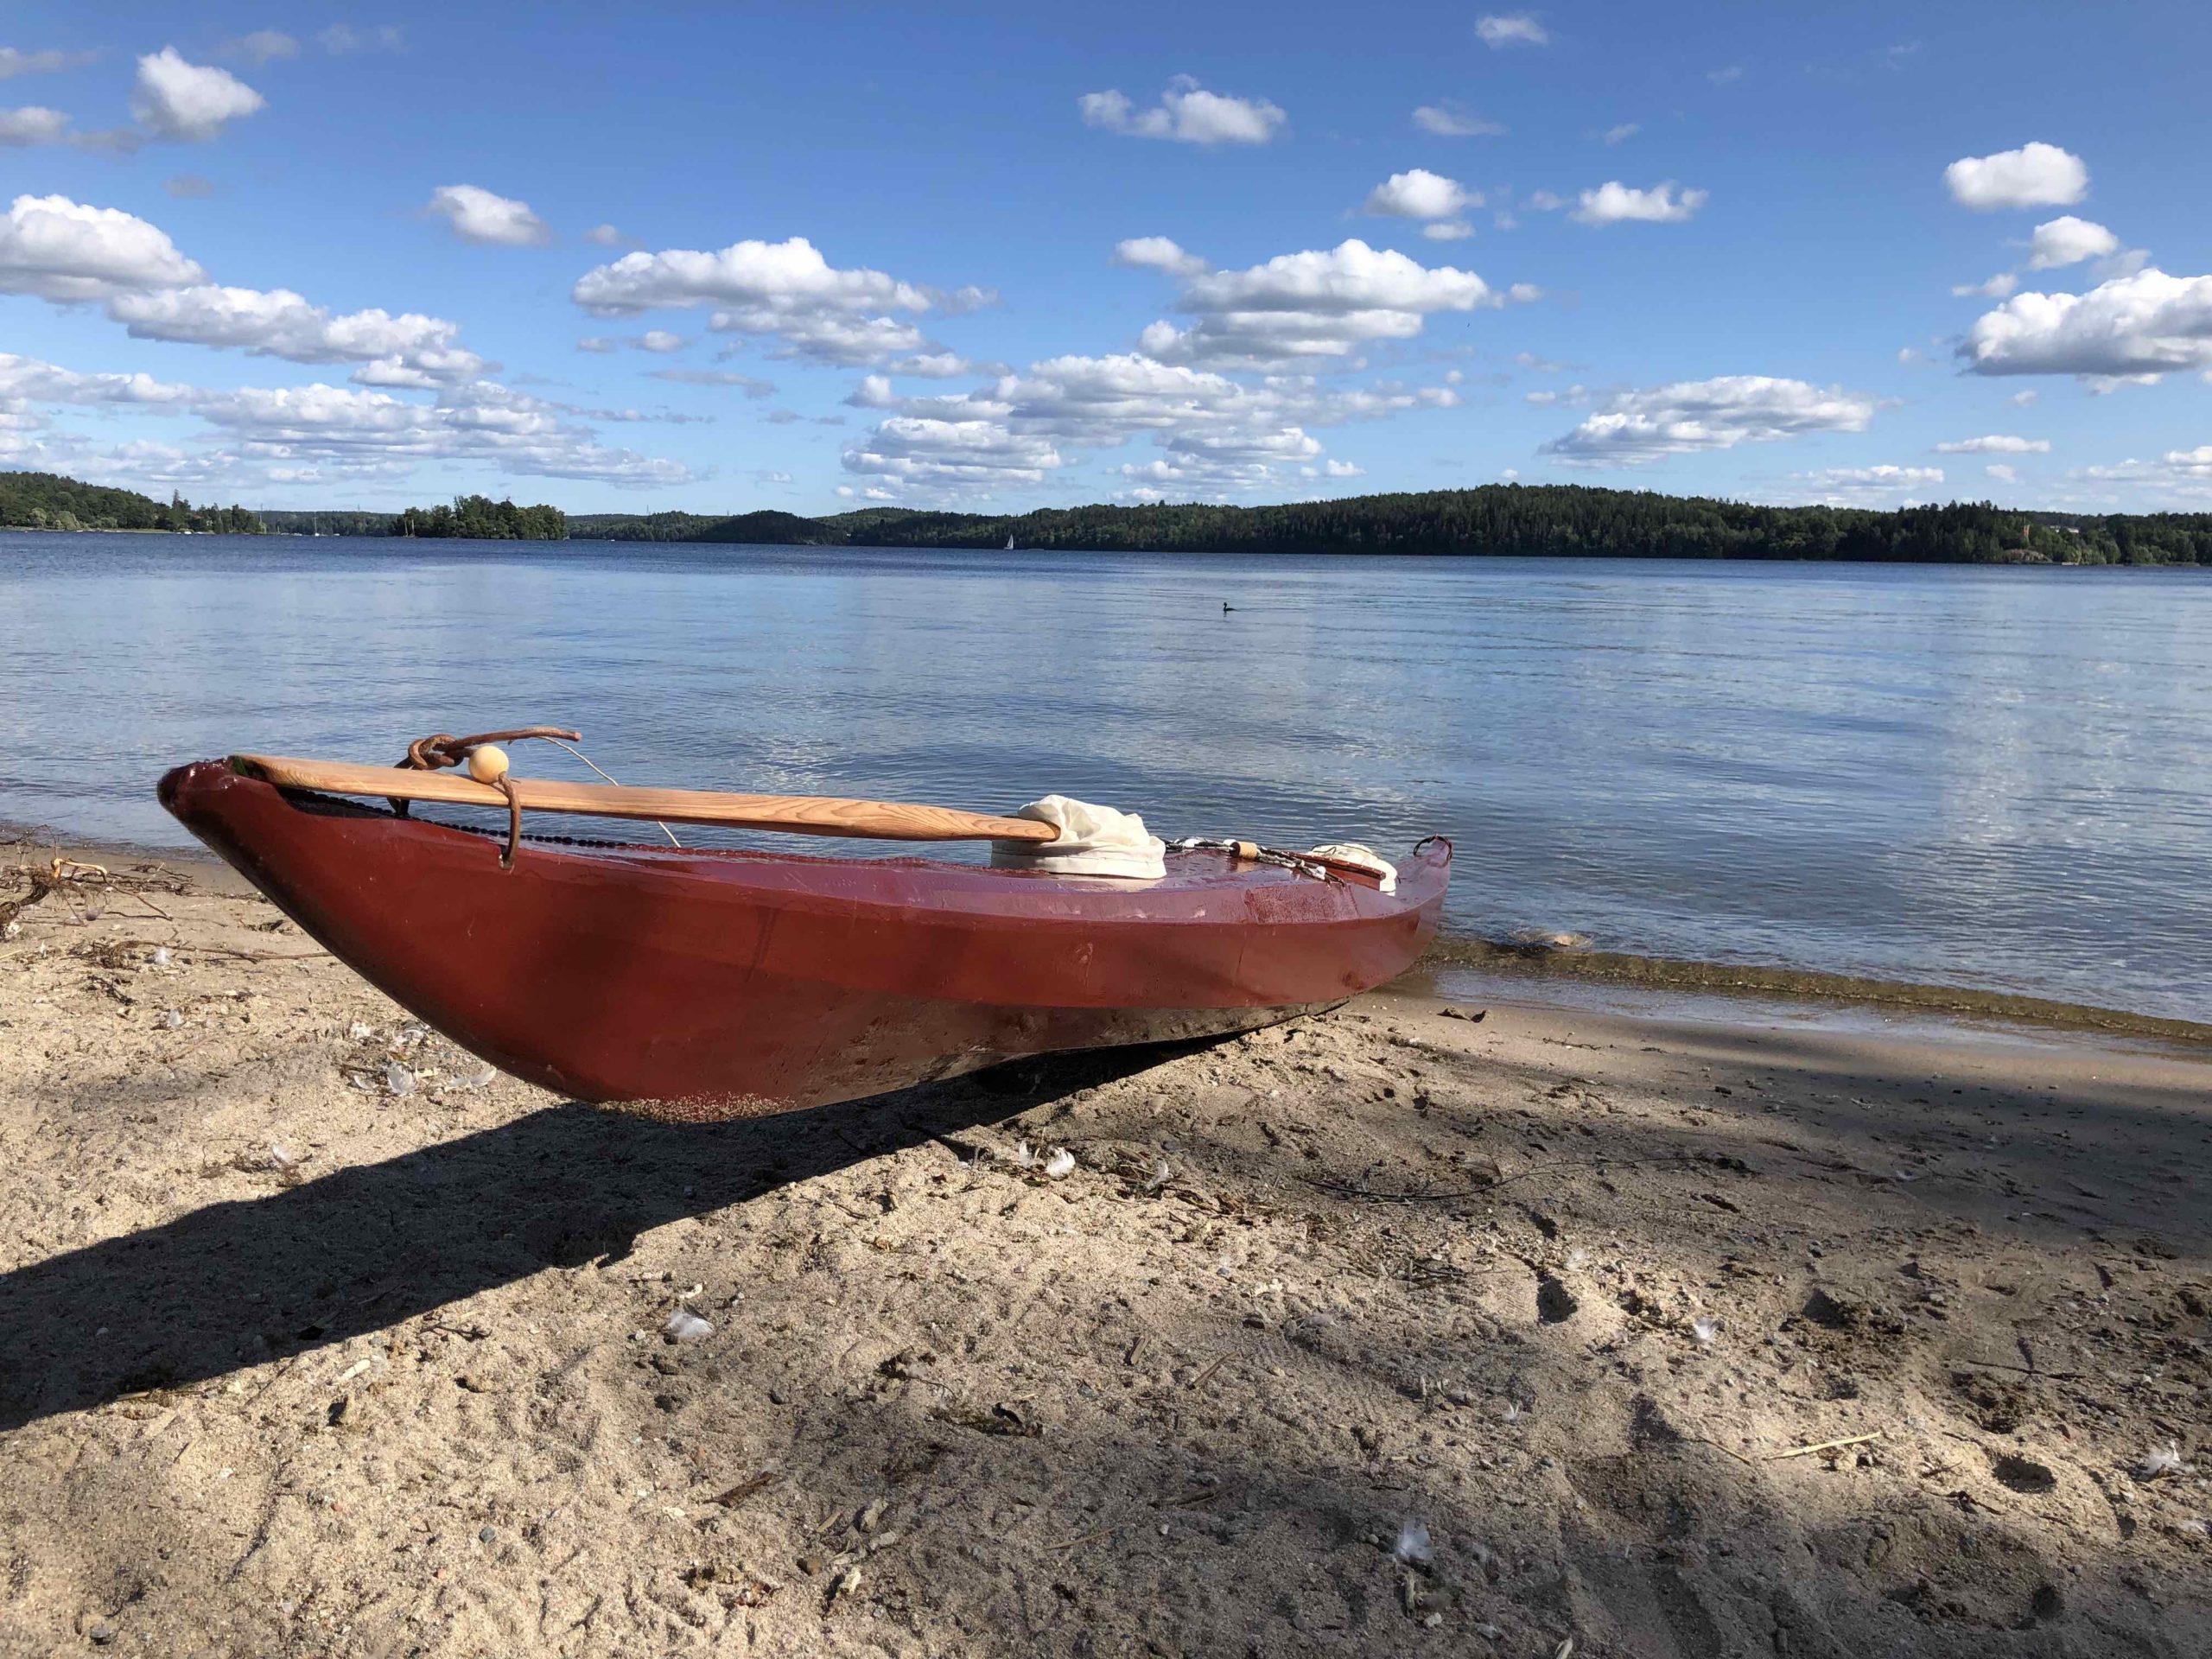
Another question is about the color: I actually mistakenly dropped 3x the color I needed in my second batch of polyurethane on the bottom. Did the first layer without color to let the nylon soak up the goop. Didn’t think I had enough polyurethane to throw away the batch, so here we are. True “järnmönja” (oxidated iron) as an old boat beneath the water line.
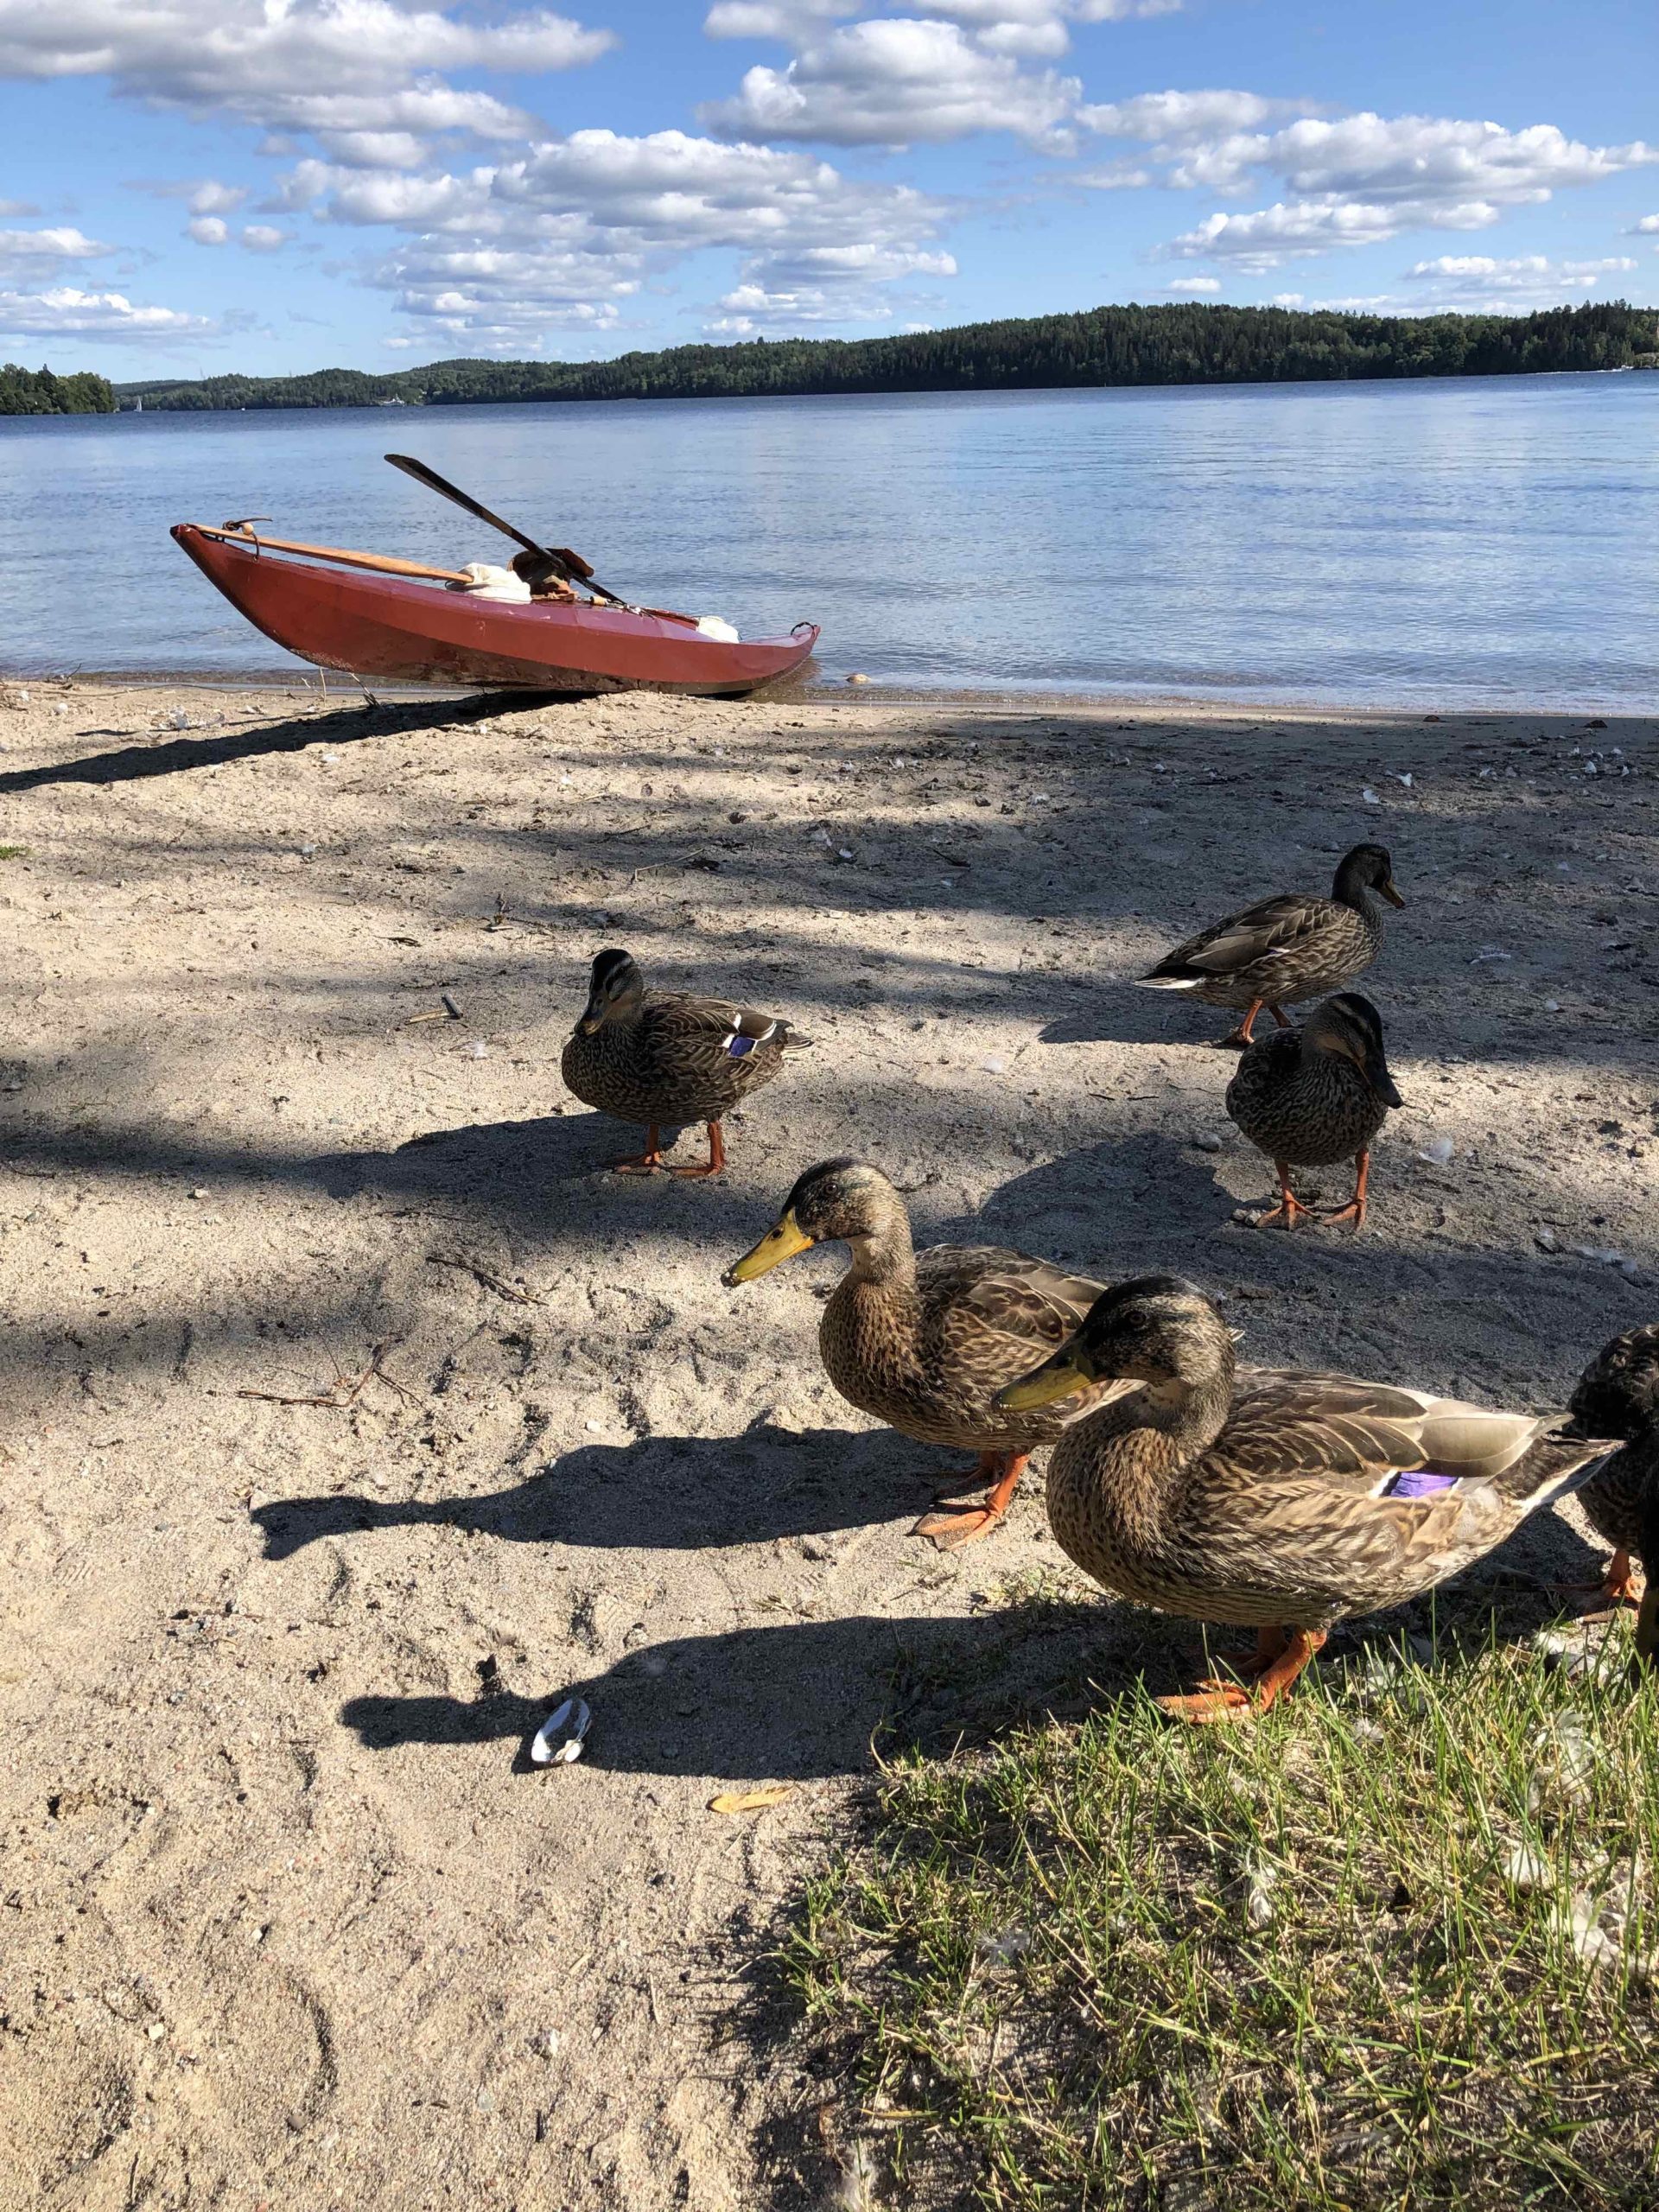
Anyhow, the boat is finished and writing this I’m waiting for it to cure. Again. Maybe if I stare at it hard enough it will cure faster? Going for a 5 day kayak trip to Sweden’s “great lakes” Vättern and Vänern with the ol’ West Greenland style kayak. Catch you later!
So, accidentally tipping the dye in the urethane wasn’t one of my smallest mistakes in this build. The skin has an uneven surface, like an old walrus. I can live with that if the kayak performs well and I can build another with a better finish.
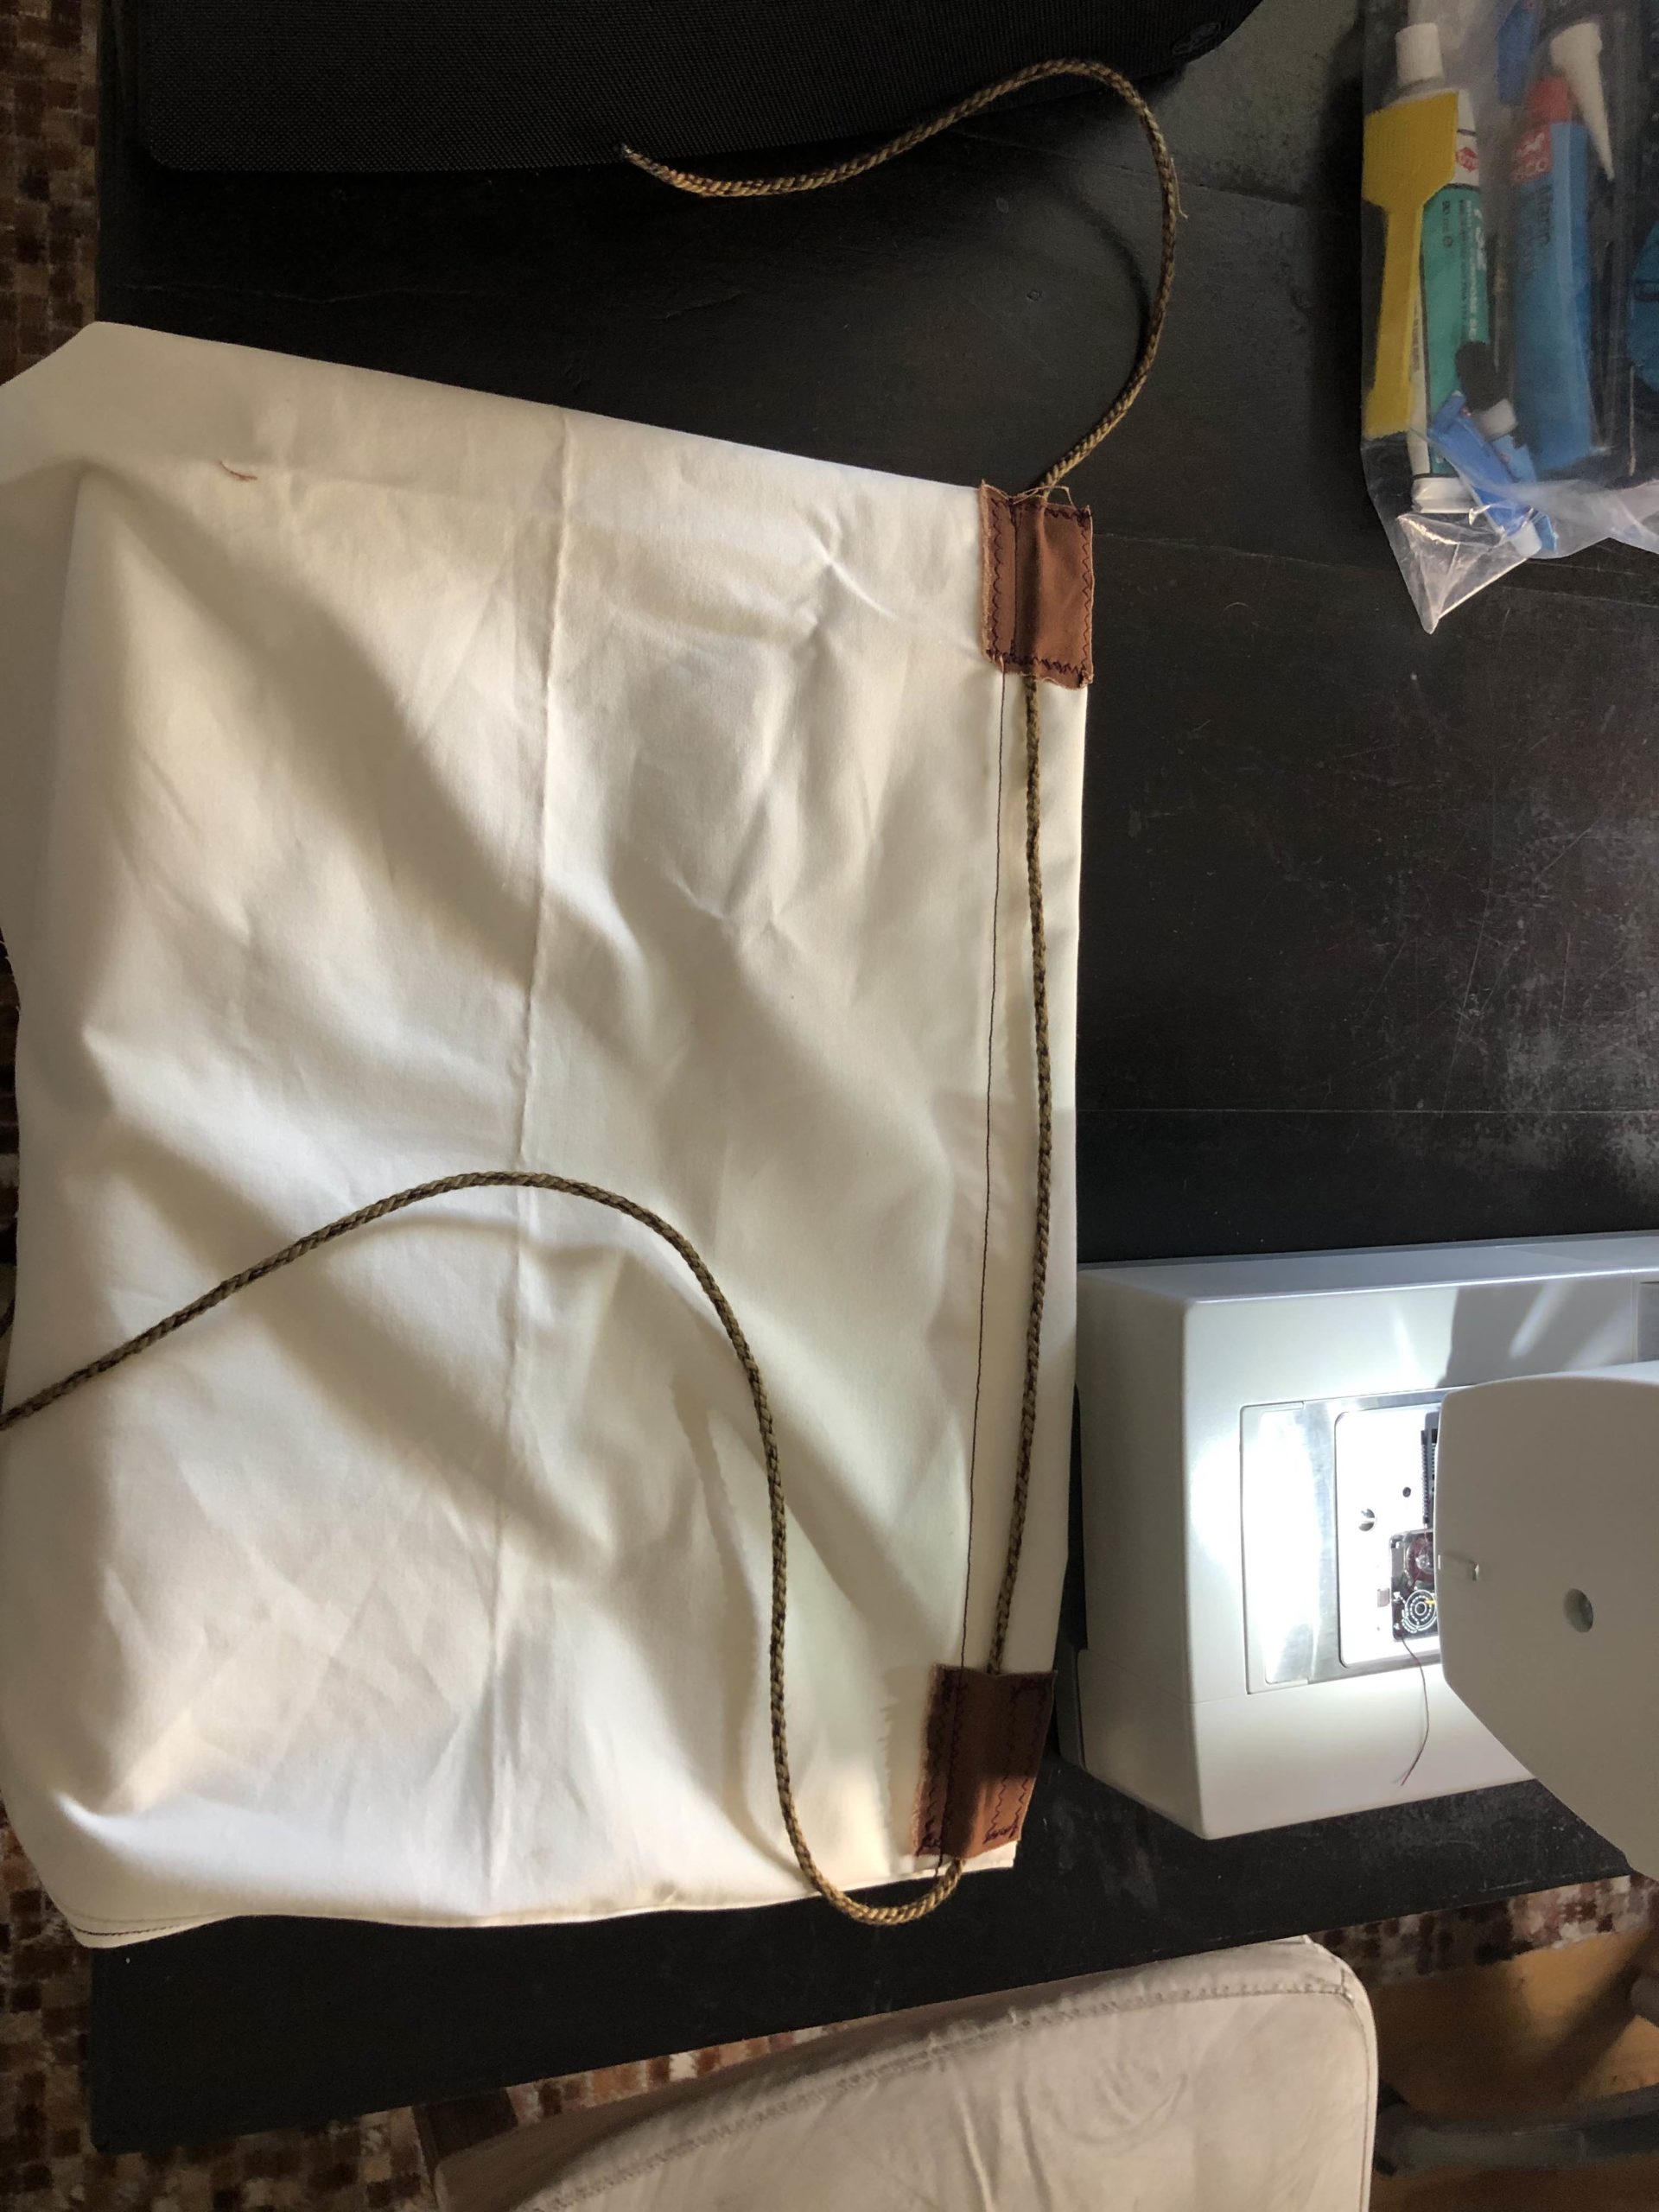
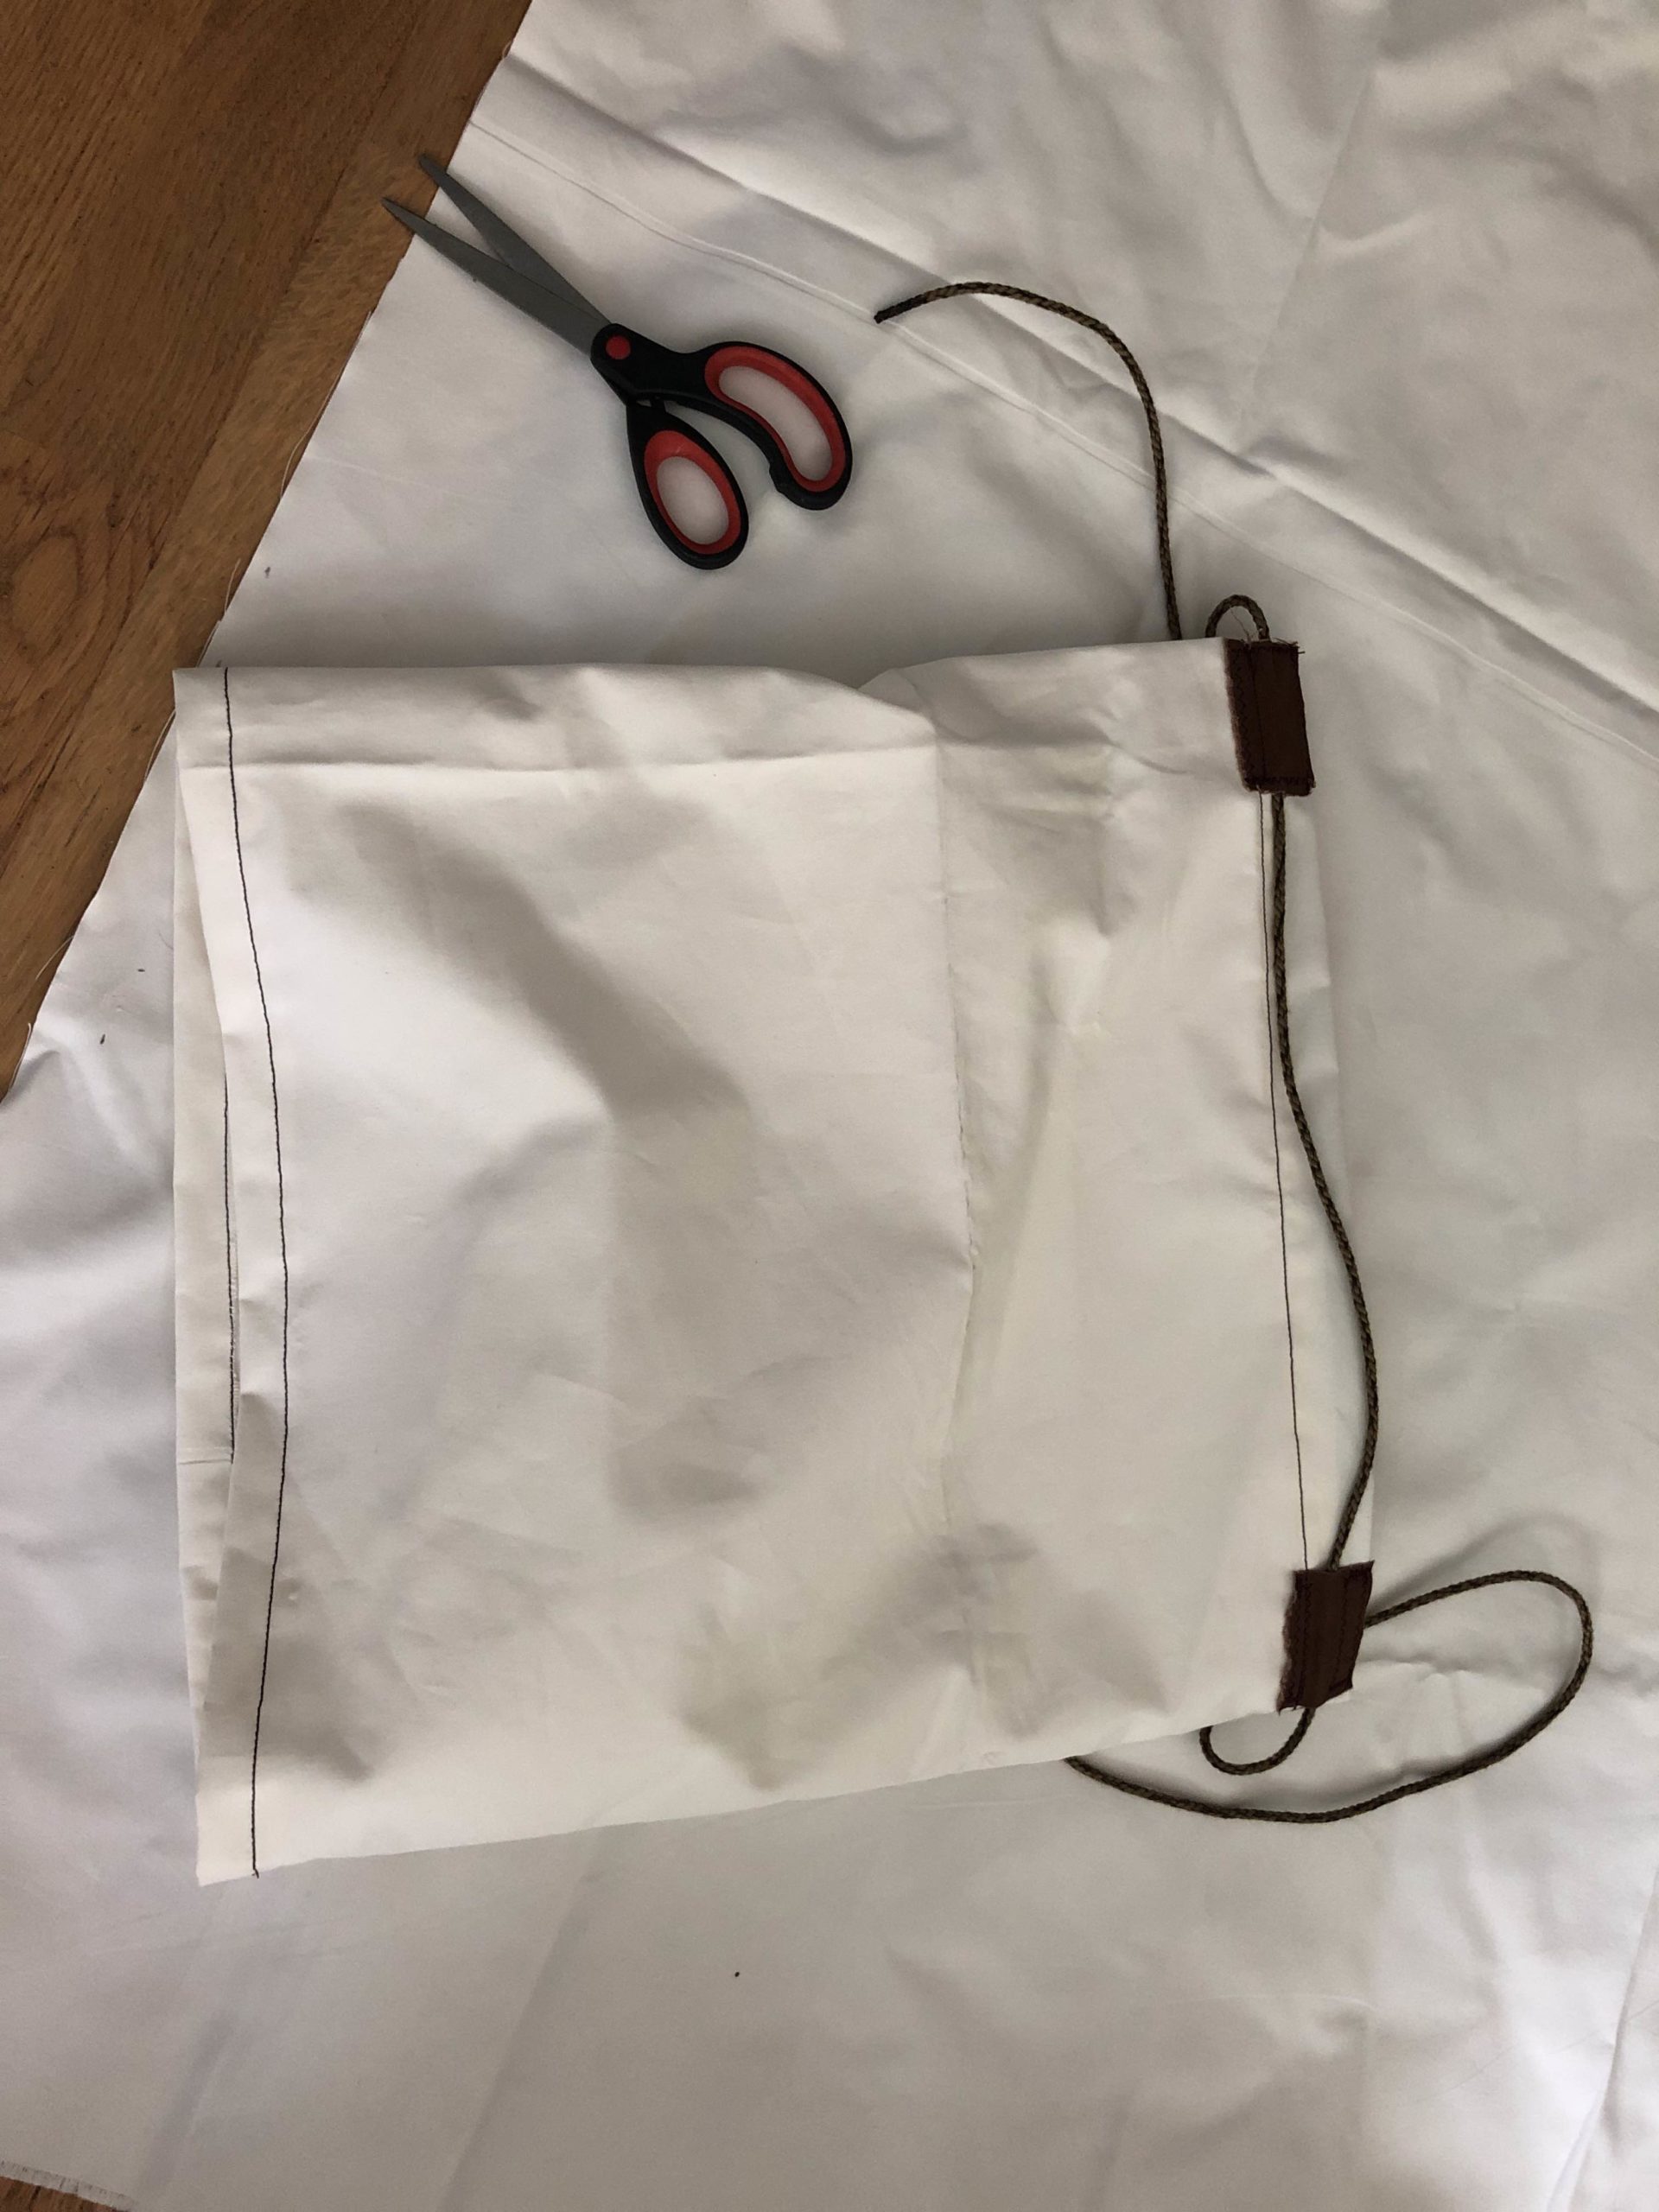
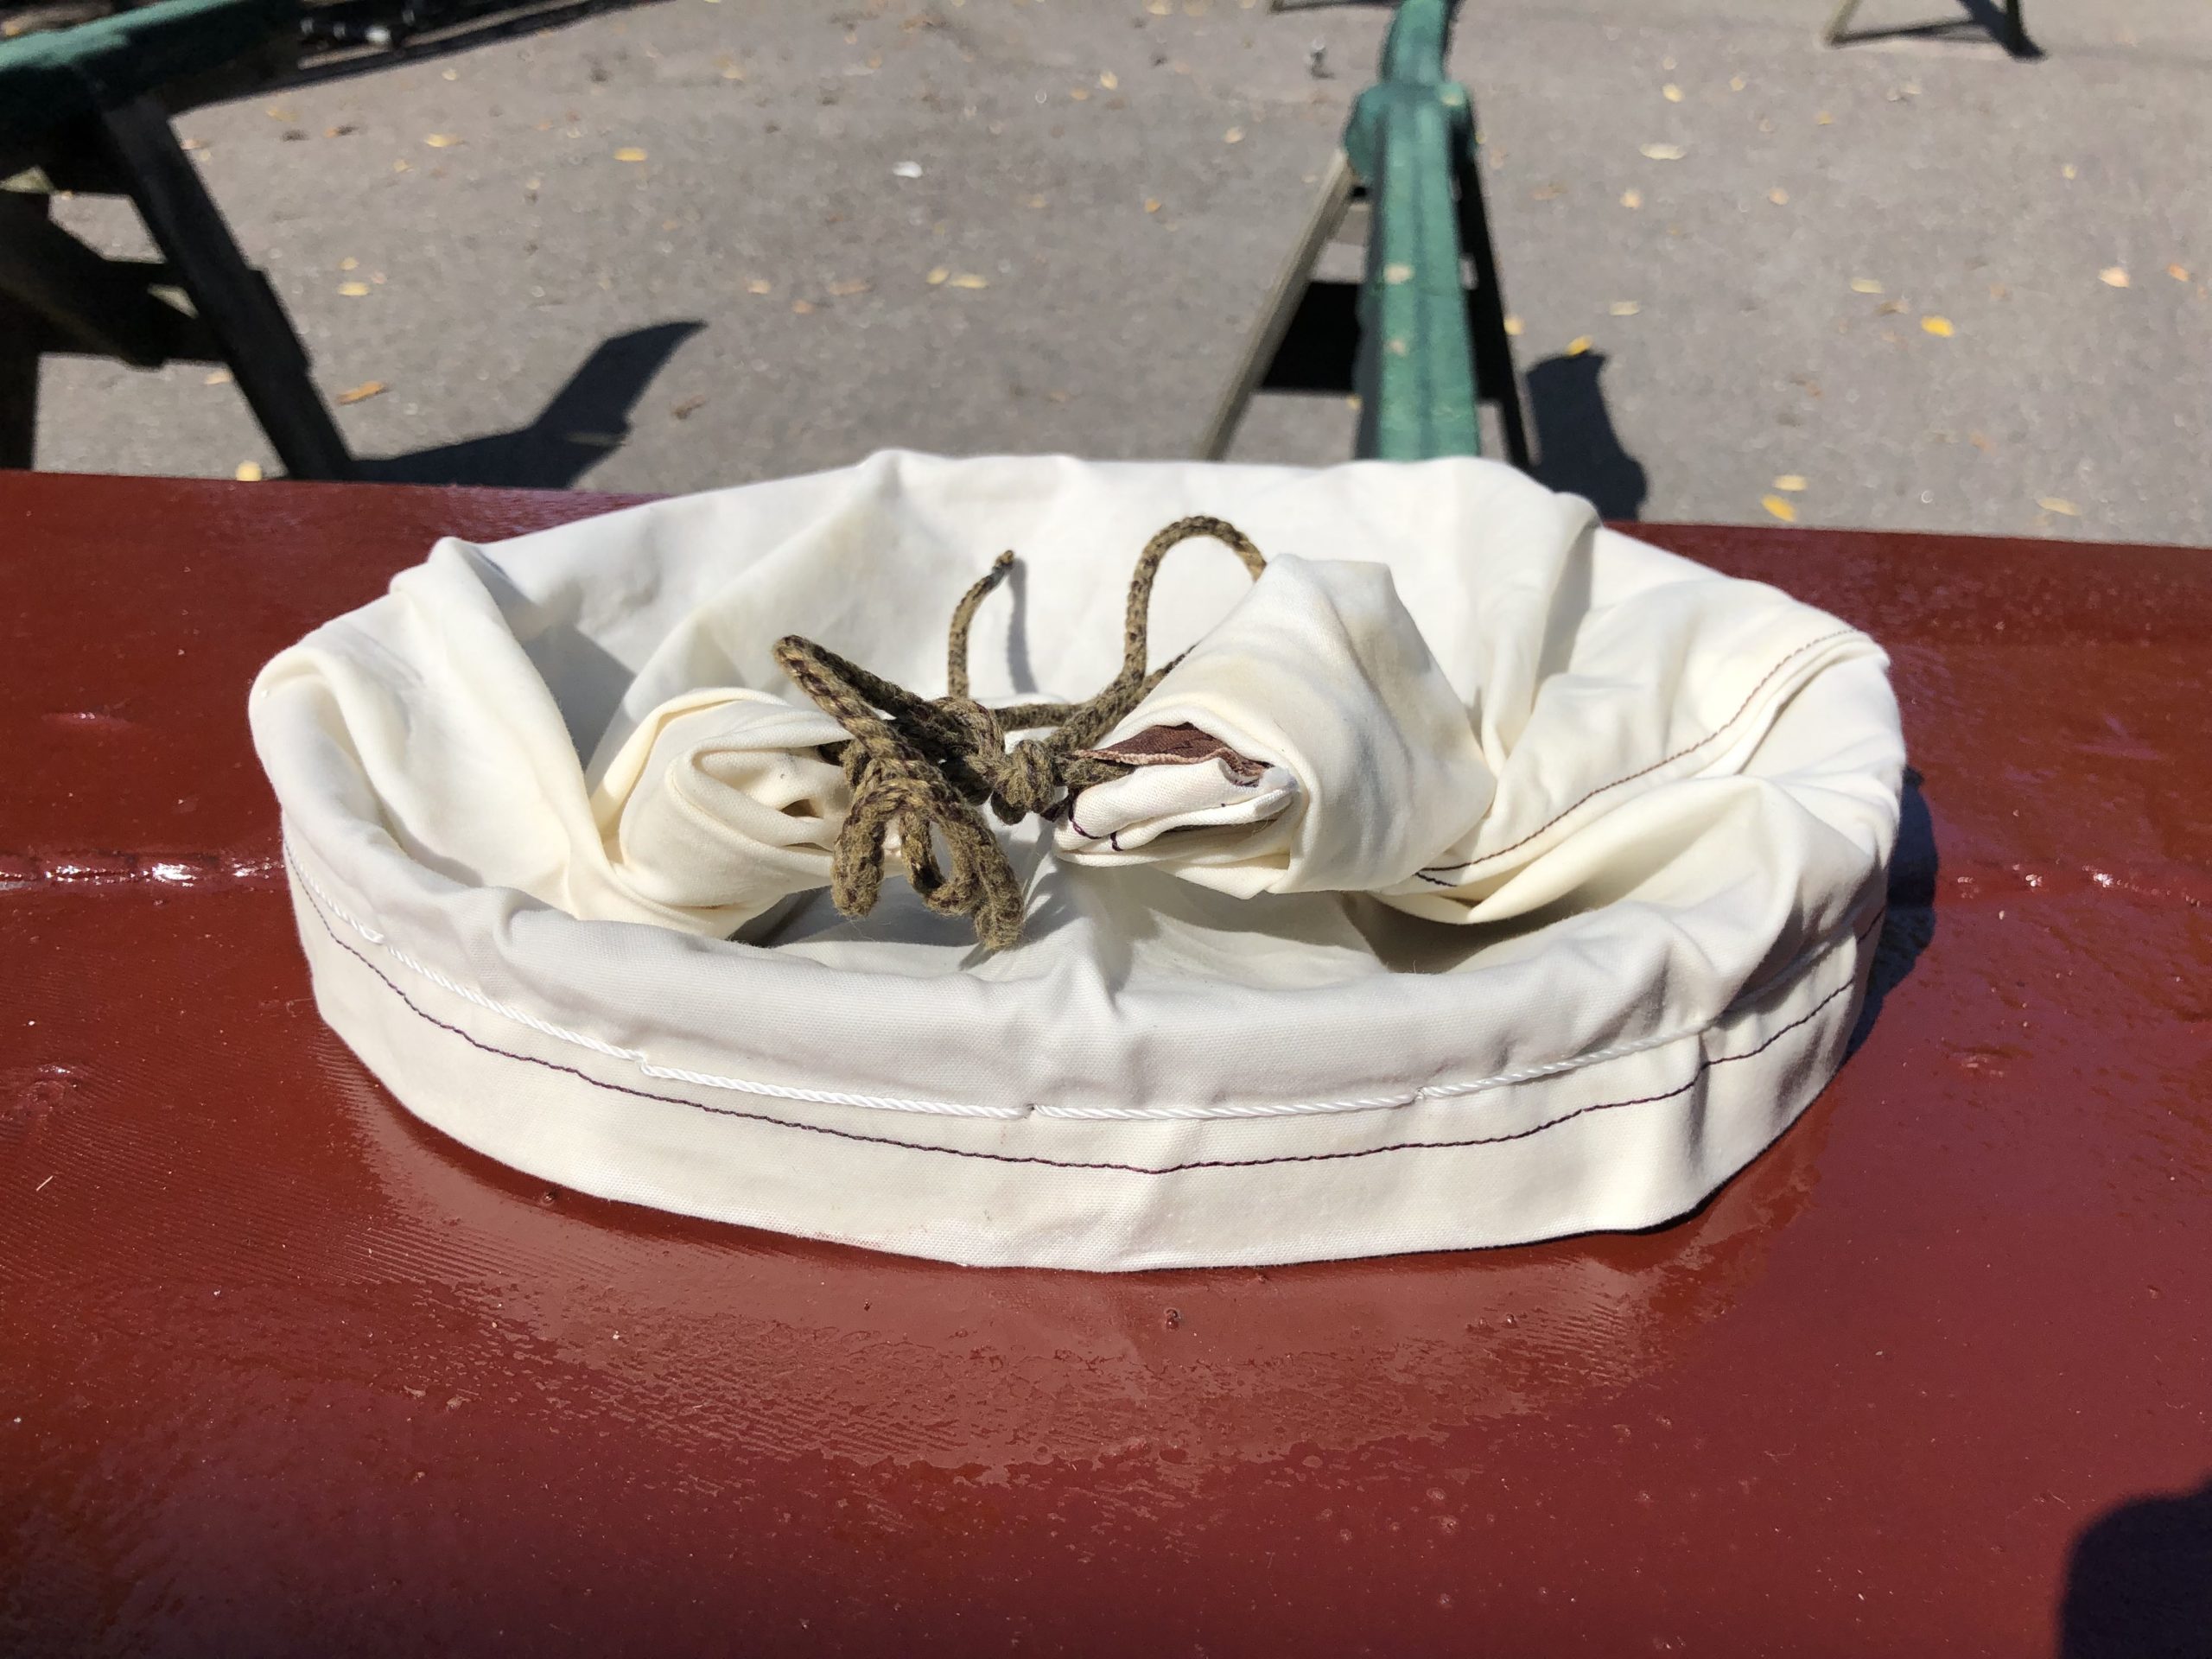
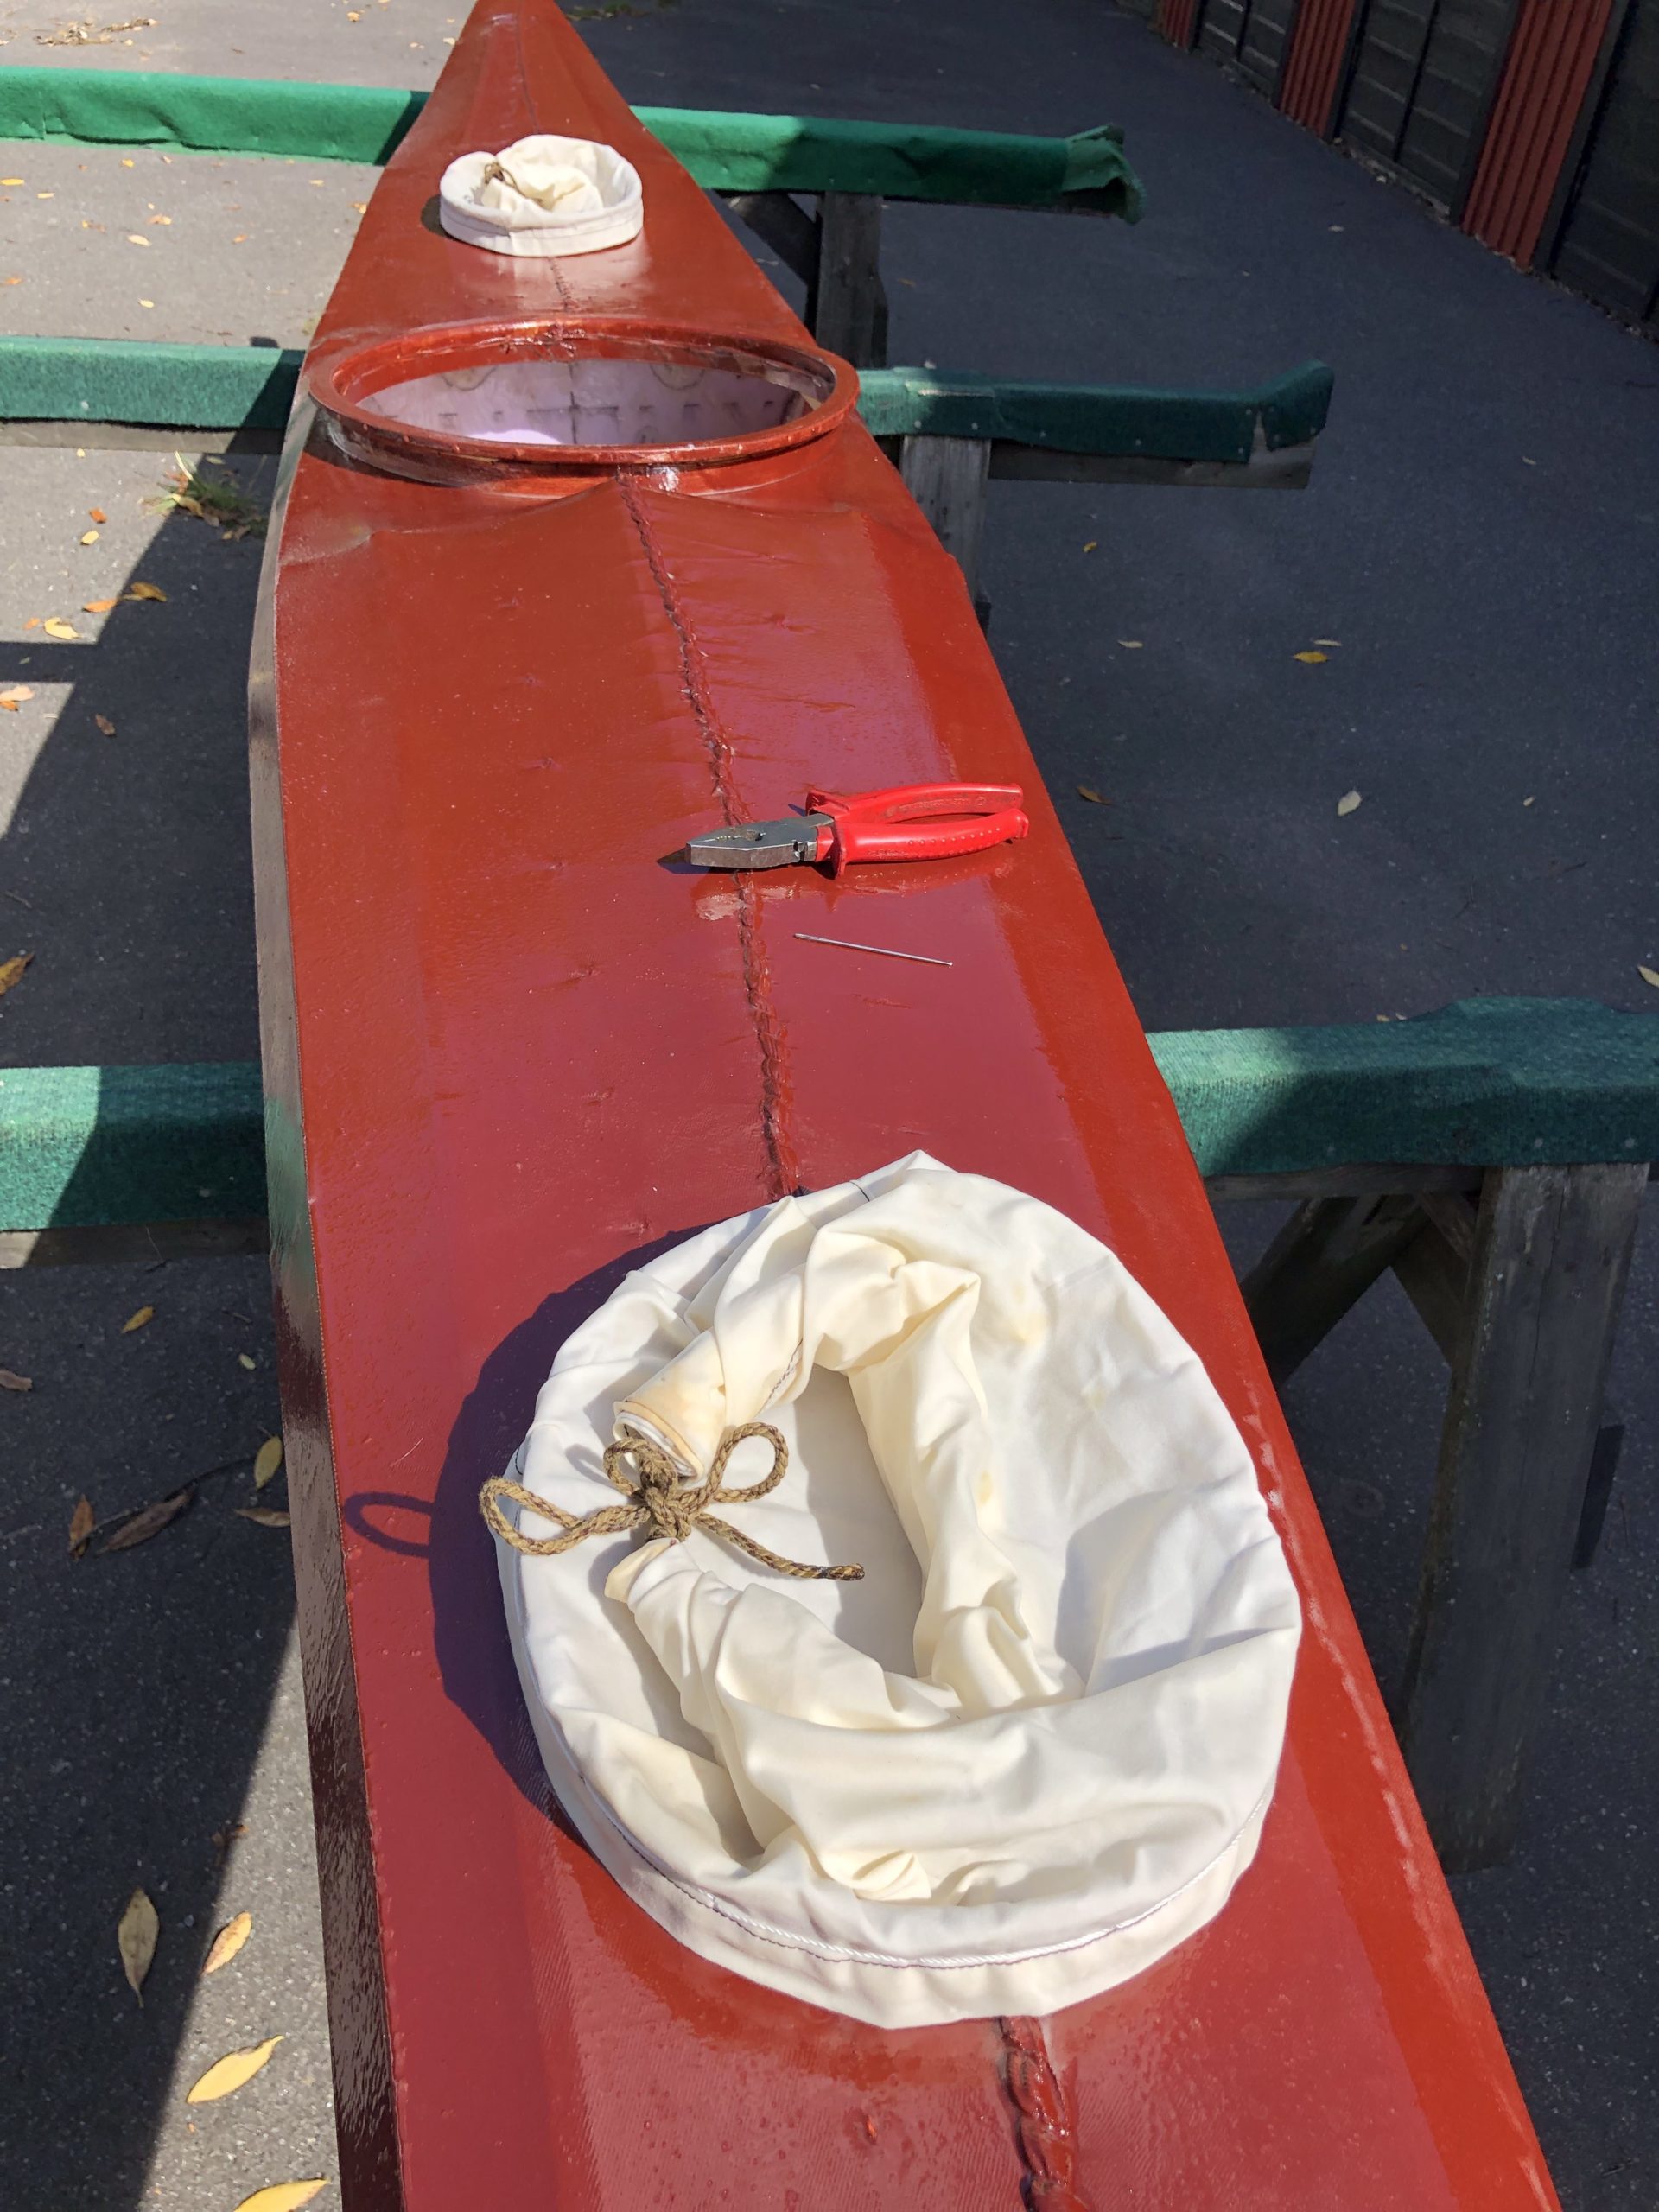
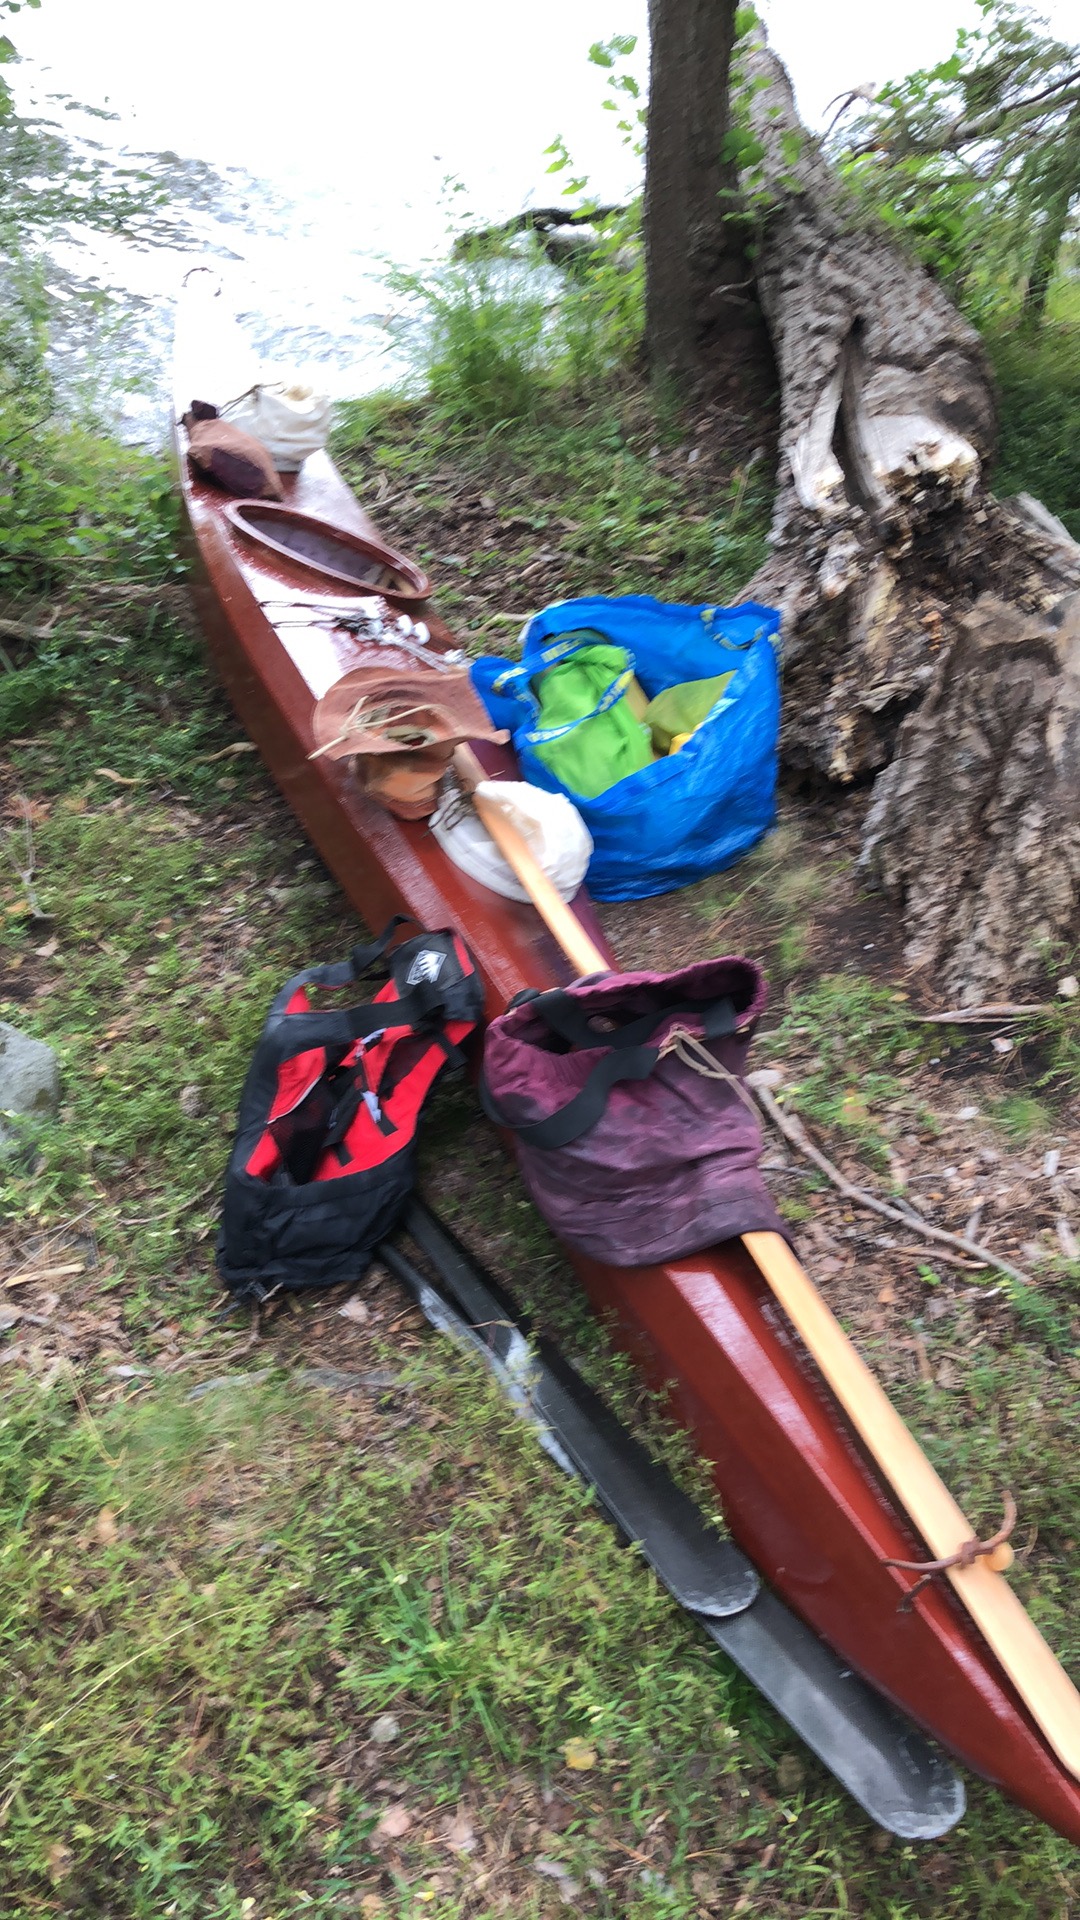
The morning before my recent trip I made a couple of roll closure bags to fit to the deck holes. Another idea I wanted to try out.

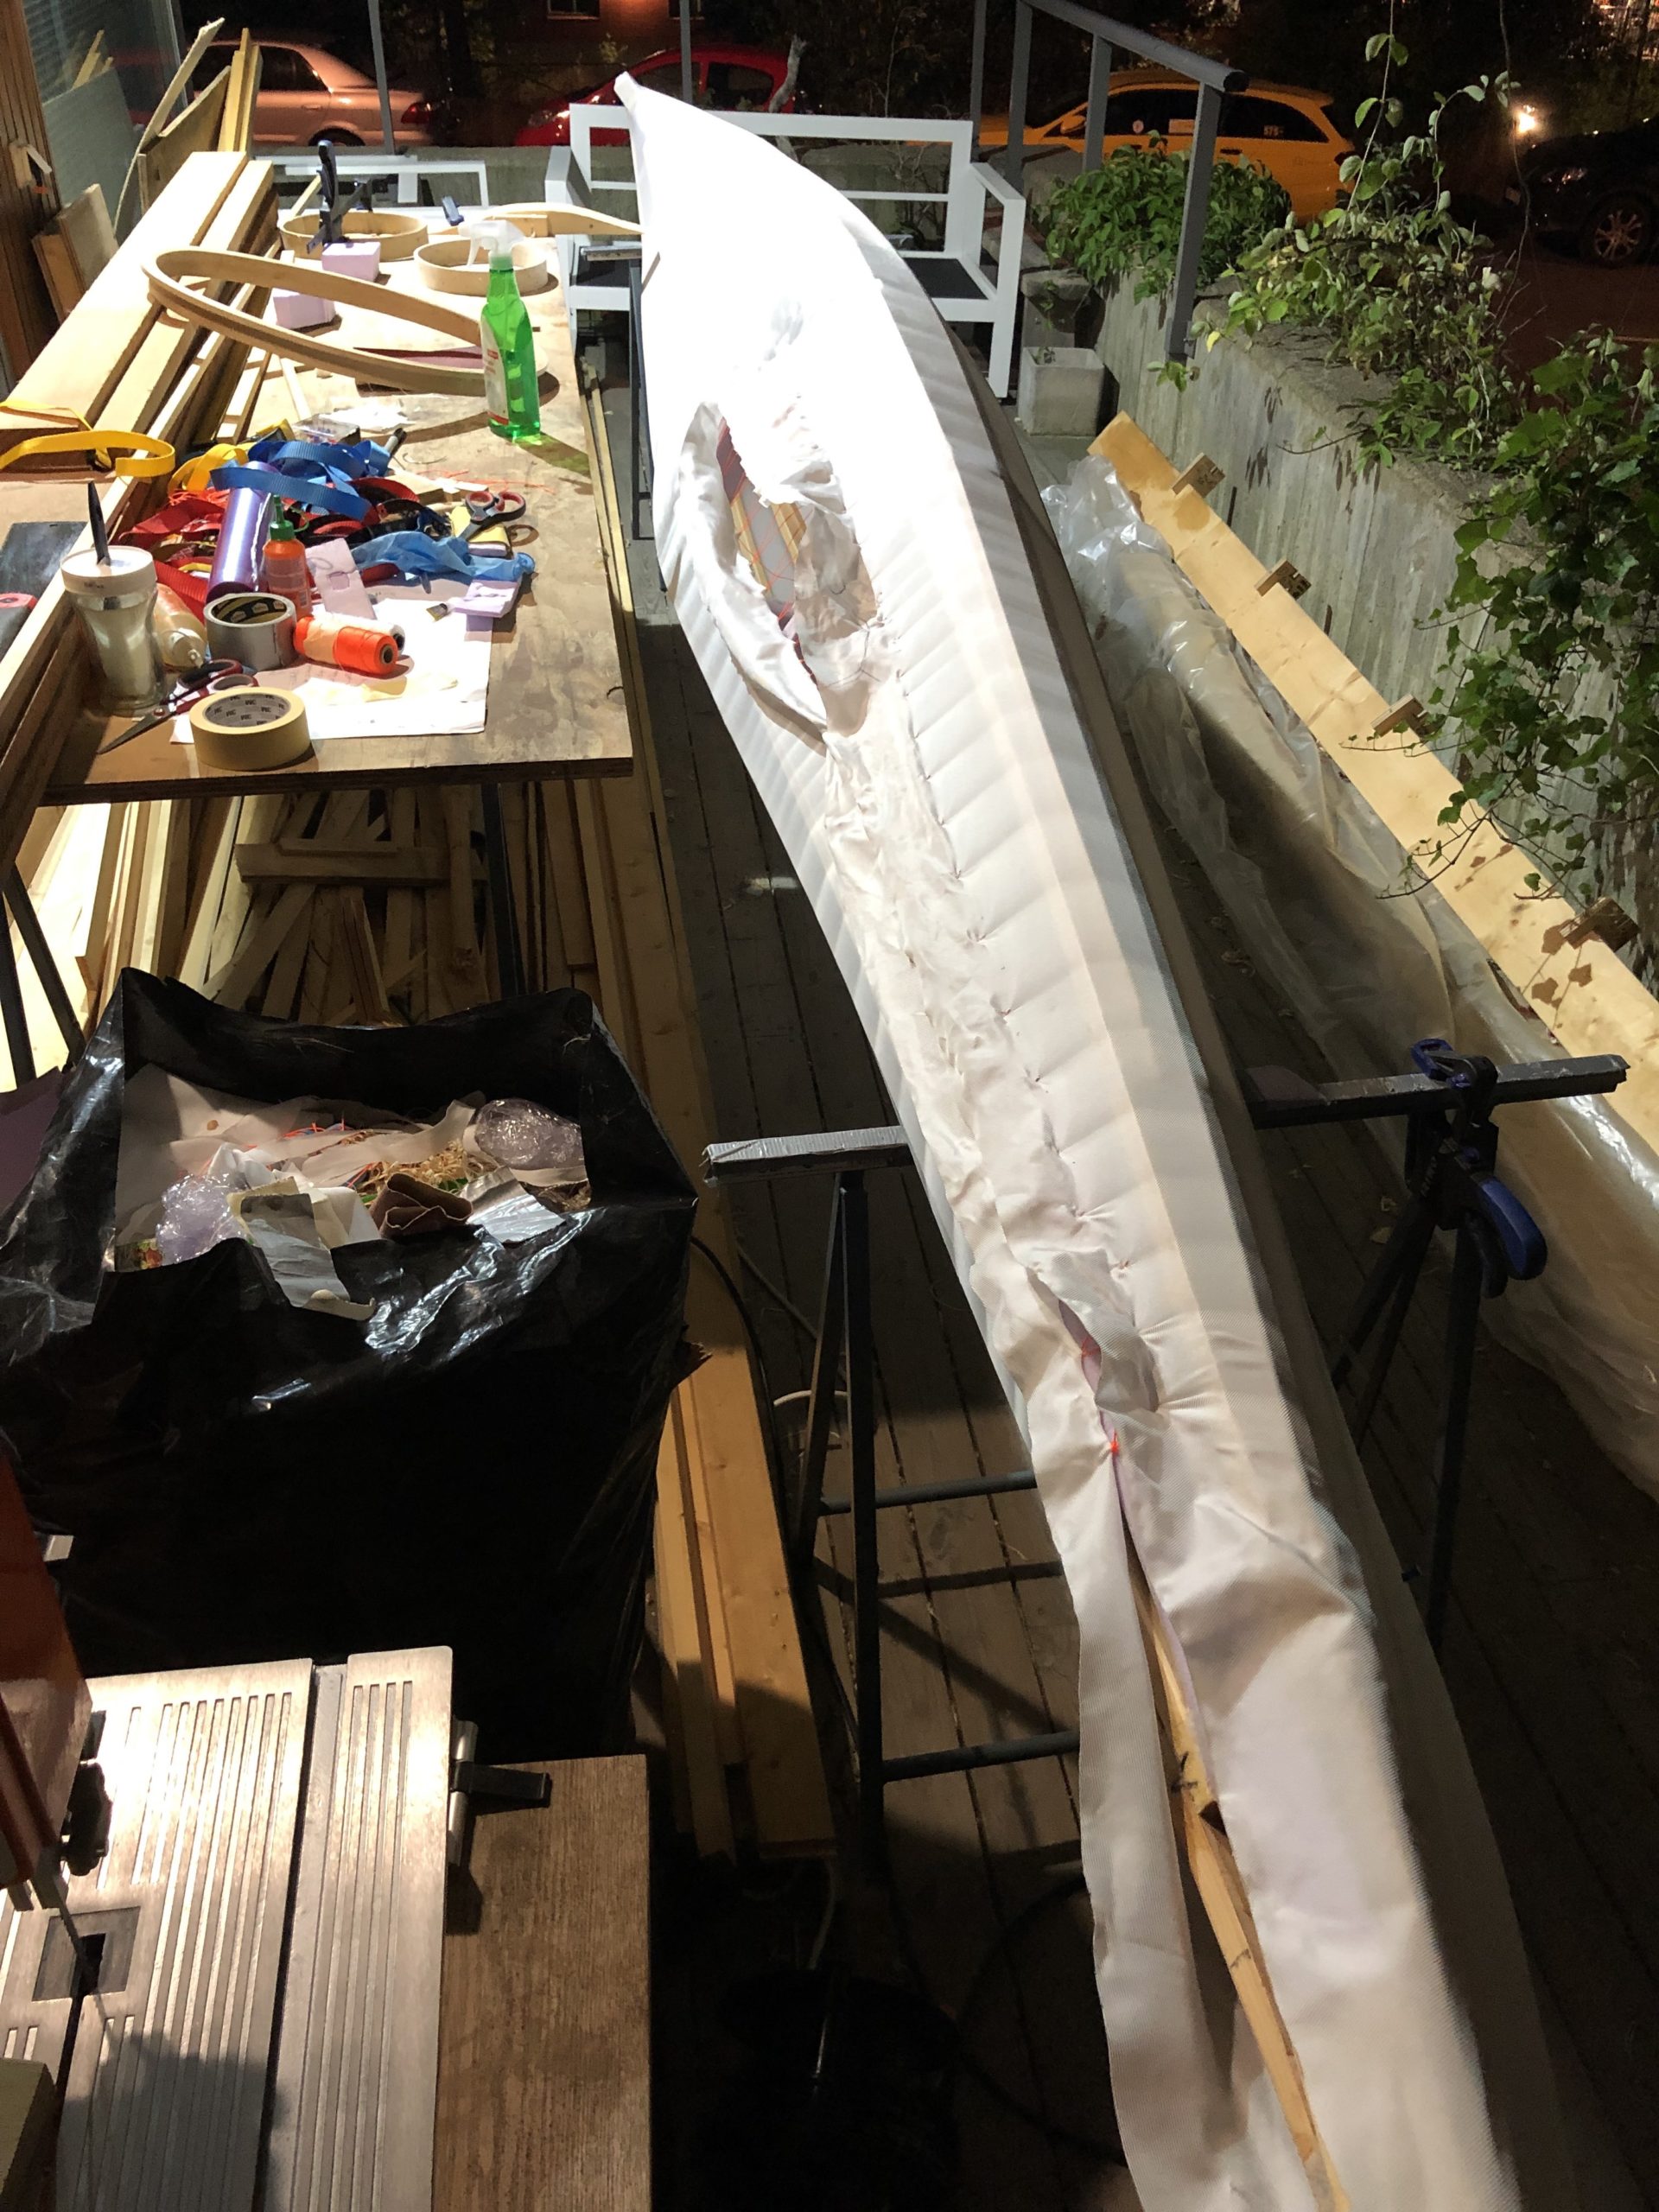
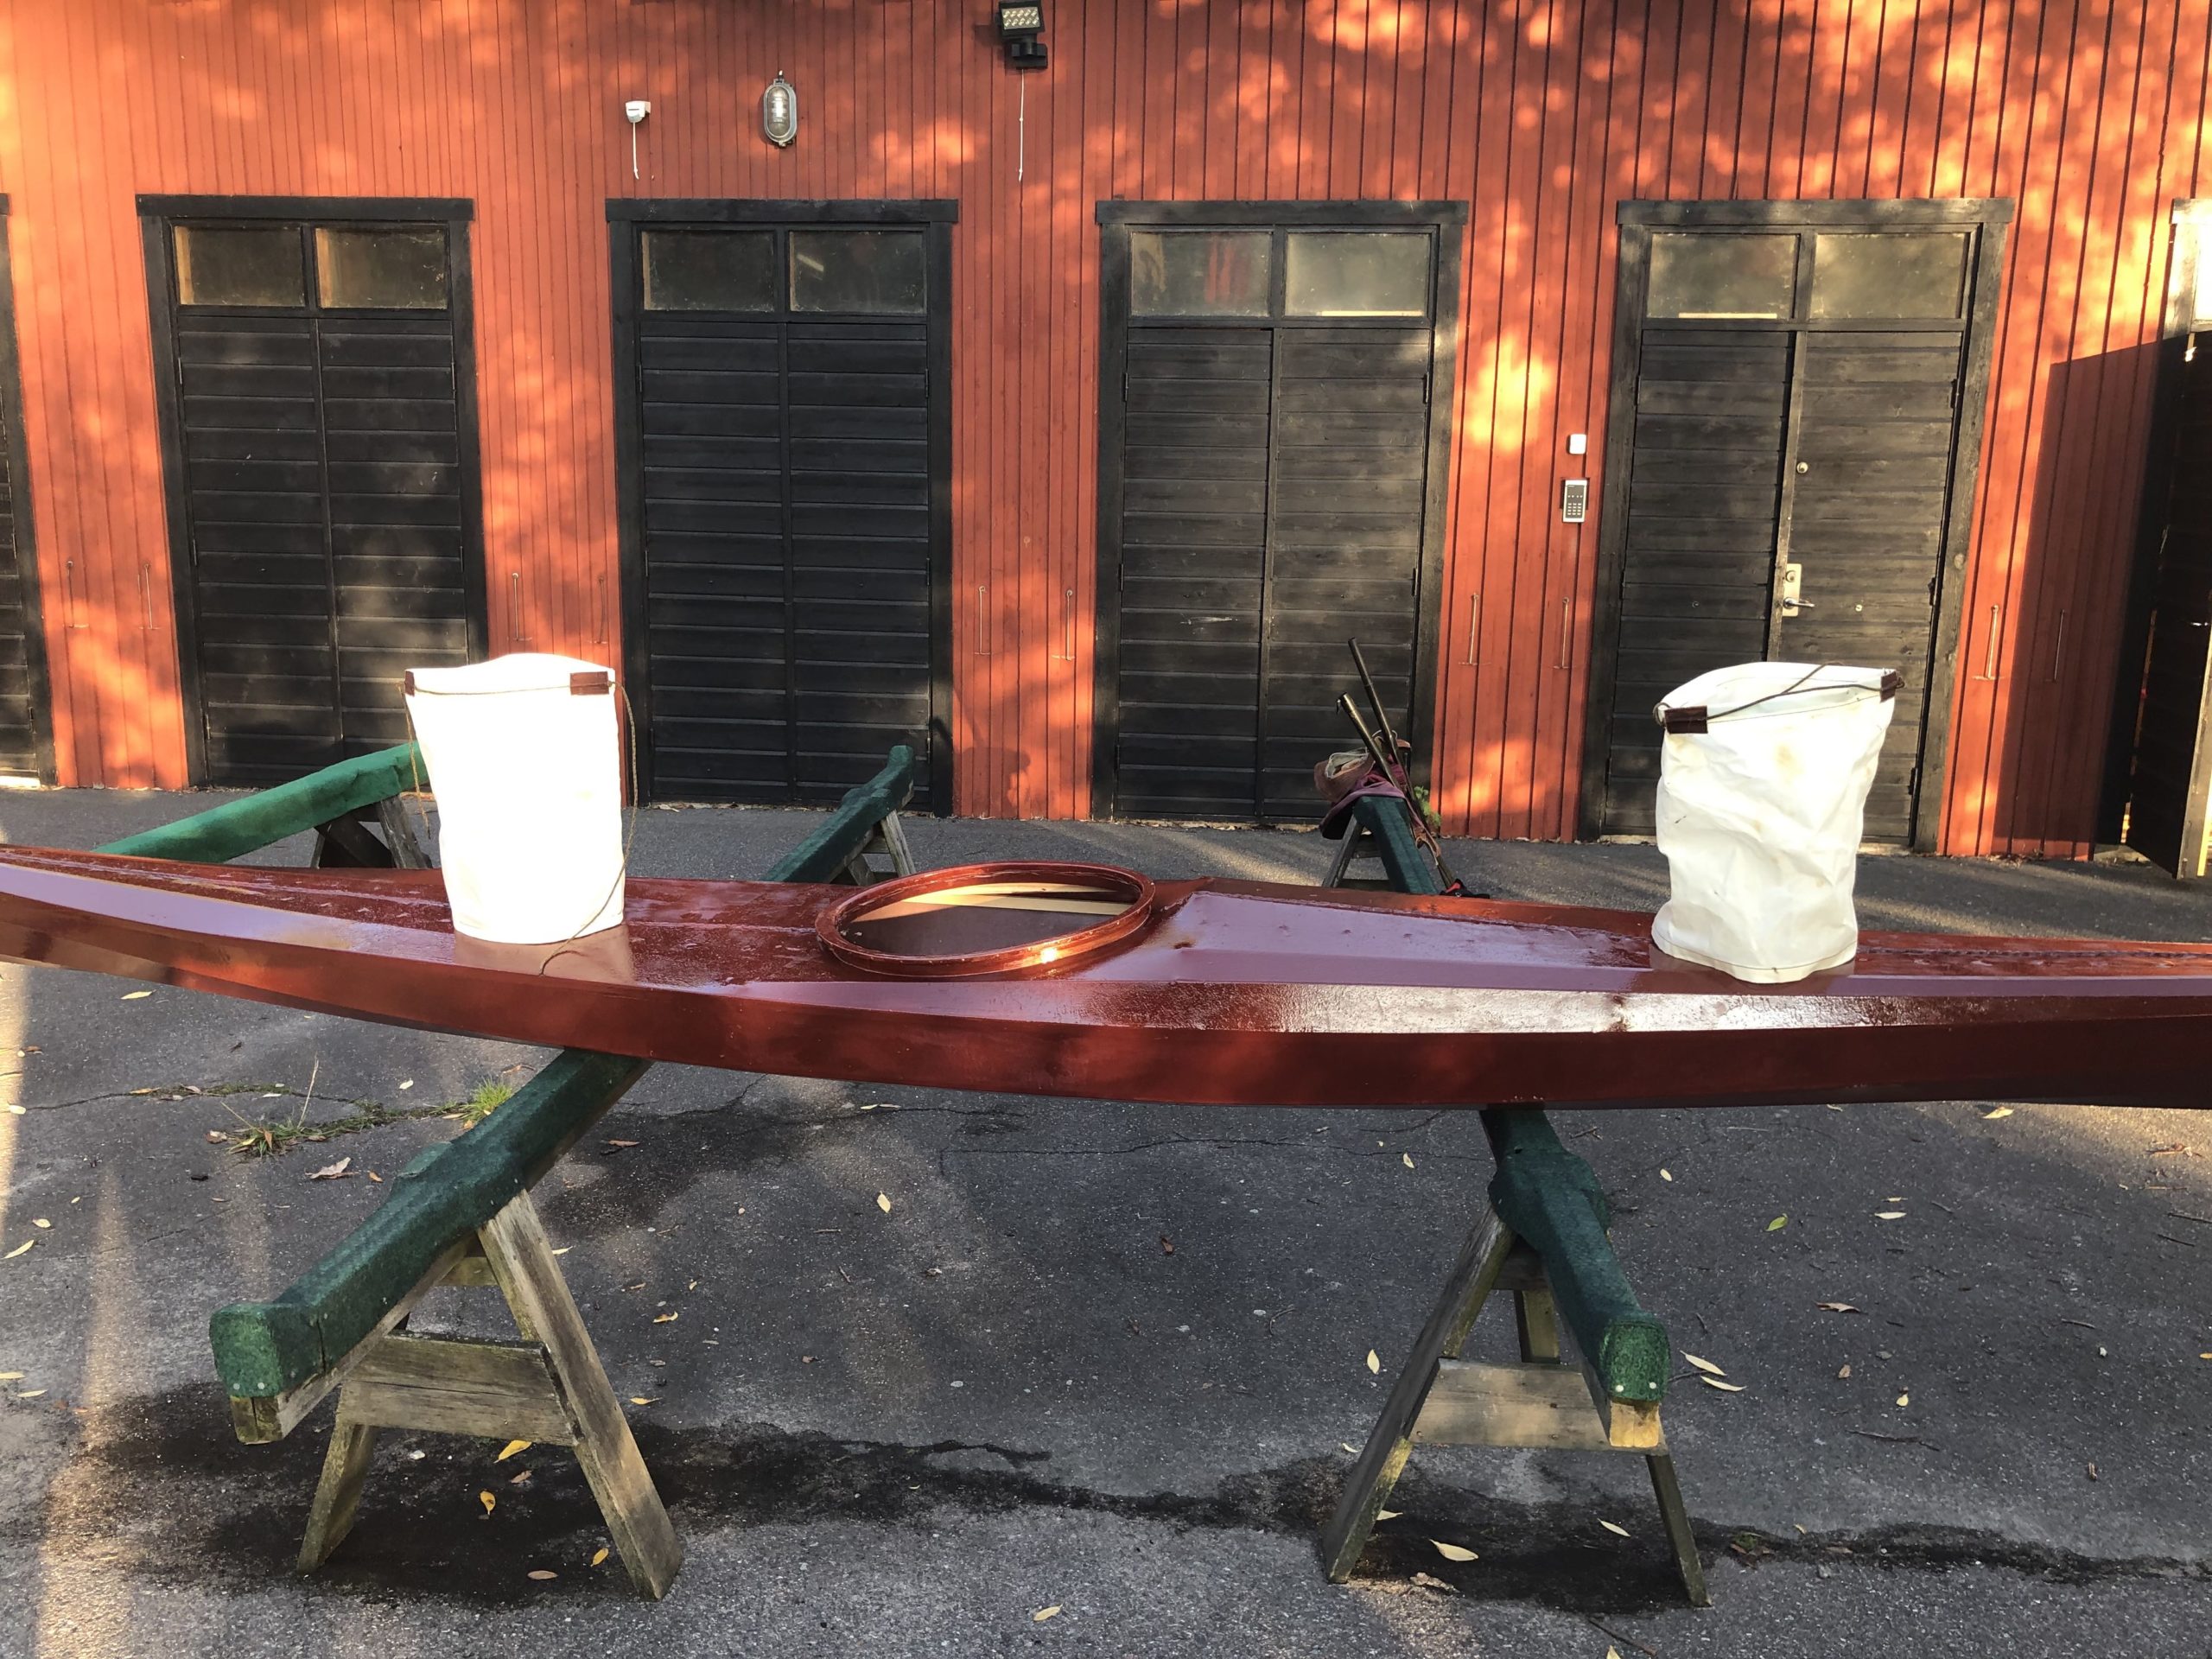
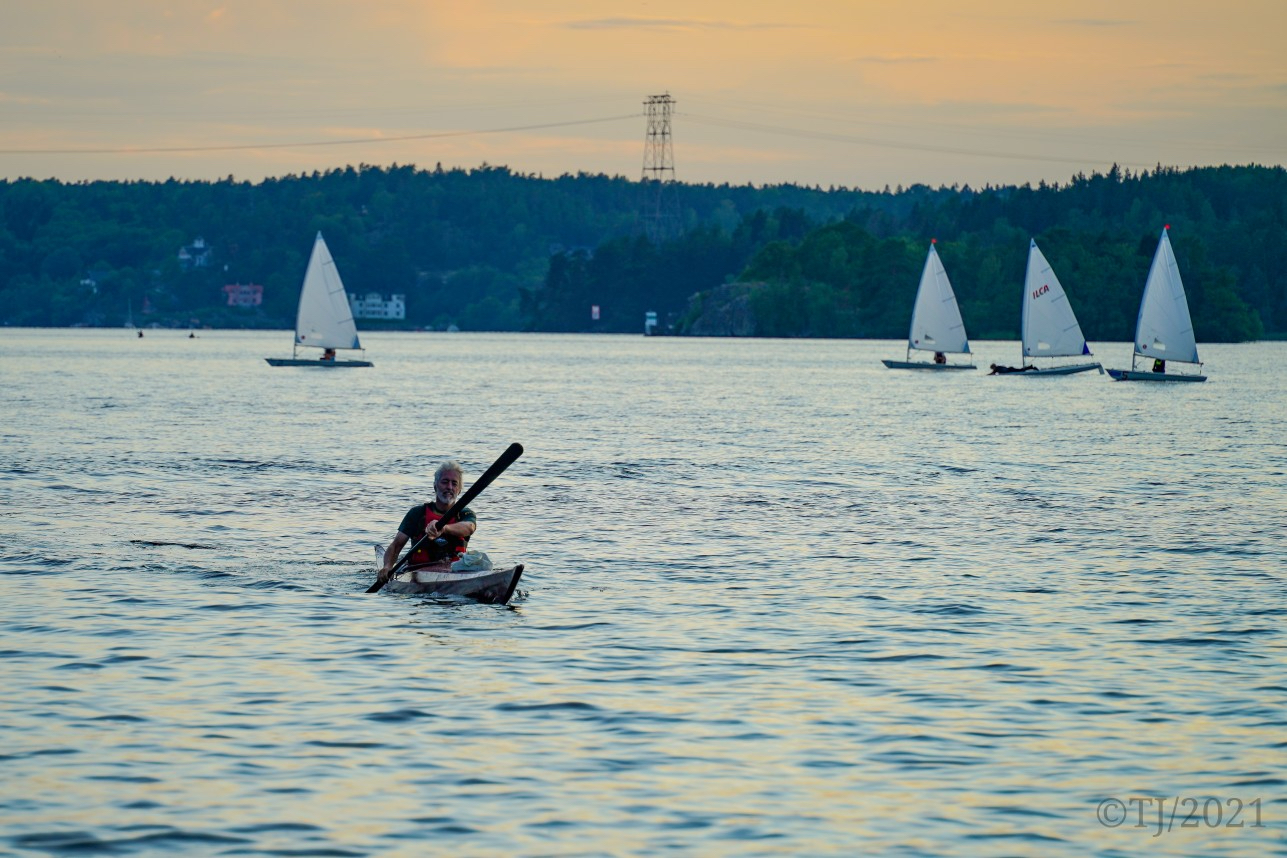
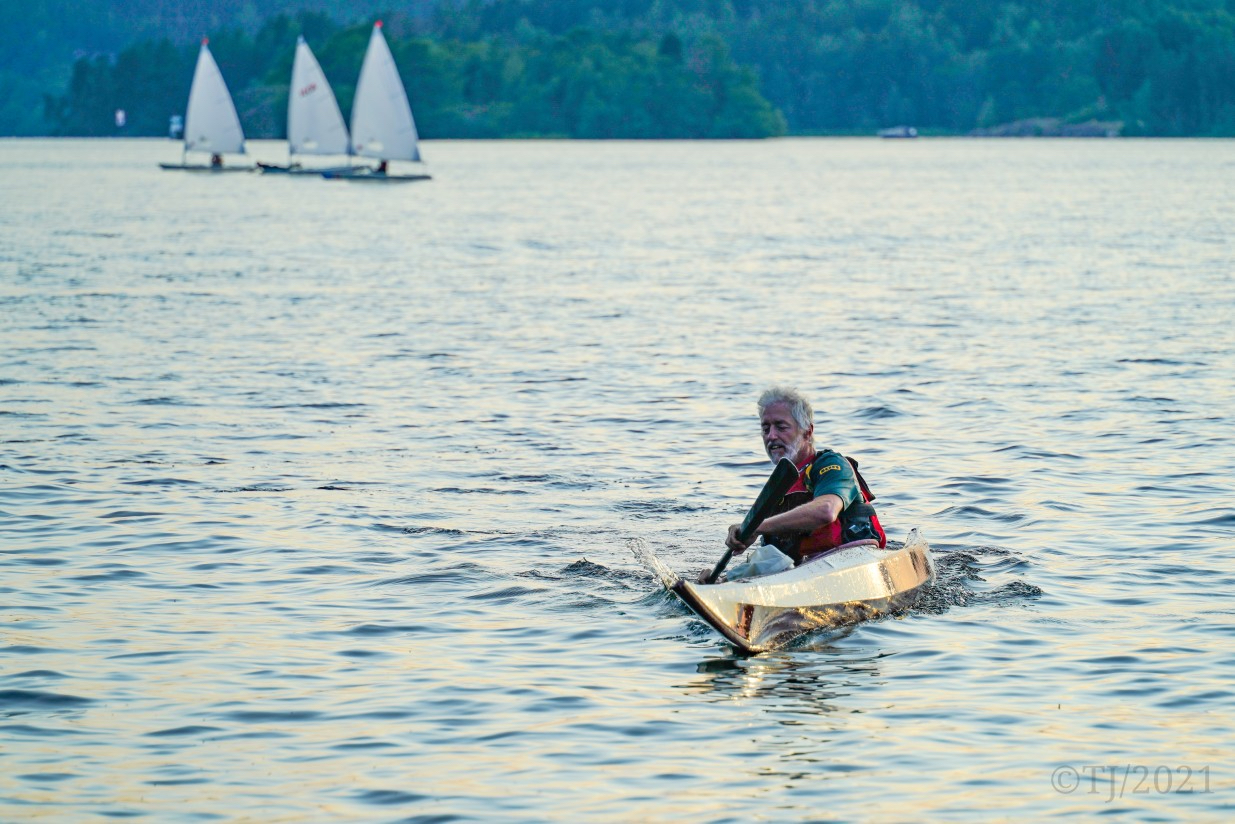
Kinda reminds you of the Titanic’s chimneys 🙂 Anyway, I got to paddle the contraption today. Verdict? It’s not the fastest boat around but due to the rocker, light weight and flat bottom it surfs easily and is fun to paddle. The “chimneys” aren’t sewn on yet and would sink if they come off, so I had to resist rolling. There are 3 layers of polyurethane underneath, 2 on top, rims and roll closure hatches and watertight bulkheads. For a high volume kayak I think (somewhat less than) 13kg all in all is a pretty decent weight.
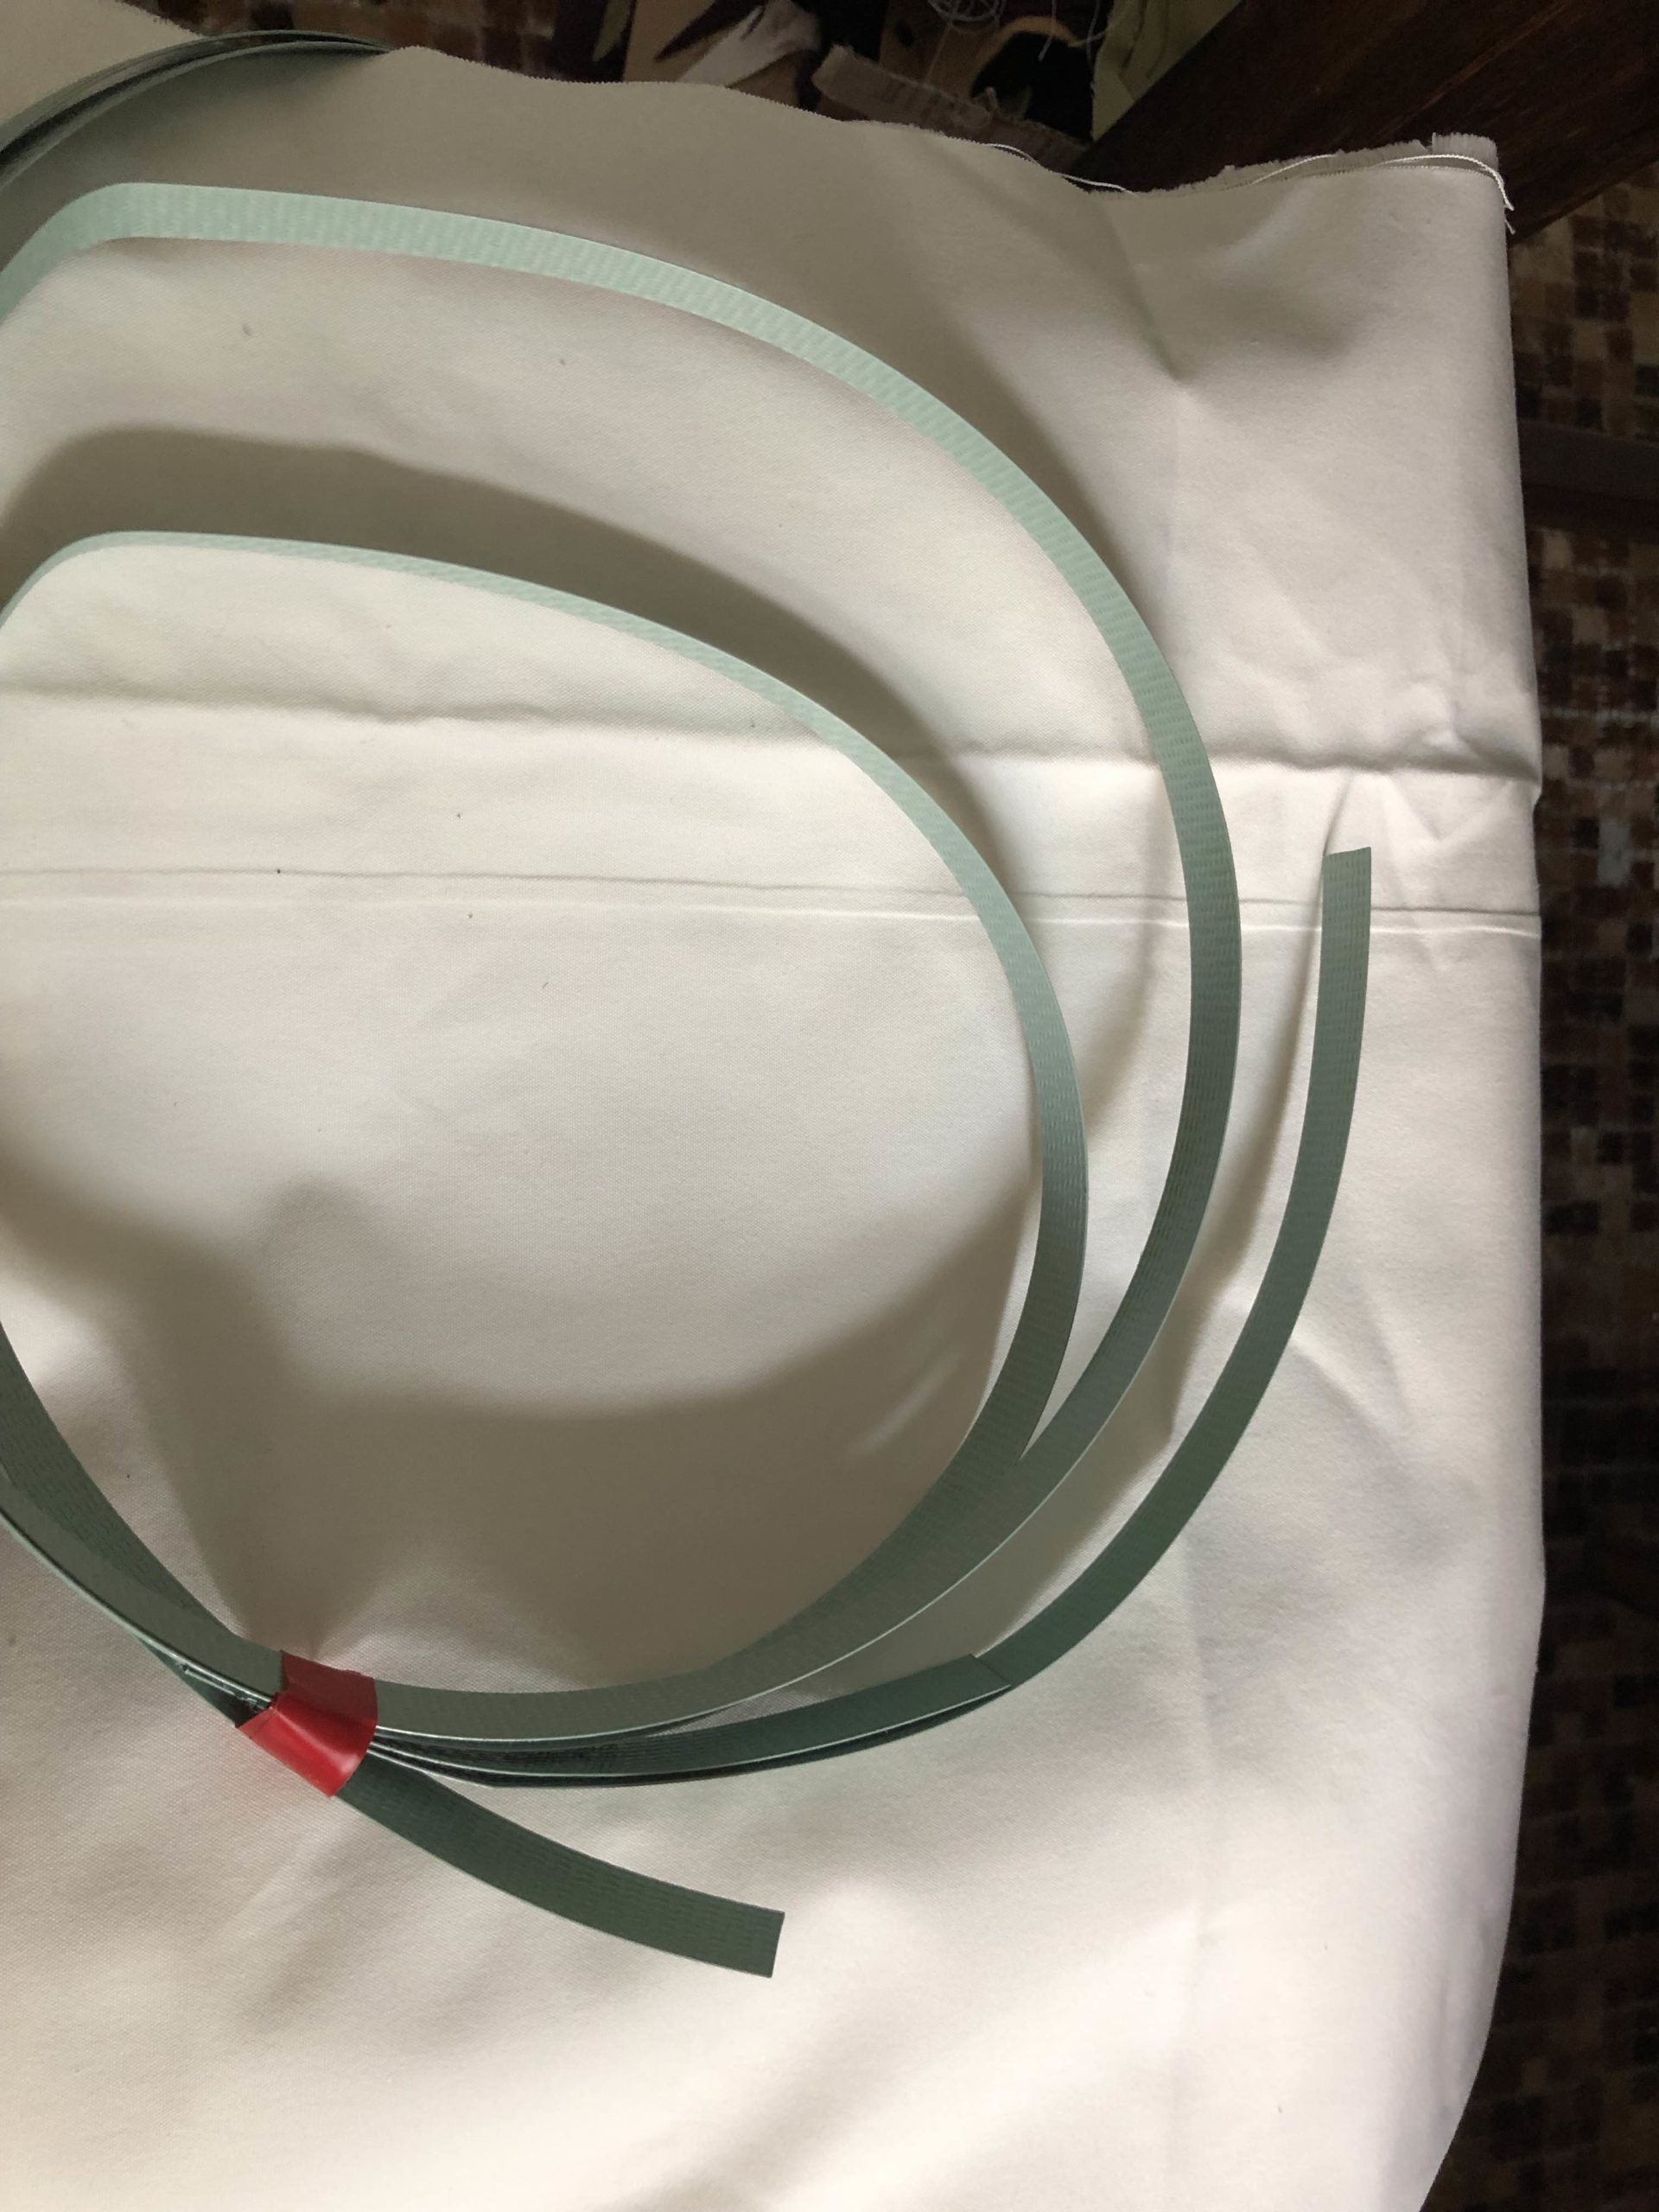
In the near future I might add rub strips, a fabric seat and possibly a skeg if needed. Will see after a few paddles with camping gear and demanding conditions.

Today I sewed on the hatch roll closures tight and made some seat adjustments. In the afternoon I played around in the water a little. Had the rear coaming been a few centimeters lower, it would have been more comfortable, but the kayak rolls easy enough. Front rolls are a little restricted too due to the high Masik, but I can live with that. What I need to consider is to put an extra rib as masik because I placed it all wrong, maybe as much as 7-8 cm too far forwards. Oh well, everything can be fixed!
This mule of a kayak is not supposed to be perfect in finish nor a rolling machine. It’s an experiment. I think the weight is under 13kg, but haven’t weighed it in all it’s current glory. That is 2kg off from the target weight, but there are 3 coats of urethane underneath, a waxed fabric seat and roll-up bags, two extra ribs and rims. The rubber sealant alone was 400g. If I decide to put a skeg on, it will be close to 14kg. We’ll see.
Not missing a skeg yet. Even on windy days and quartering waves from the back, the kayak is so easy to turn I don’t even think about the wind/wave weathercocking. Just keeping the heavy luggage at the back, close to the seat.
Writing this very text a few months later I’m still ambivalent about a skeg. I really don’t think I will need it but since I want to learn to build one I will make a retrofit skeg box soon. A big Thank You to Bryan Hansel at PaddlingLight.com who made the drawings for this stable, fun and agile kayak!
So, what would I change if I built this again?
- CG (Center of Gravity) to CB (Center of Buoyancy) seems a bit off for a Skin-On-Frame without a skeg. My CG needs to move back a little (more)
- Because of the above, if you want this kayak for surfing I would recommend installing a skeg
- Make the coaming sit much lower in the back. I lowered it 1″ or 3cm and it’s still too high to be comfortable for rolling for me
- Be sure to install the Masik and ocean style cockpit where it is effective and comfortable for you
- I would not build this kayak with foam and glass fibre again. Building with wood and bending oak ribs is fun and soothing. Glass fibre is frustrating!
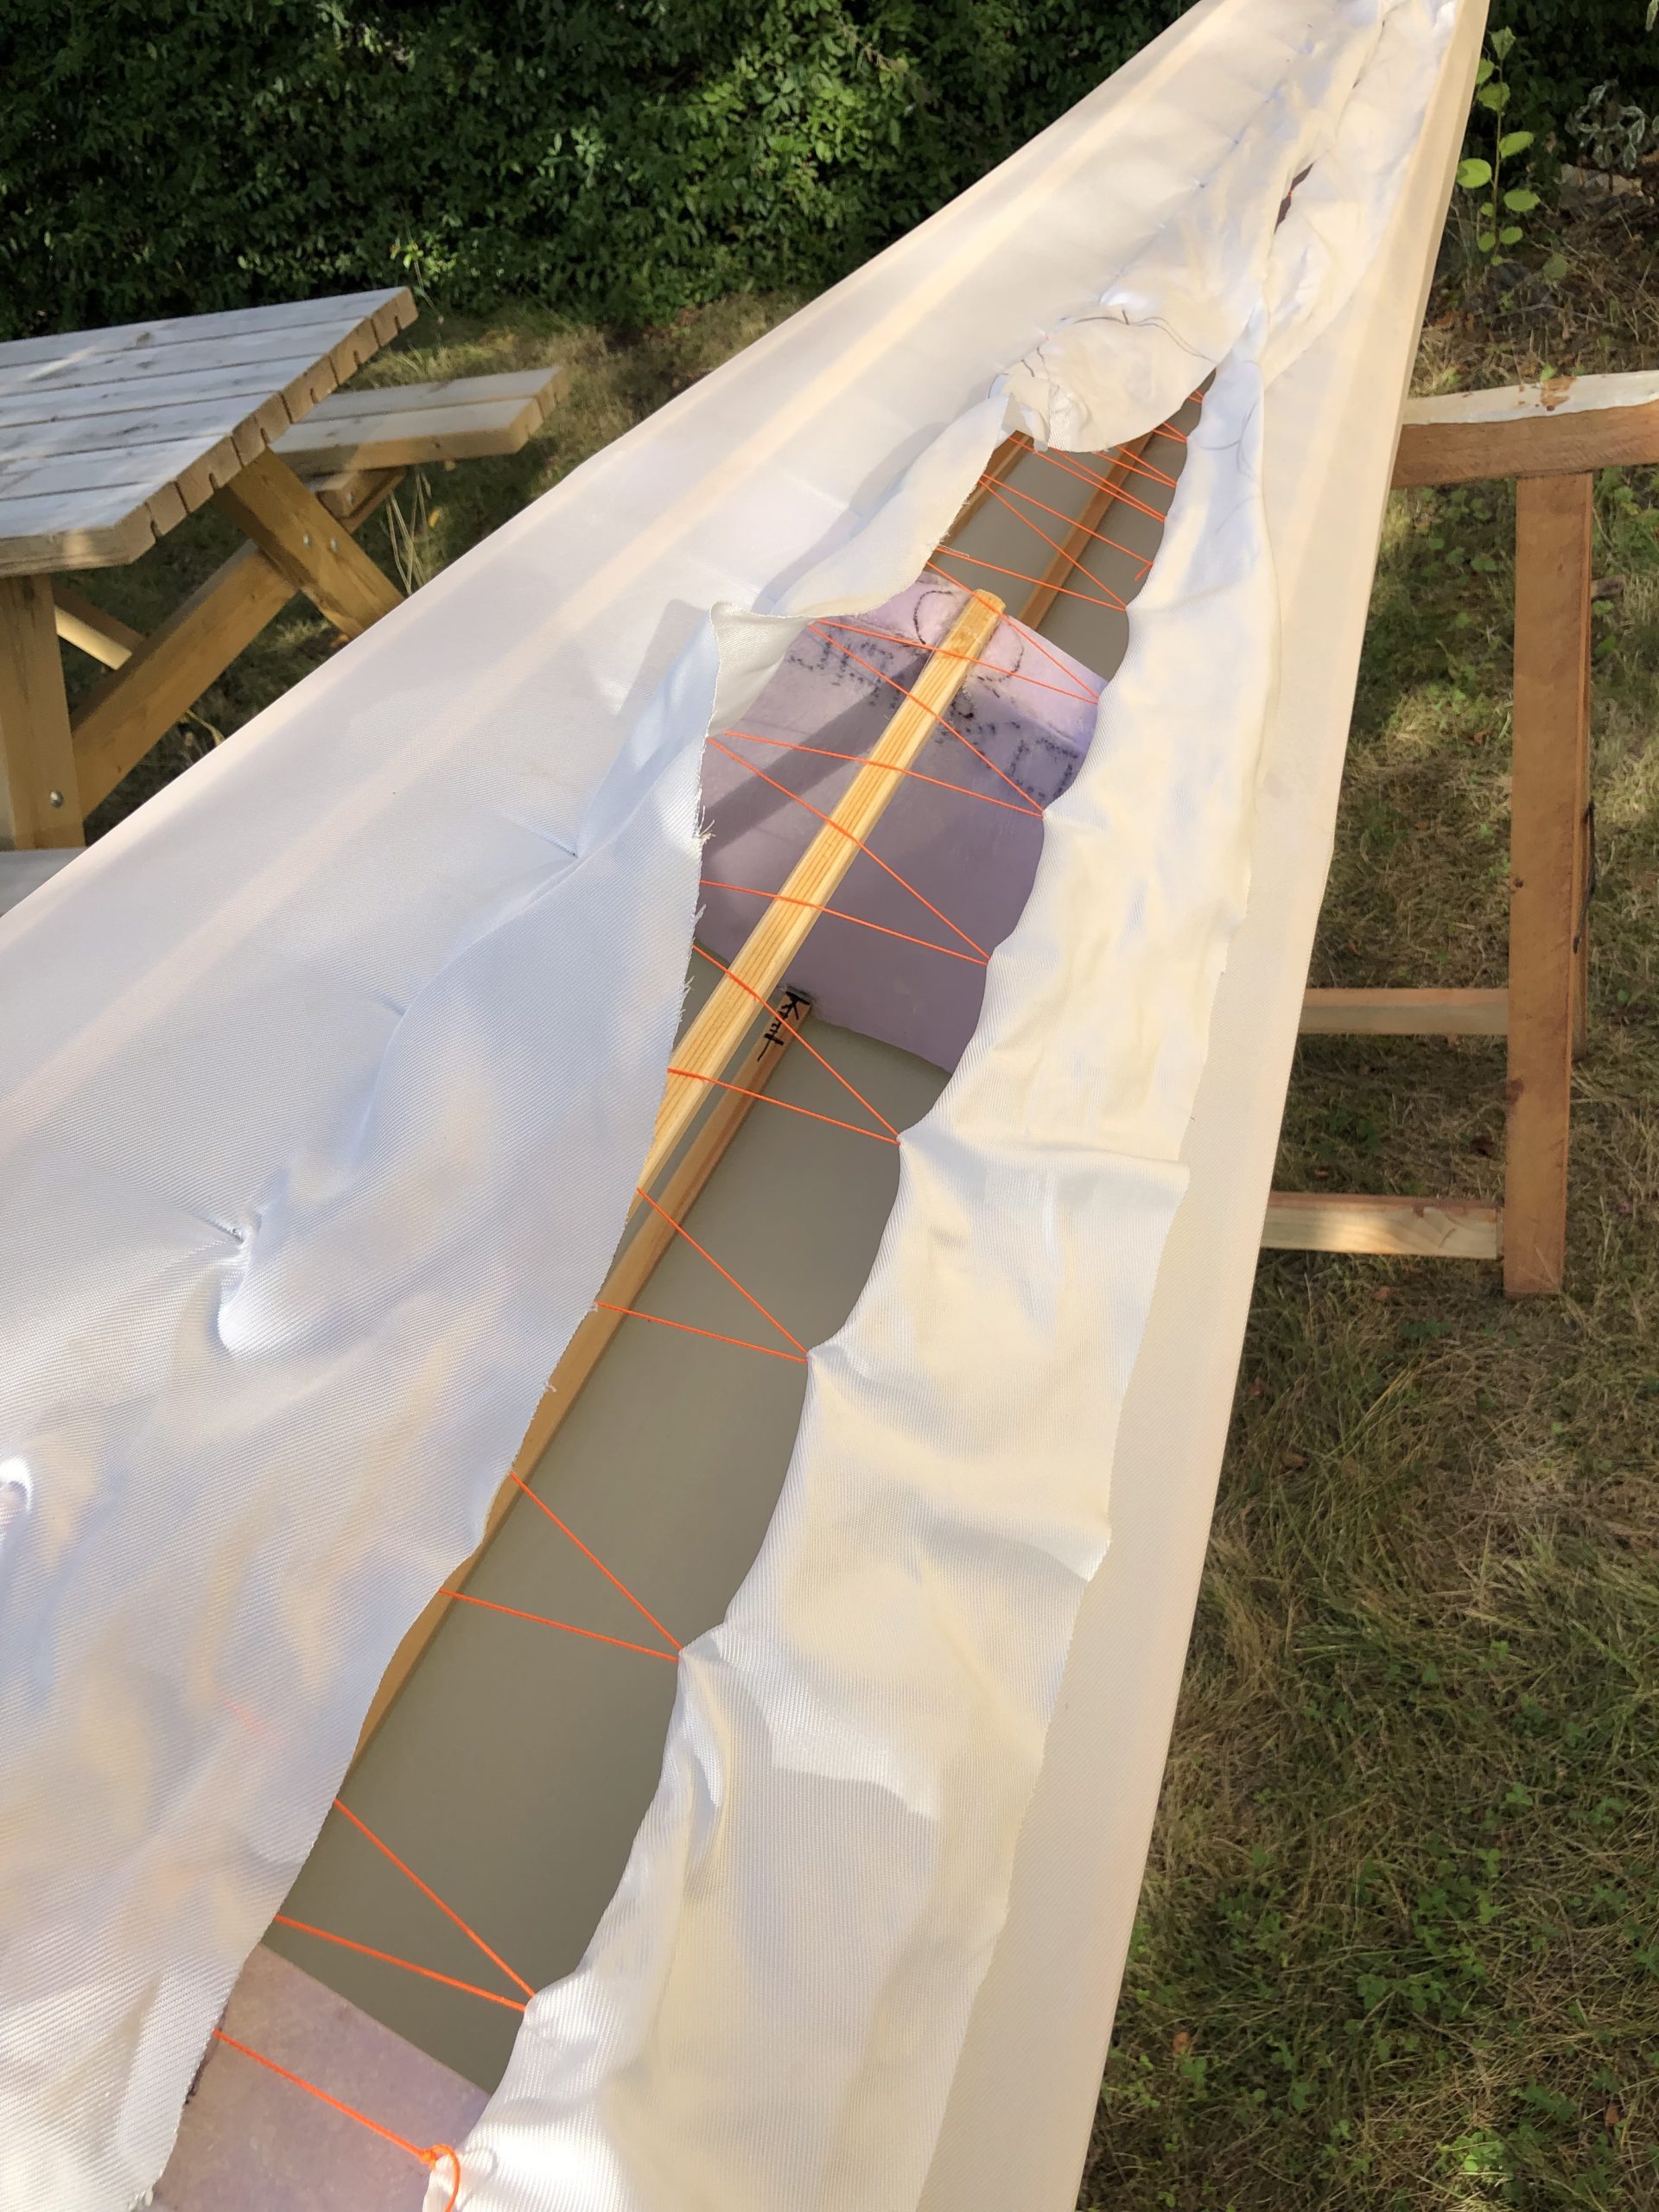
- Not convinced about the Yost style cross members. They are accurate to get the shape you desire, yes, but to remove them when I’m done, at least around the cockpit, would be great! Maybe next time?
- Did I mention the kayak steers great and is a lot of fun to paddle? Well, it is really responsive and is in fact so much fun I don’t care if it’s not the fastest kayak around or veers away in cross winds or waves. It’s just as easy to steer back. I would not change that!