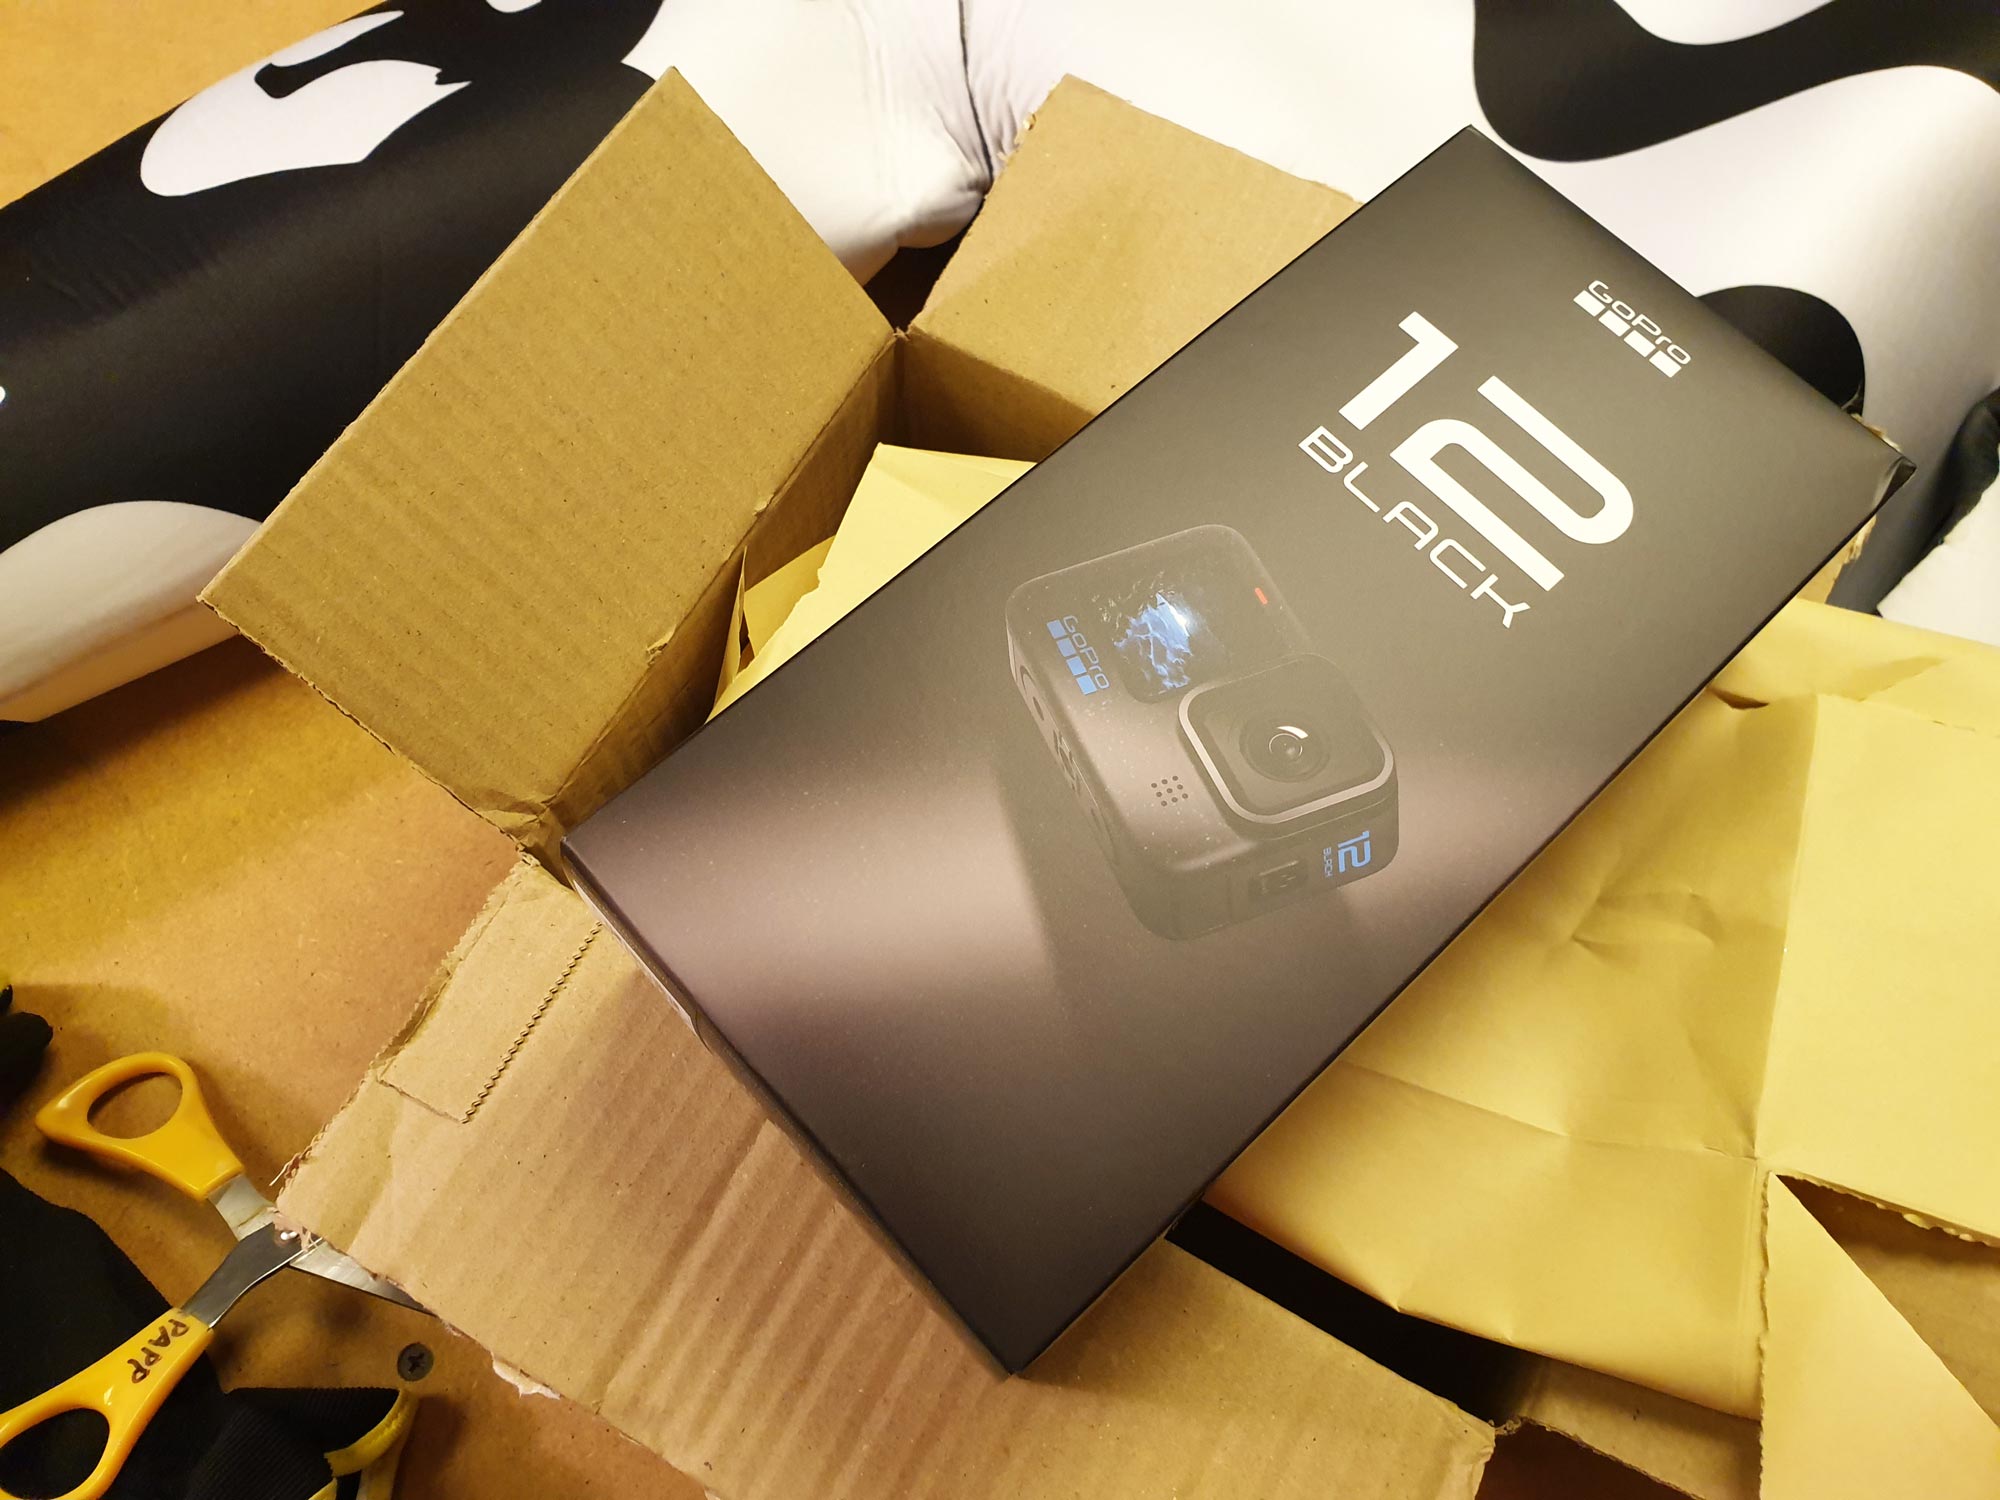
Gaaah! This is the third consecutive winter where I drop one or both kayaking gloves somewhere. And the winter is just started. One pair I left on my friend Danne’s car roof. Bad roof!
You know the drill: You’re loading kayaks on a car roof. Suddenly the rooftop is very windy because the car is moving. Gloves fall off. Paddles too. You have no idea that it happened. Nor when, nor why. Because you don’t make mistakes, simple as that! Right?
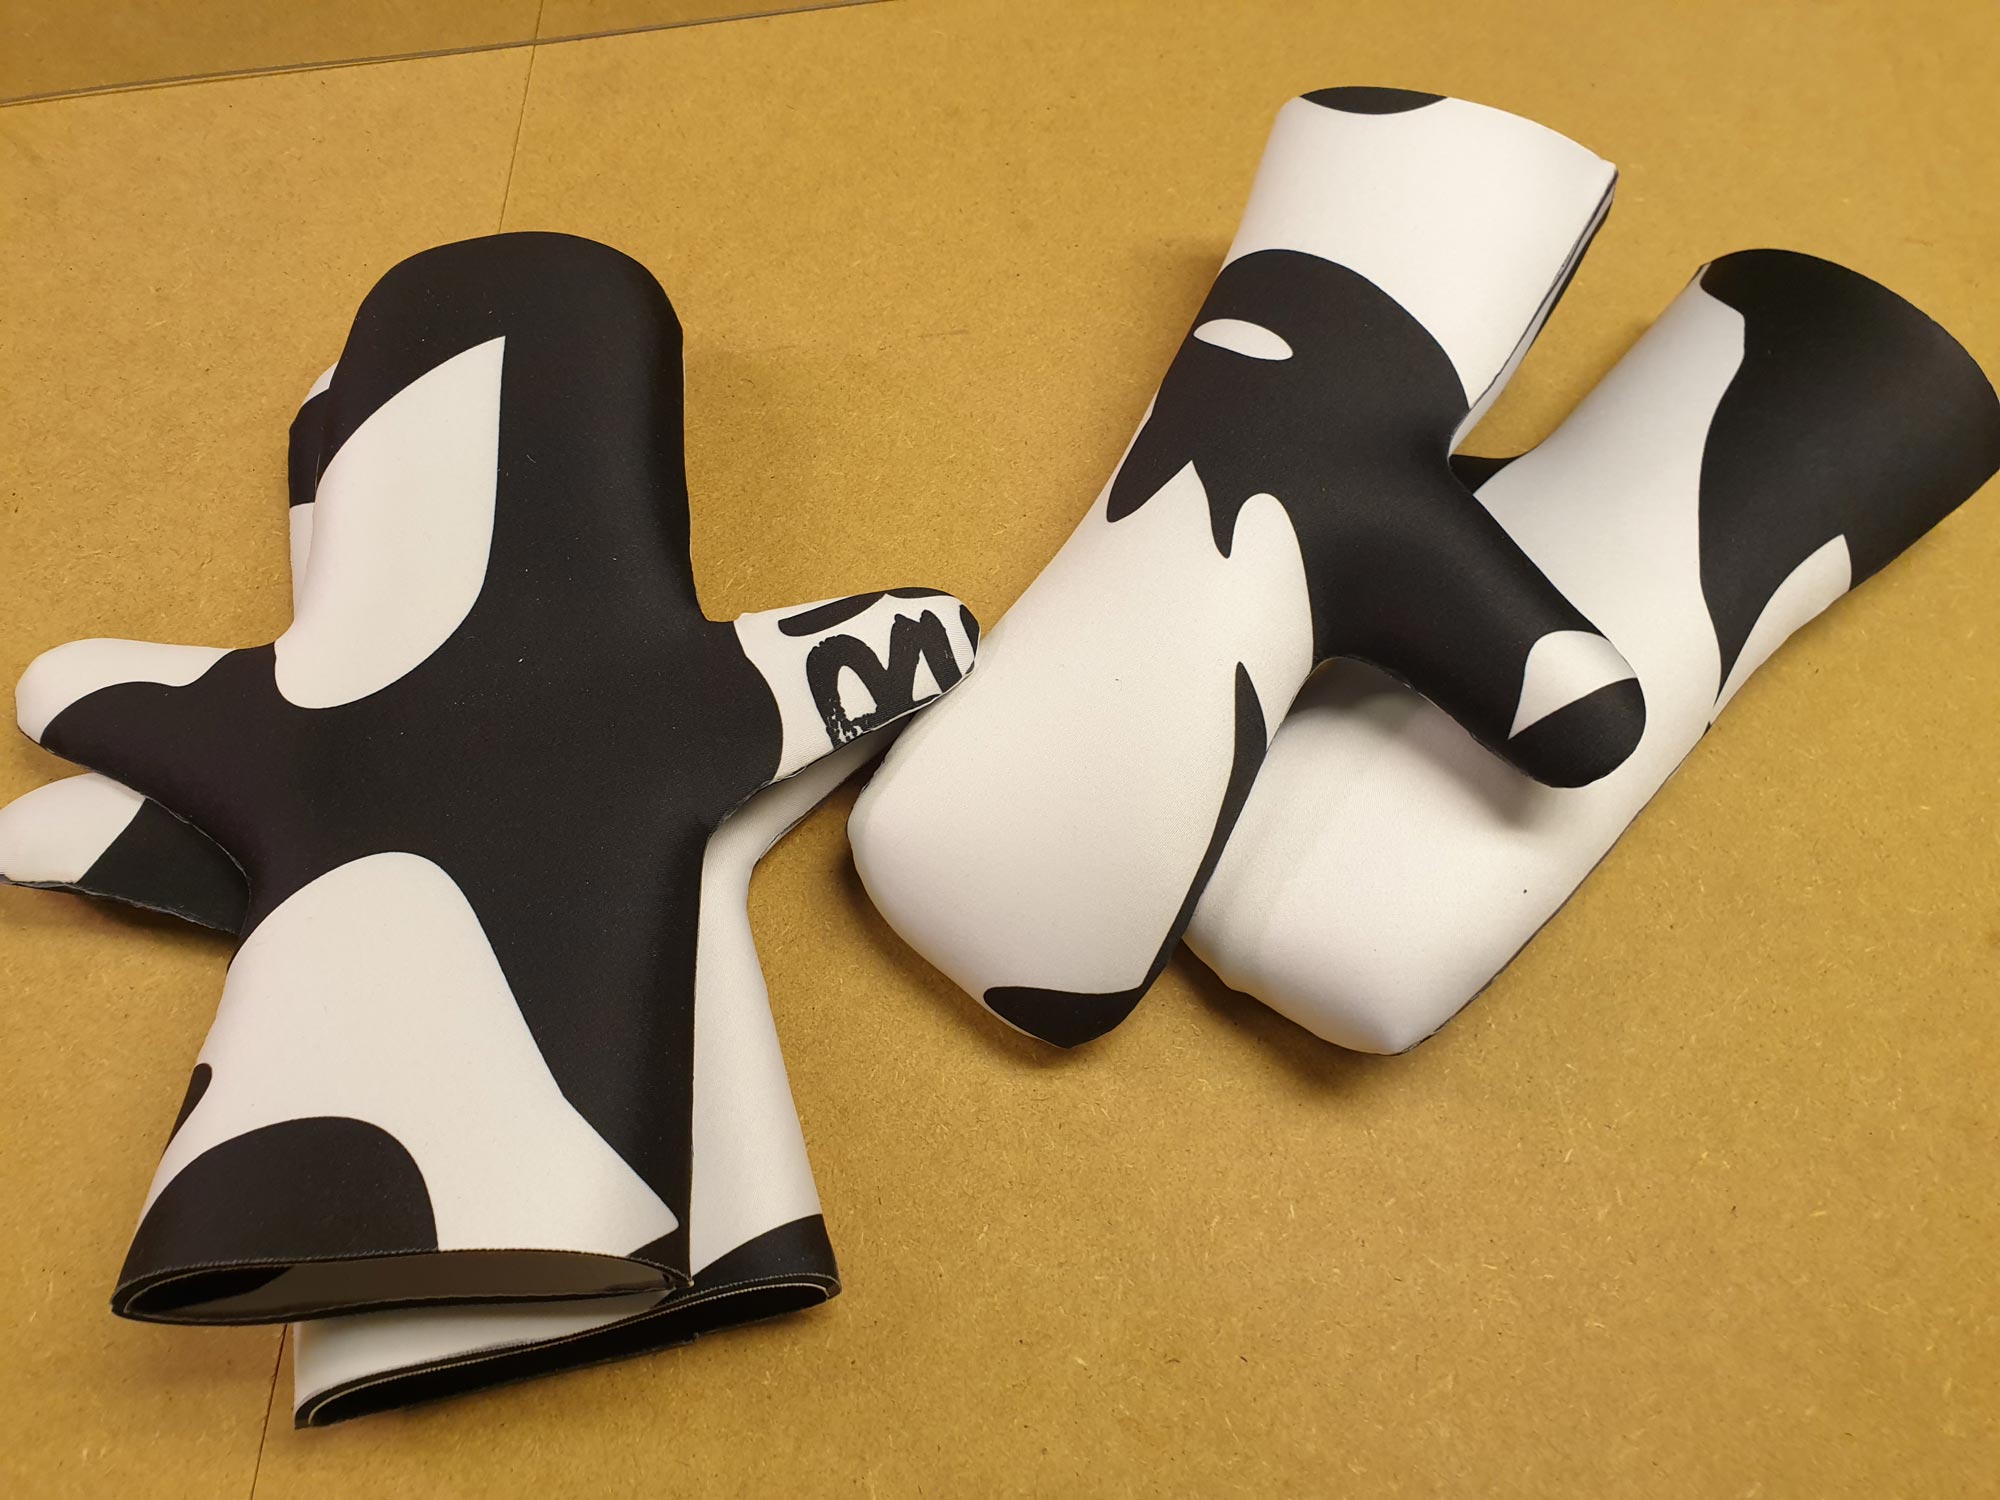
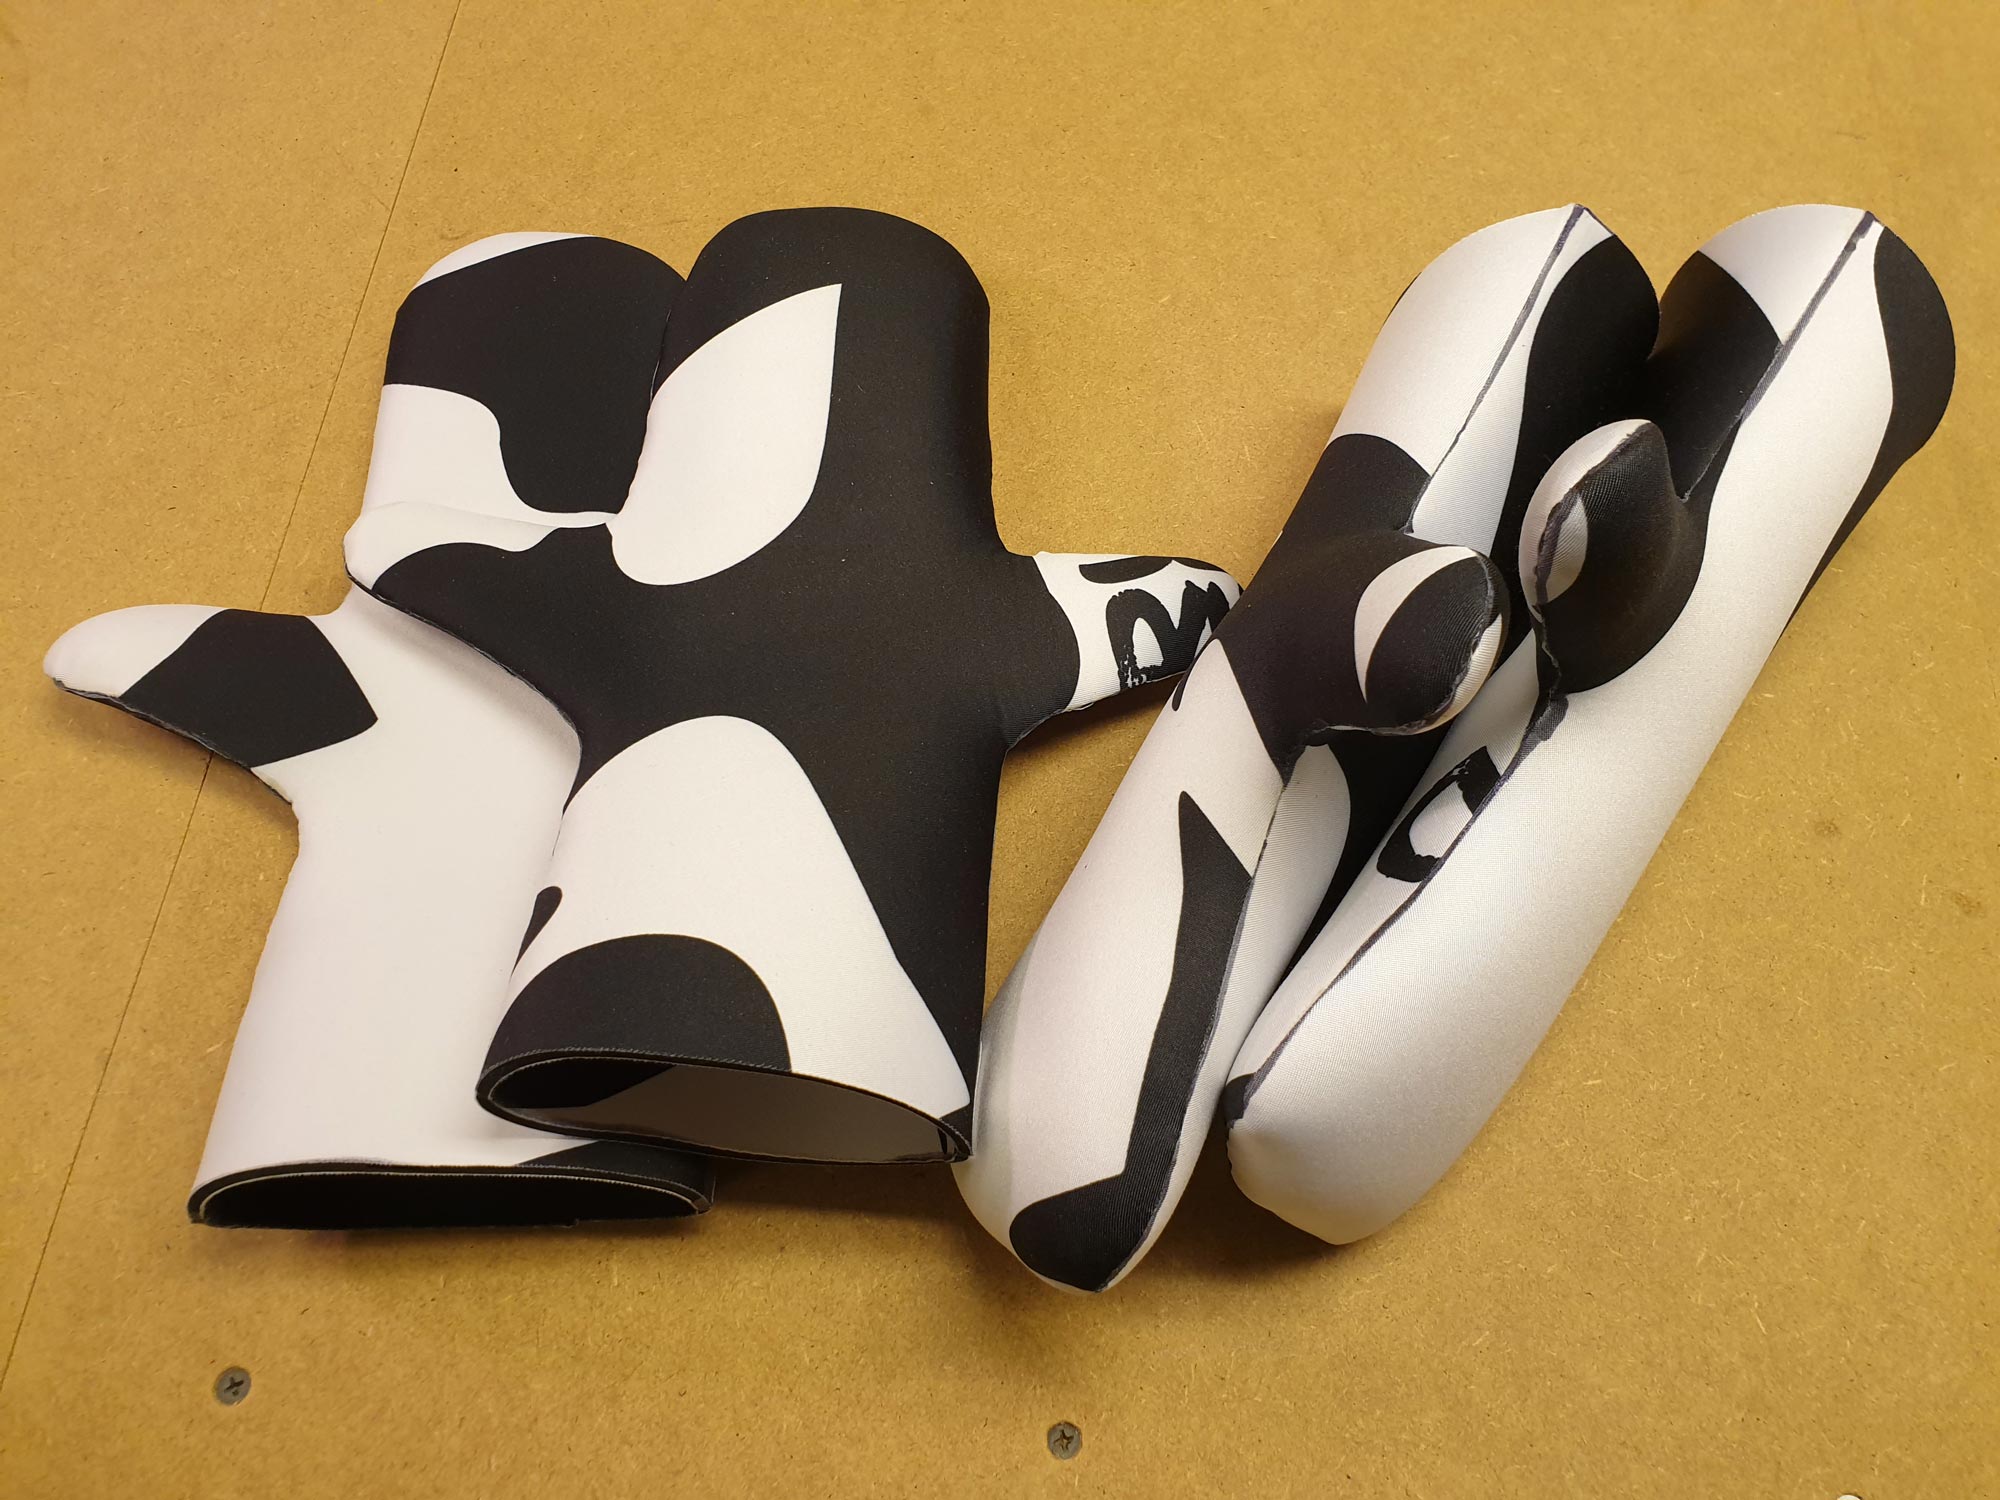
Well, to remedy the loss of one NRS Toaster mitt the other day, I made a quick stop at the sewing workshop. Actually two days in a row. Needed to test another model with the same template.
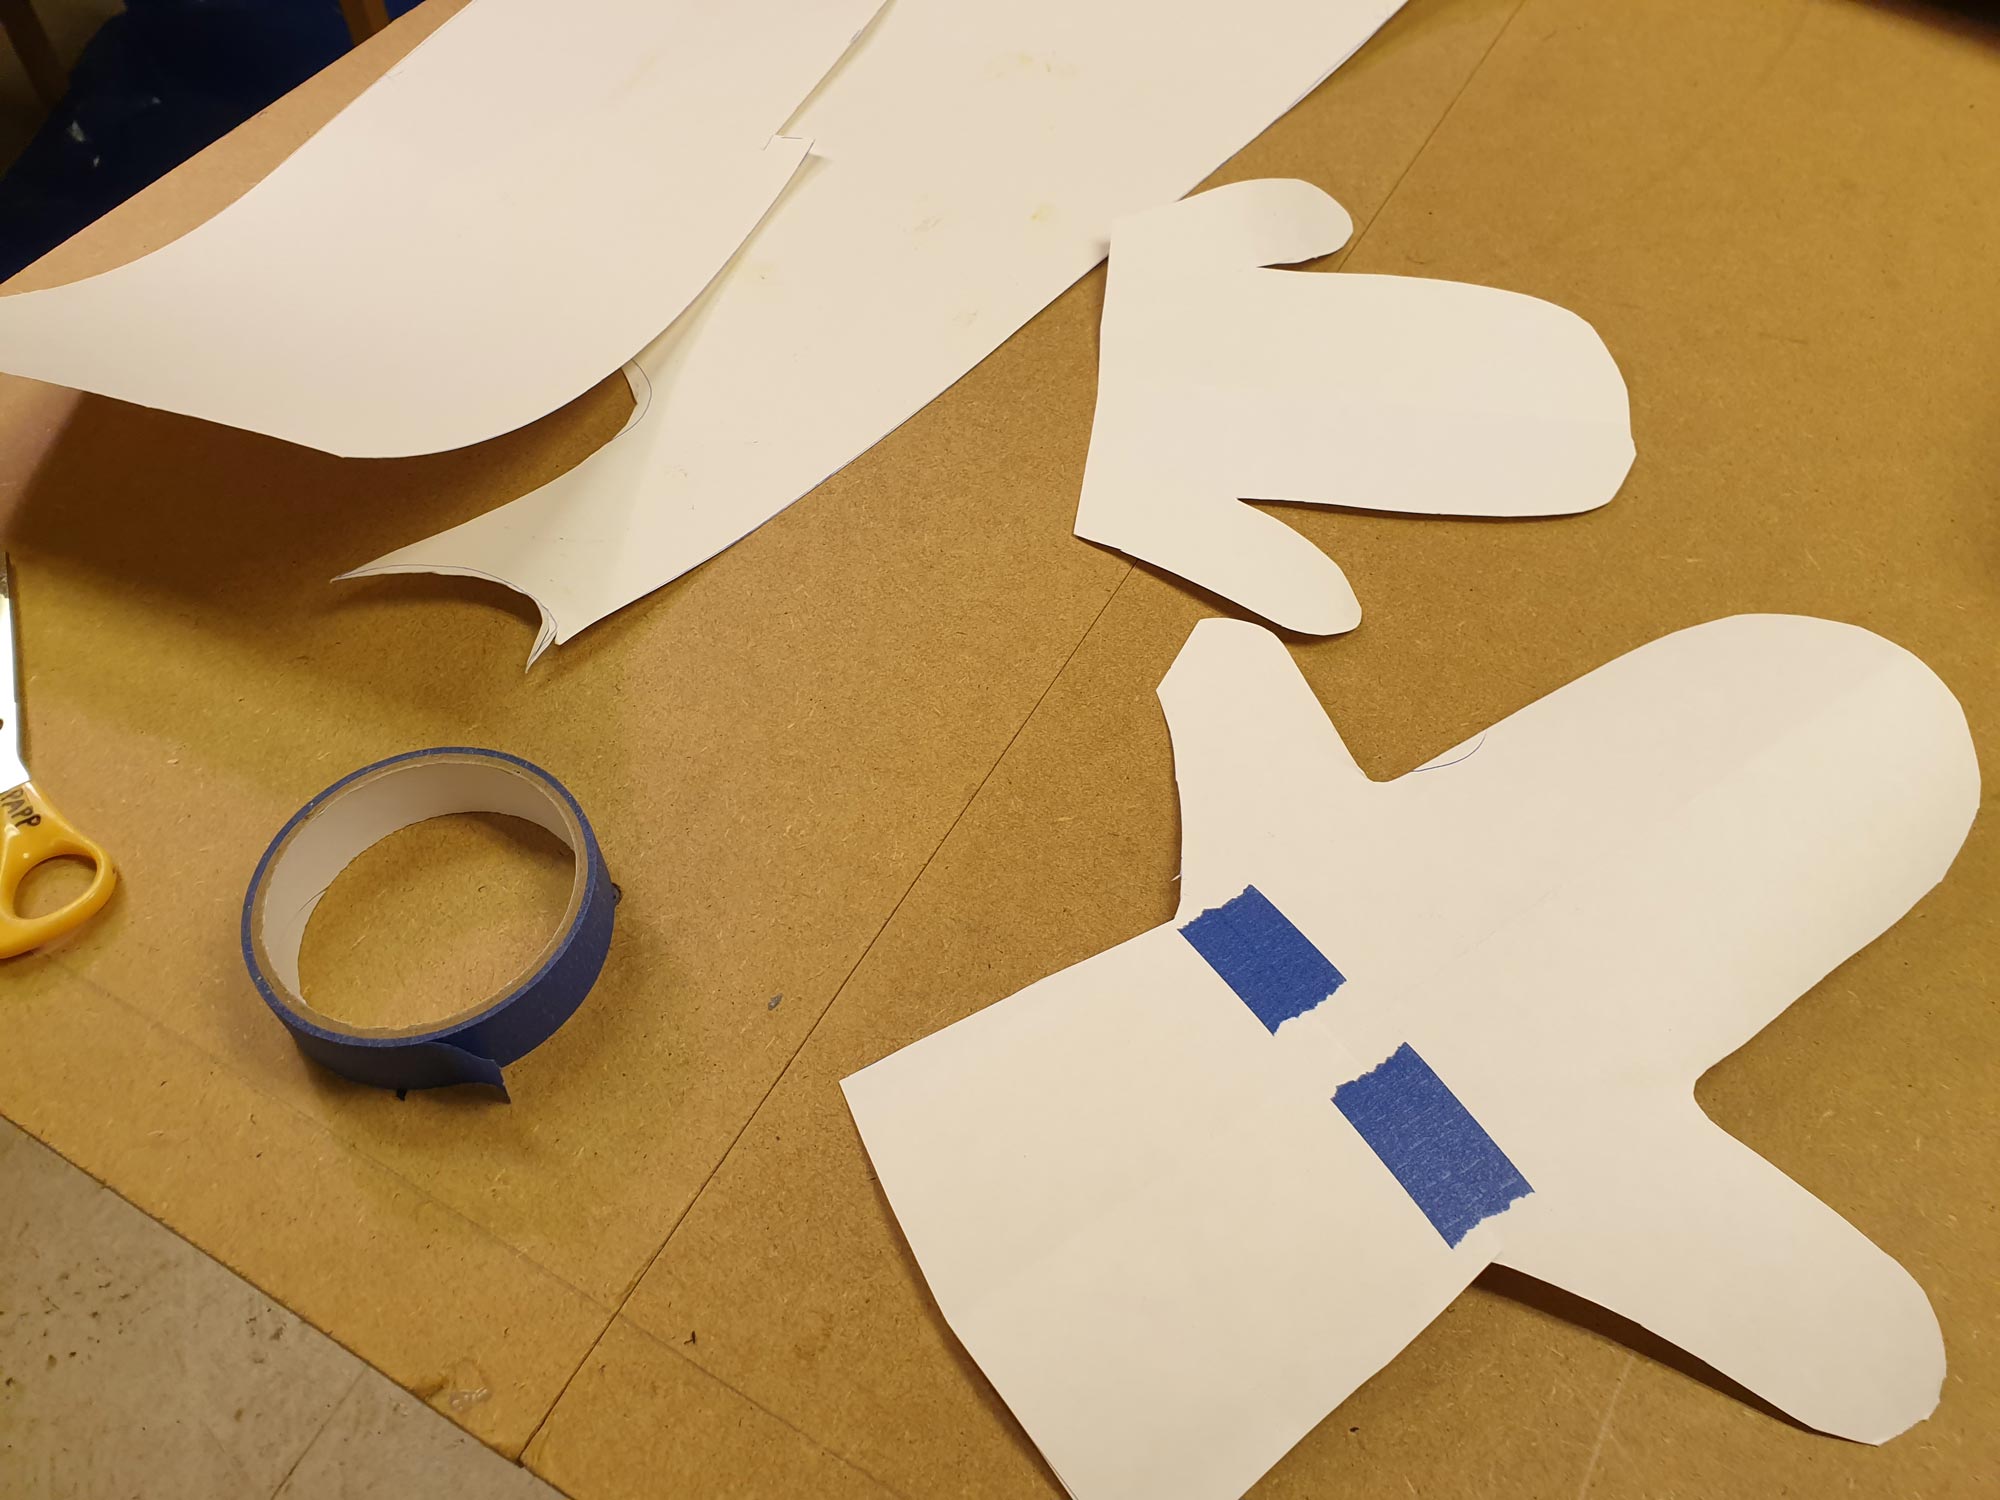
Making up the template isn’t all that hard. Just put your hand on the paper and draw around it. Mittens aren’t rocket science. Hmm, maybe some are but that’s way above our heads 😉 These are Inuit hunter style. Takes opposing thumbs to a whole new level. Guys must be smart over there!
Once you have your mental 3d image of how they will look (yeah, I’m too lazy to CAD them up and haven’t got a plotter), just cut them out and start gluing the neoprene edges. You will need one of these little 28mm roller knife guys. The brand is Olea and many sell it under their own name. It is absolutely necessary for cutting the neoprene and you can not do with scissors. A larger diameter, 40mm, can’t go around bends for thumbs.
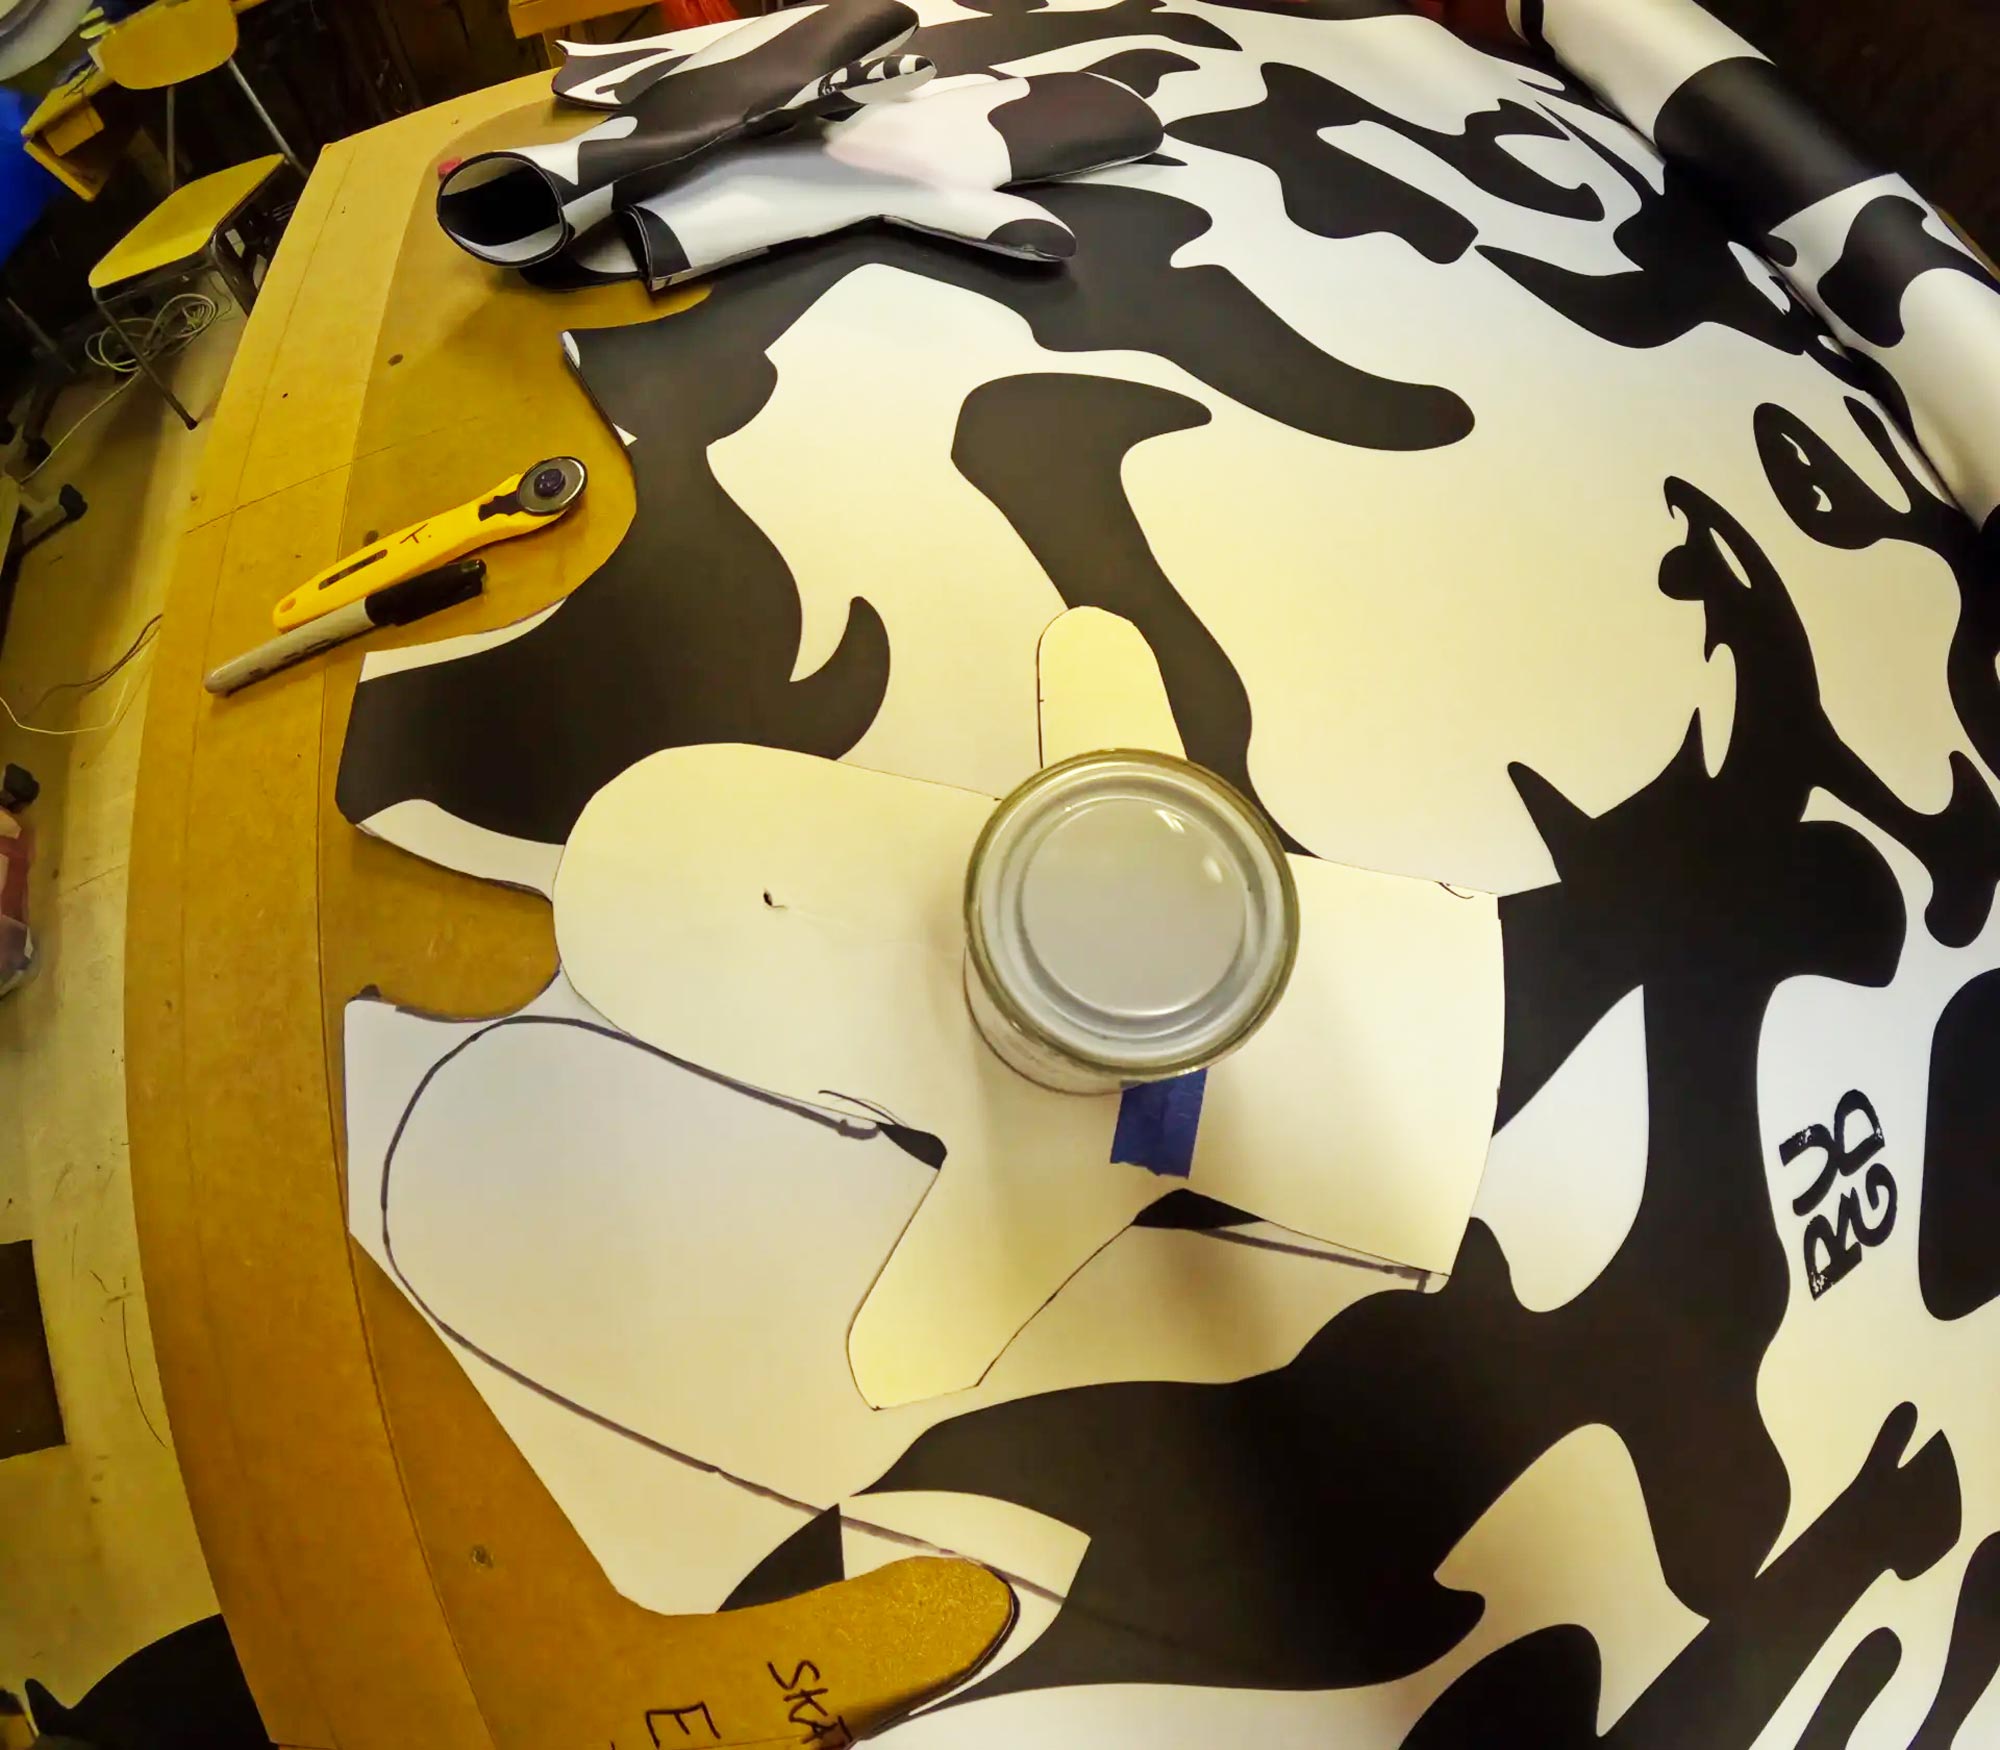
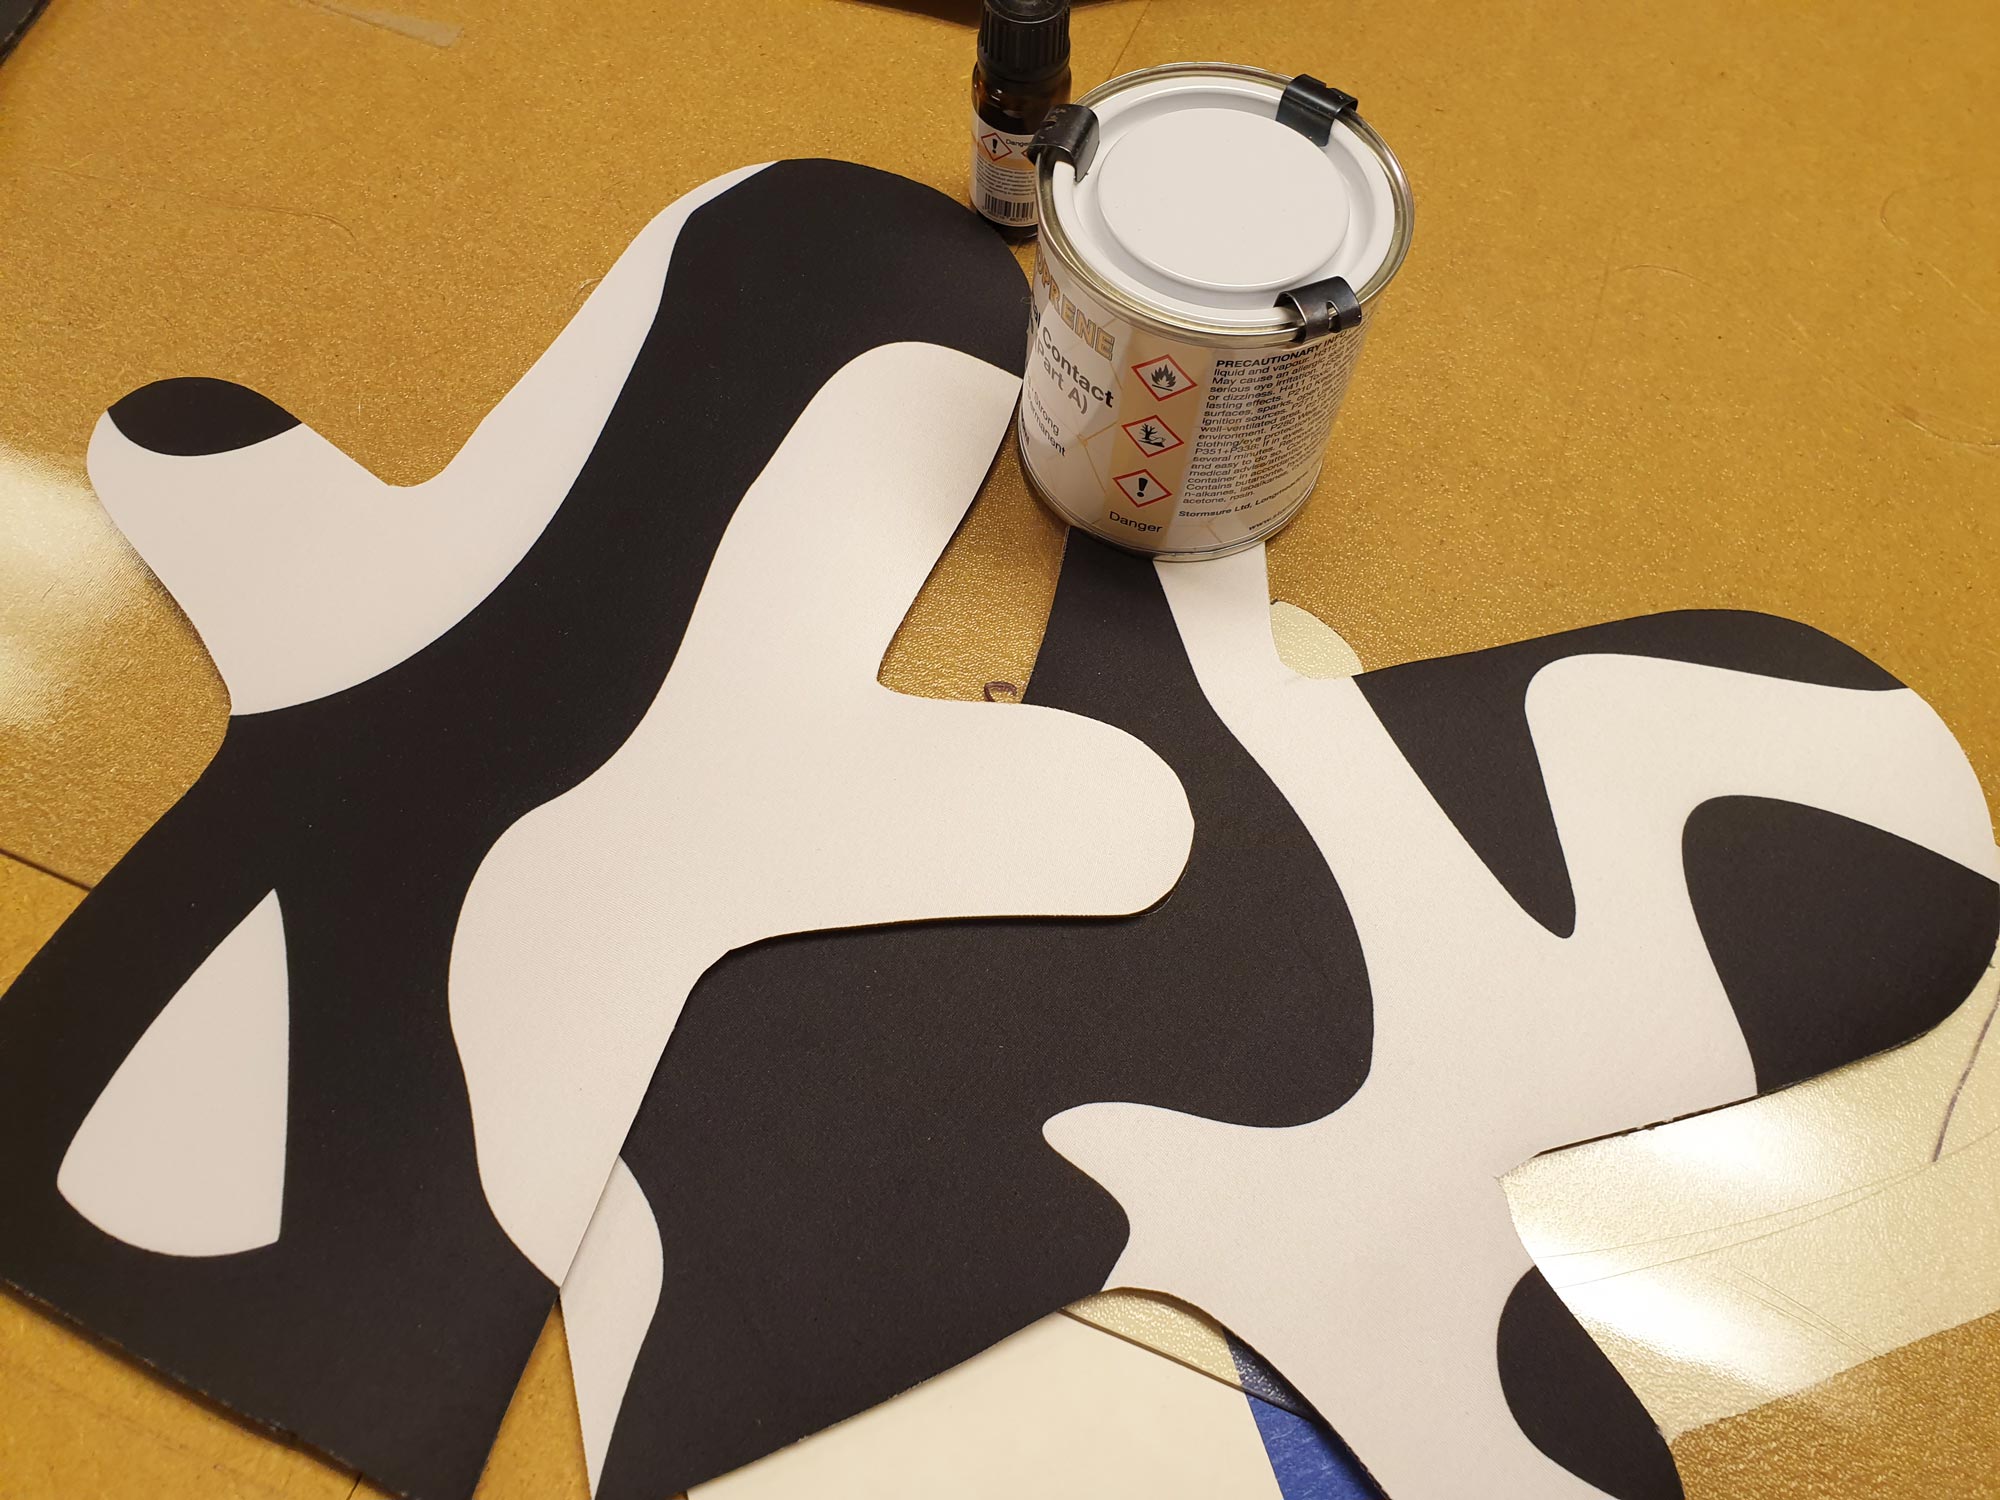
The neoprene I currently use is 4mm thick and has nylon jersey on both sides. Today I used 2 component glue. I have also used the normal contact glue you can buy everywhere in a tube. Can’t say I notice much difference, but you want a glue to really penetrate the neoprene pores. The smell is the same and it’s probably not that good for you. When the room starts rolling you know you wanna pack your stuff and go home 🙂 I have clicked home an airfan with a duct to lead out the gases but the package hasn’t arrived yet. Opening a window in my 10℃ (at best) workshop is not an option this winter.
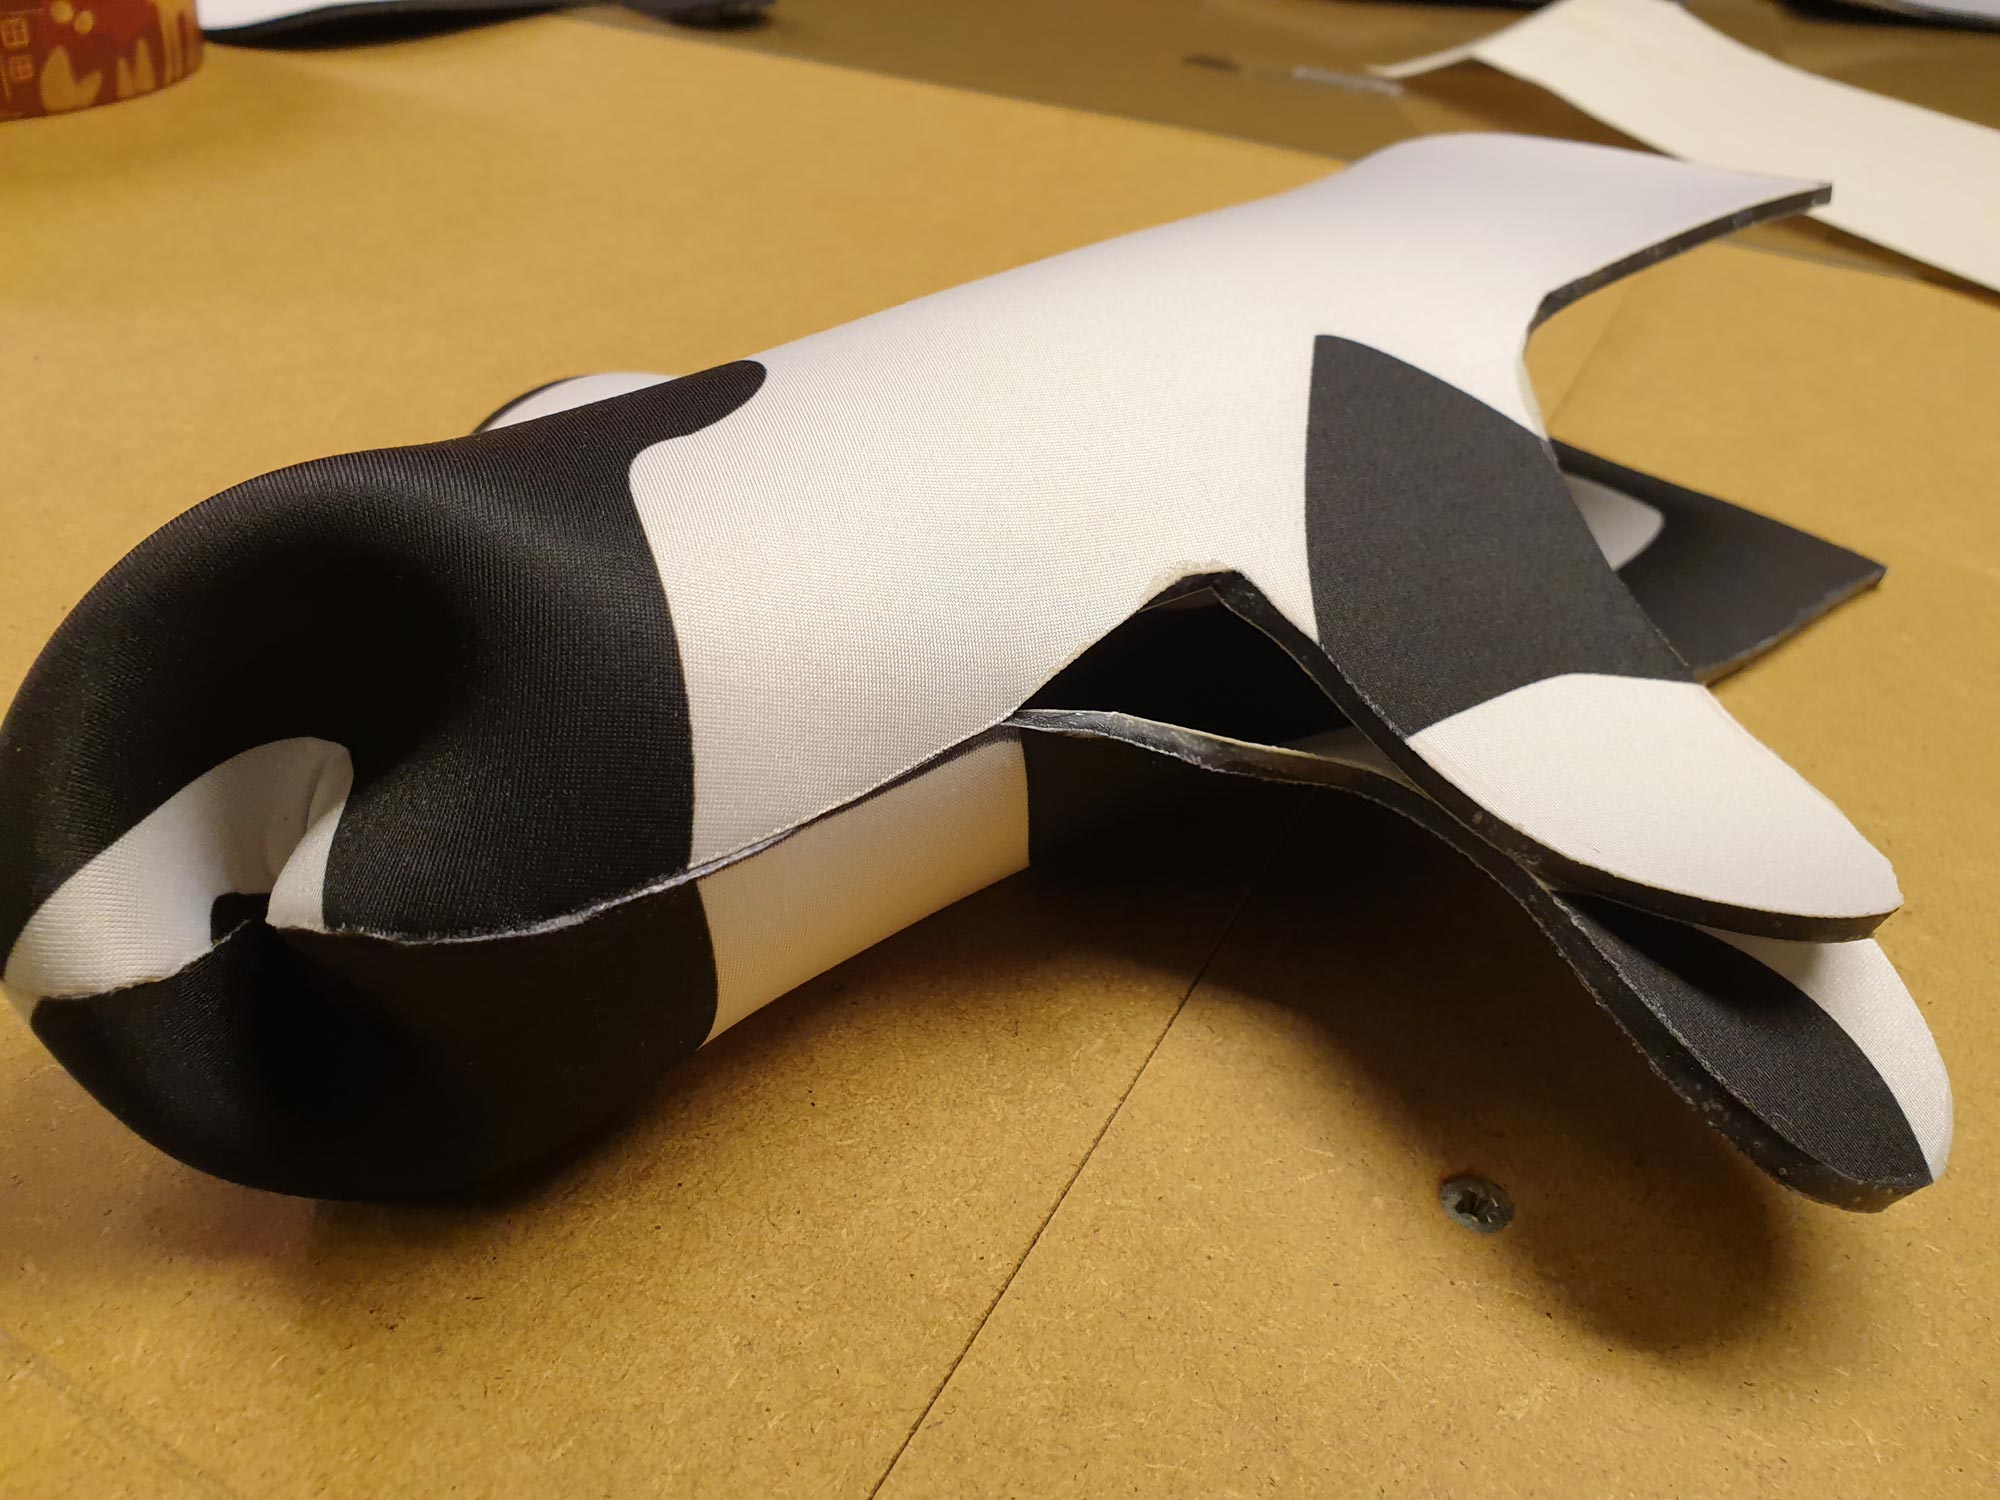
However, putting the pre-glued edges together on mitts like these, takes some patience. You need the two parts on level ground, be it on a table or on the opposite neoprene fabric layer. It gets much harder if your cuts are sloppy and uneven. You can probably imagine how I struggled with the thumbs when you see the tight bends. I will probably have to make a video showing the glueing process.
As always, just go for it! What can possibly go wrong except you make another pair, even better? I haven’t decided if I want to go with velcro or not yet. After this weekend’s paddling I will know more and let you know.
UPDATE: both pairs are really warm but the good comes with the bad; your hands also get moist in the cold. I don’t mind but I rarely have very cold fingers. Your mileage may vary. Possibly if I use thin wool or fleece finger gloves they will feel less moist.
Here is how well the neoprene insulates from a hot iron:
https://youtube.com/shorts/TyeqpQbkGT4?feature=share