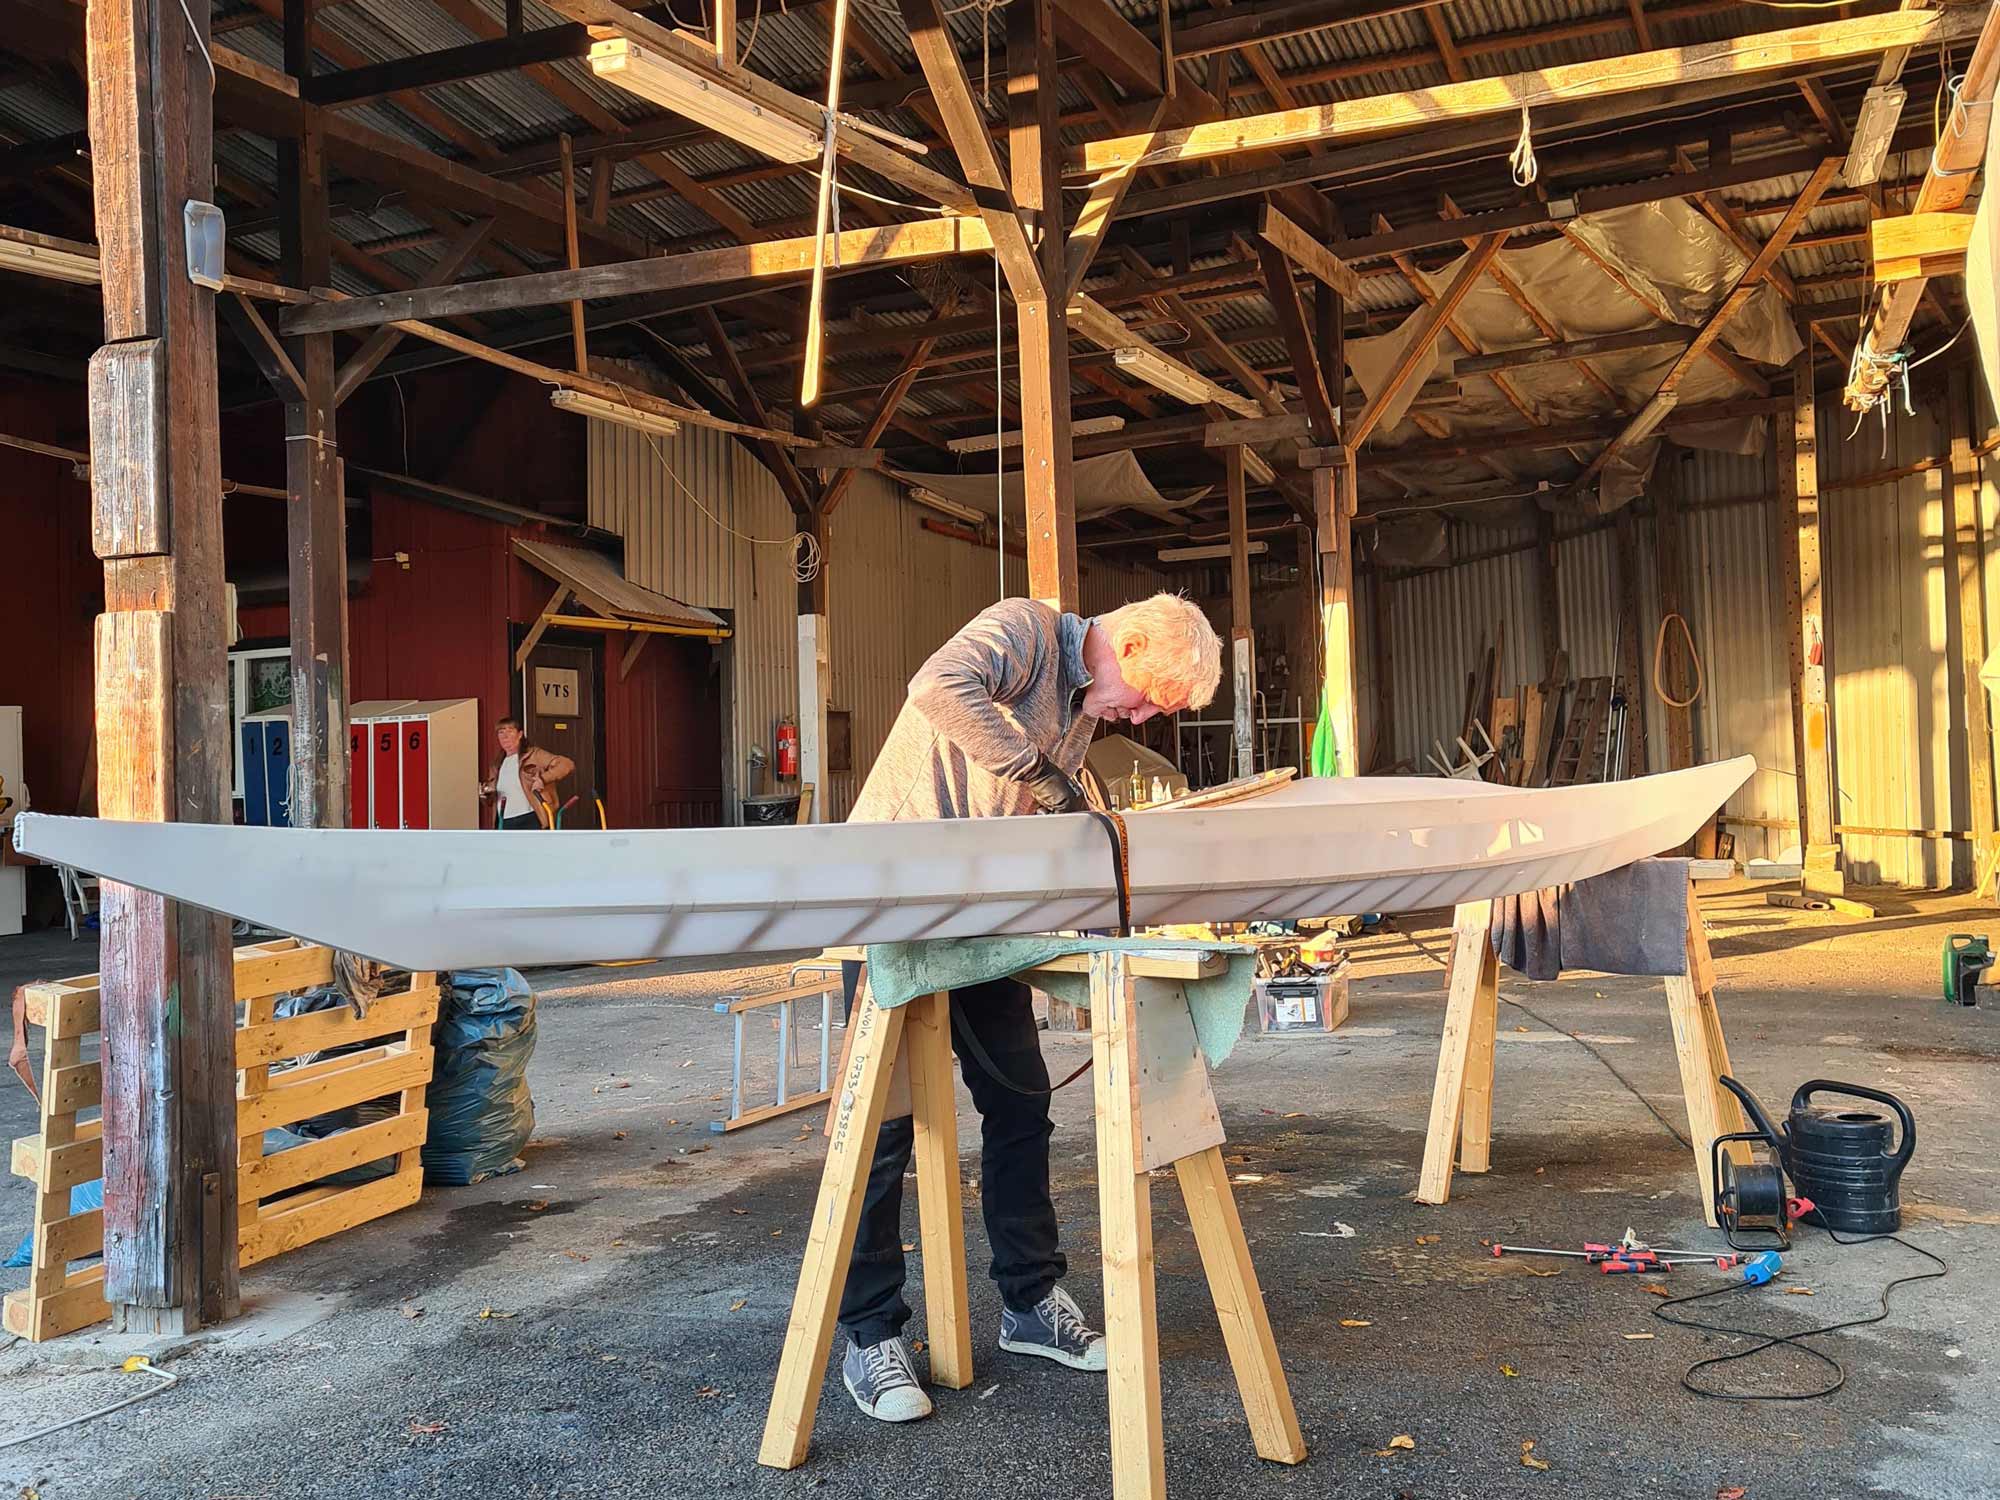
Let’s see. We have a temporary workshop, tools and lots of scrap wood. Why not build another kayak? The featured image is from the 22nd of September. I’m writing this the 29th and haven’t built for two days. Waiting for a thread order to sew it up.
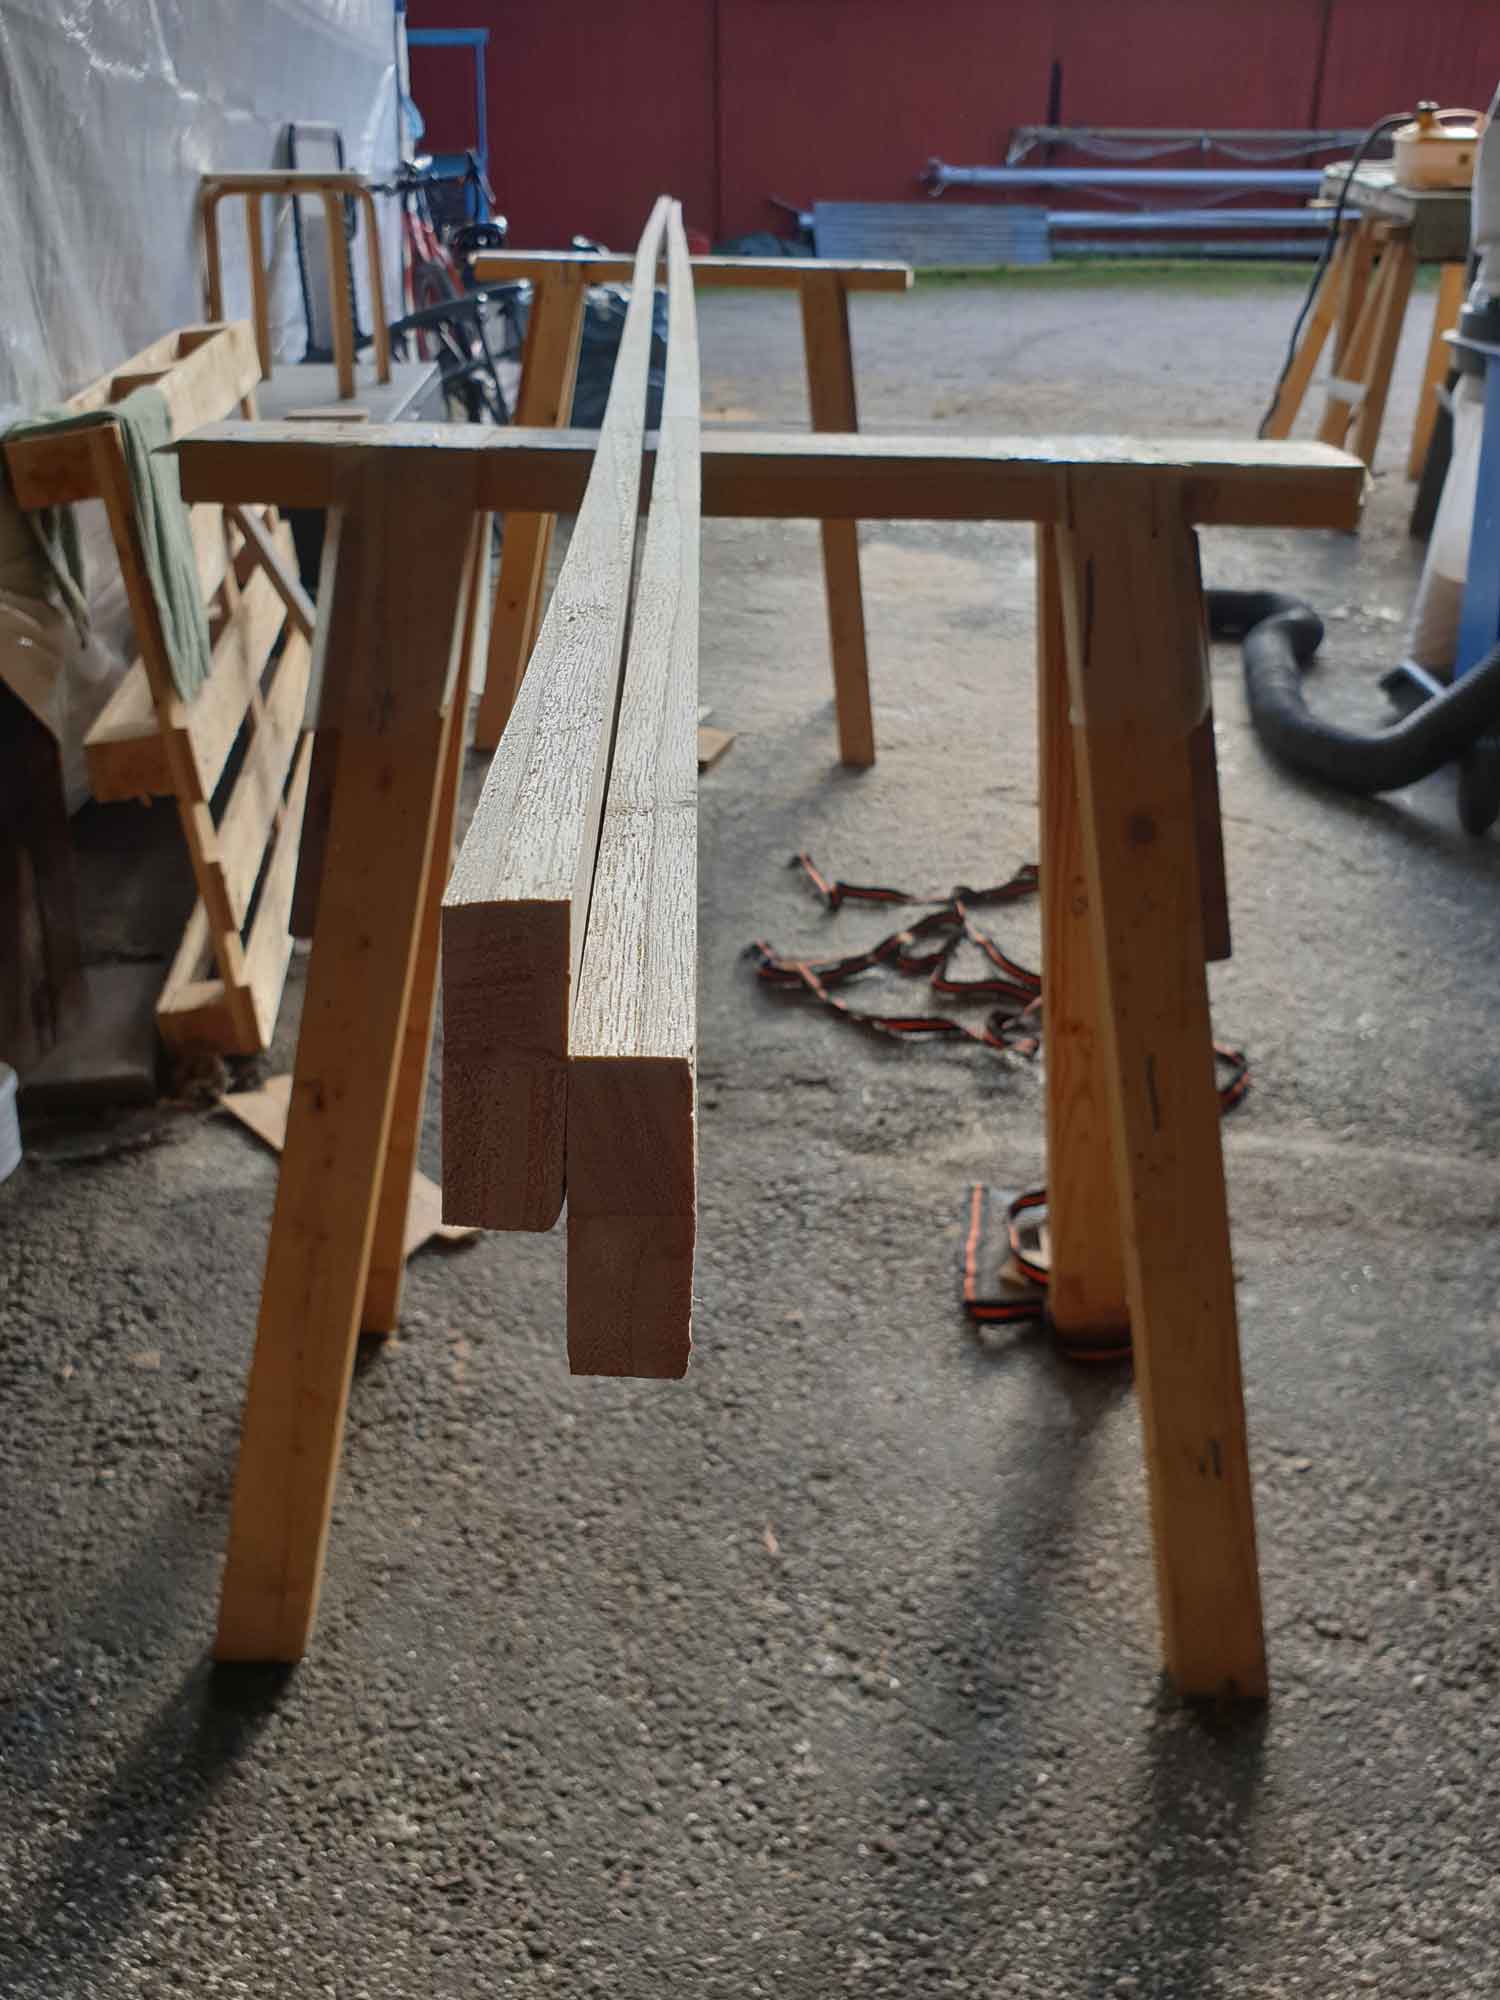
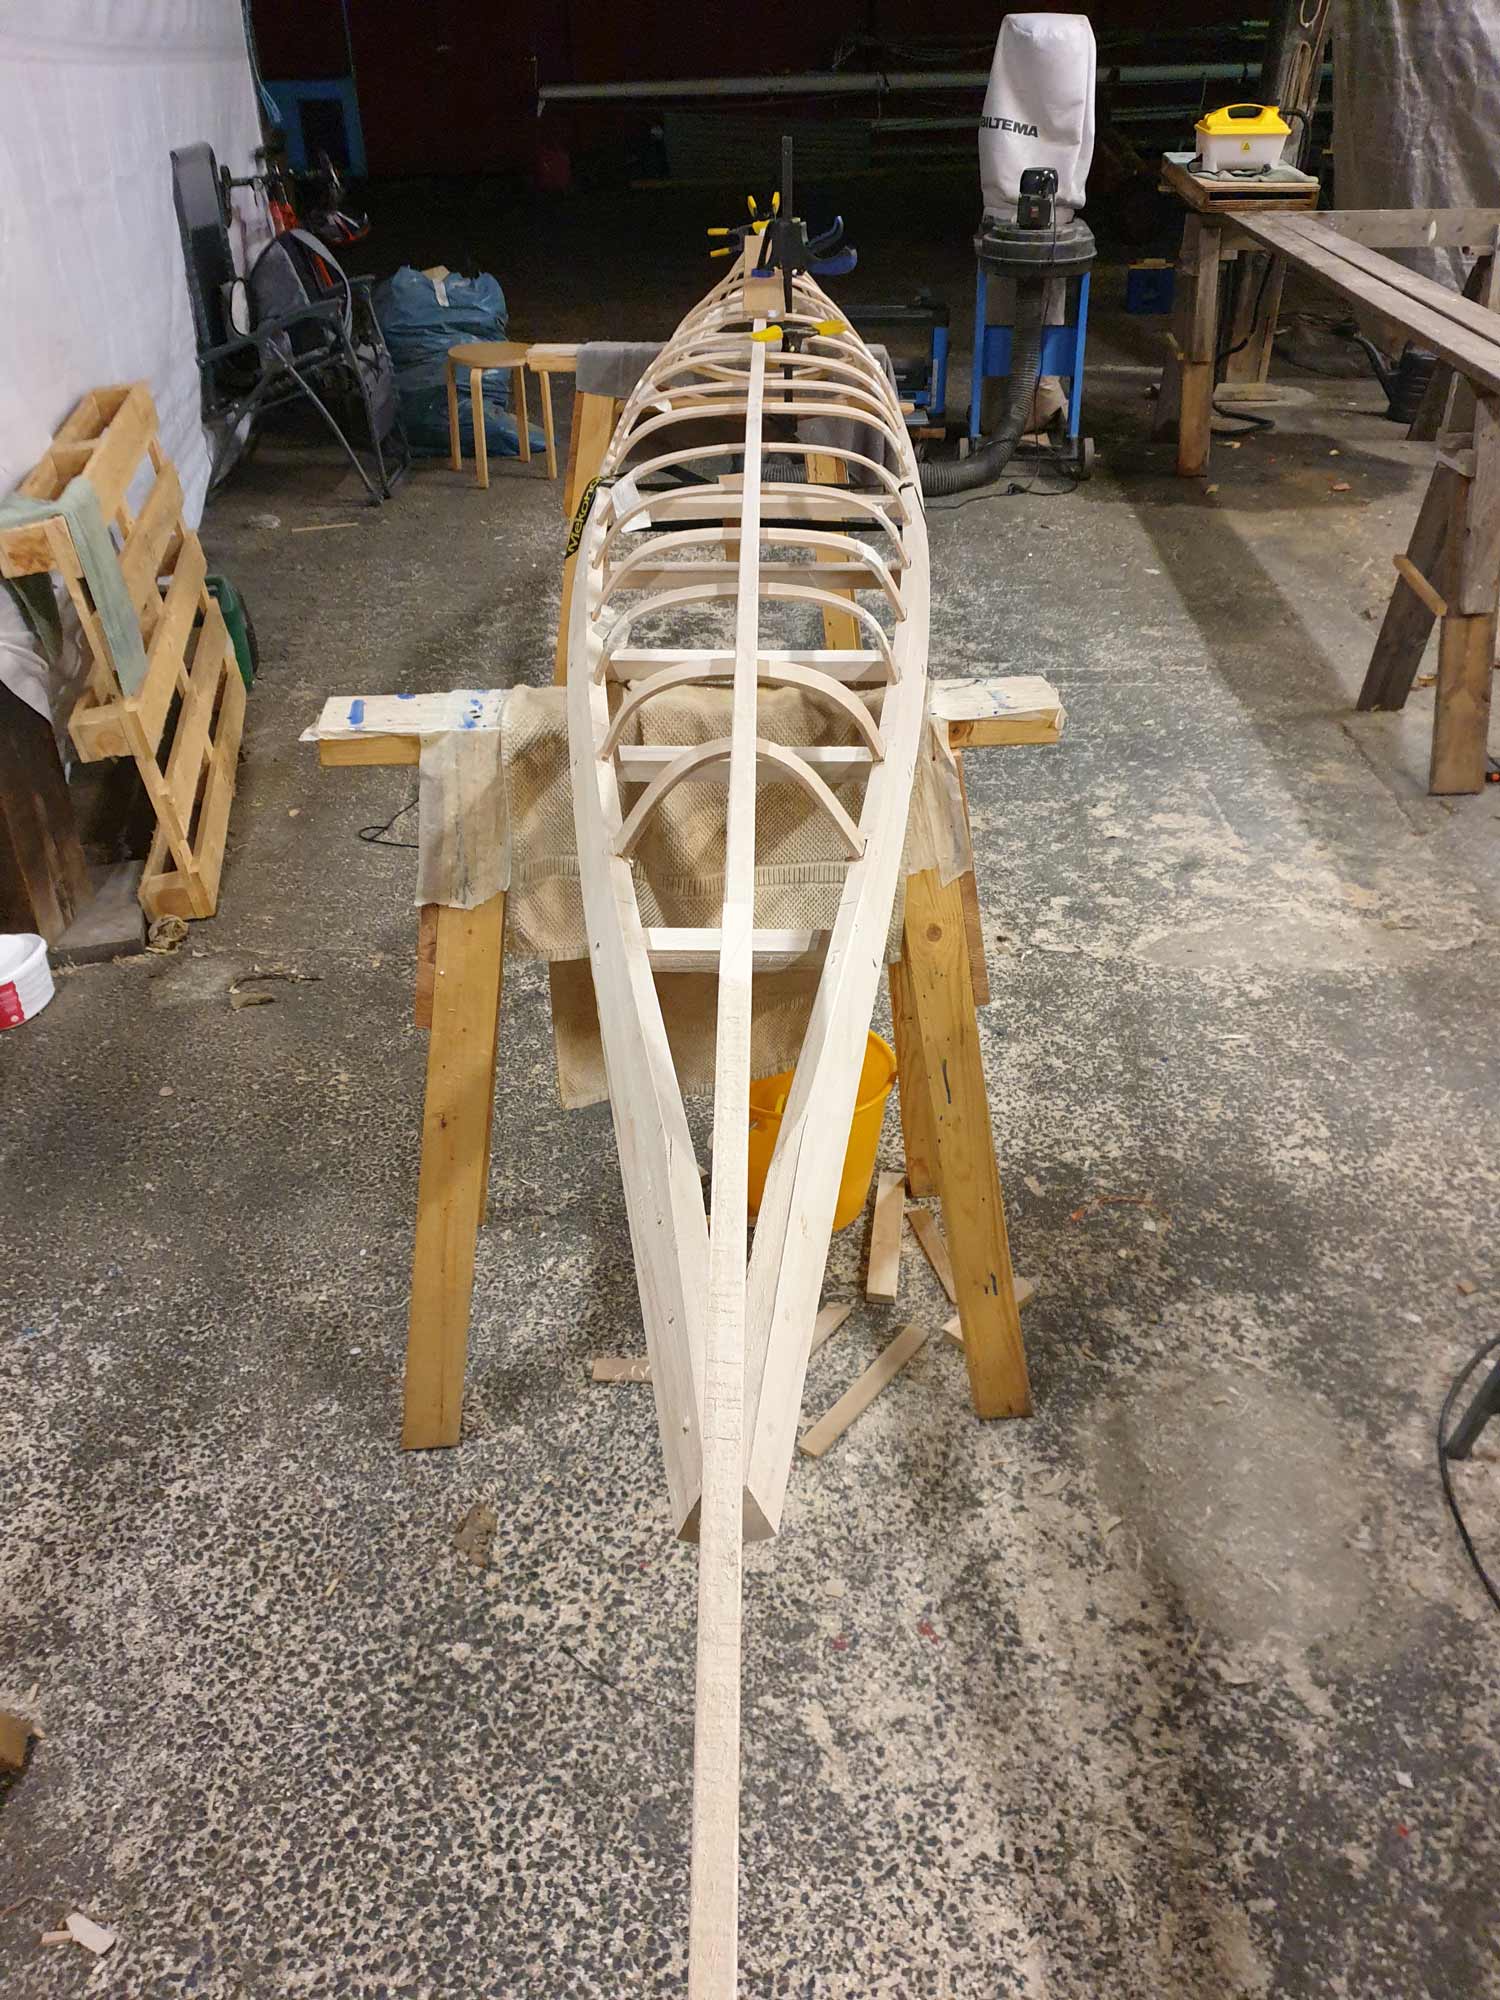
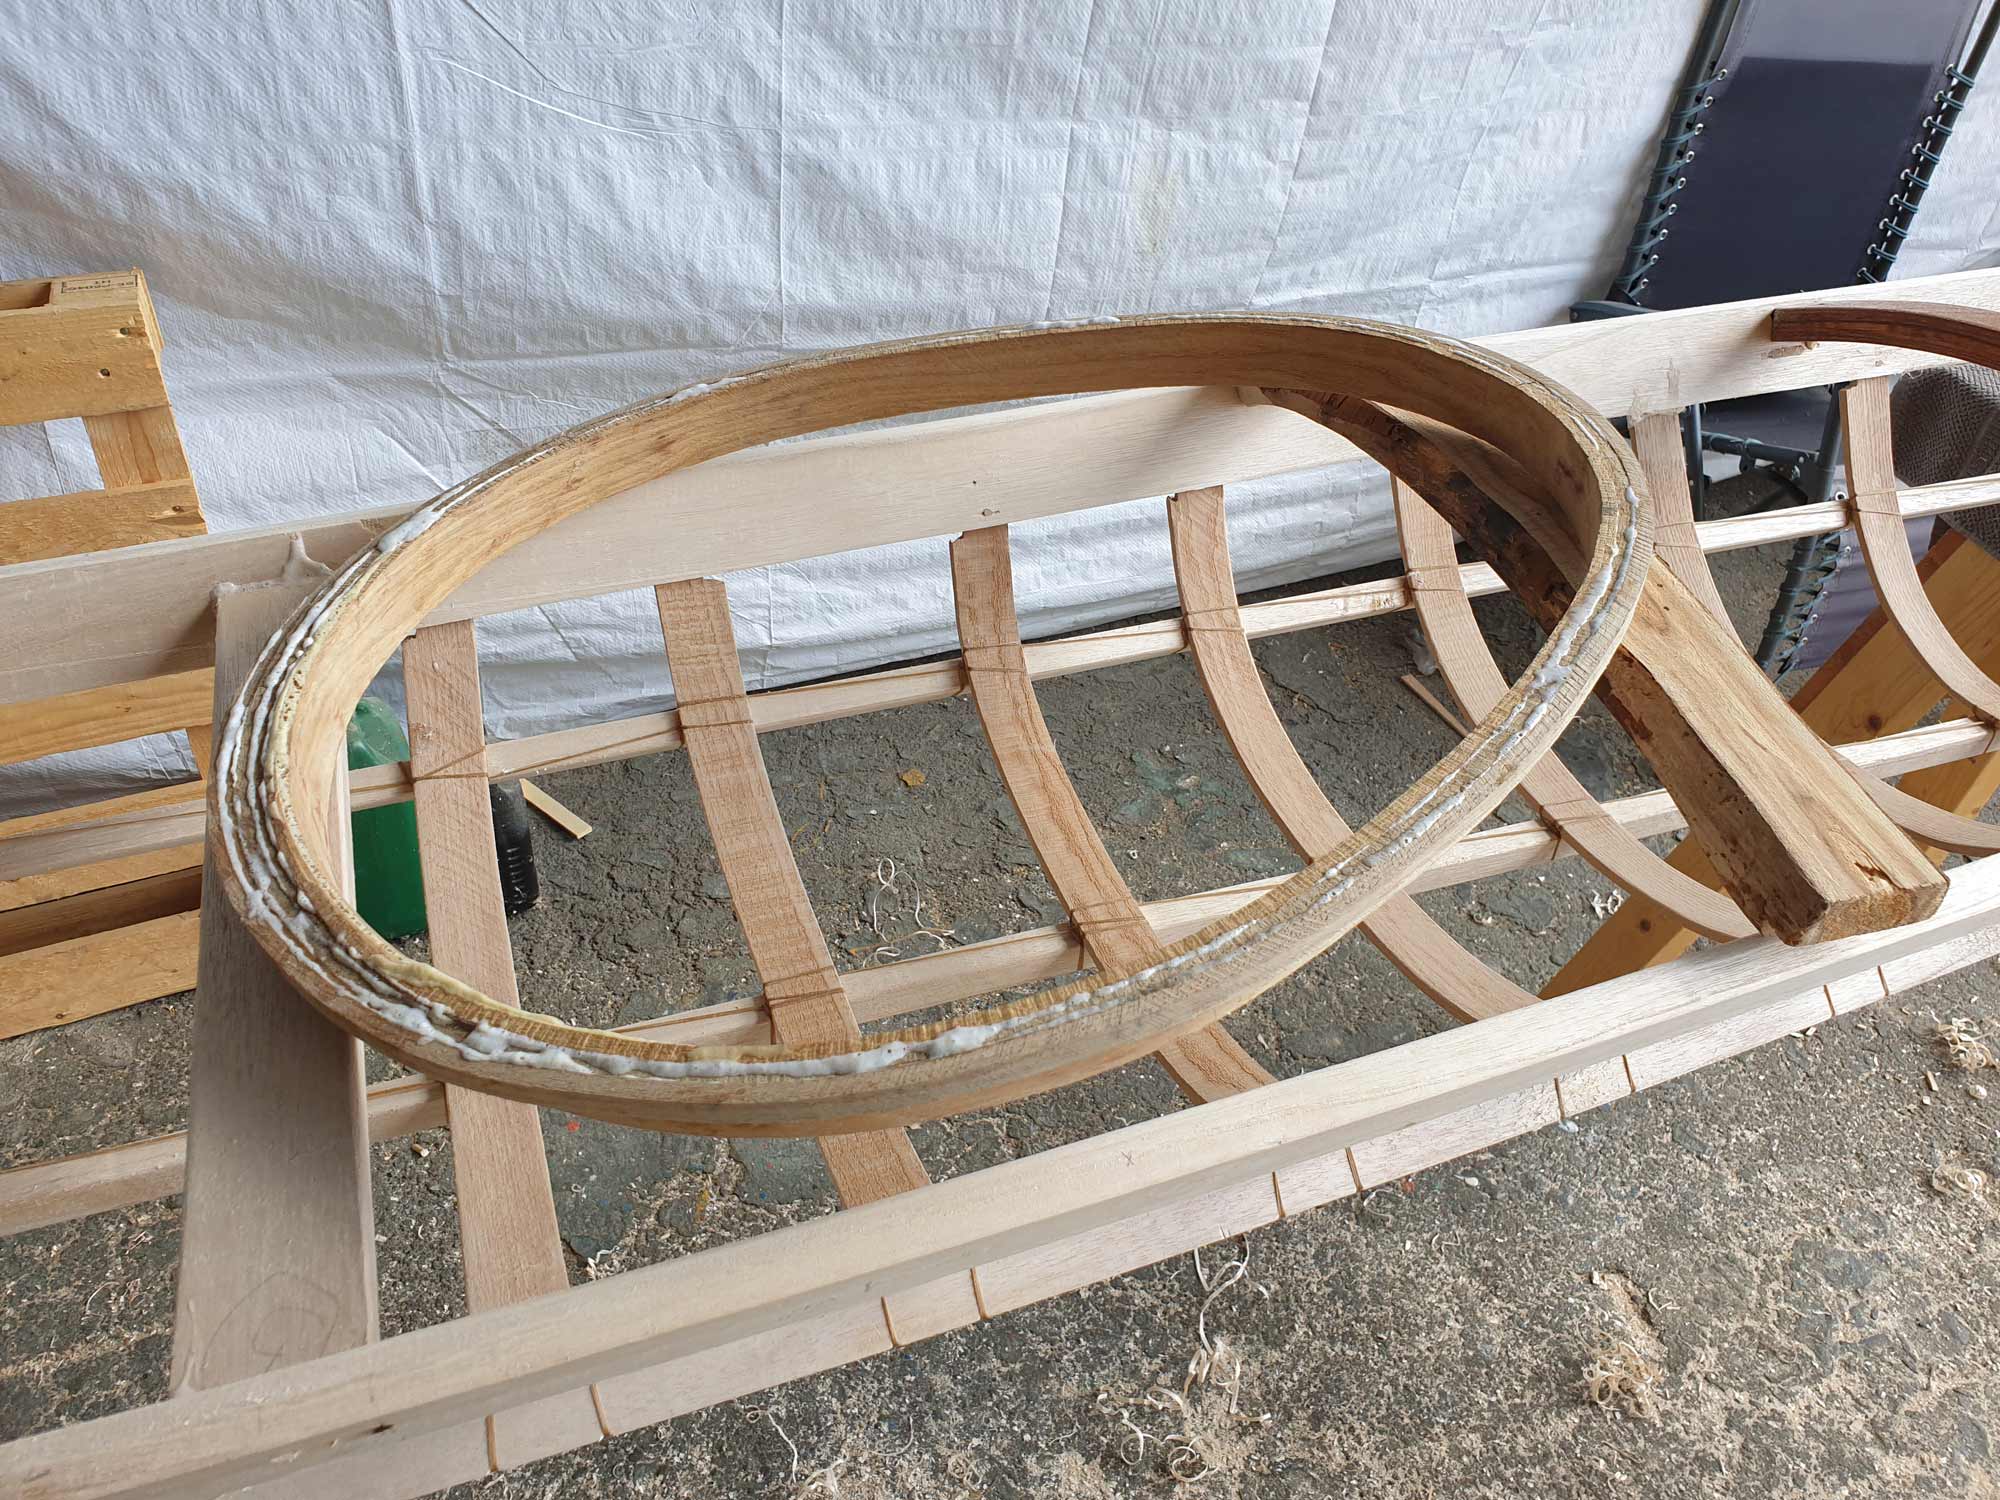
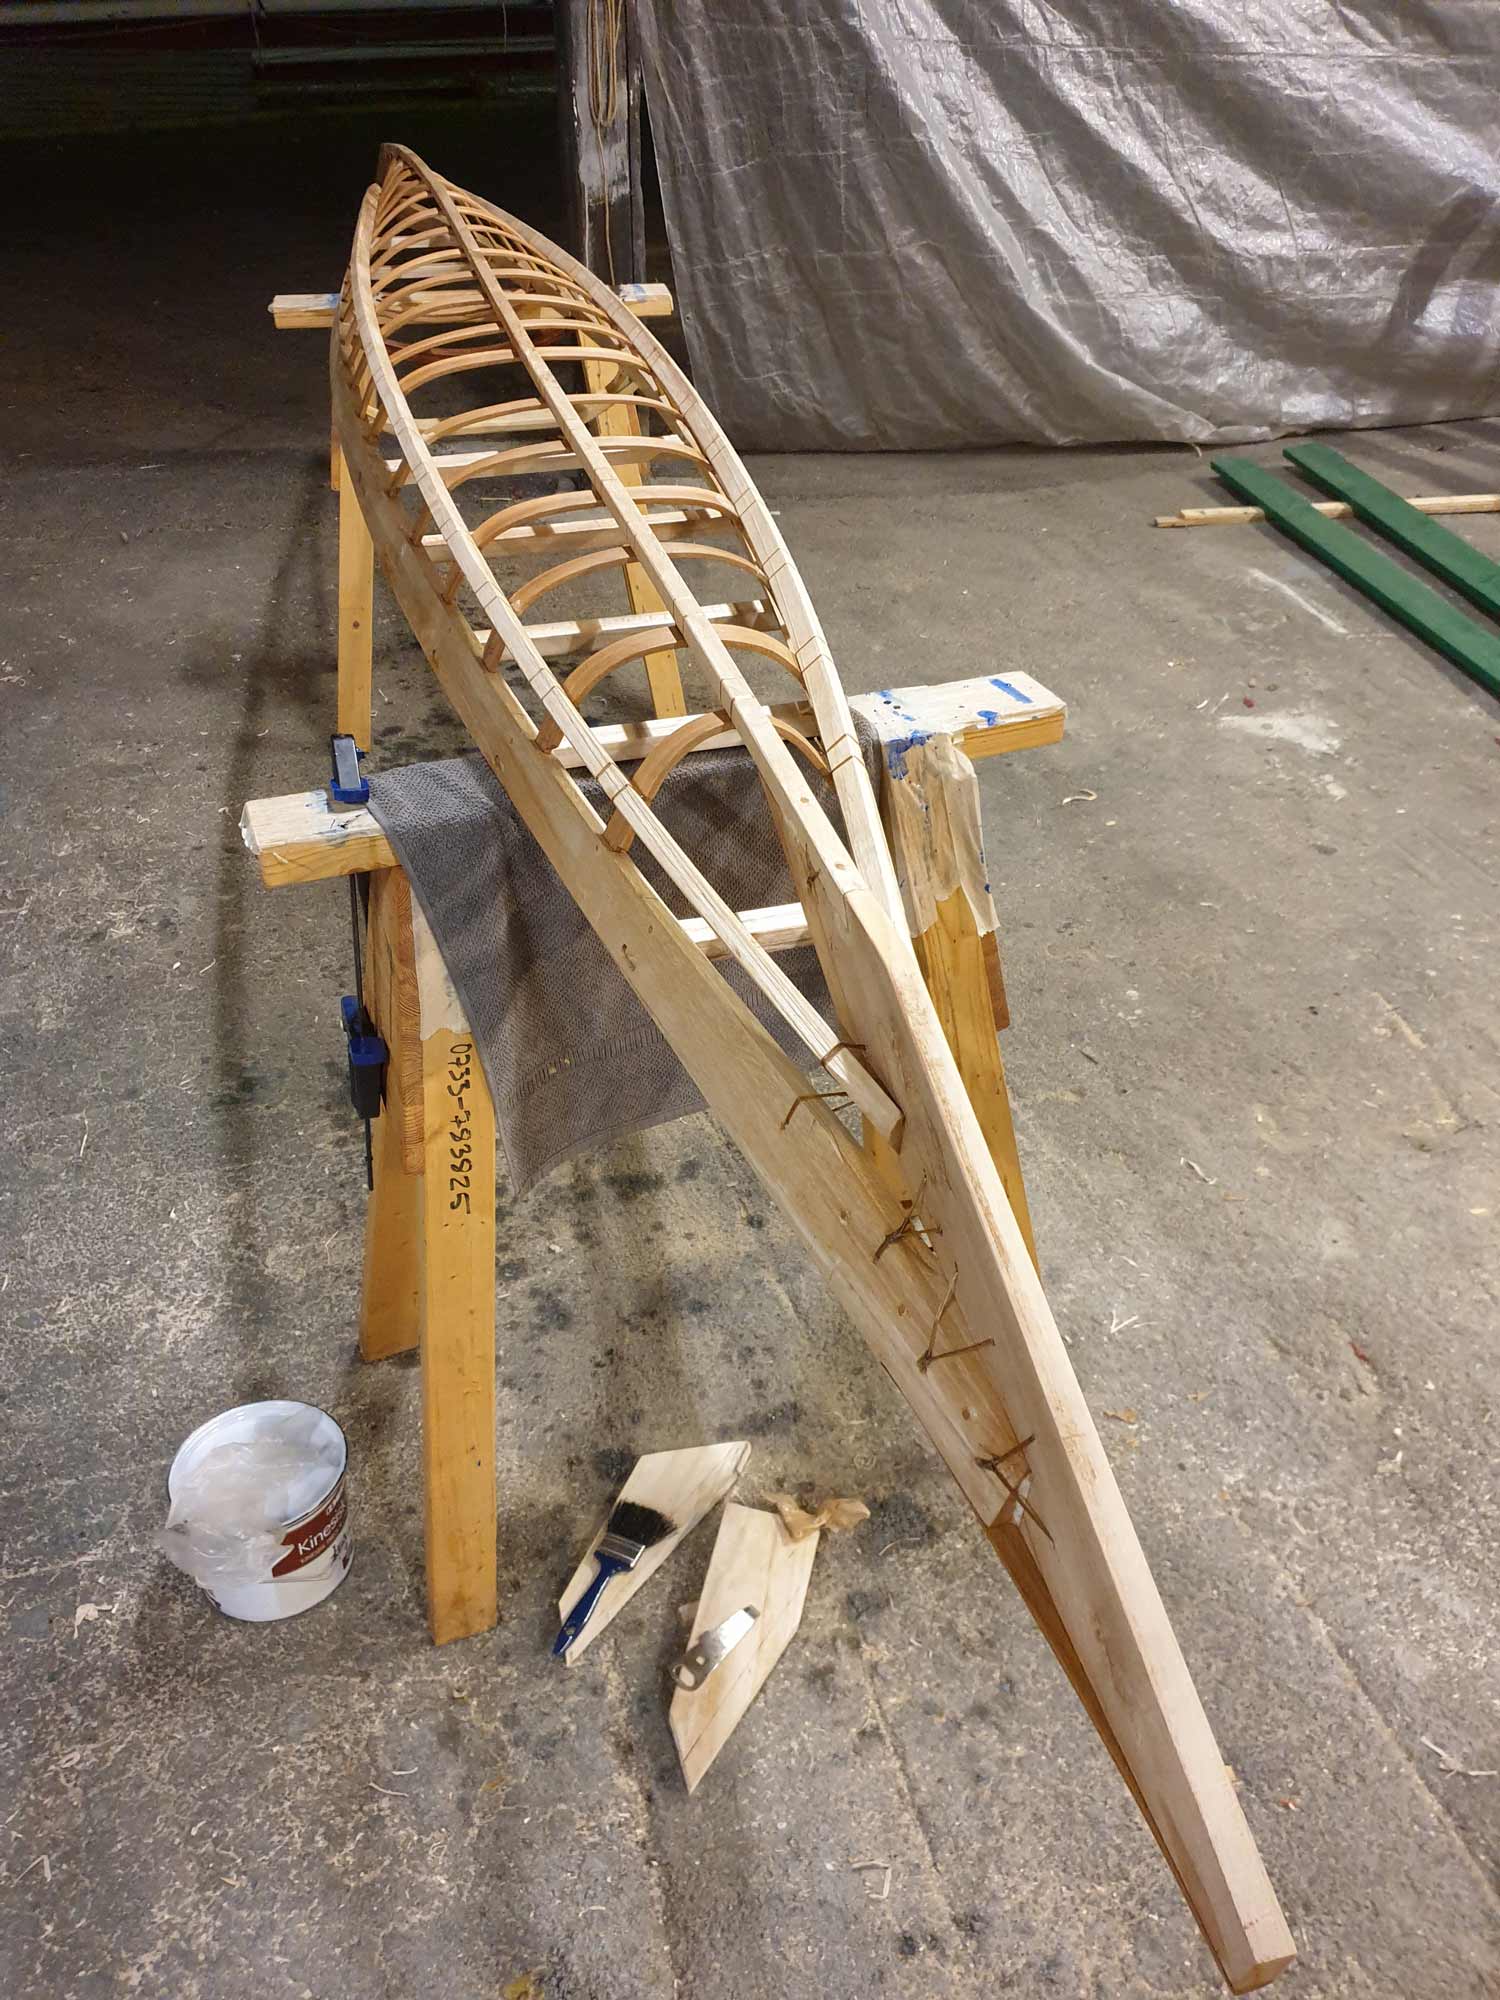
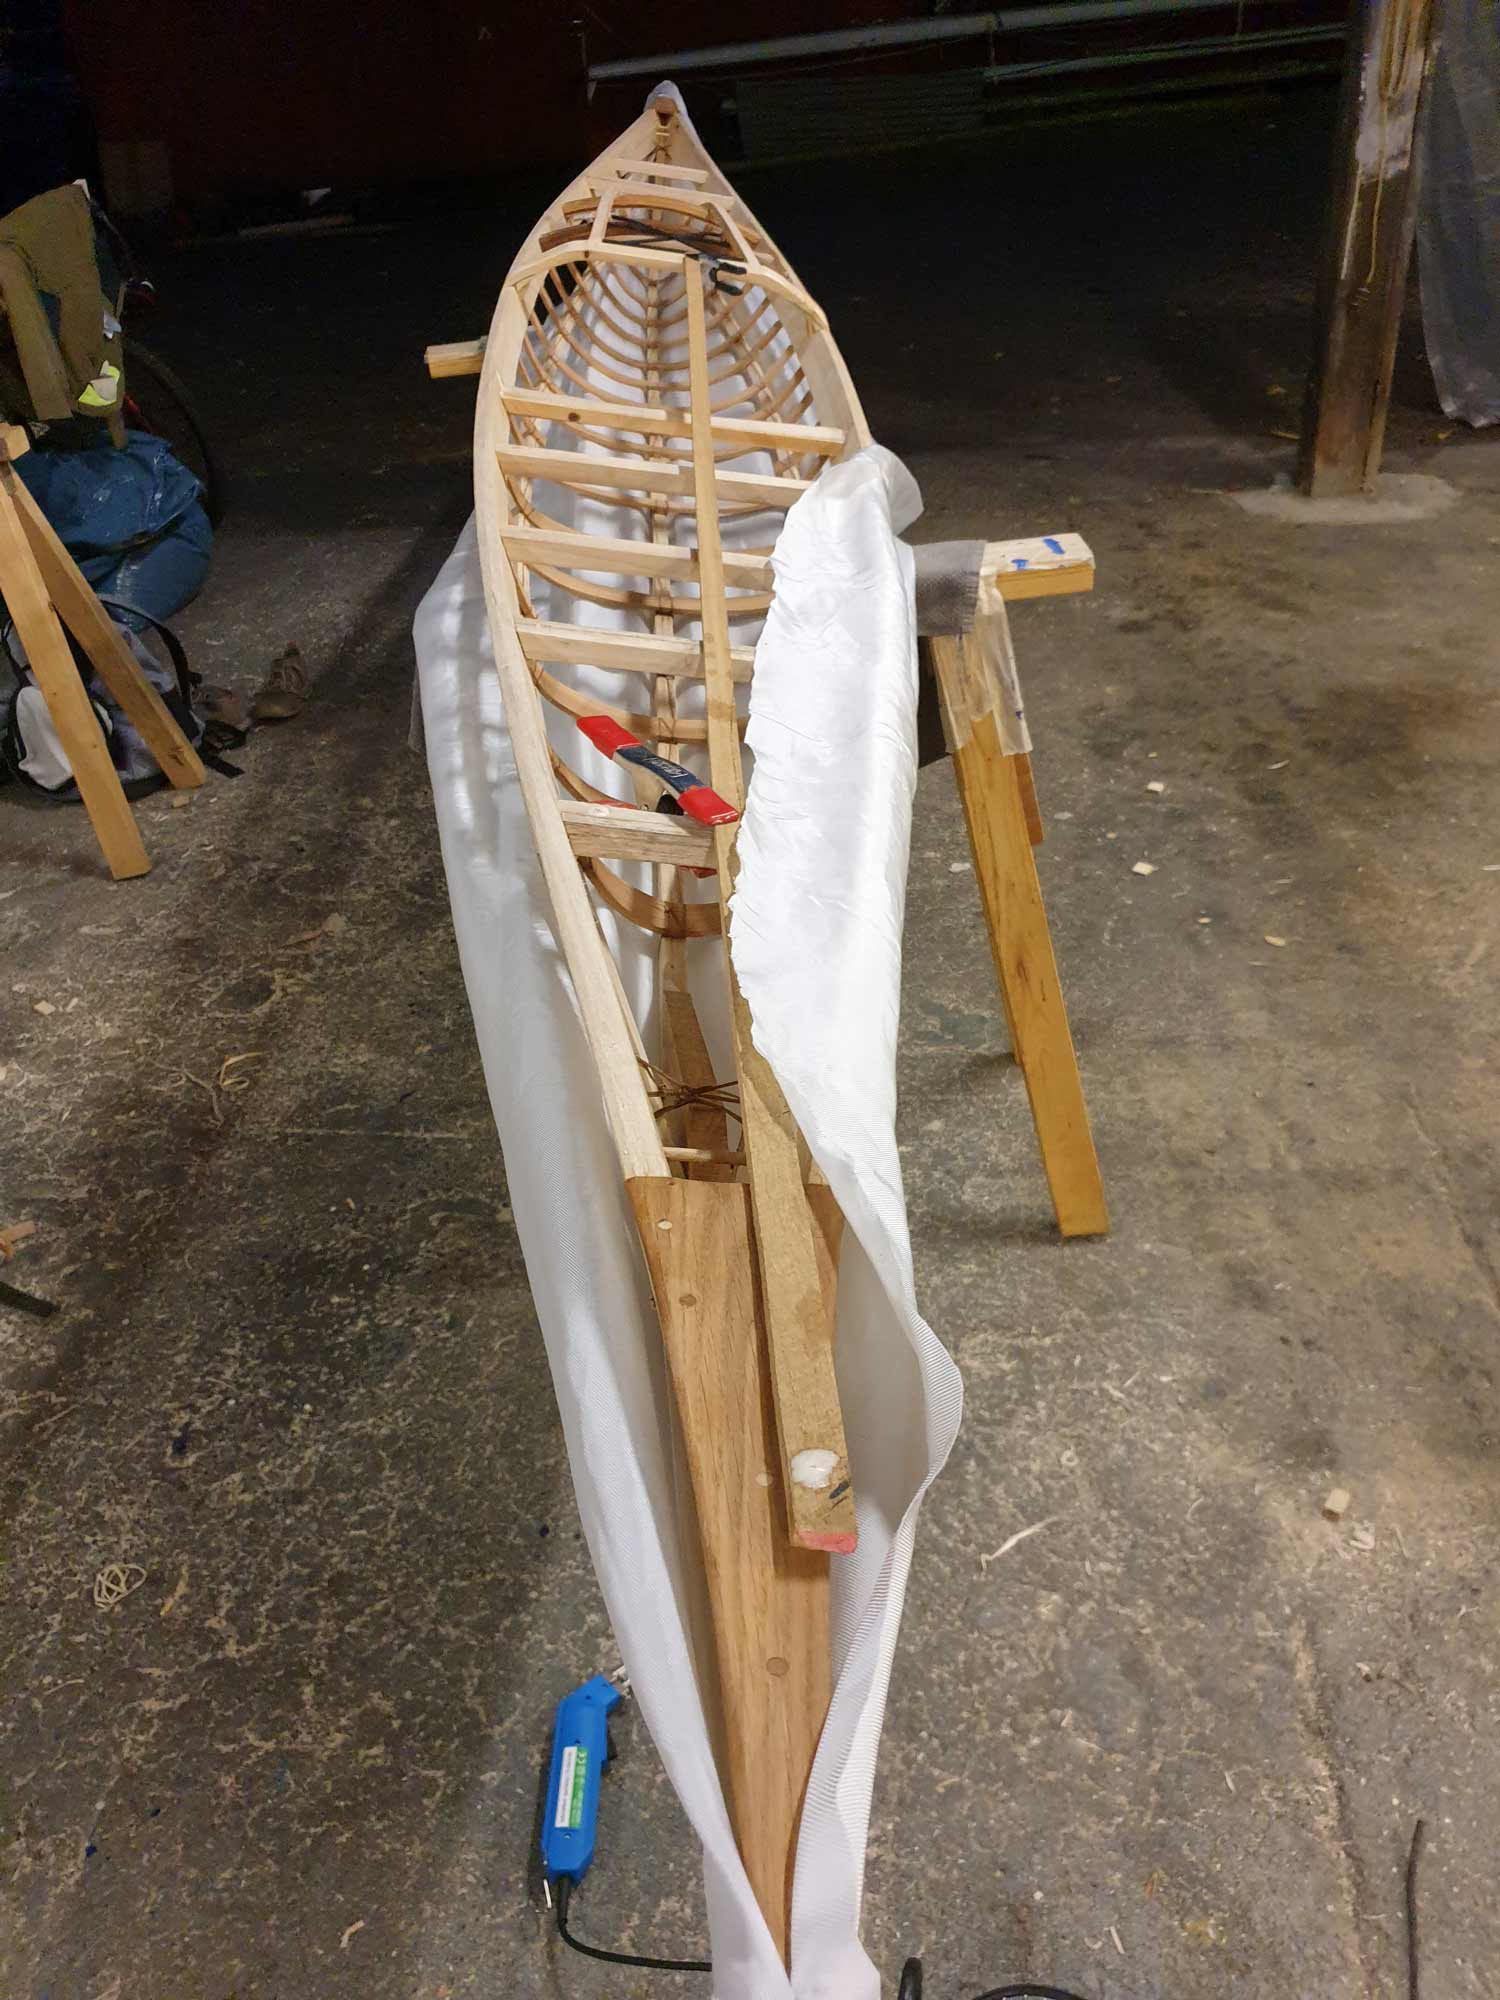
Anyways. This kayak’s raw material is scarfed and glued with Polyurethane glue all over. There were even old mortises in the gunwhales I had to plug. Some I had to make new. The main image also shows the various flex in the gunwhales. I ended up planing one slightly thinner than the other to get a more even flex. The wood we’ve used lately, Paulownia, is quite easy to bend with moisture and seems to suit SOF kayak building well, although you have to produce slightly thicker sticks for your kayak. When oiled, the wood hardens substantially and is no longer prone to take up moisture. It glues excellently so scarfing is a no-brainer.
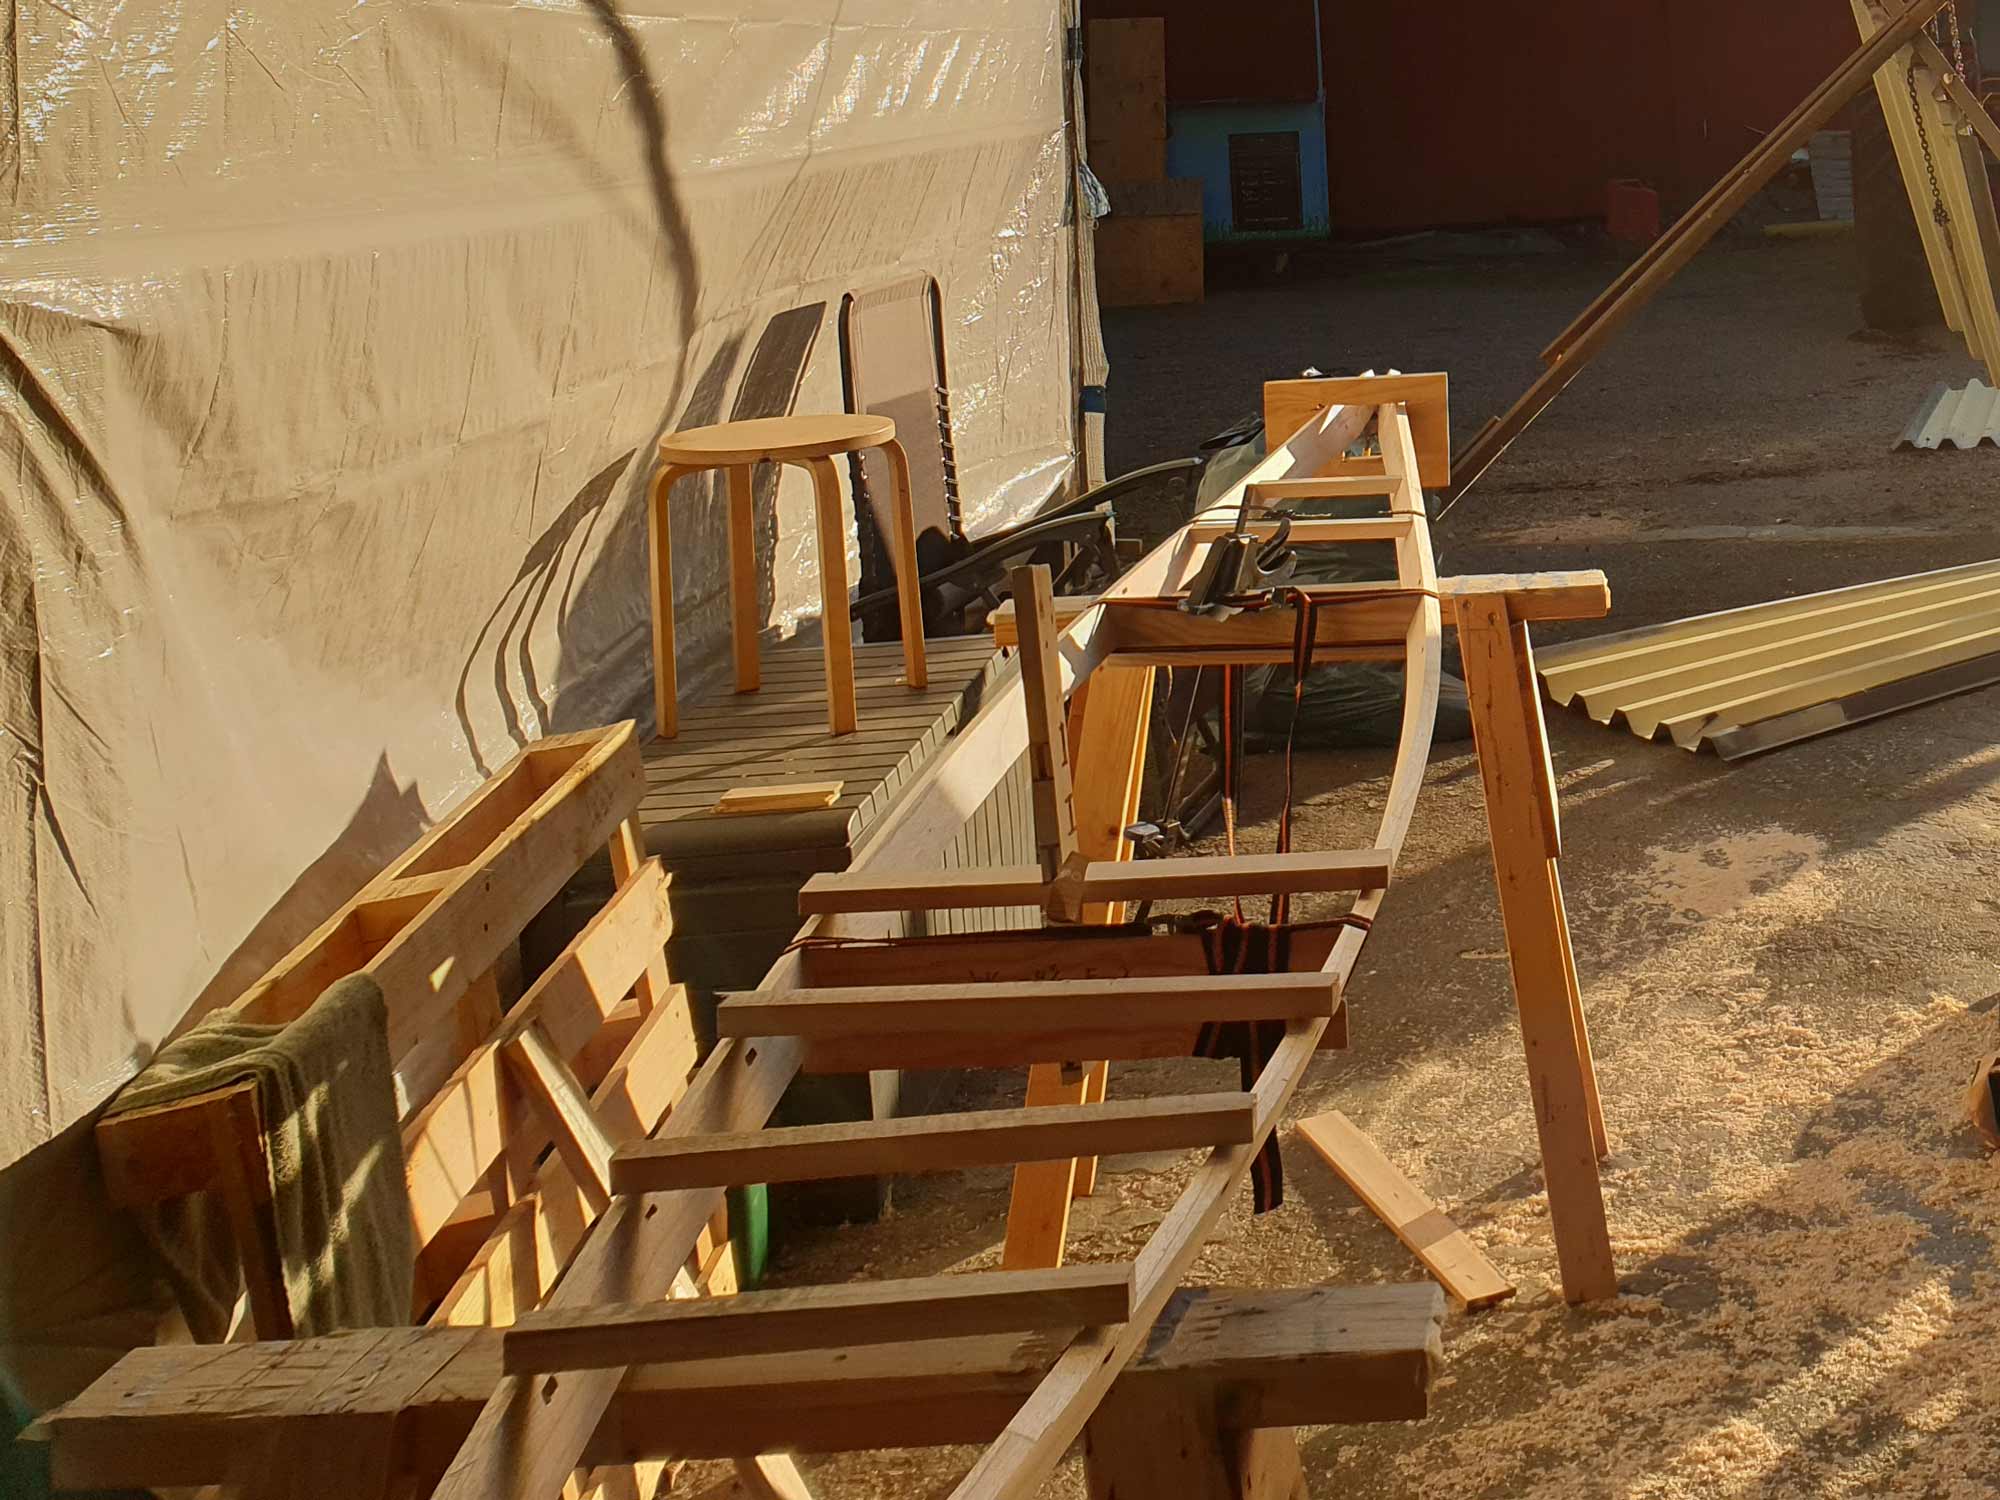
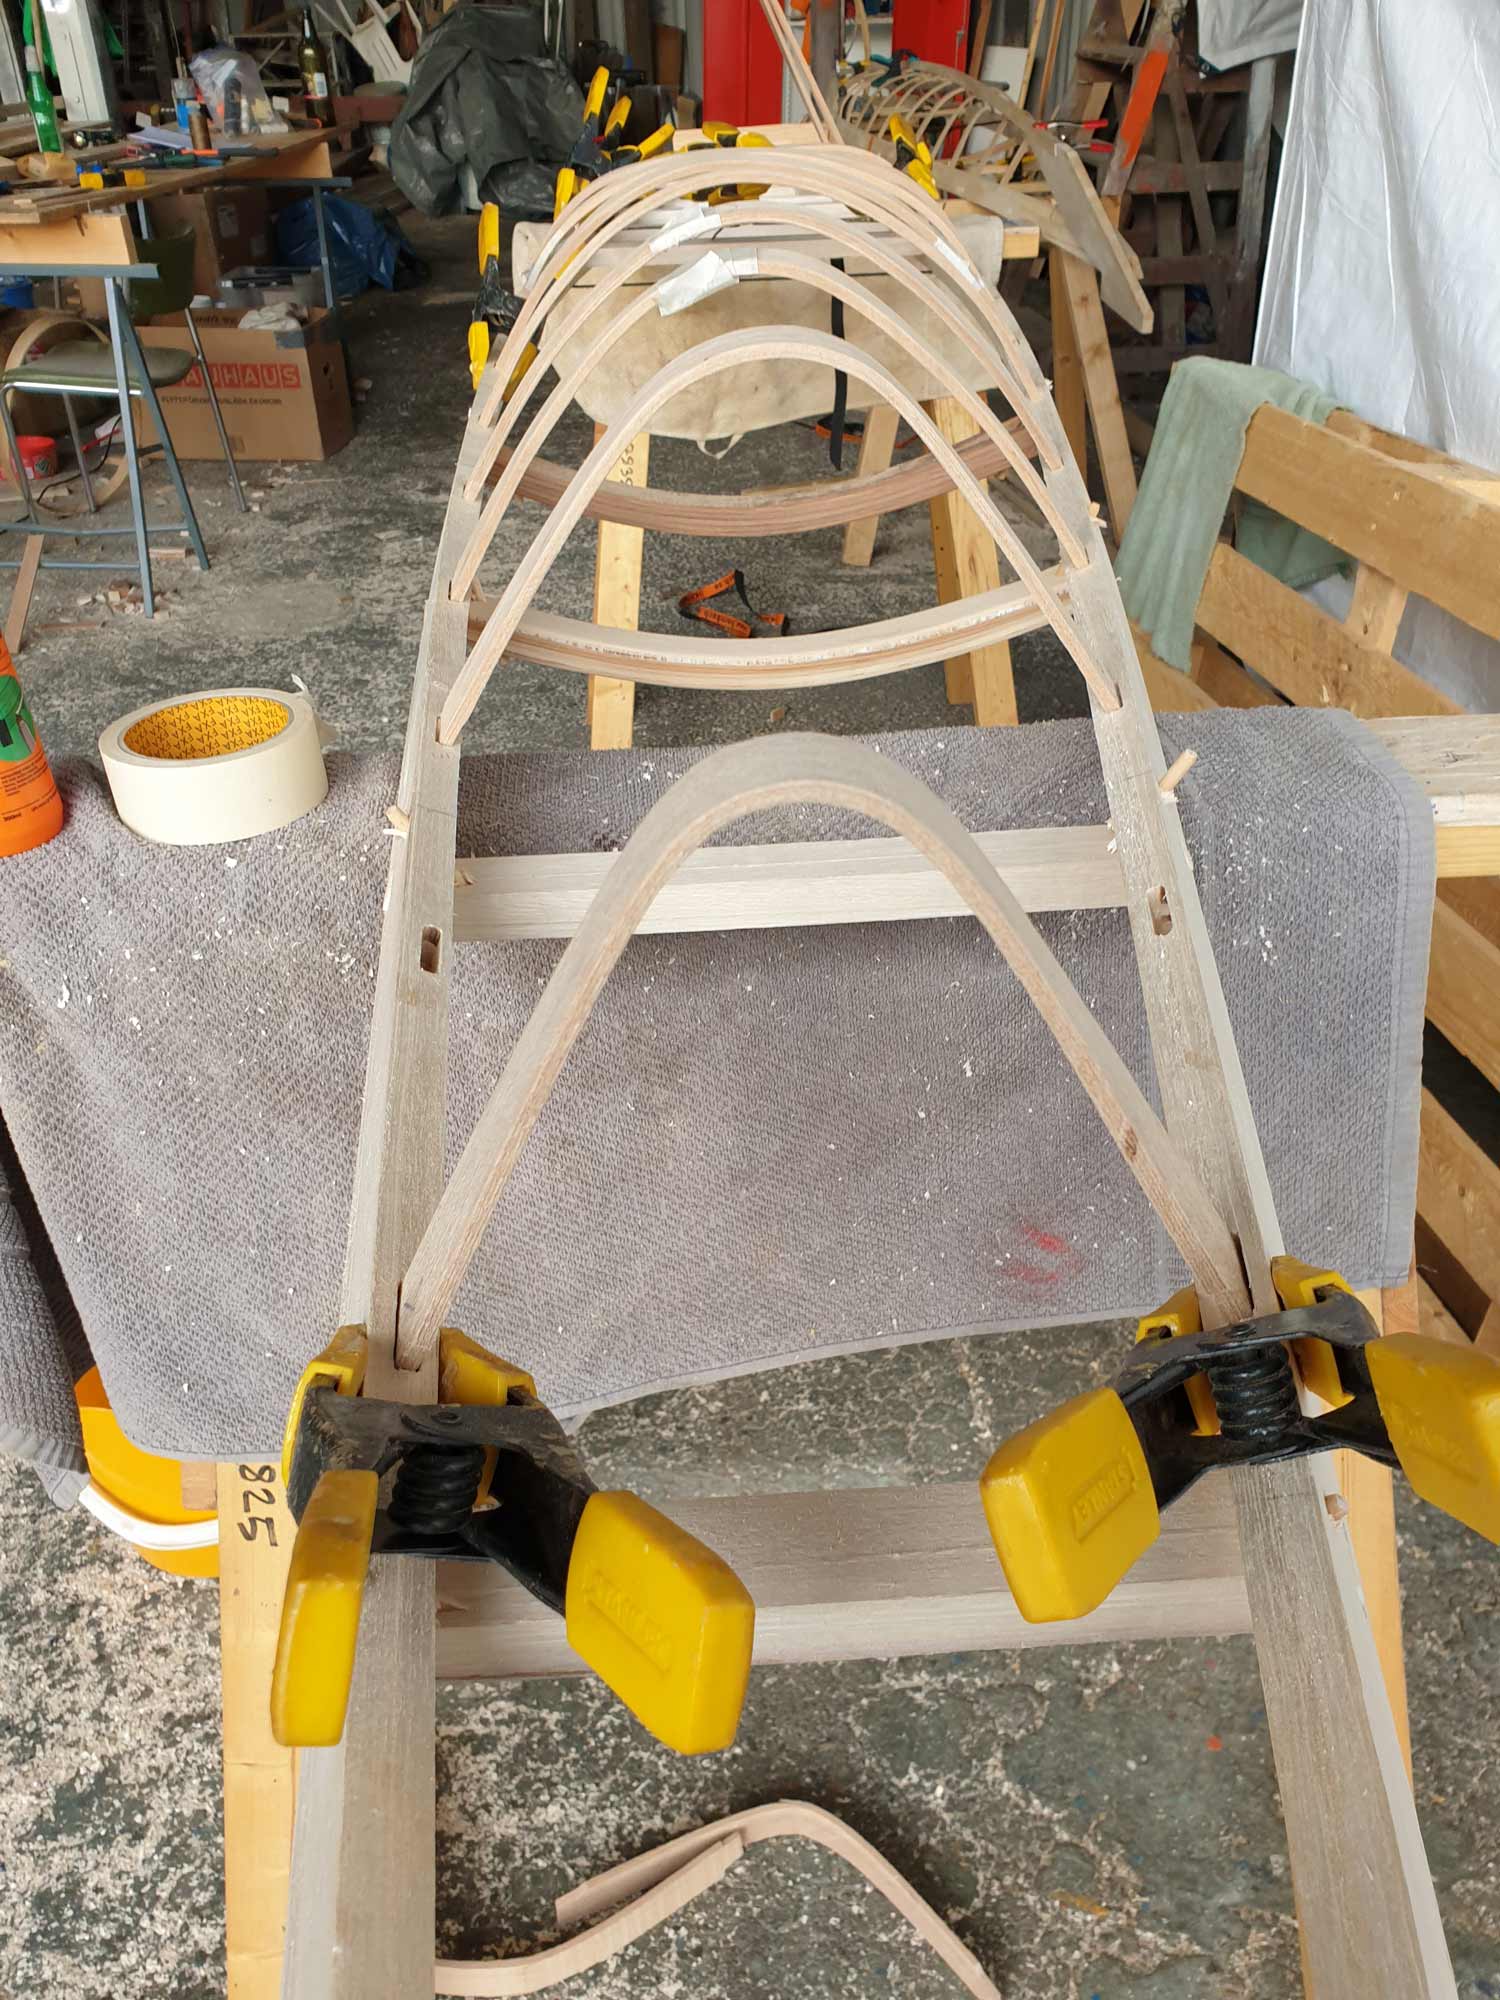
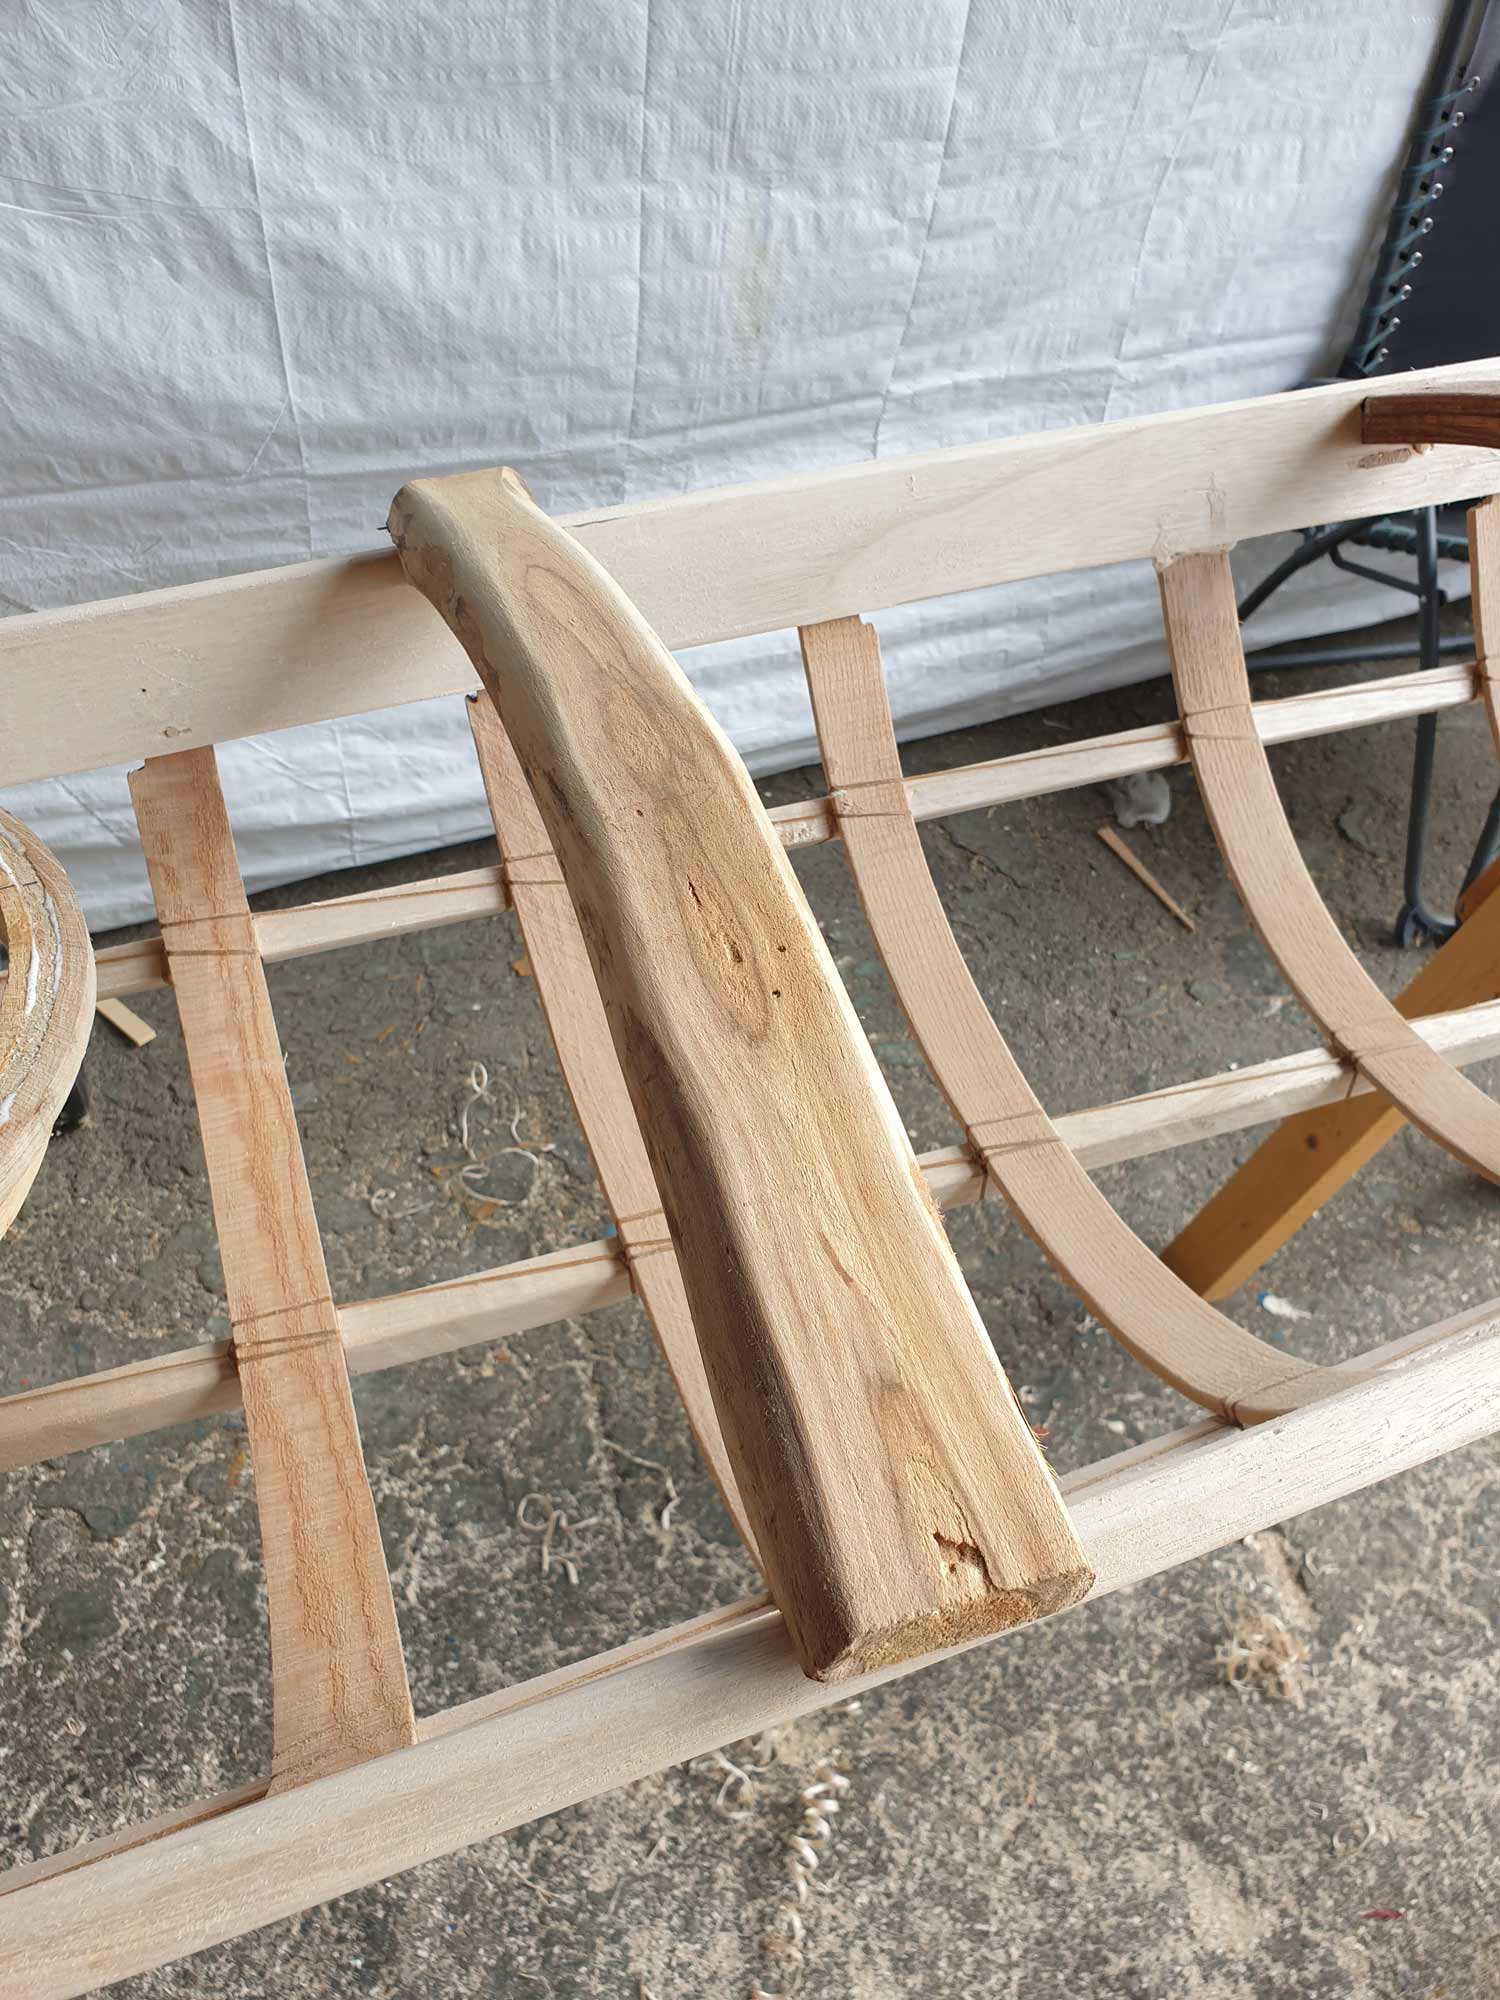
Below are a few images of build day one’s afternoon and evening. I had scarfed the gunwhales and ripped oak for ribs and soaked them two days prior to the first build day. Everything else, including most of the forms, I made as I went ahead with the build. I also had a Masik from a nice branch found on Åland but it proved too rotten so I had to make another from plank scraps.

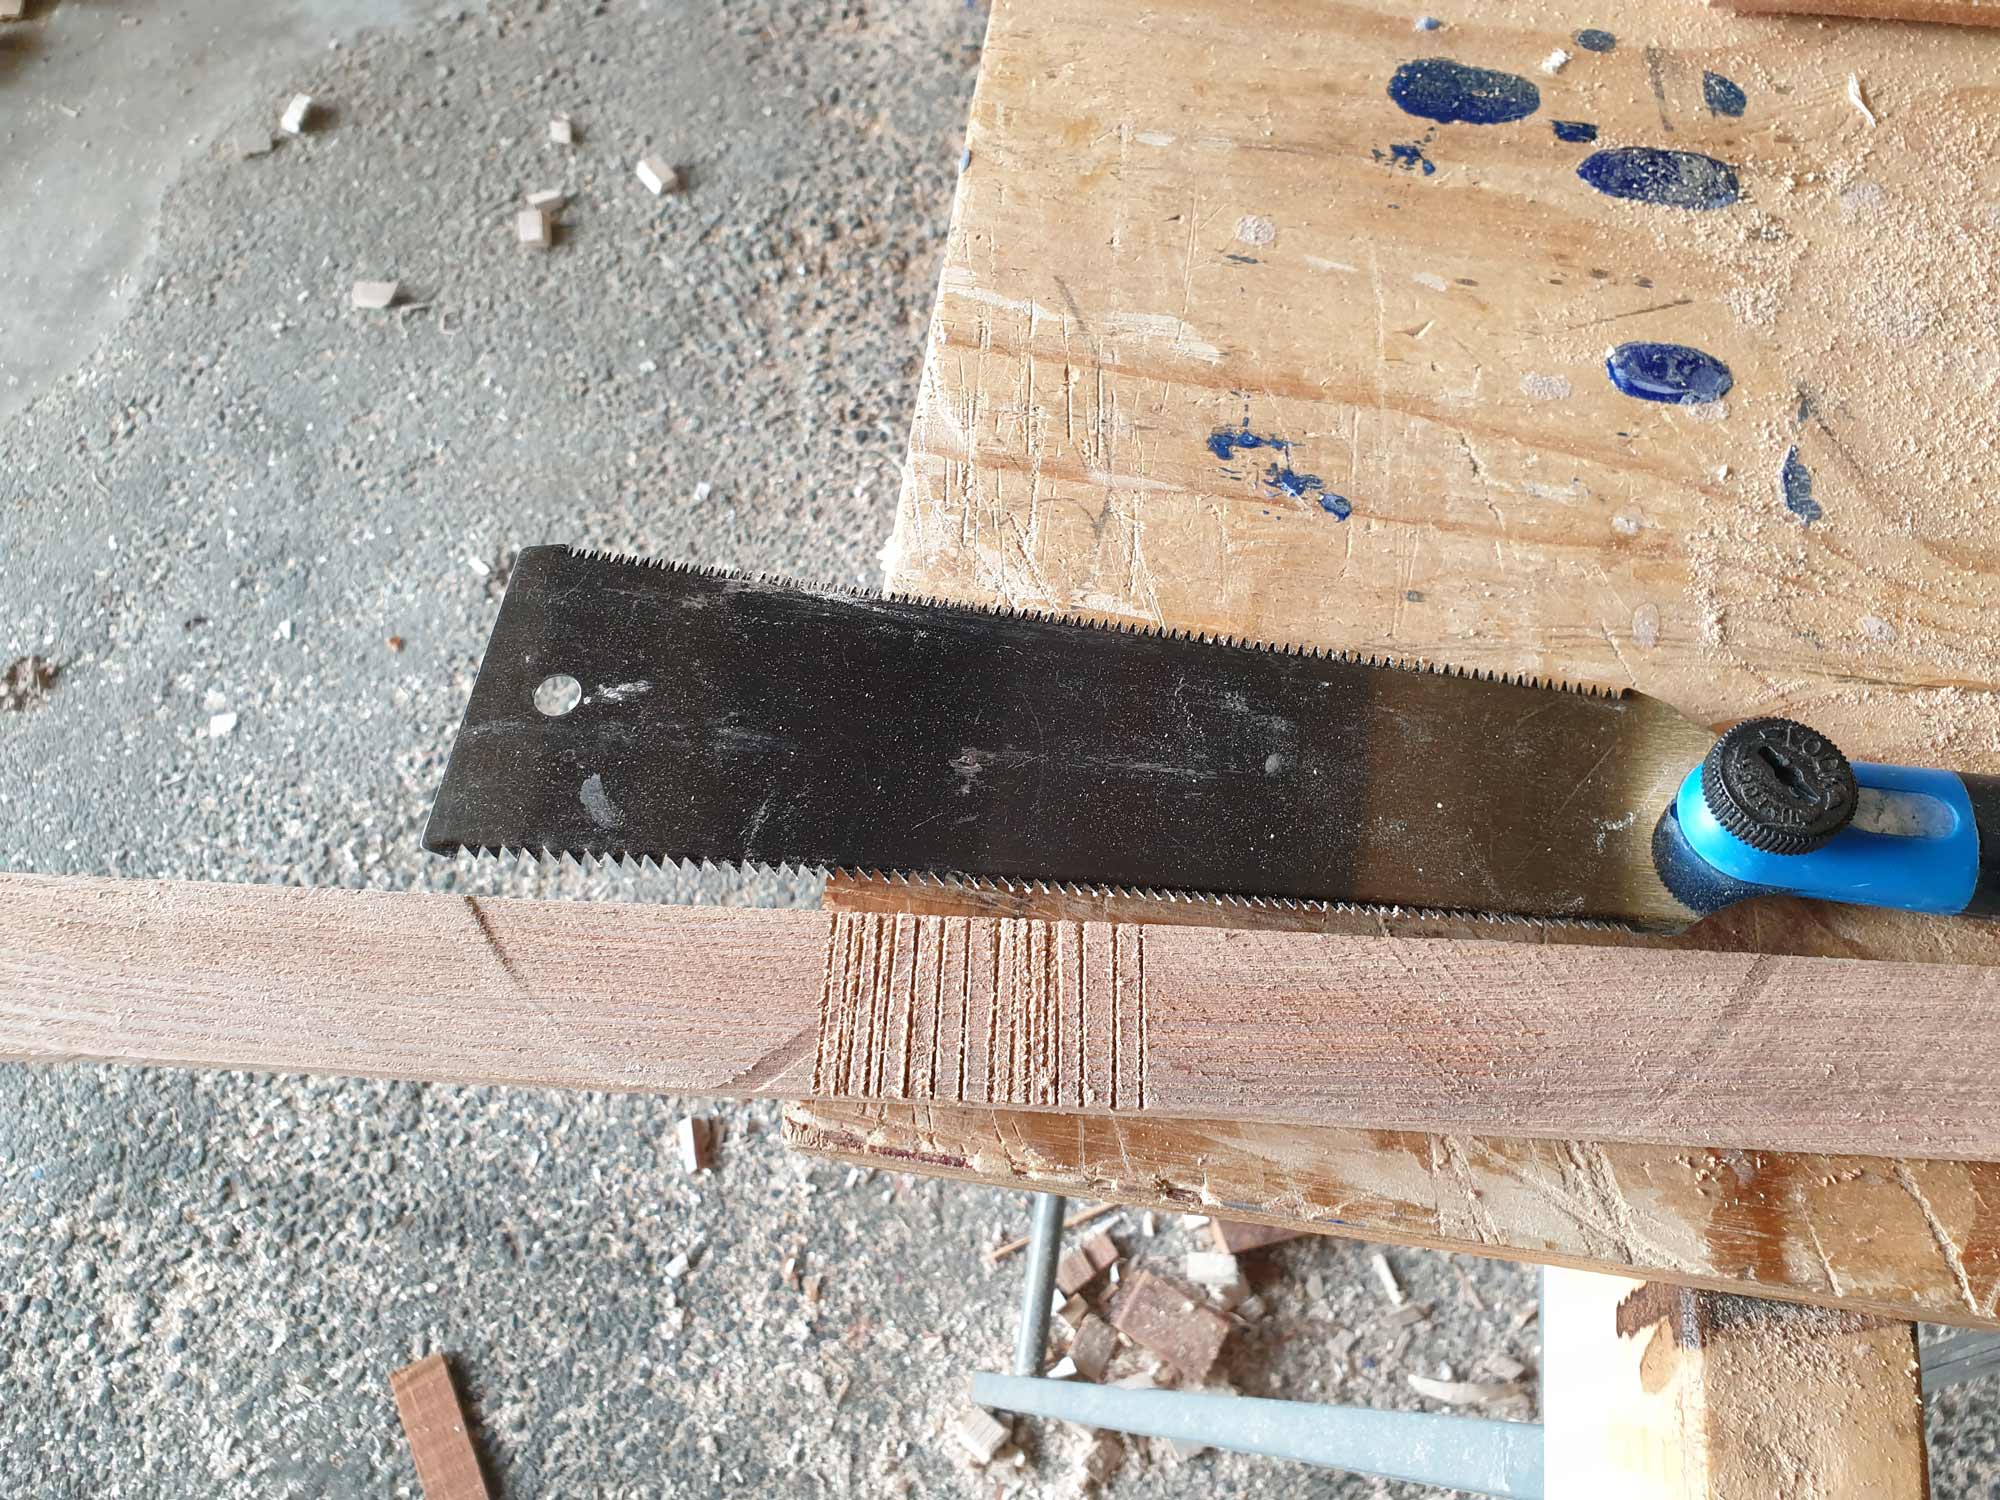
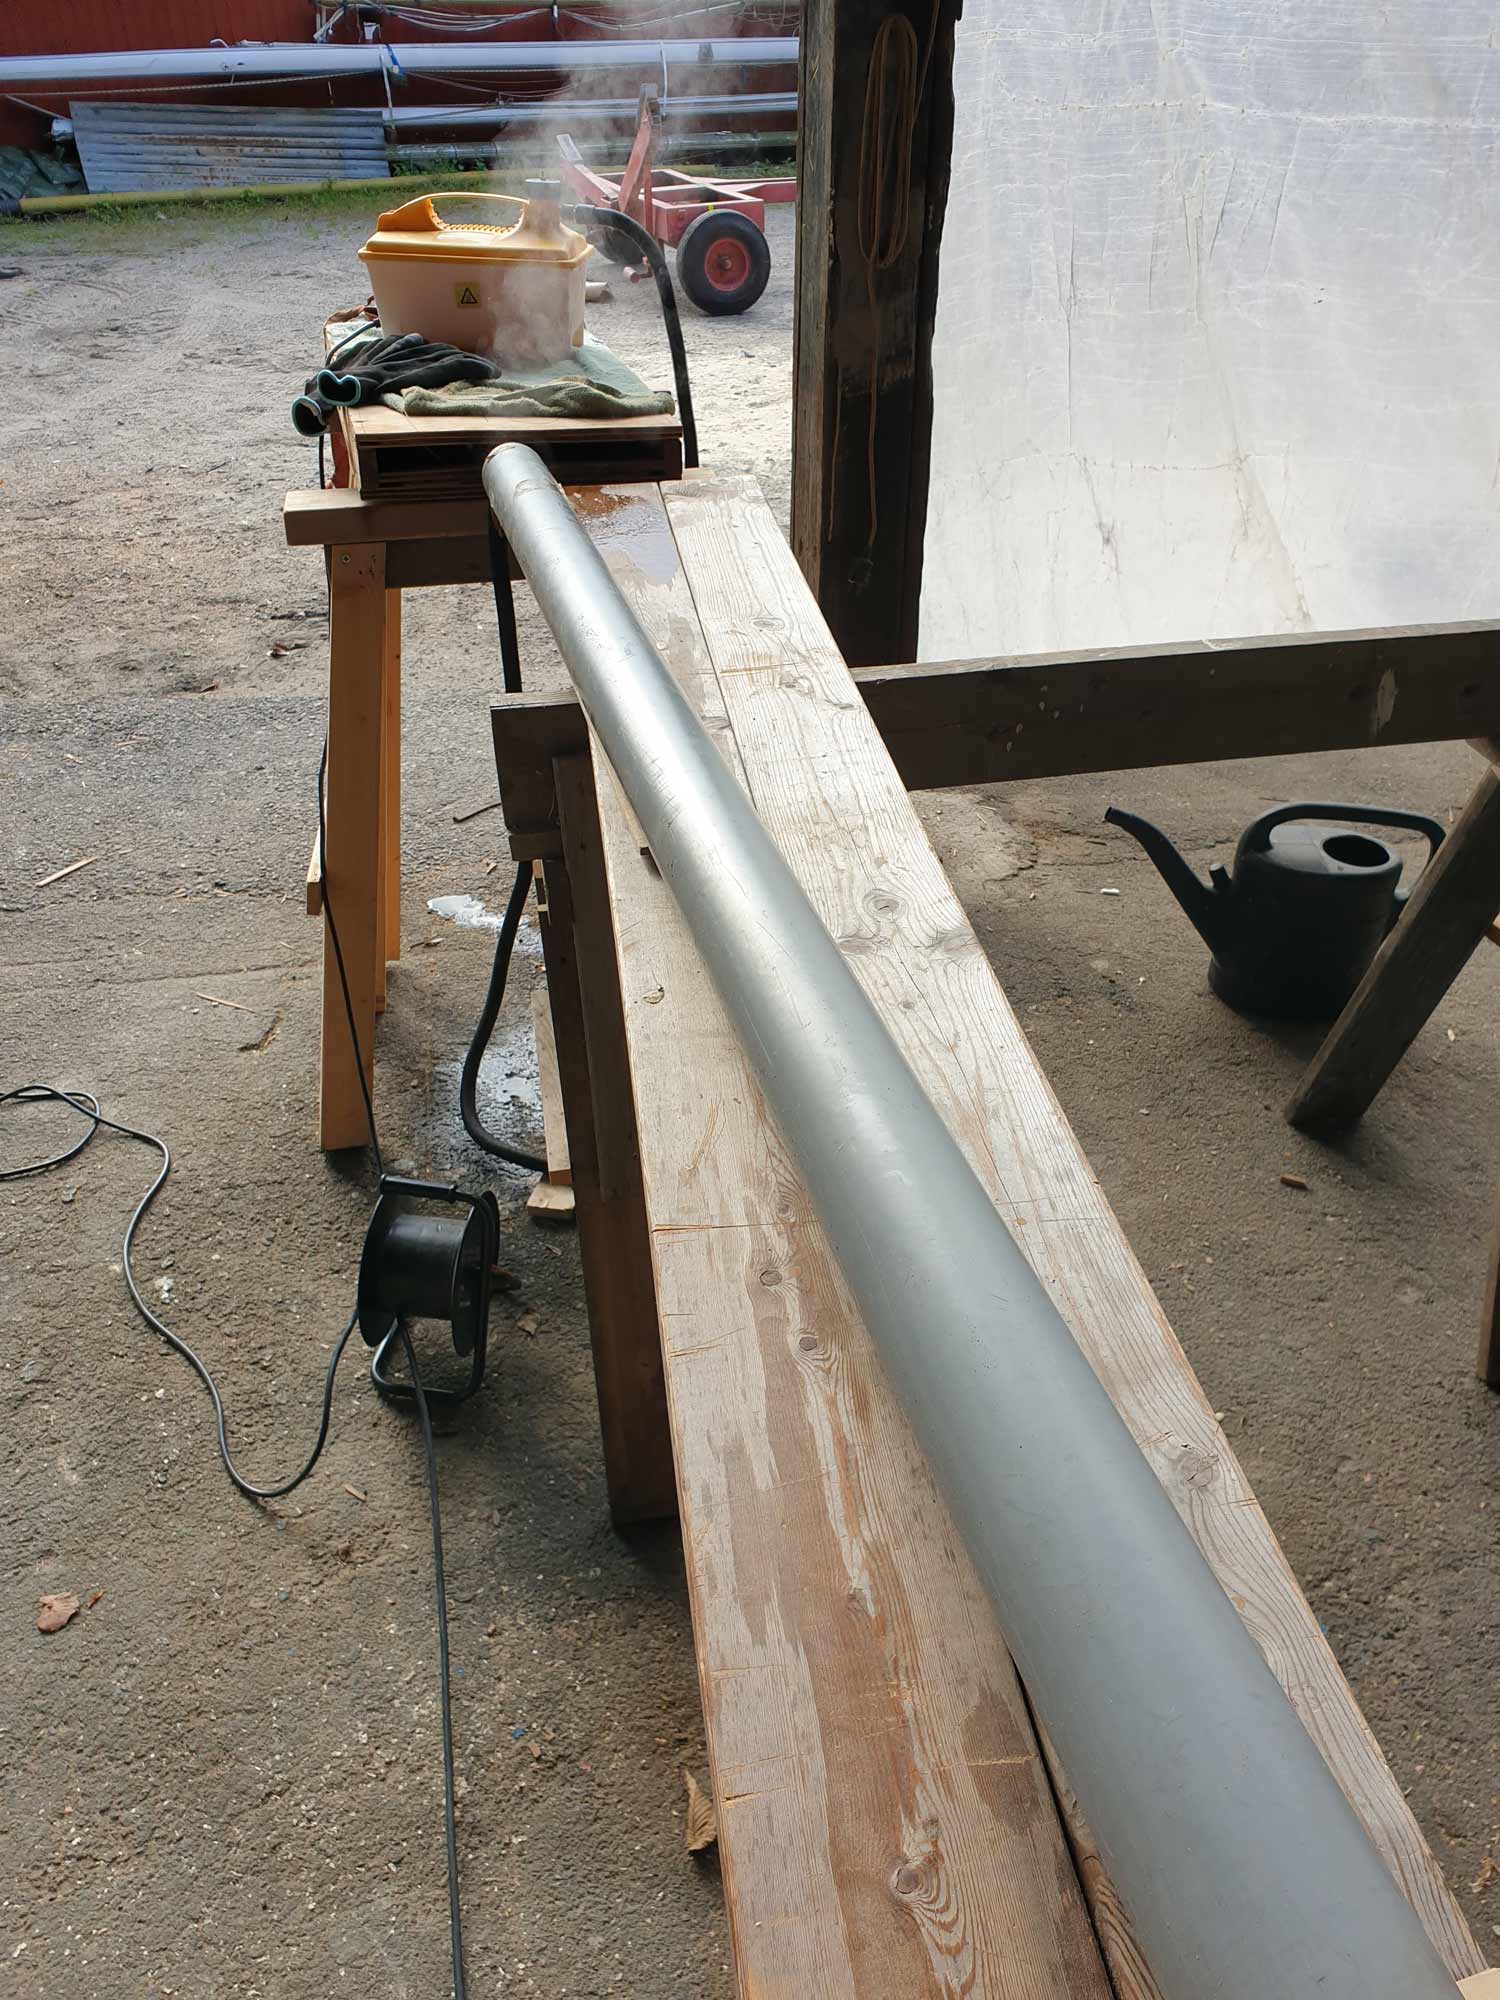
Day two, rib bending, keel, stringers and stems day, I first tried cutting grooves to bend a sharp V and then glue the inside. It didn’t work. Instead the Ash I used bent without cracking on the third try. It seemed 13 minutes steaming did the trick.
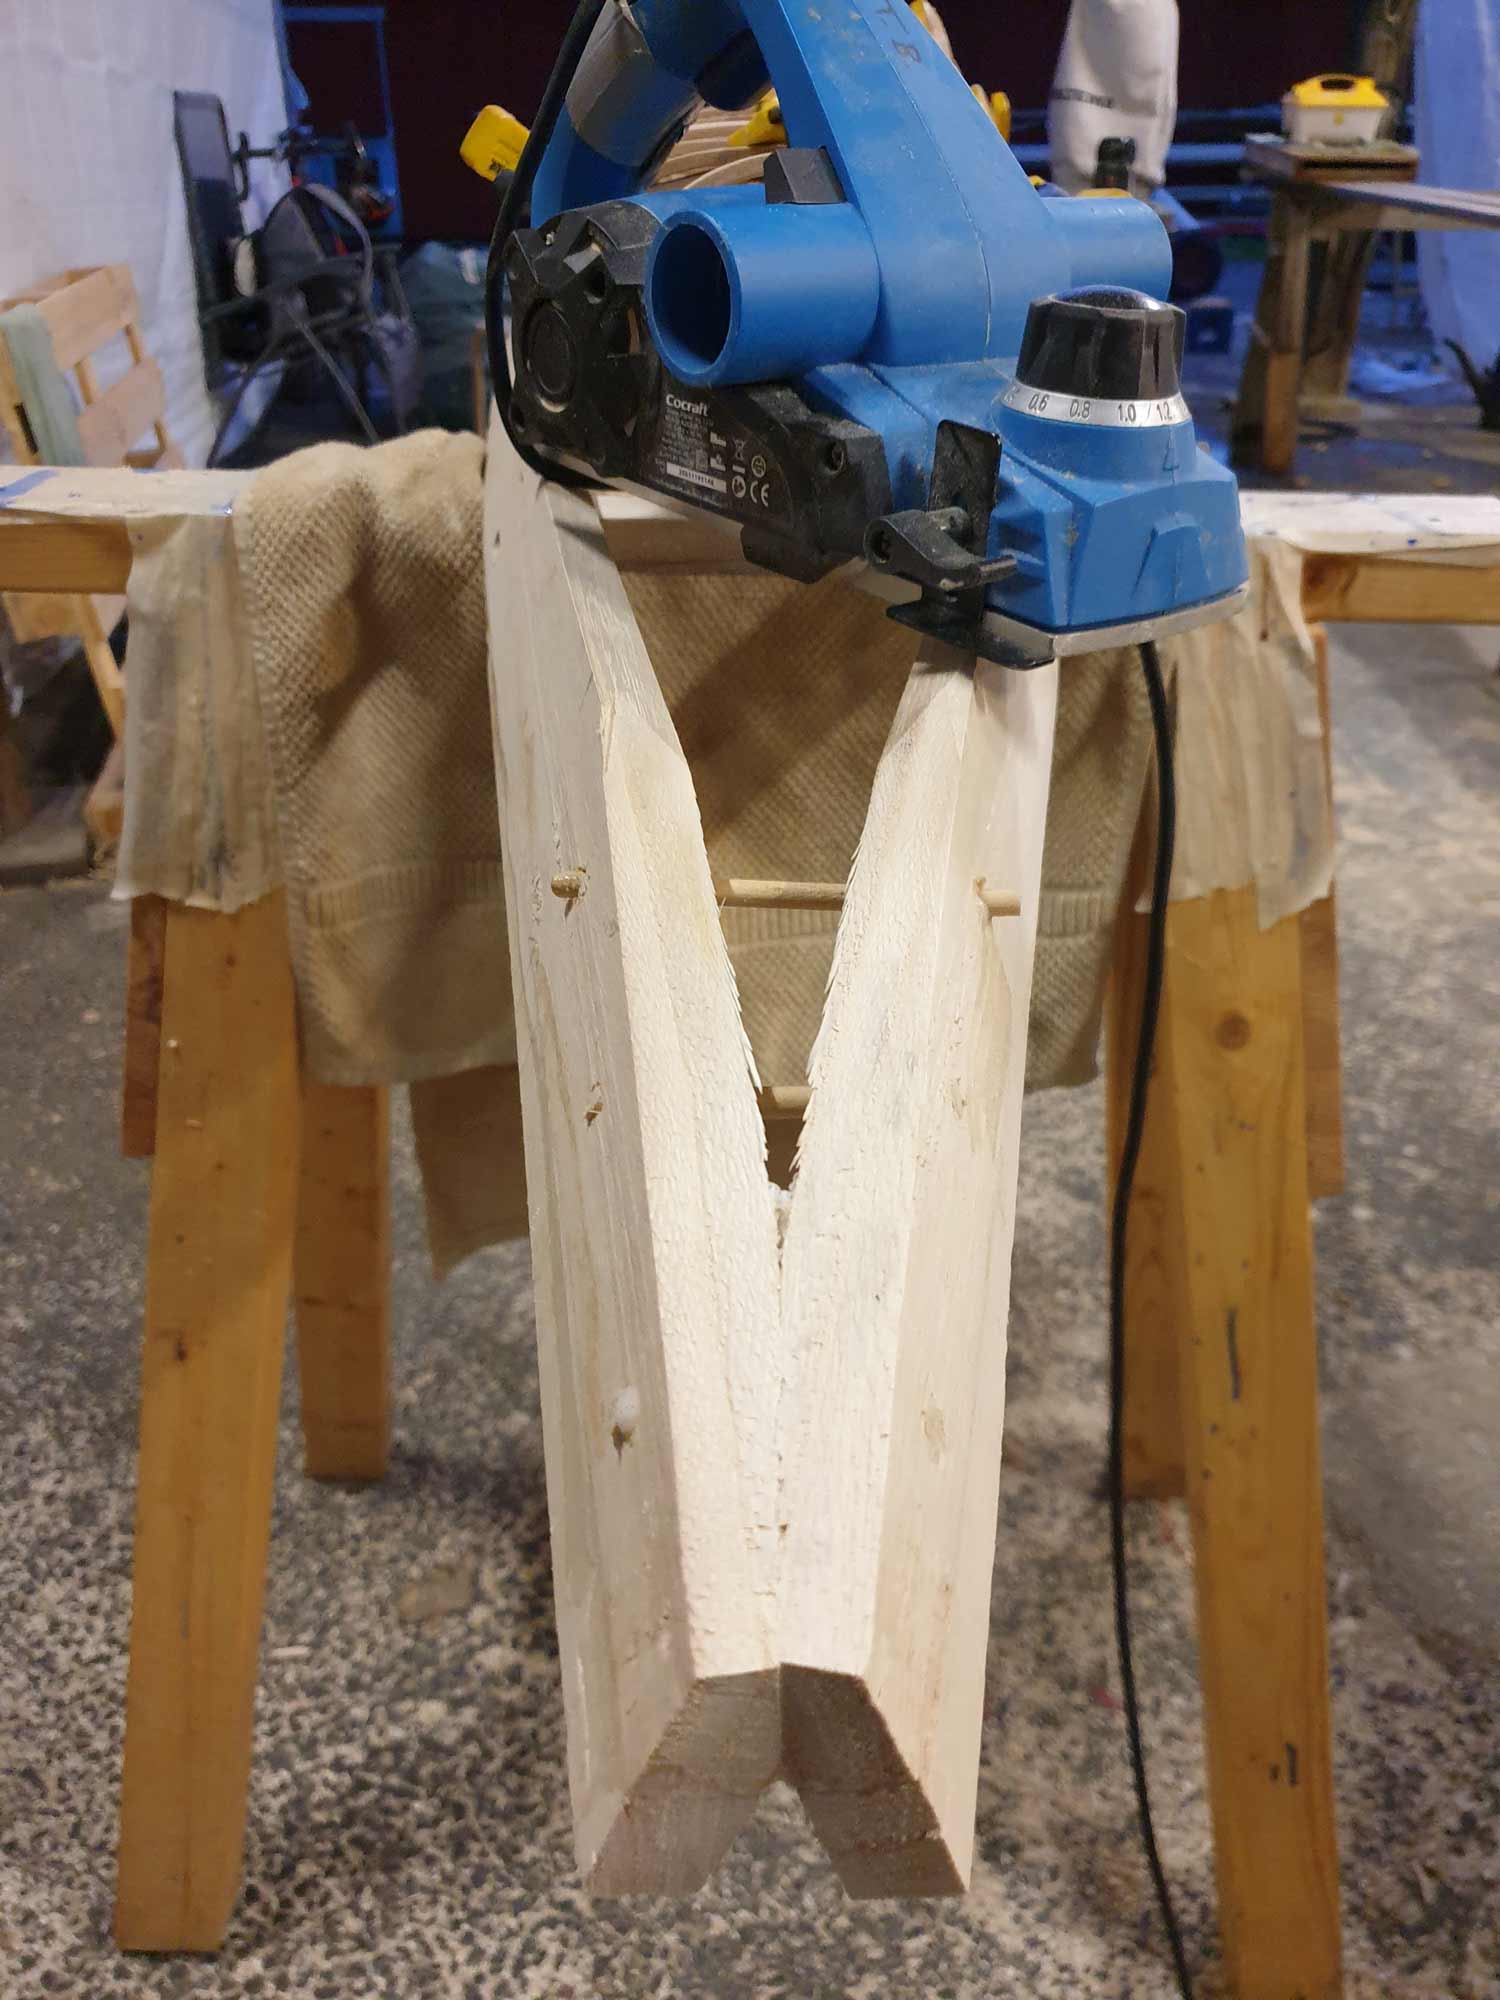
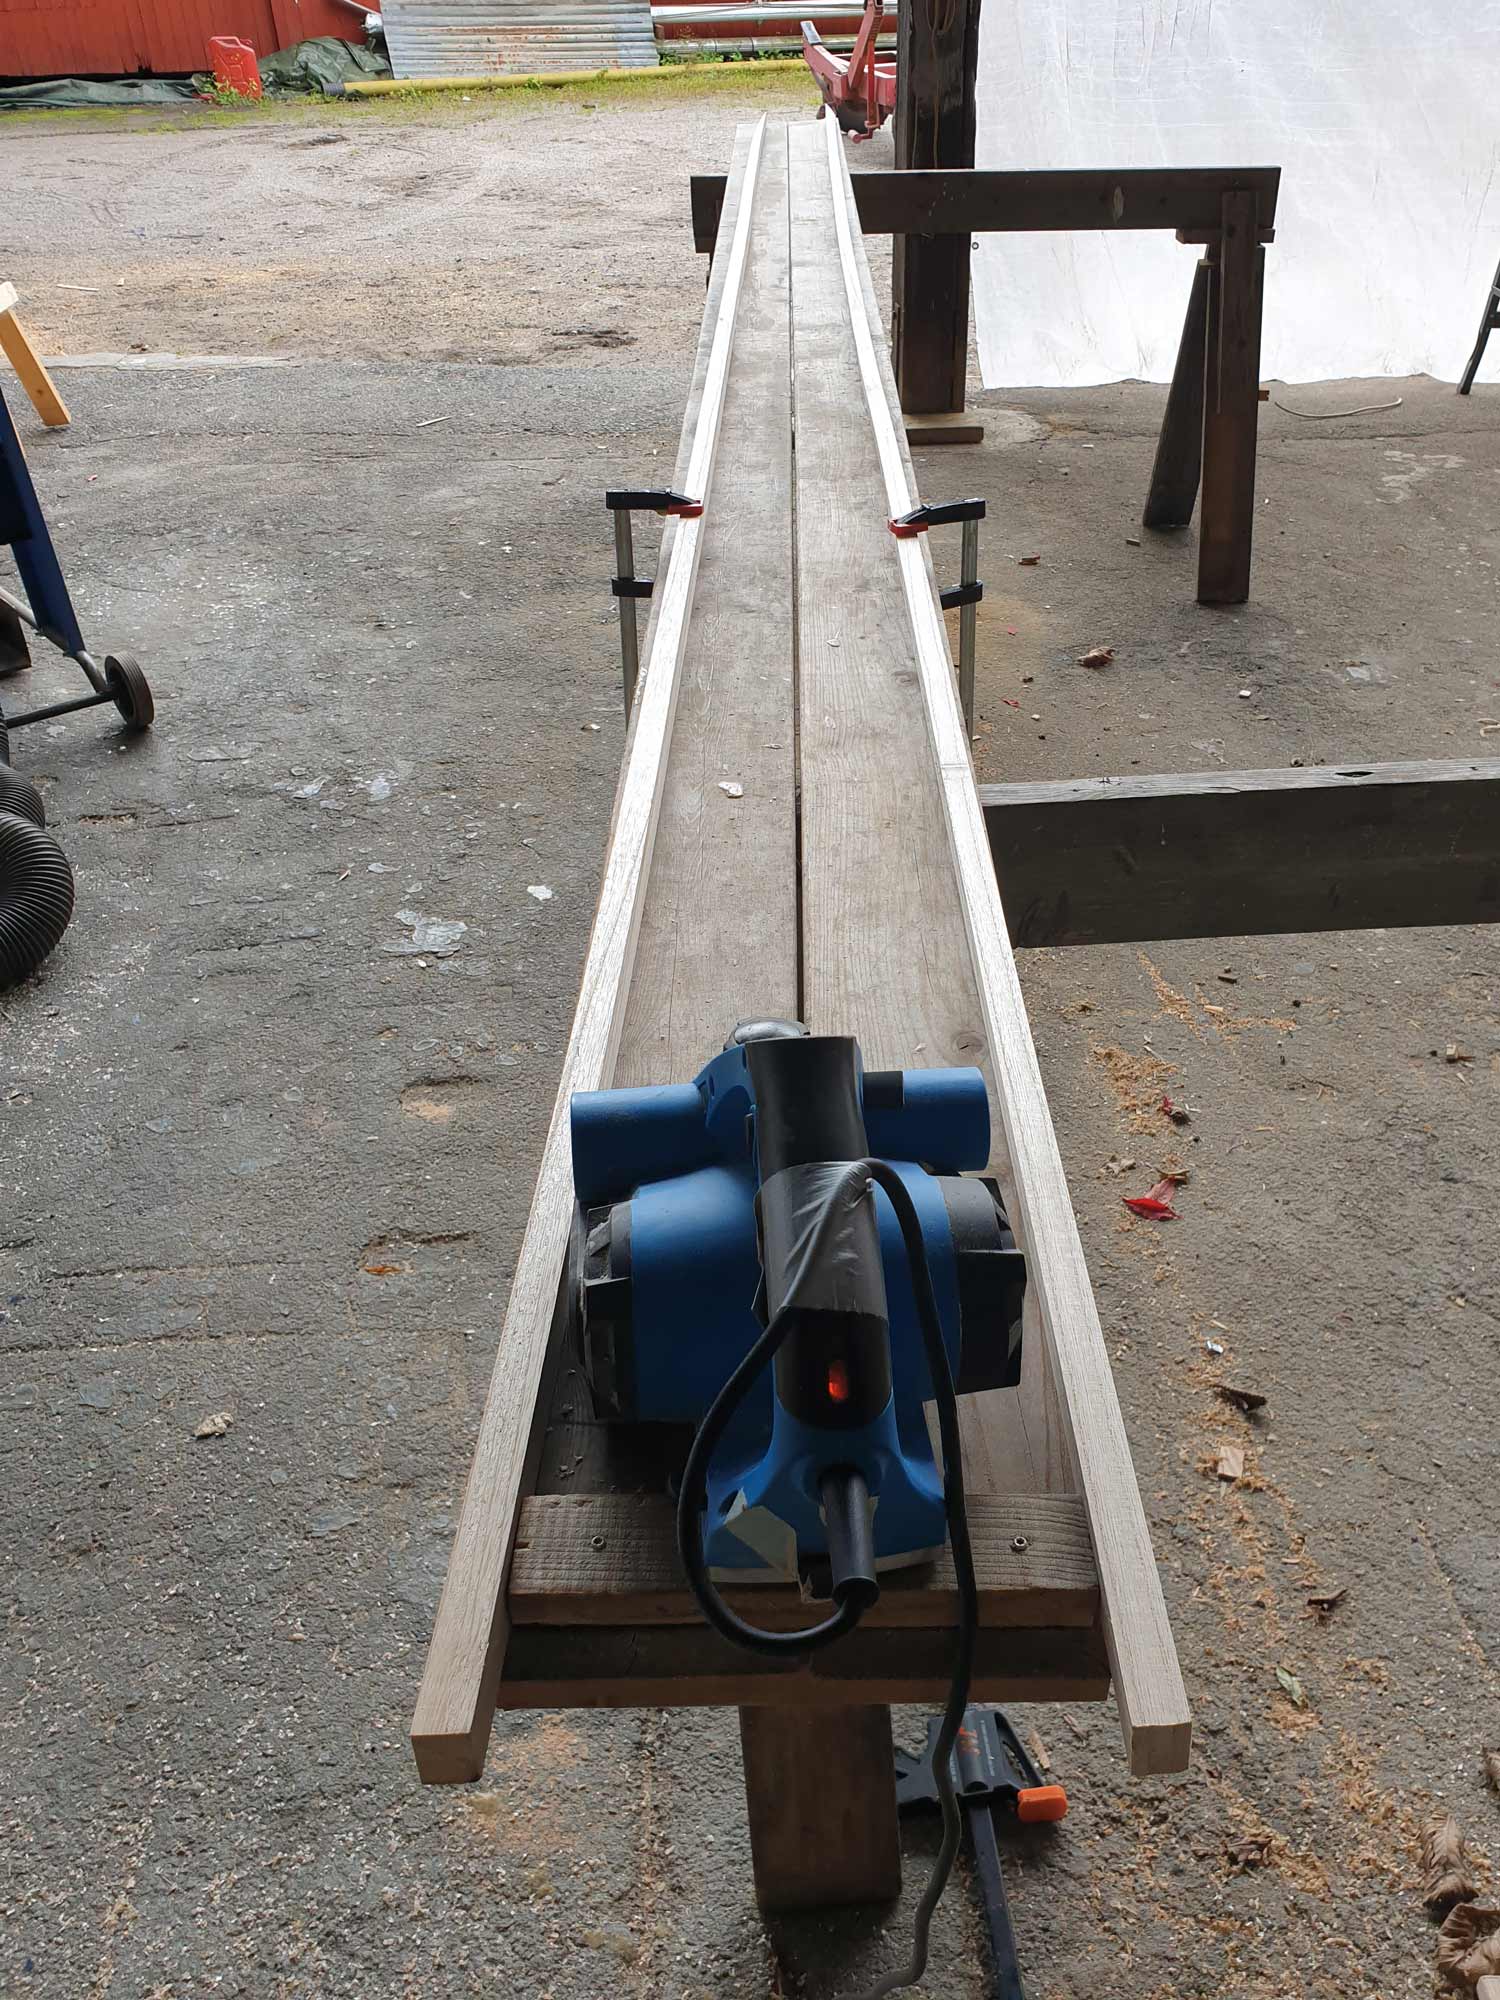
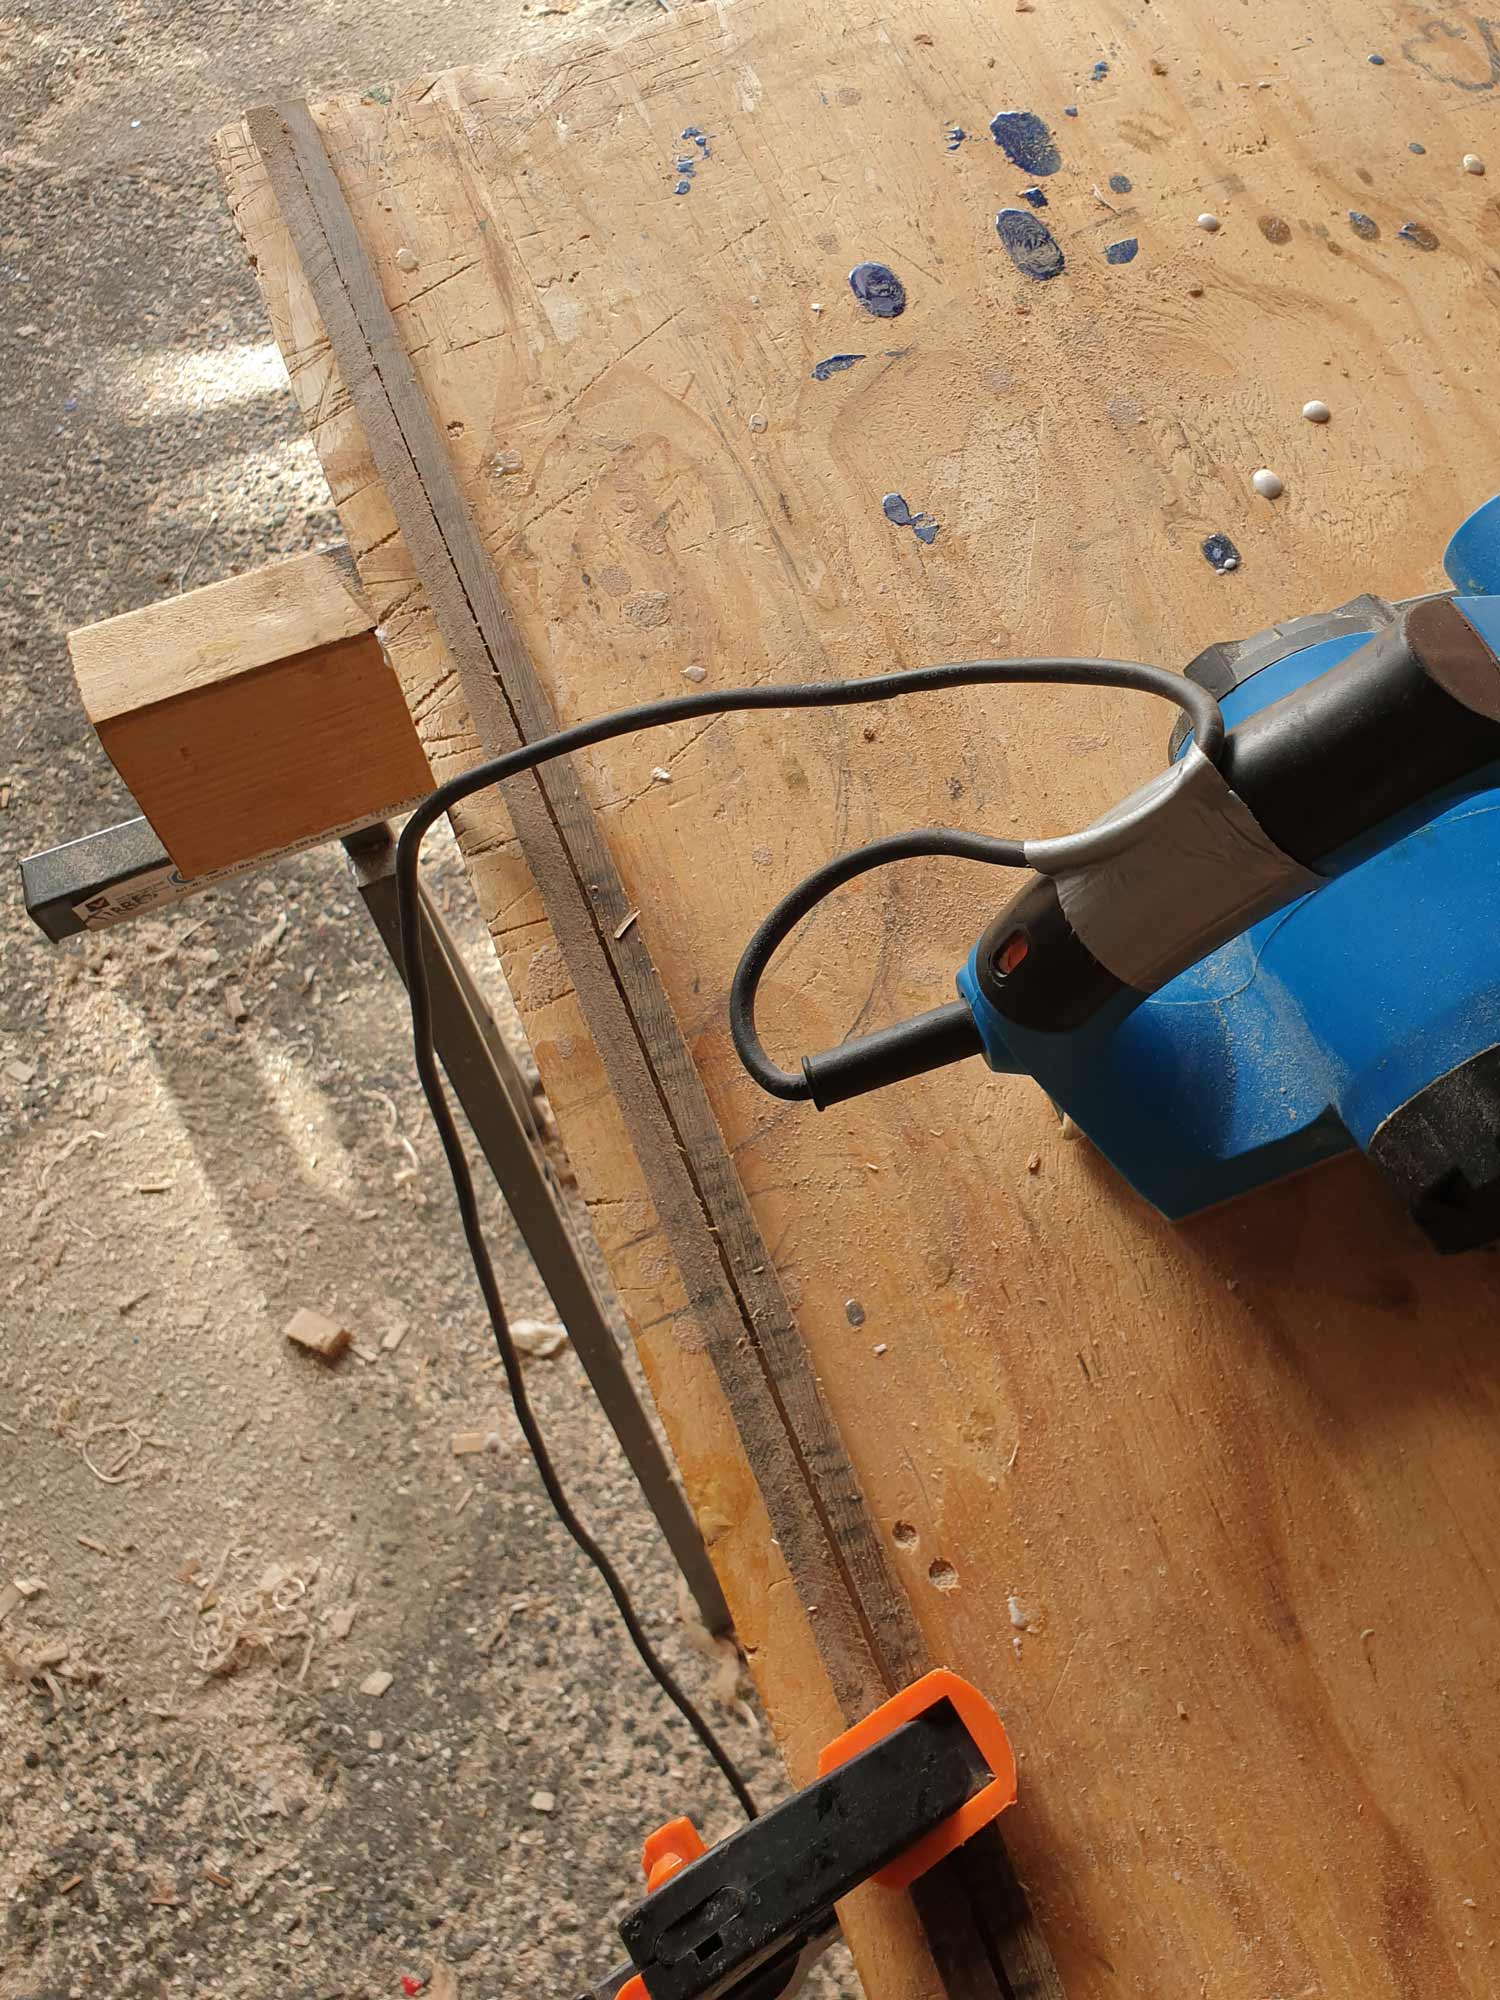
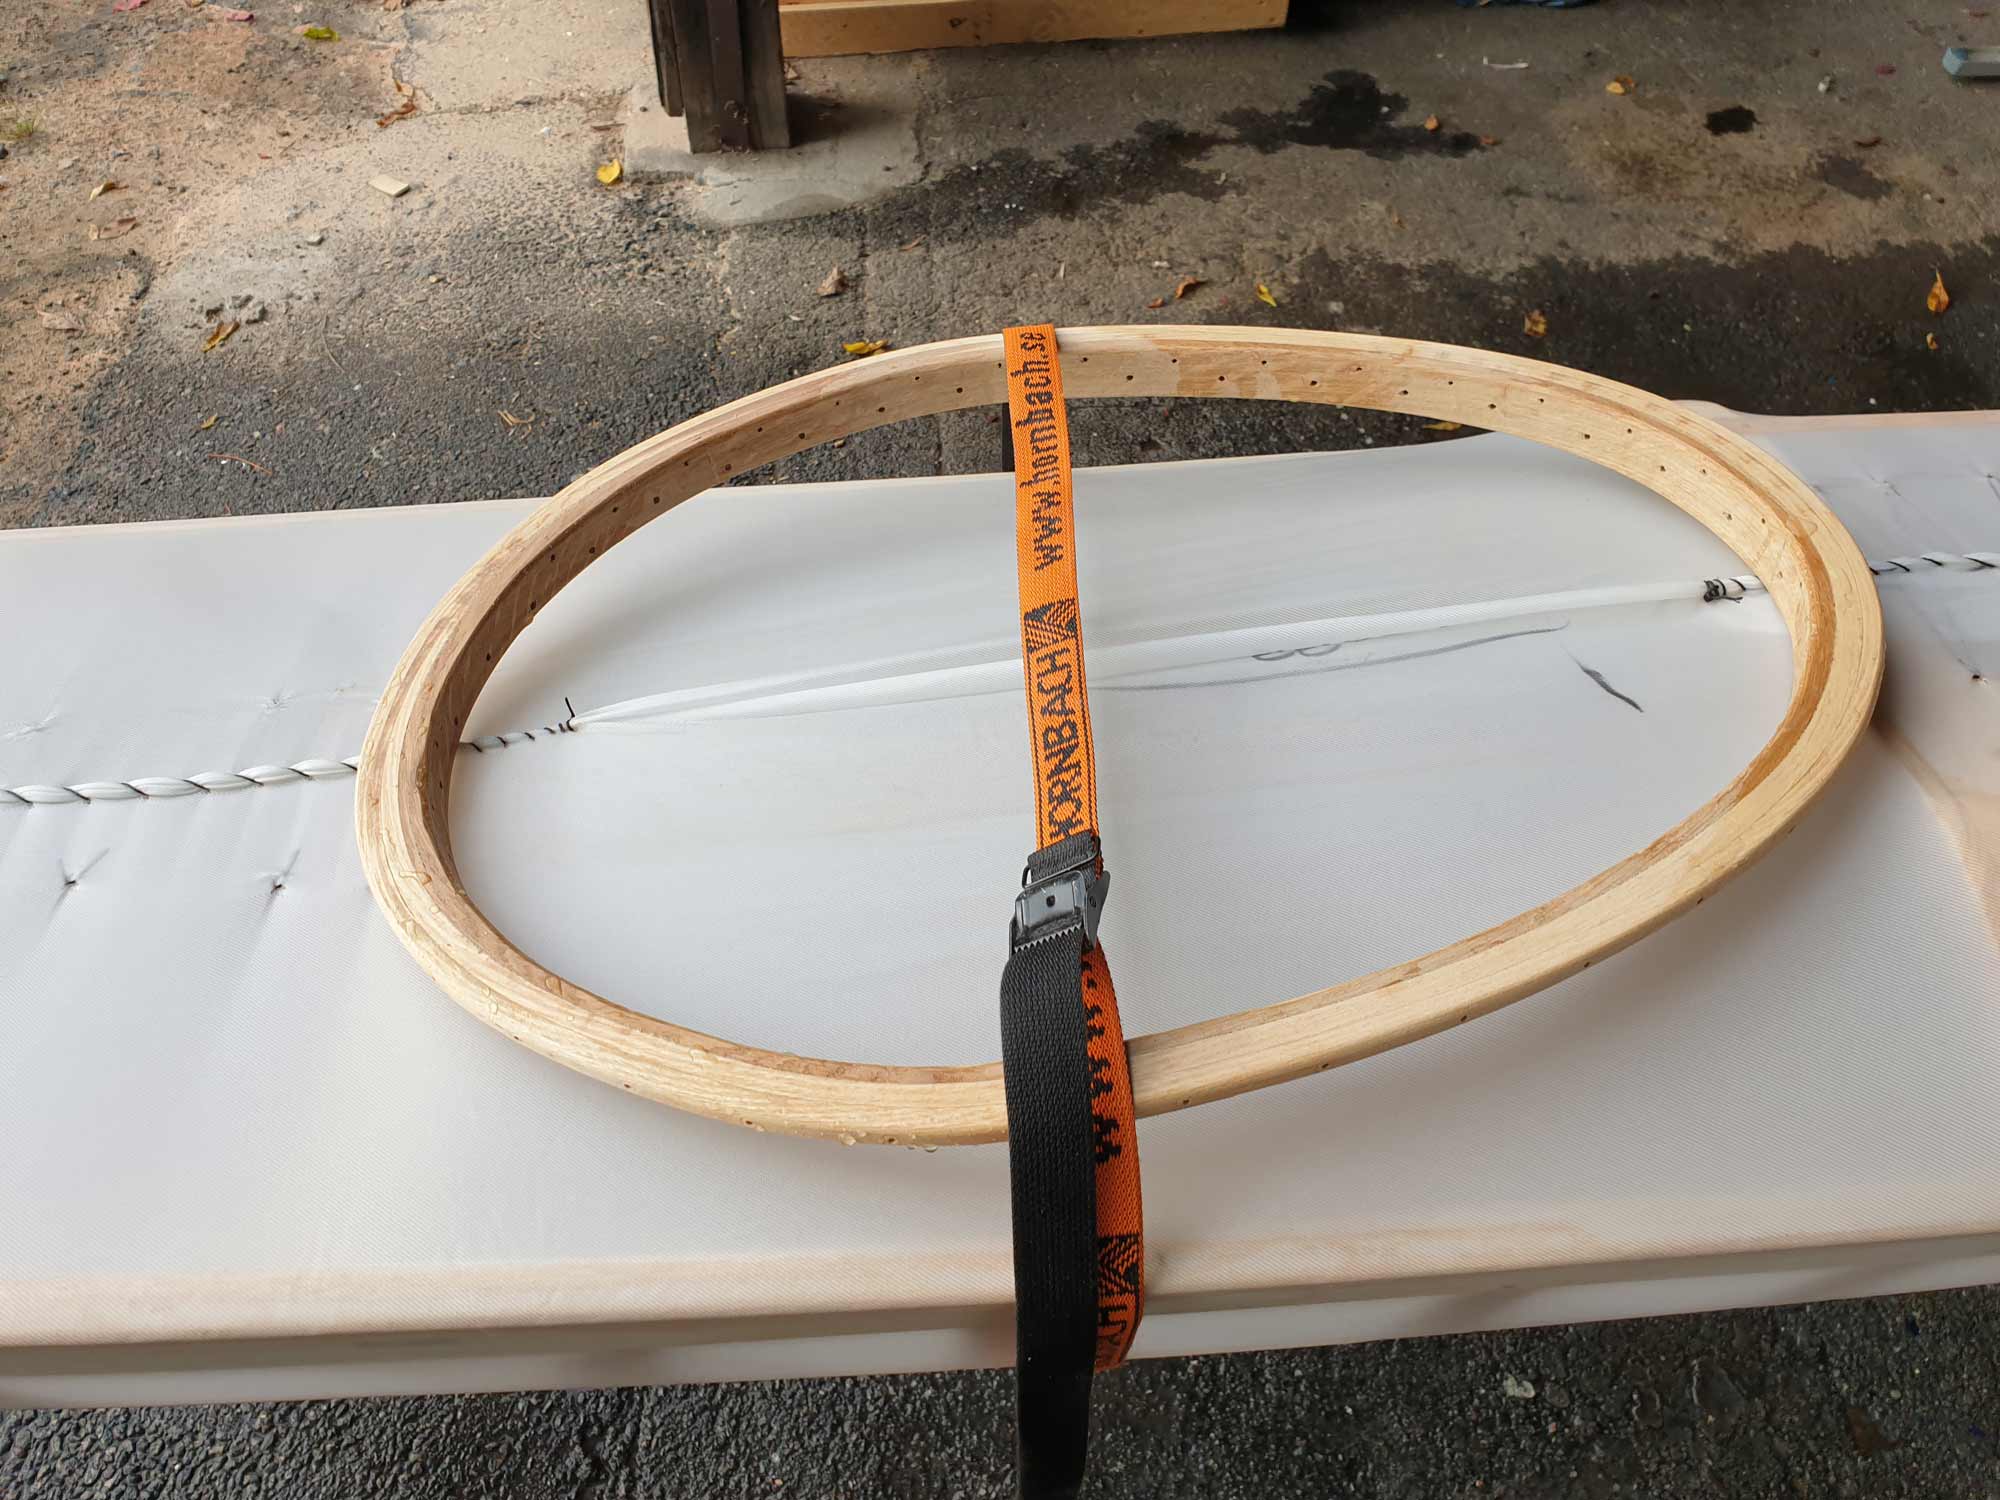
Having worked with the kayak two 10h days I had a sleep-in morning and started late on day three. Oops, I forgot the coaming lip! I decided before the build on a leftover coaming and thought It was all set but checking again showed my mistake. I just threw in the pipe of the steamer into a drainage tube we’ve used for coamings before and the problem was settled with an oak stick, a power planer and a glued on double lipped coaming soon after. It helps to have done this before, it seems.
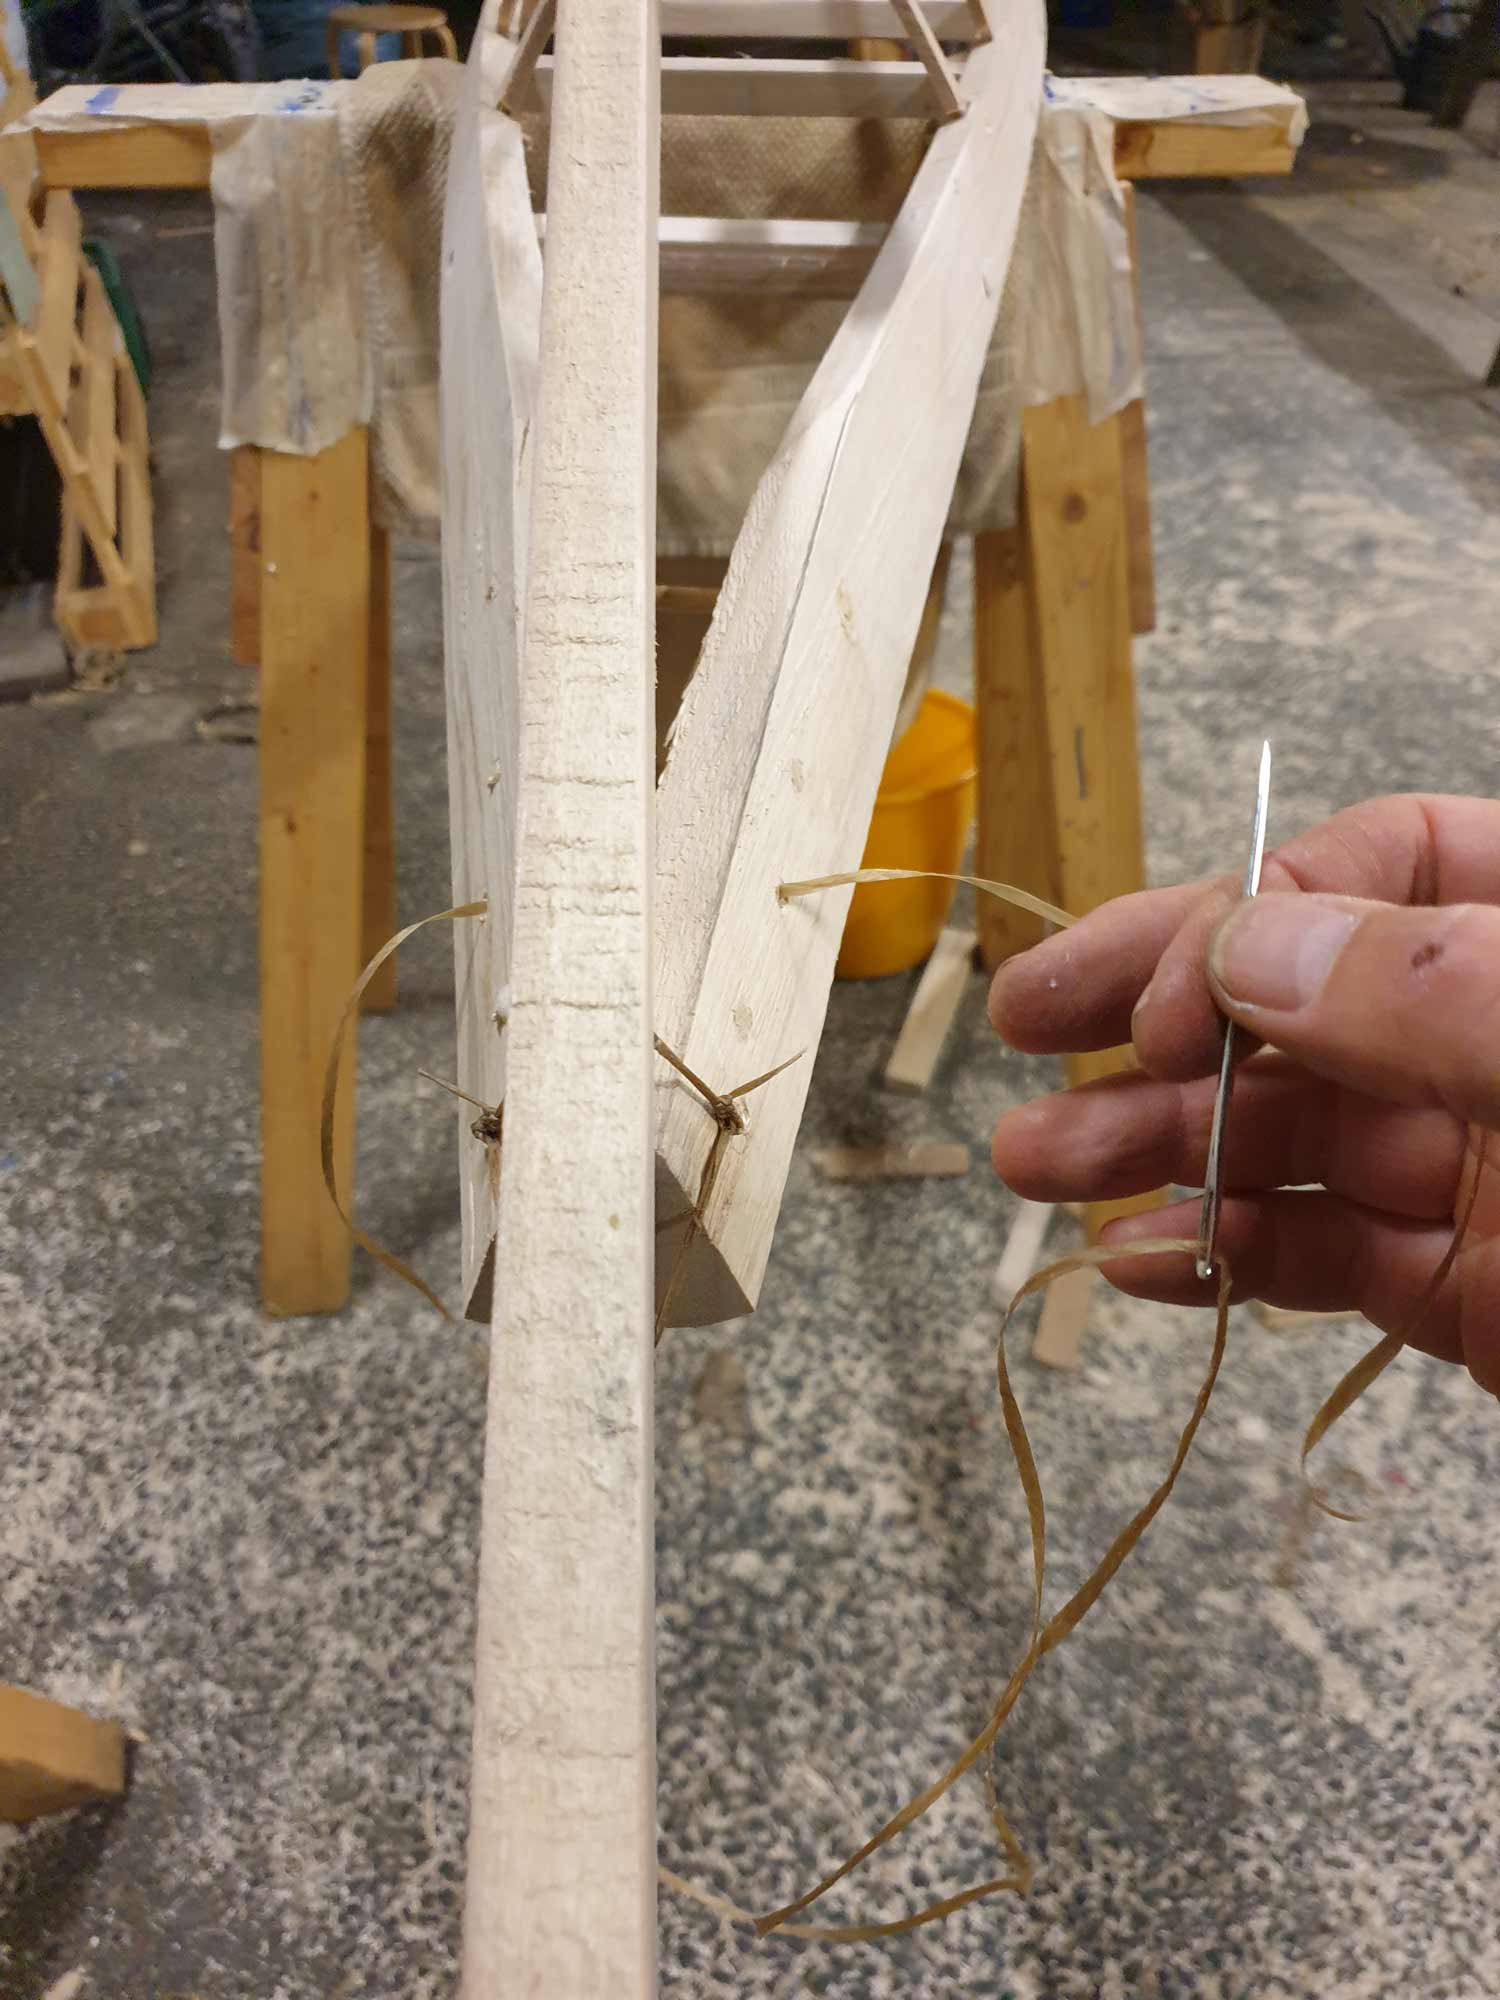
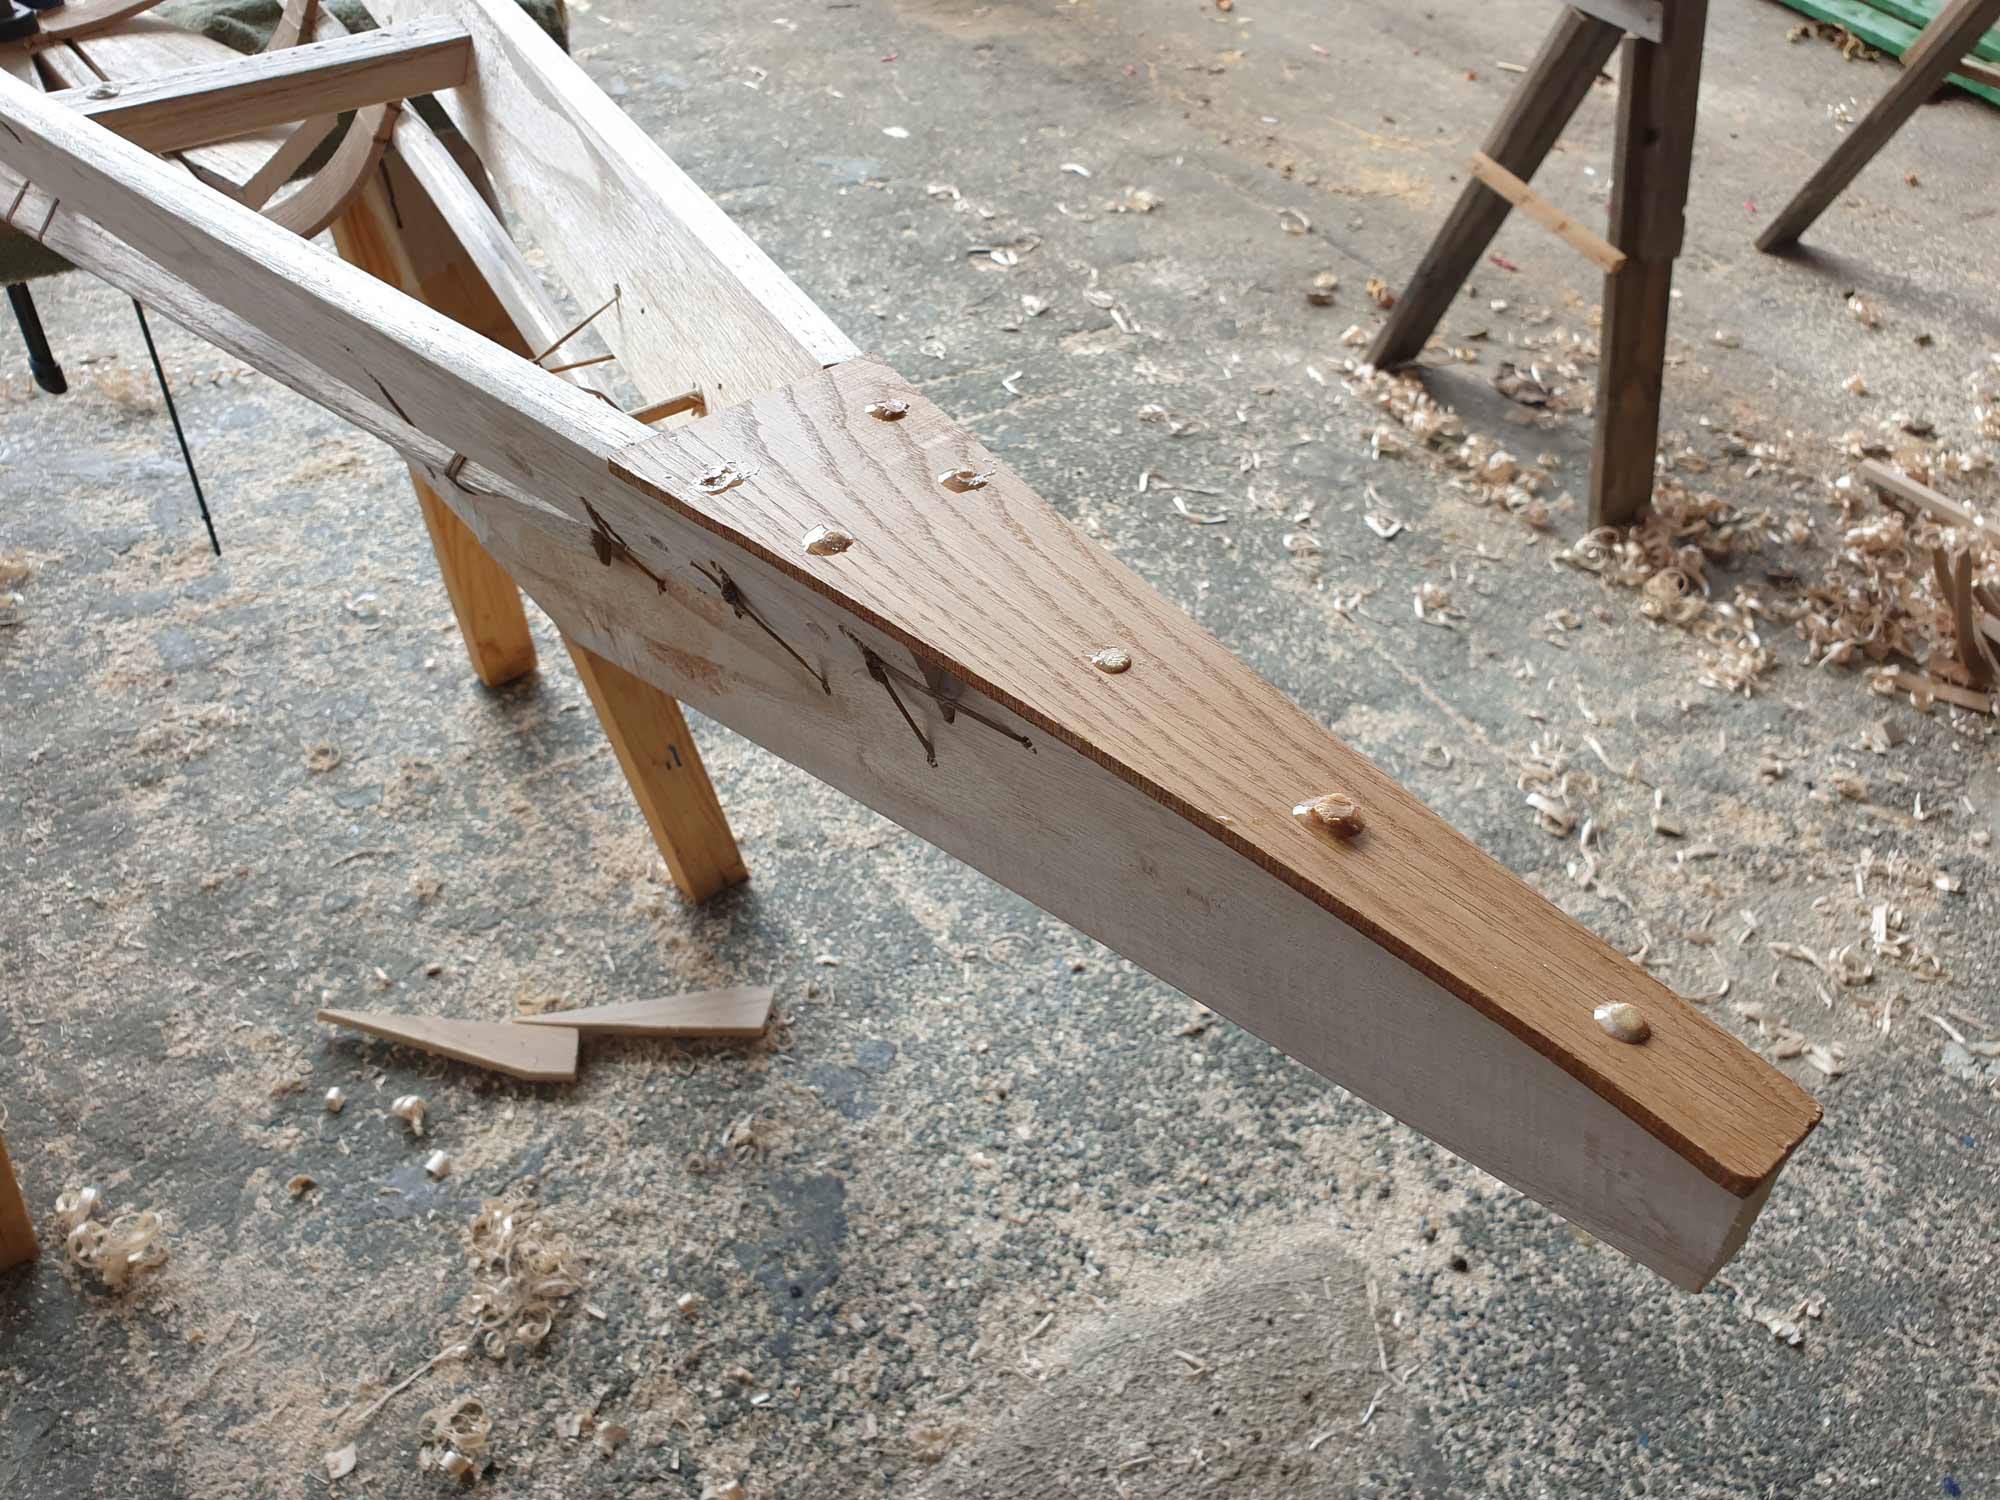
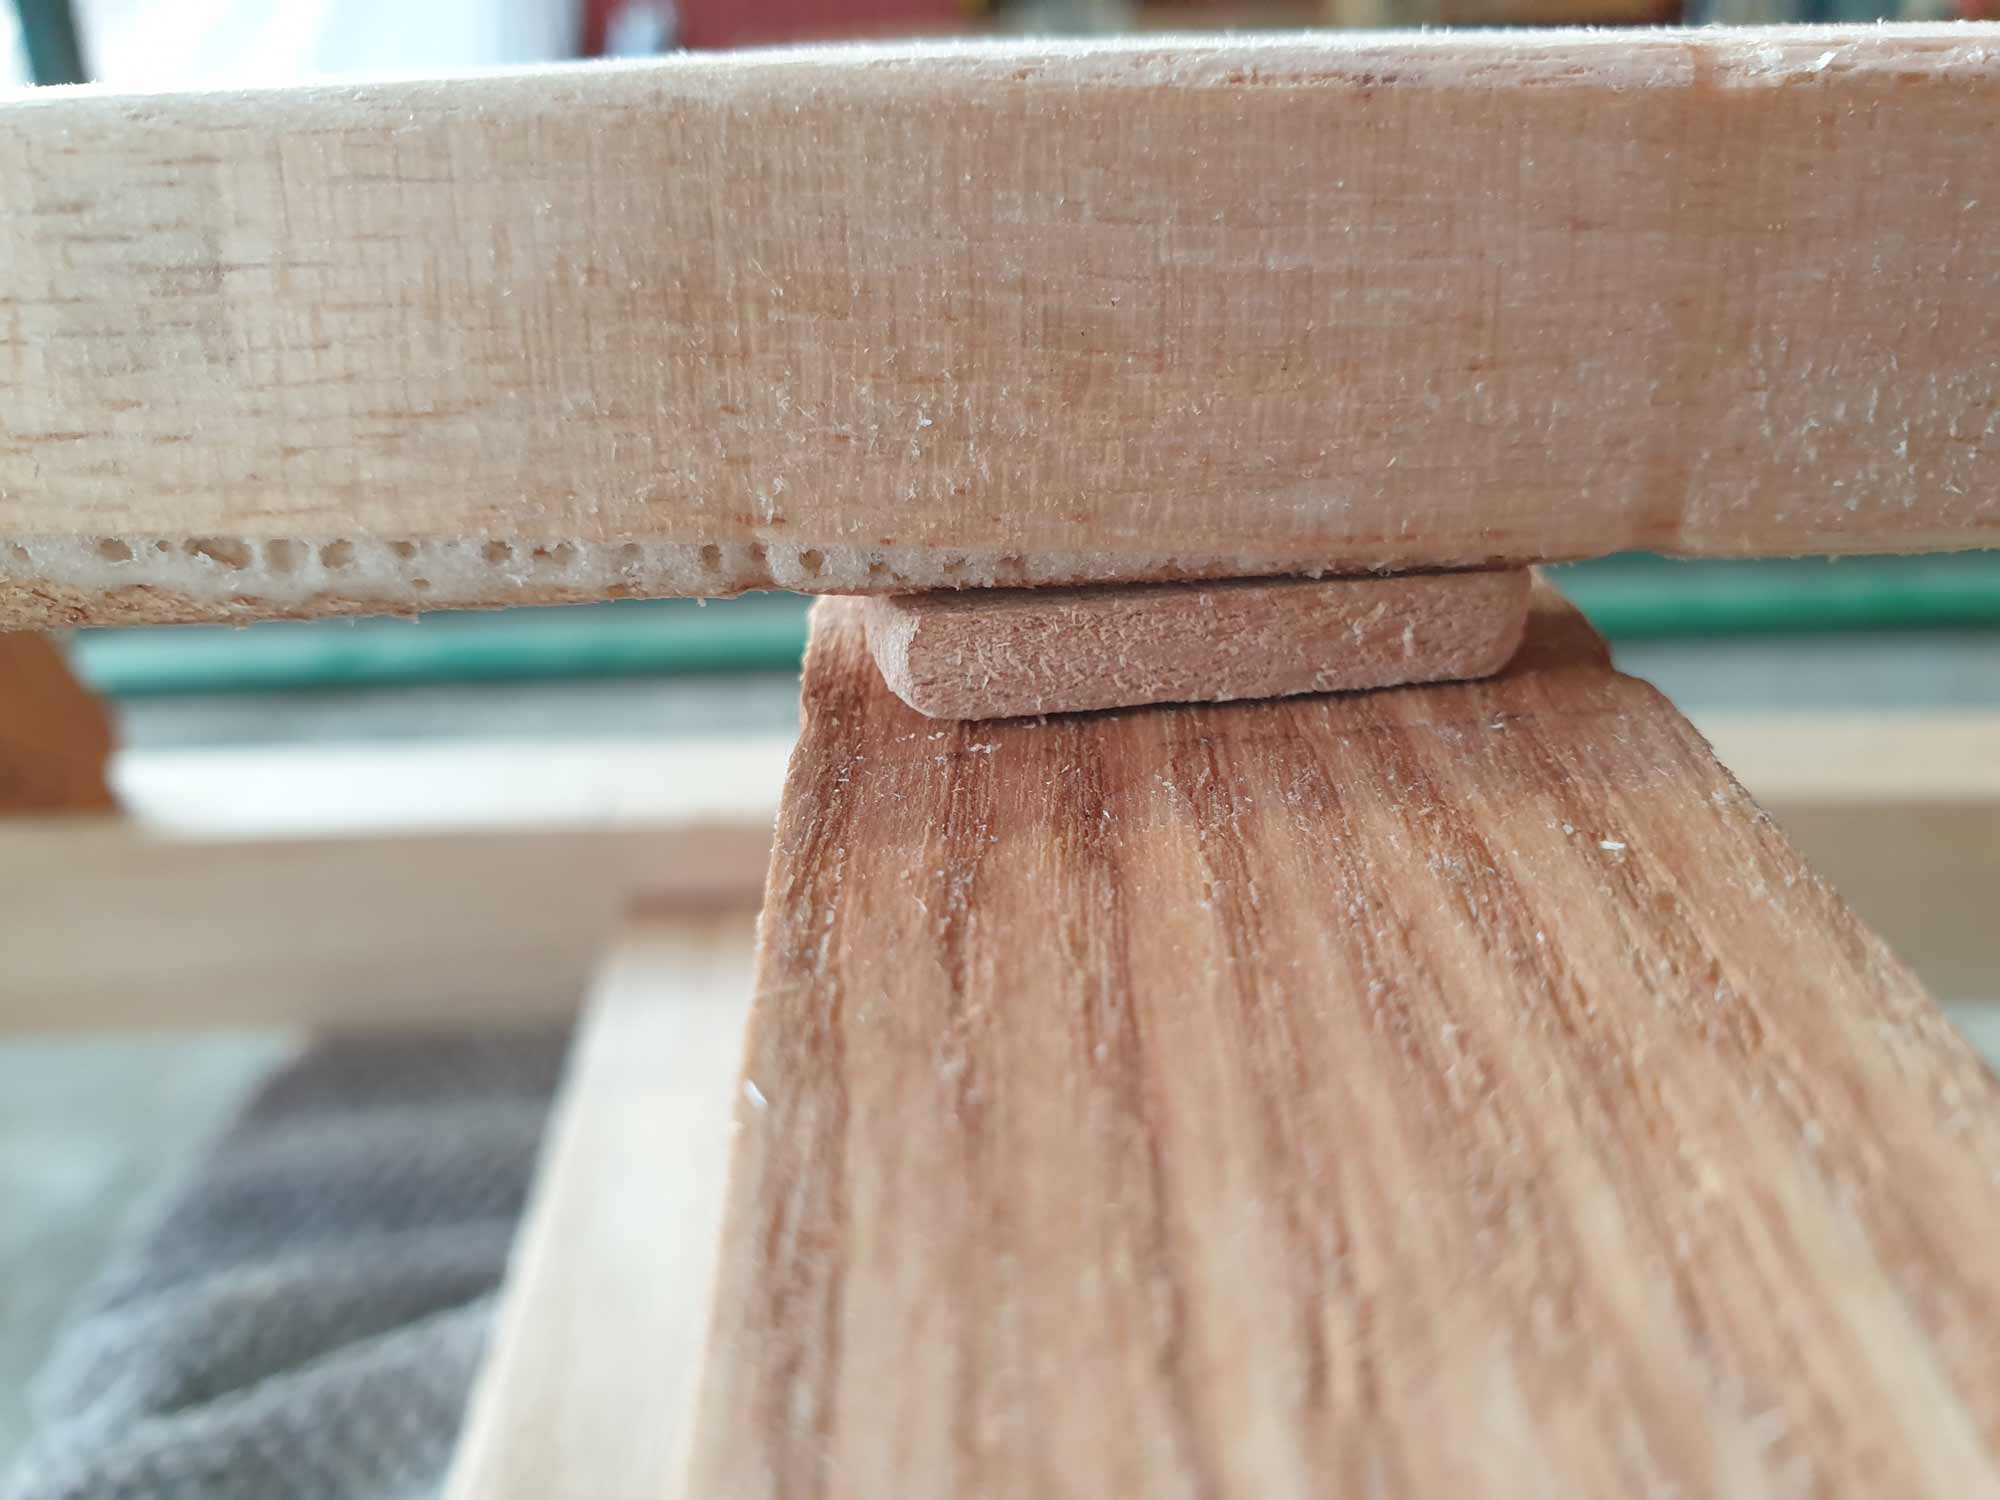
End plates planed to thickness, cut out and fastened with dowels. The wood is from an uptown floor plank I got from Filip, a nice joiner at the marina. He says this Oak tree was felled possibly more than a hundred years ago. All the small details that give a Greenland Qajaq it’s spirit…
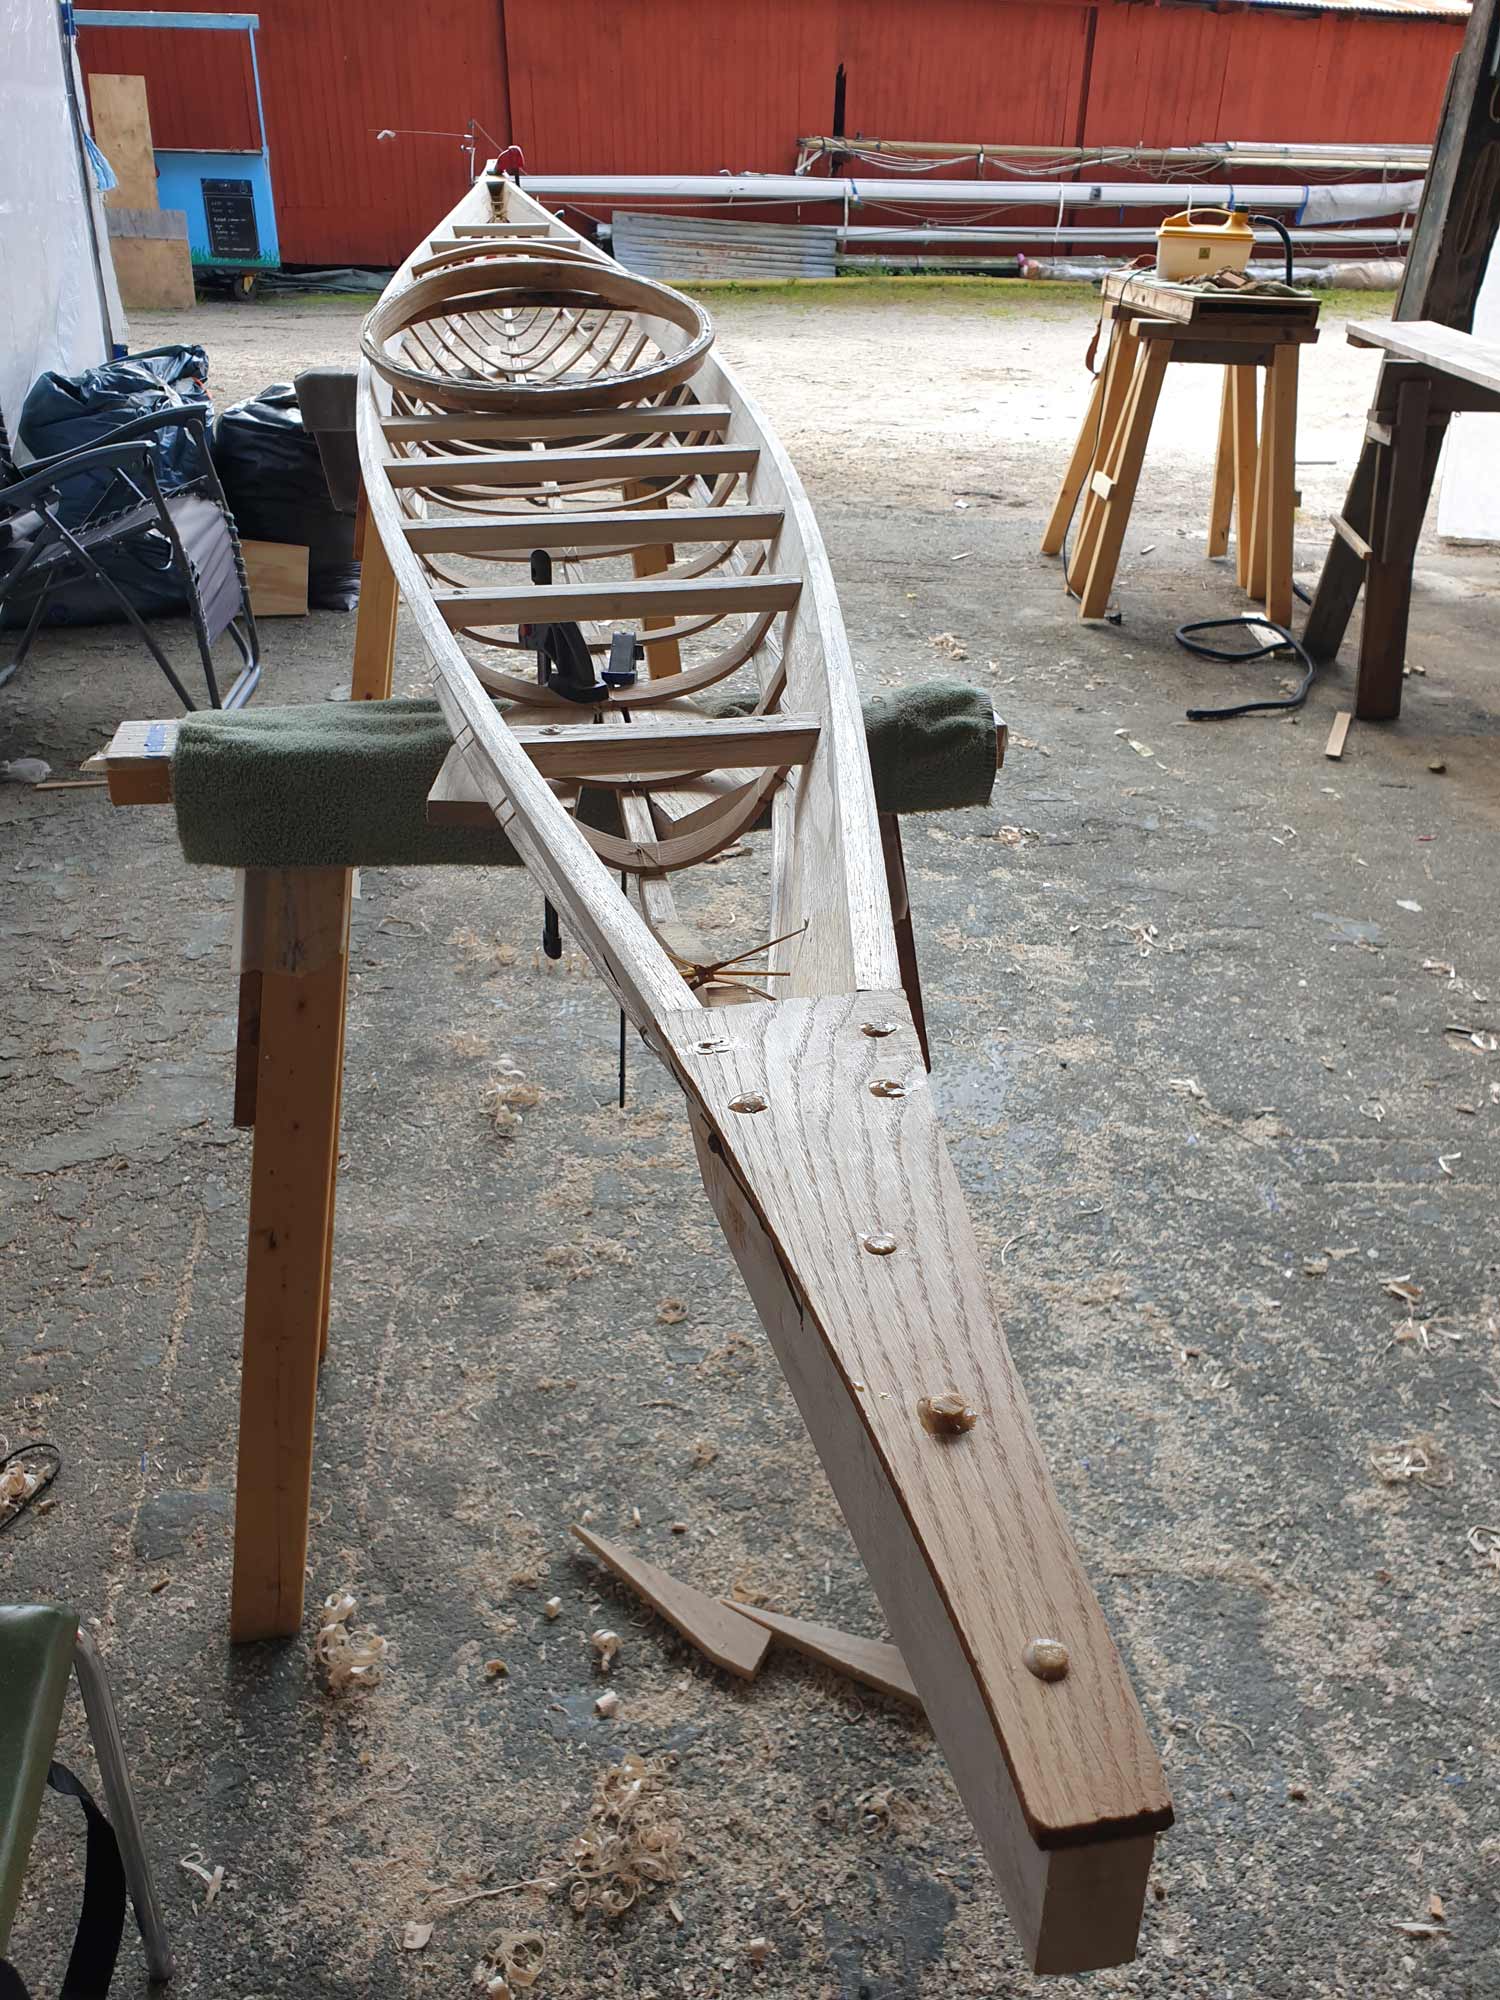
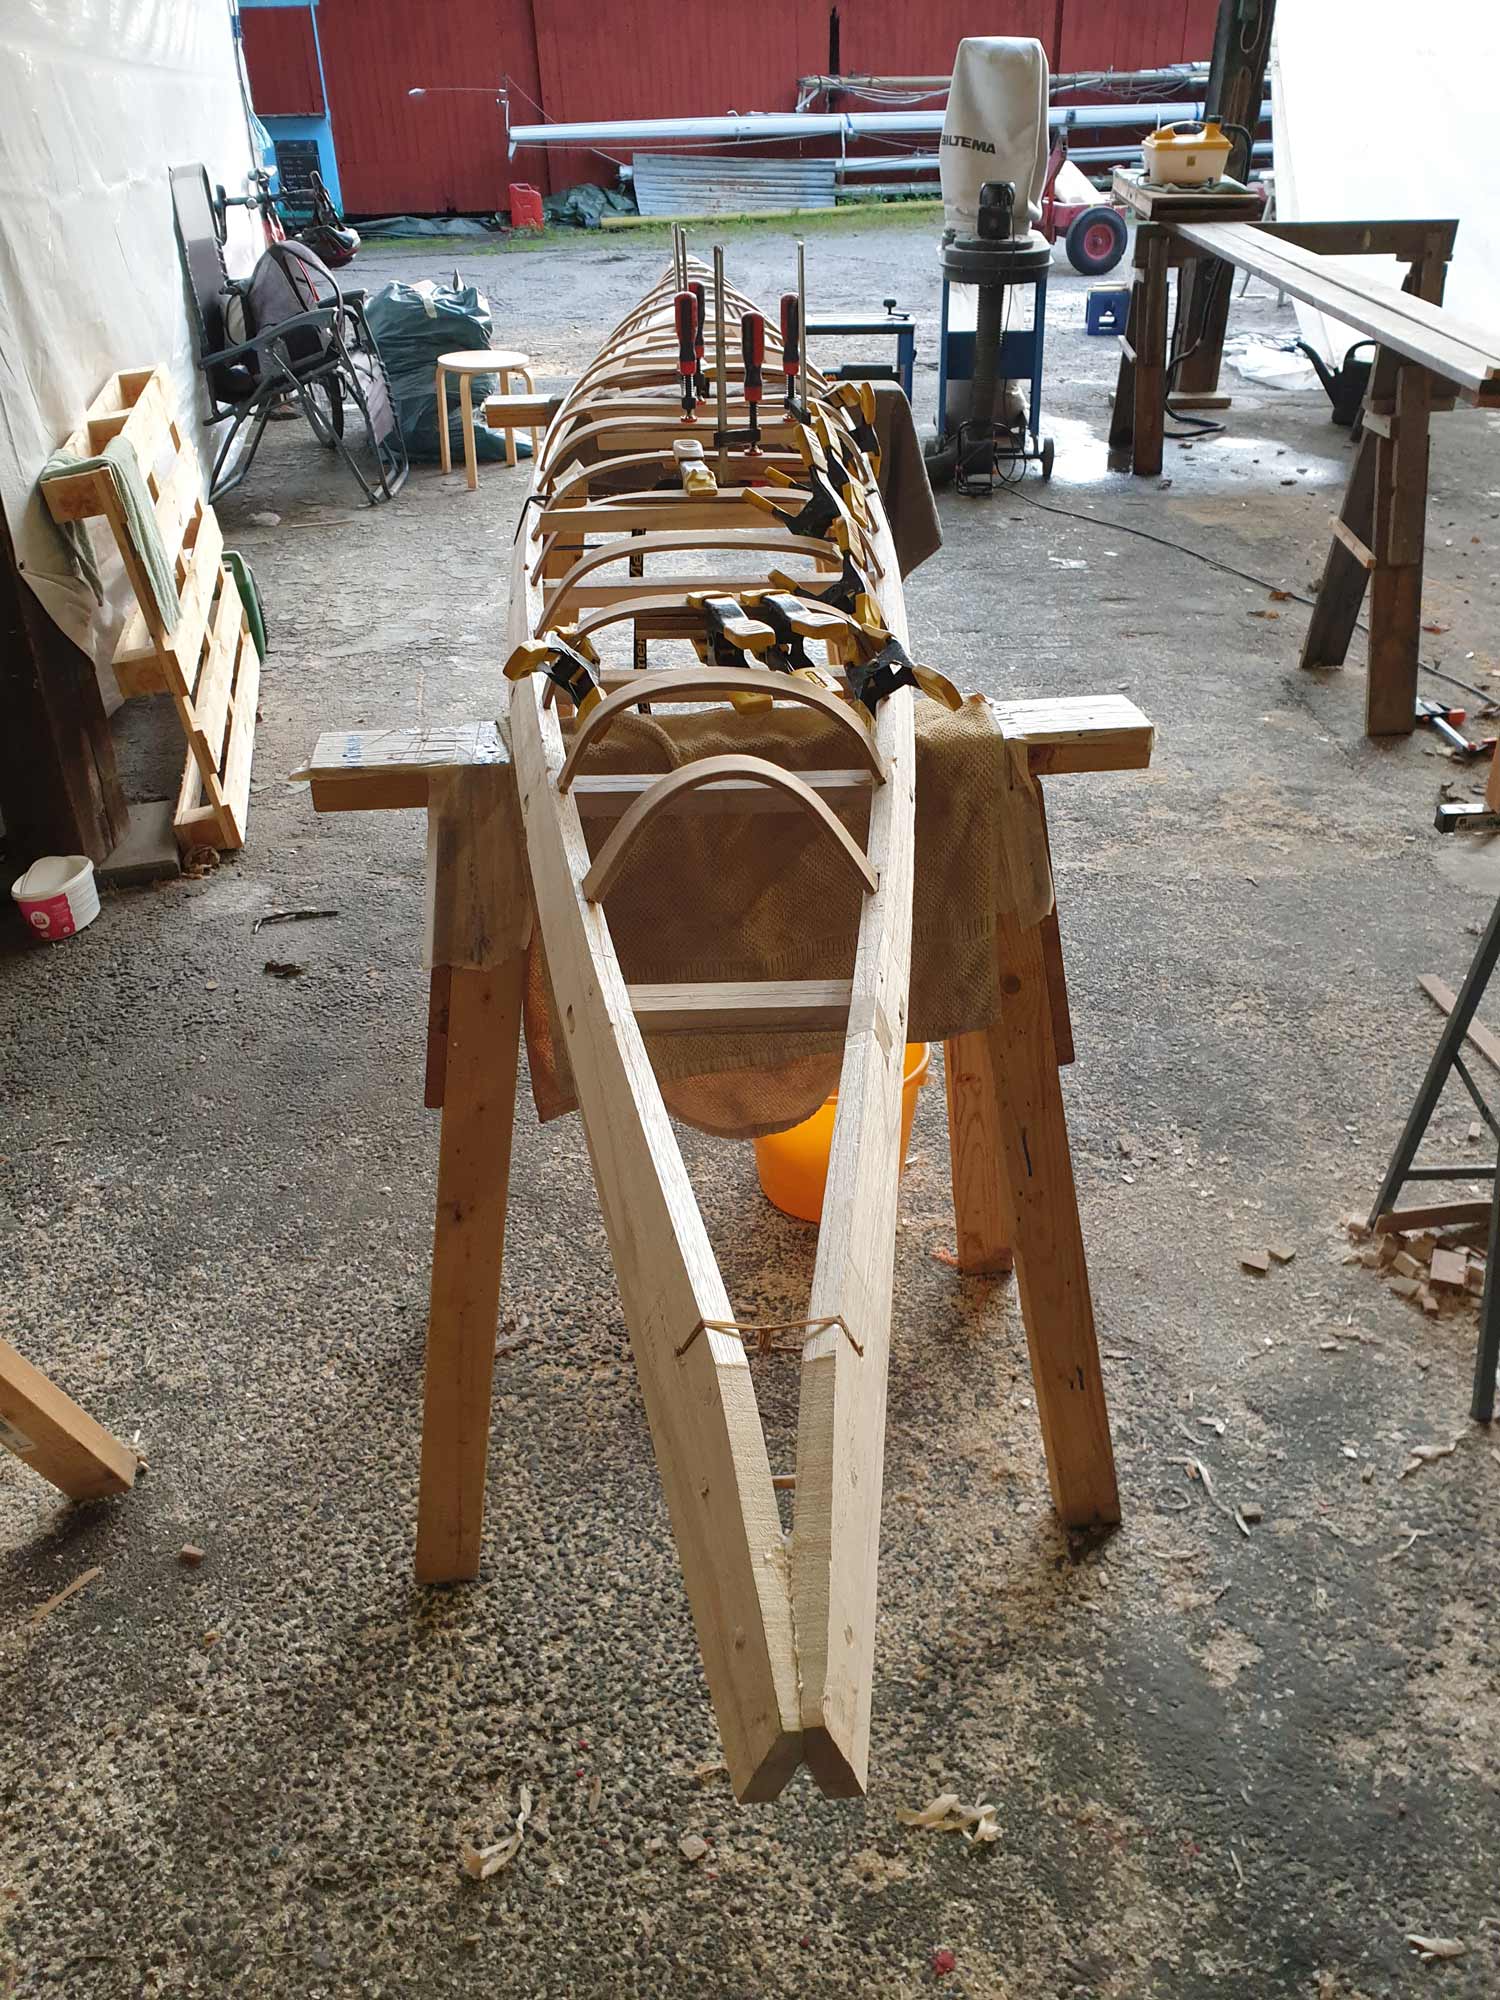
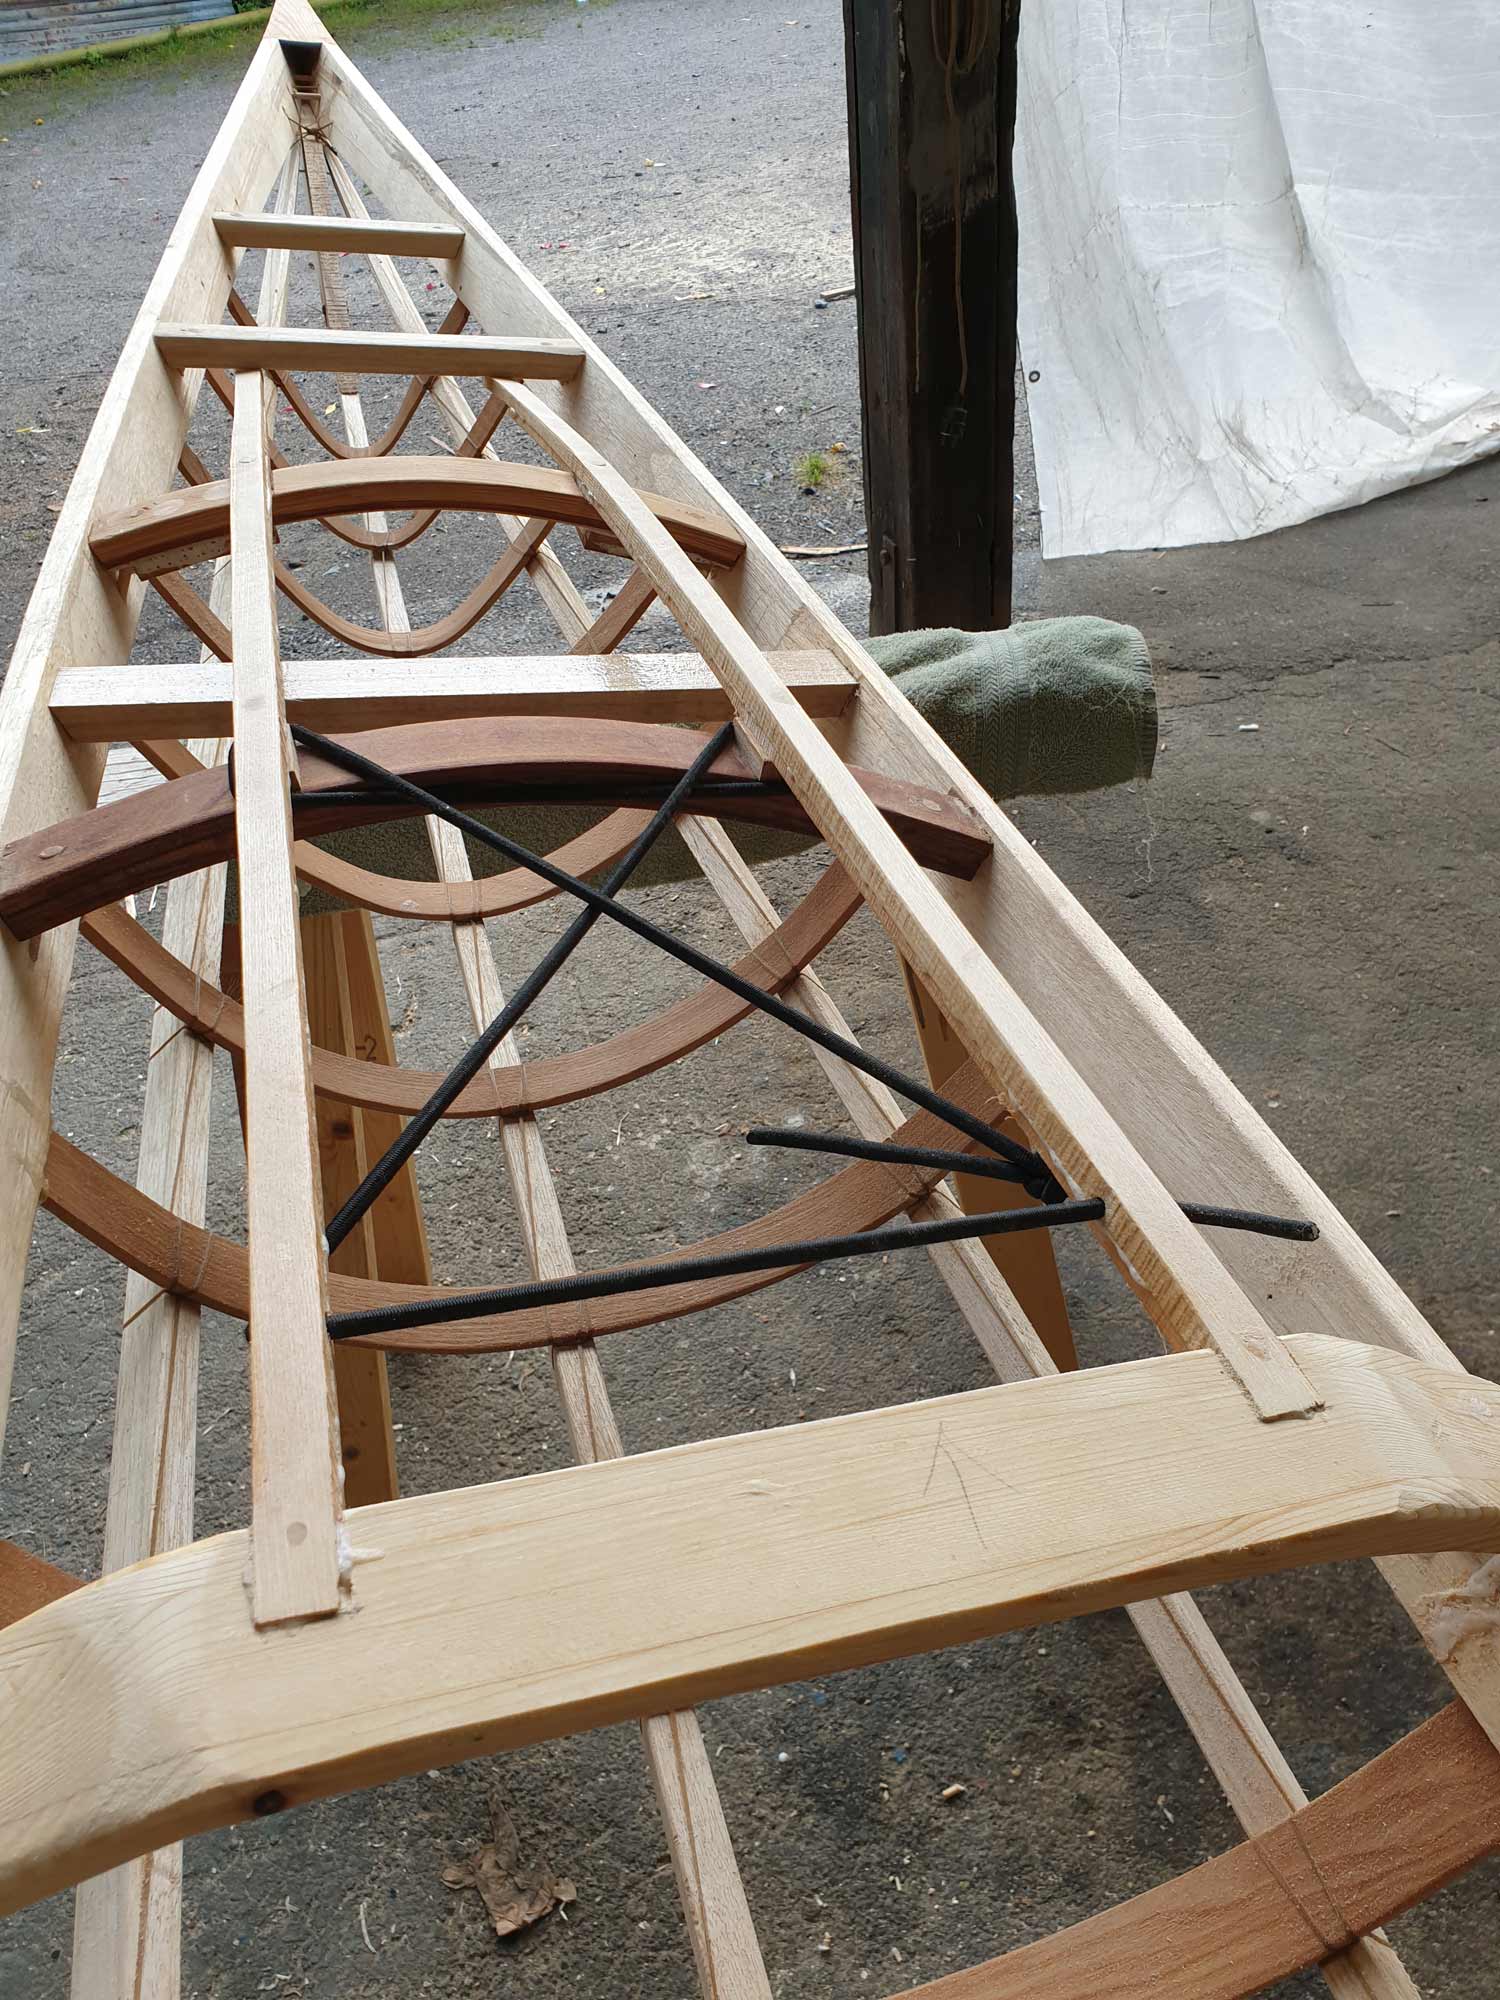
Oiling the frame at the end of day three, I realised I had forgotten the deck stringers, so I cut and glued stringers out of Ash on day four. I had this idea about a hold-all bungee cord so I changed the dimensions to accomodate for holes in them.
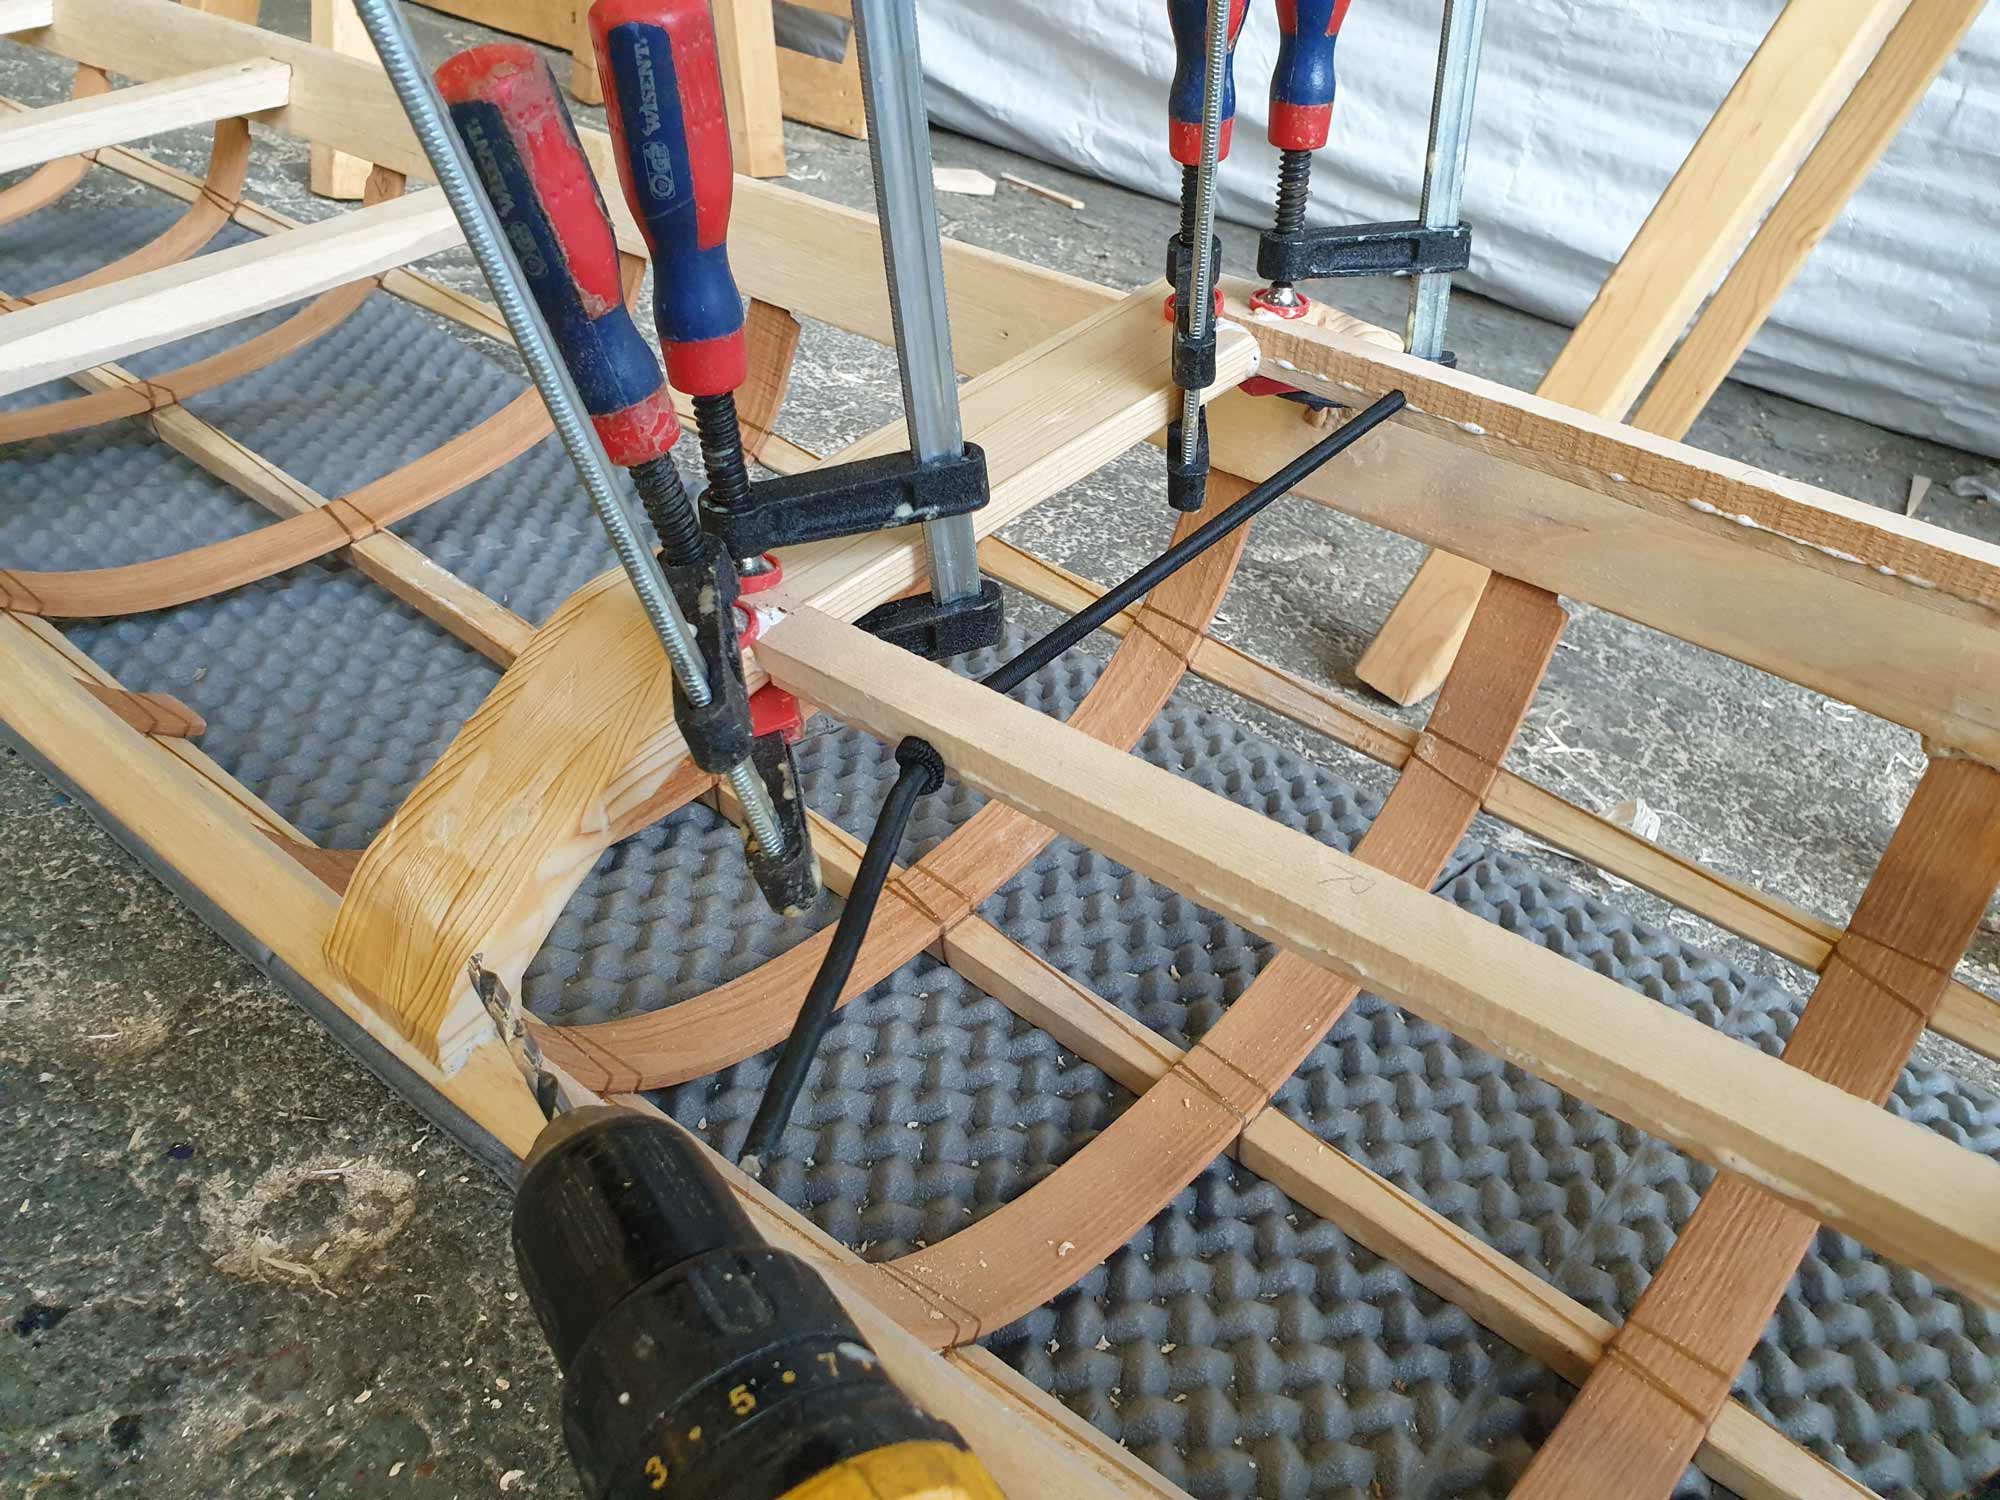
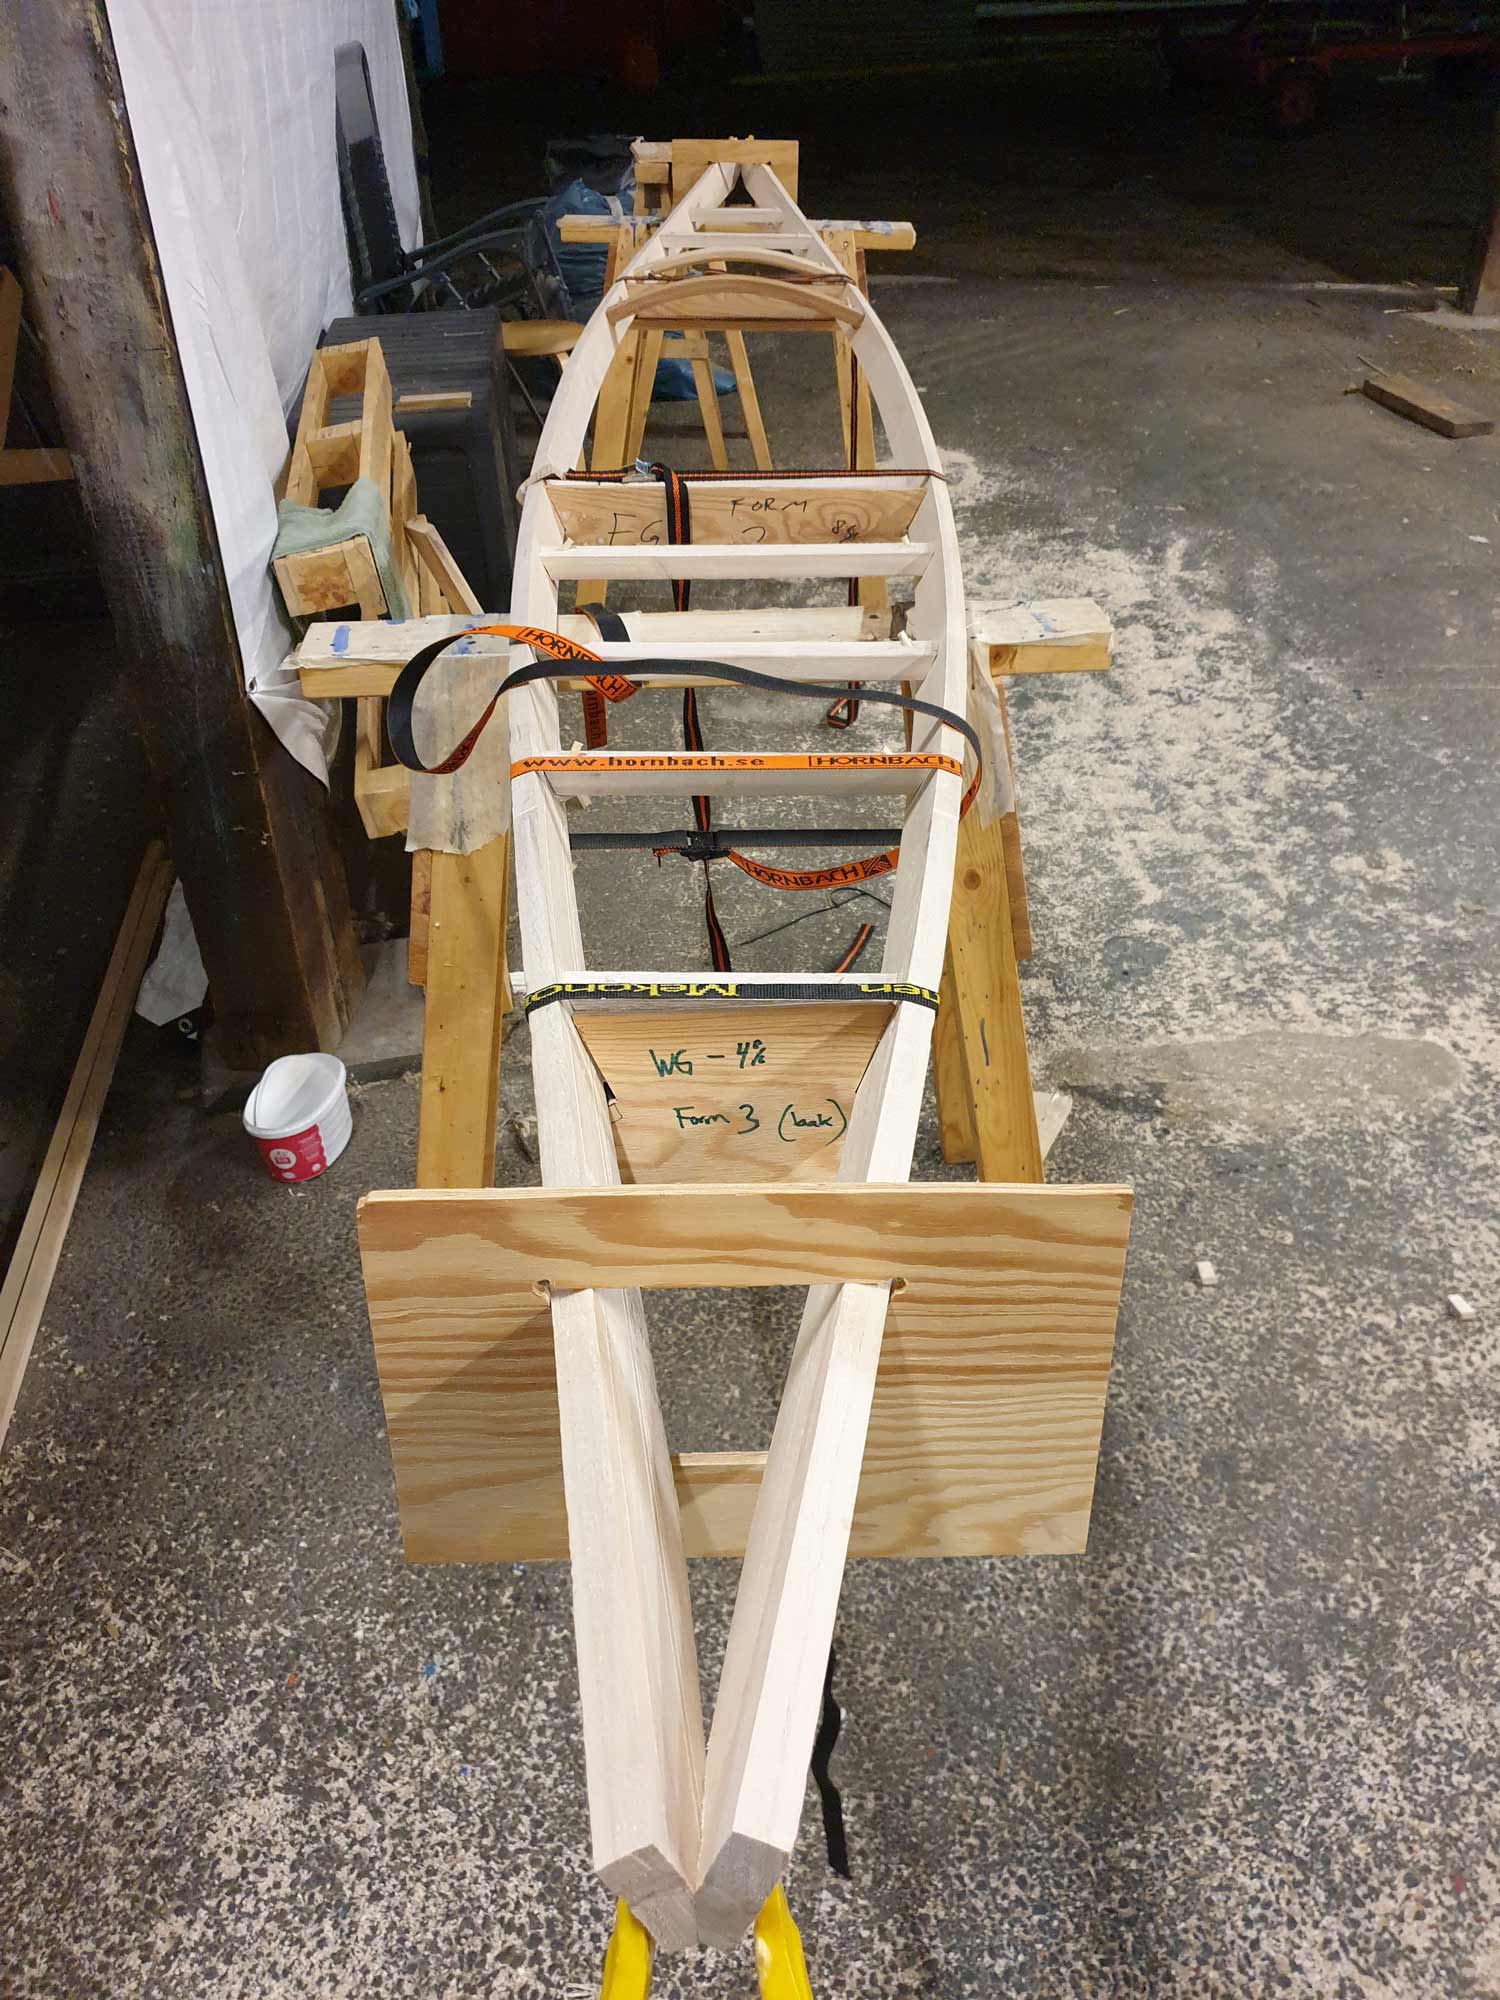
There was a slight hump on the keel at the cockpit so I unwound the lashing there and put in some shims. This happened on my first West Greenland kayak build as well. I’m really careful about getting rib lengths and bending right and yet it happens a second time…oh well, looks are not everything, not a big issue. The oak reinforcements on the keel is because the gap at the seat was huge due to me using scrap gunwhales with pre-made mortises.

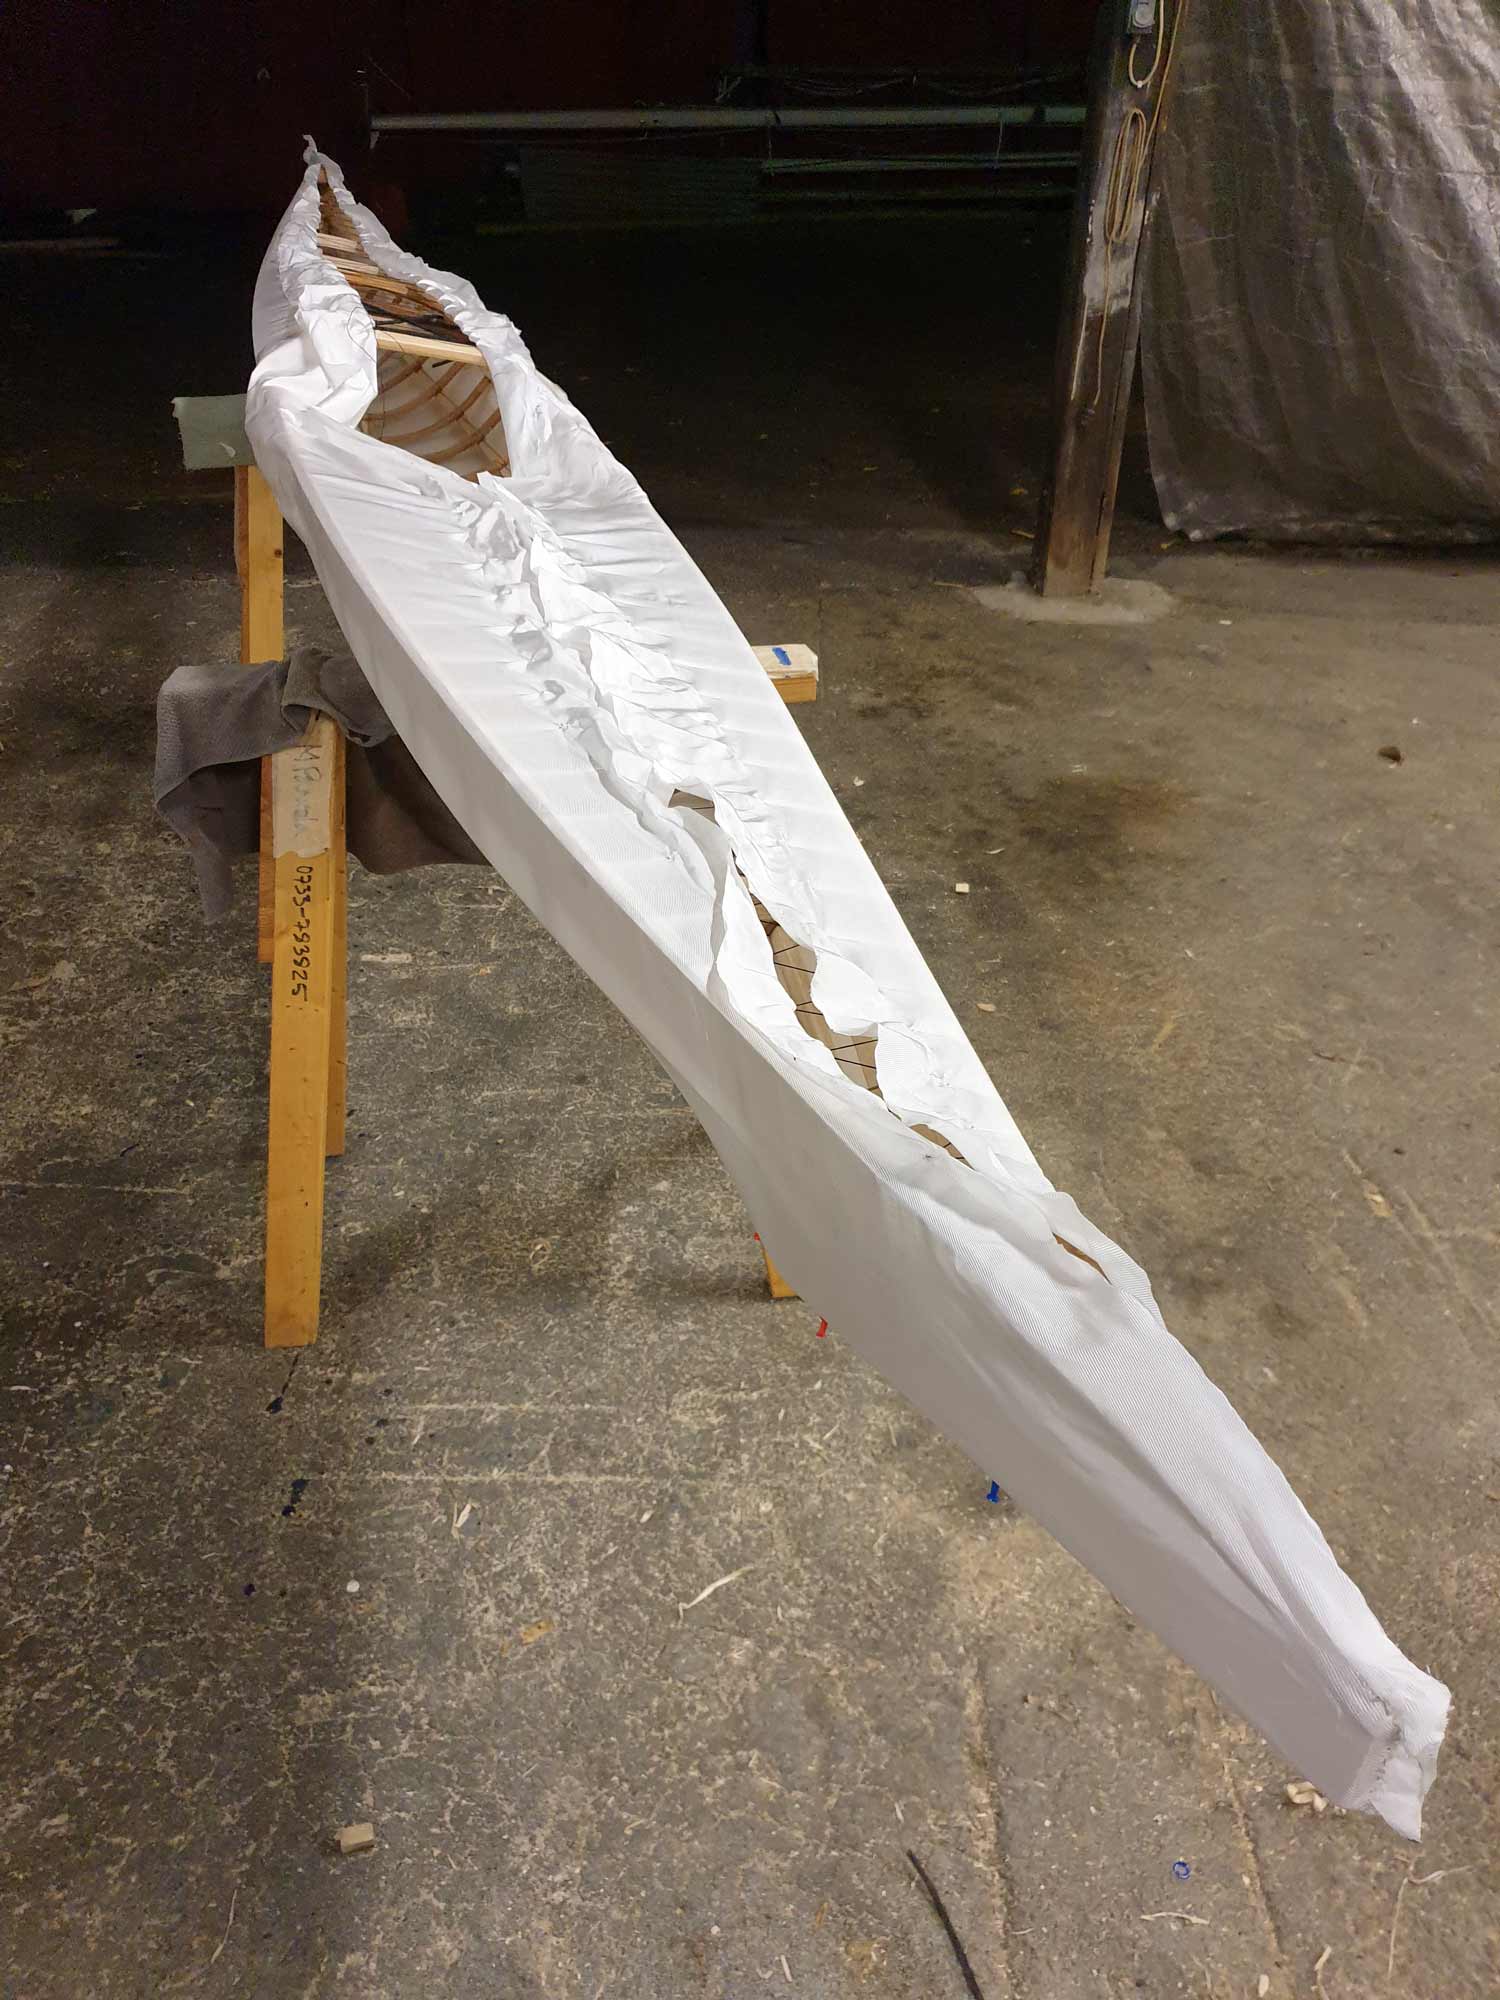
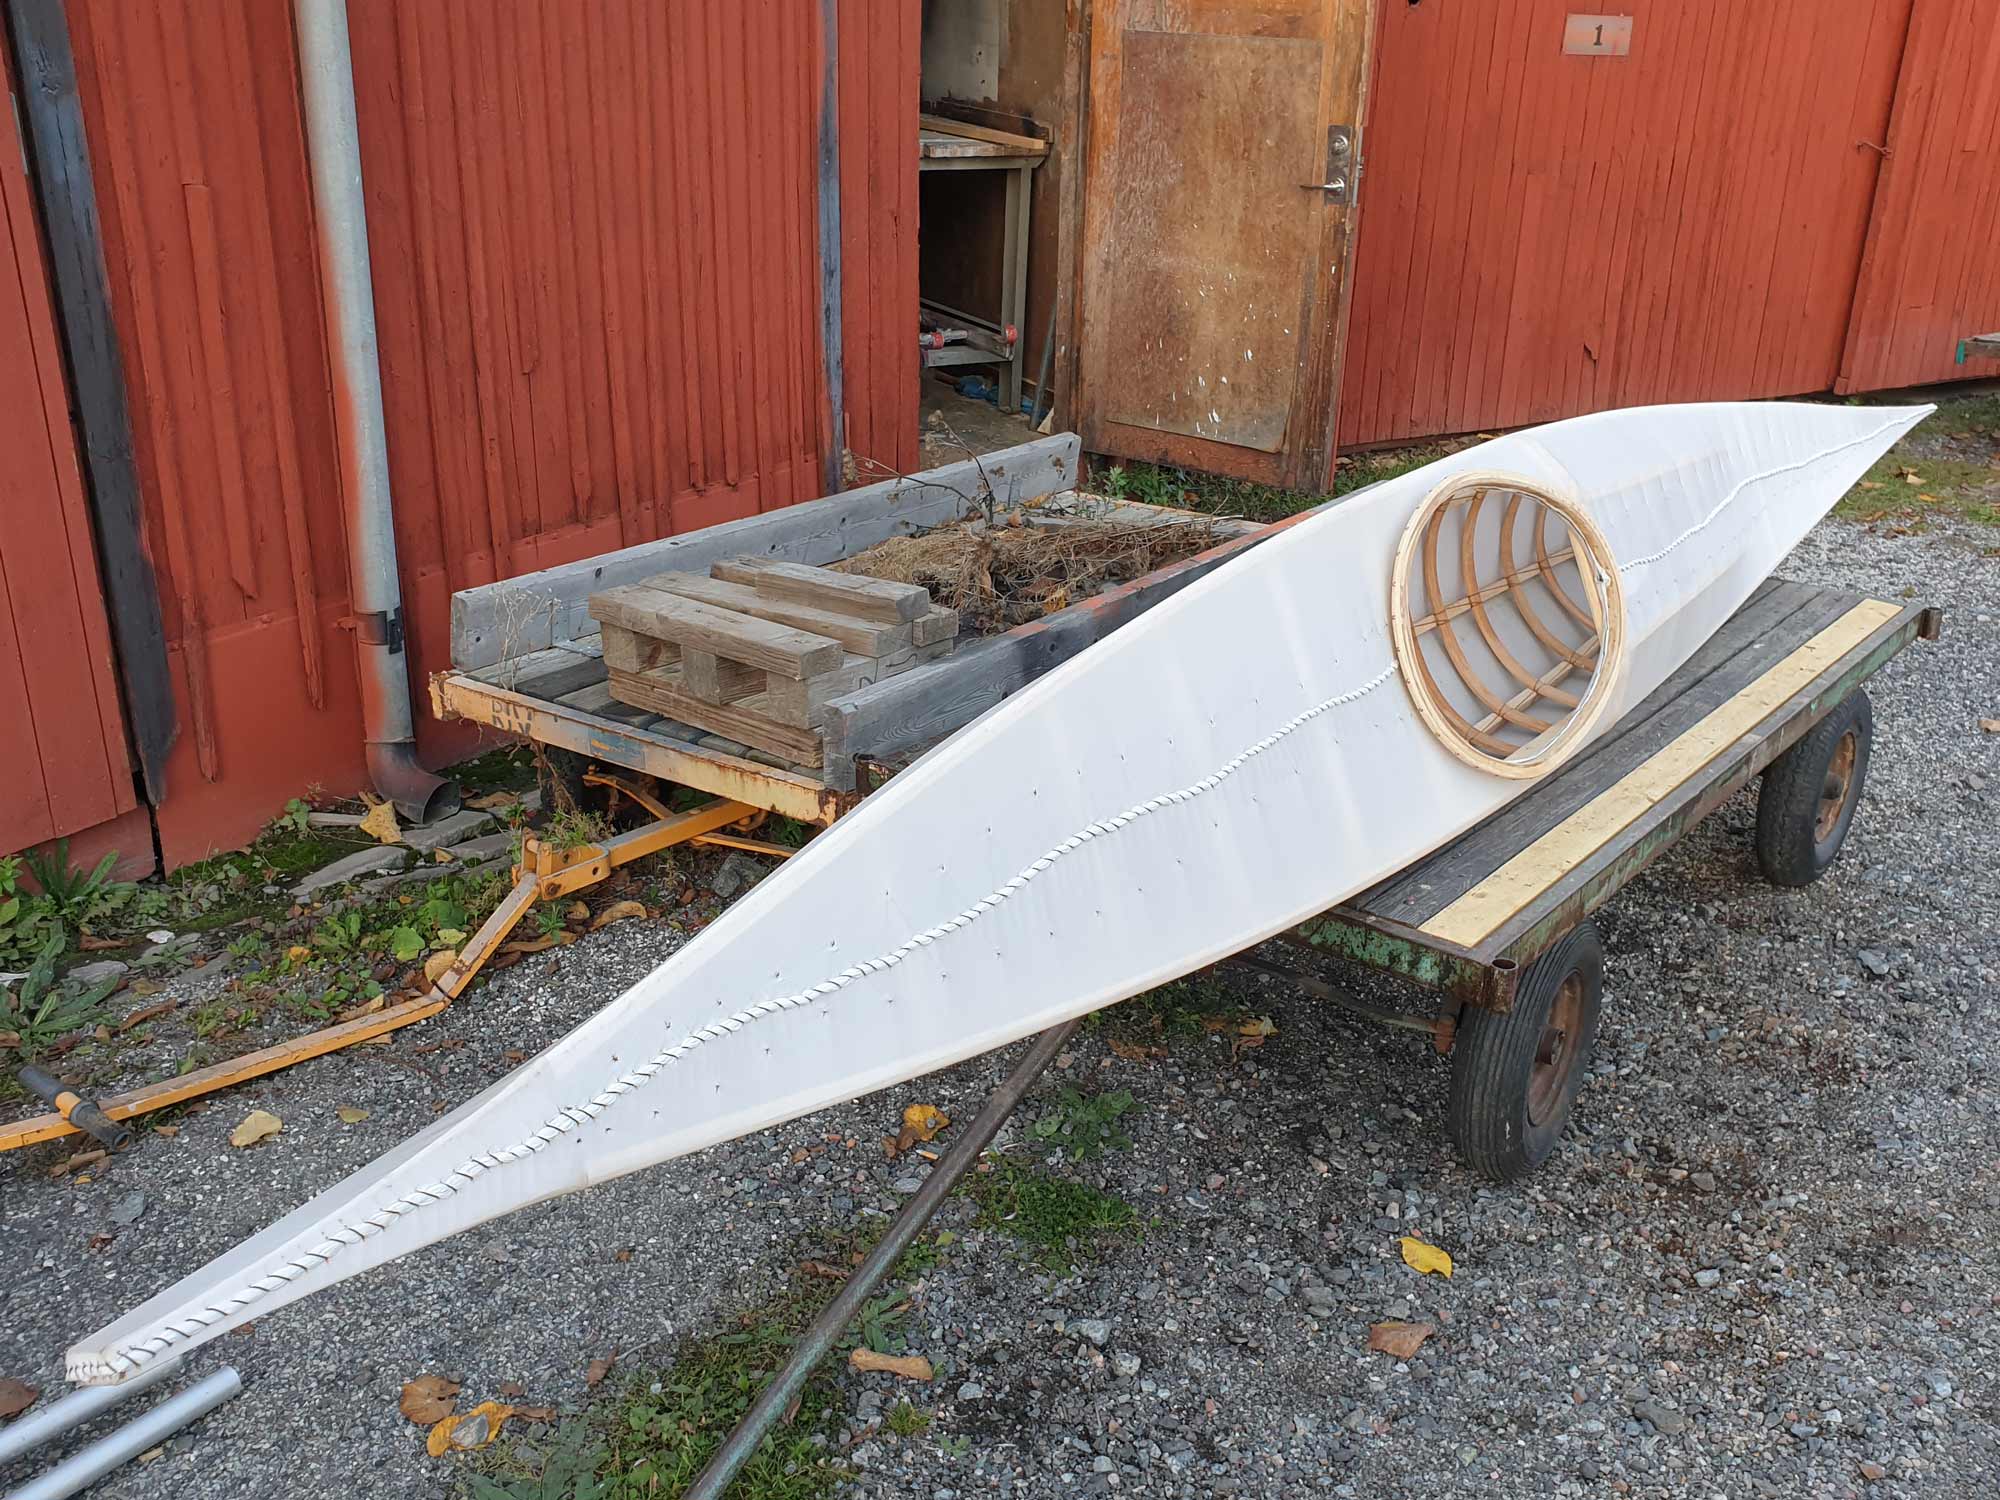
And finally the nylon skin to cover up all the woodwork. This is the saddest part of the build in my opinion.
Well, that’s it for now. This is the build as per the 27th of September. I am out of good thread for the final sewing and just got additional PU delivered today. If I’m extremely lucky the thread is delivered tomorrow but I have a kayaking technique and rescue course to attend to this weekend and will finish this kayak next week.
Any color suggestions?
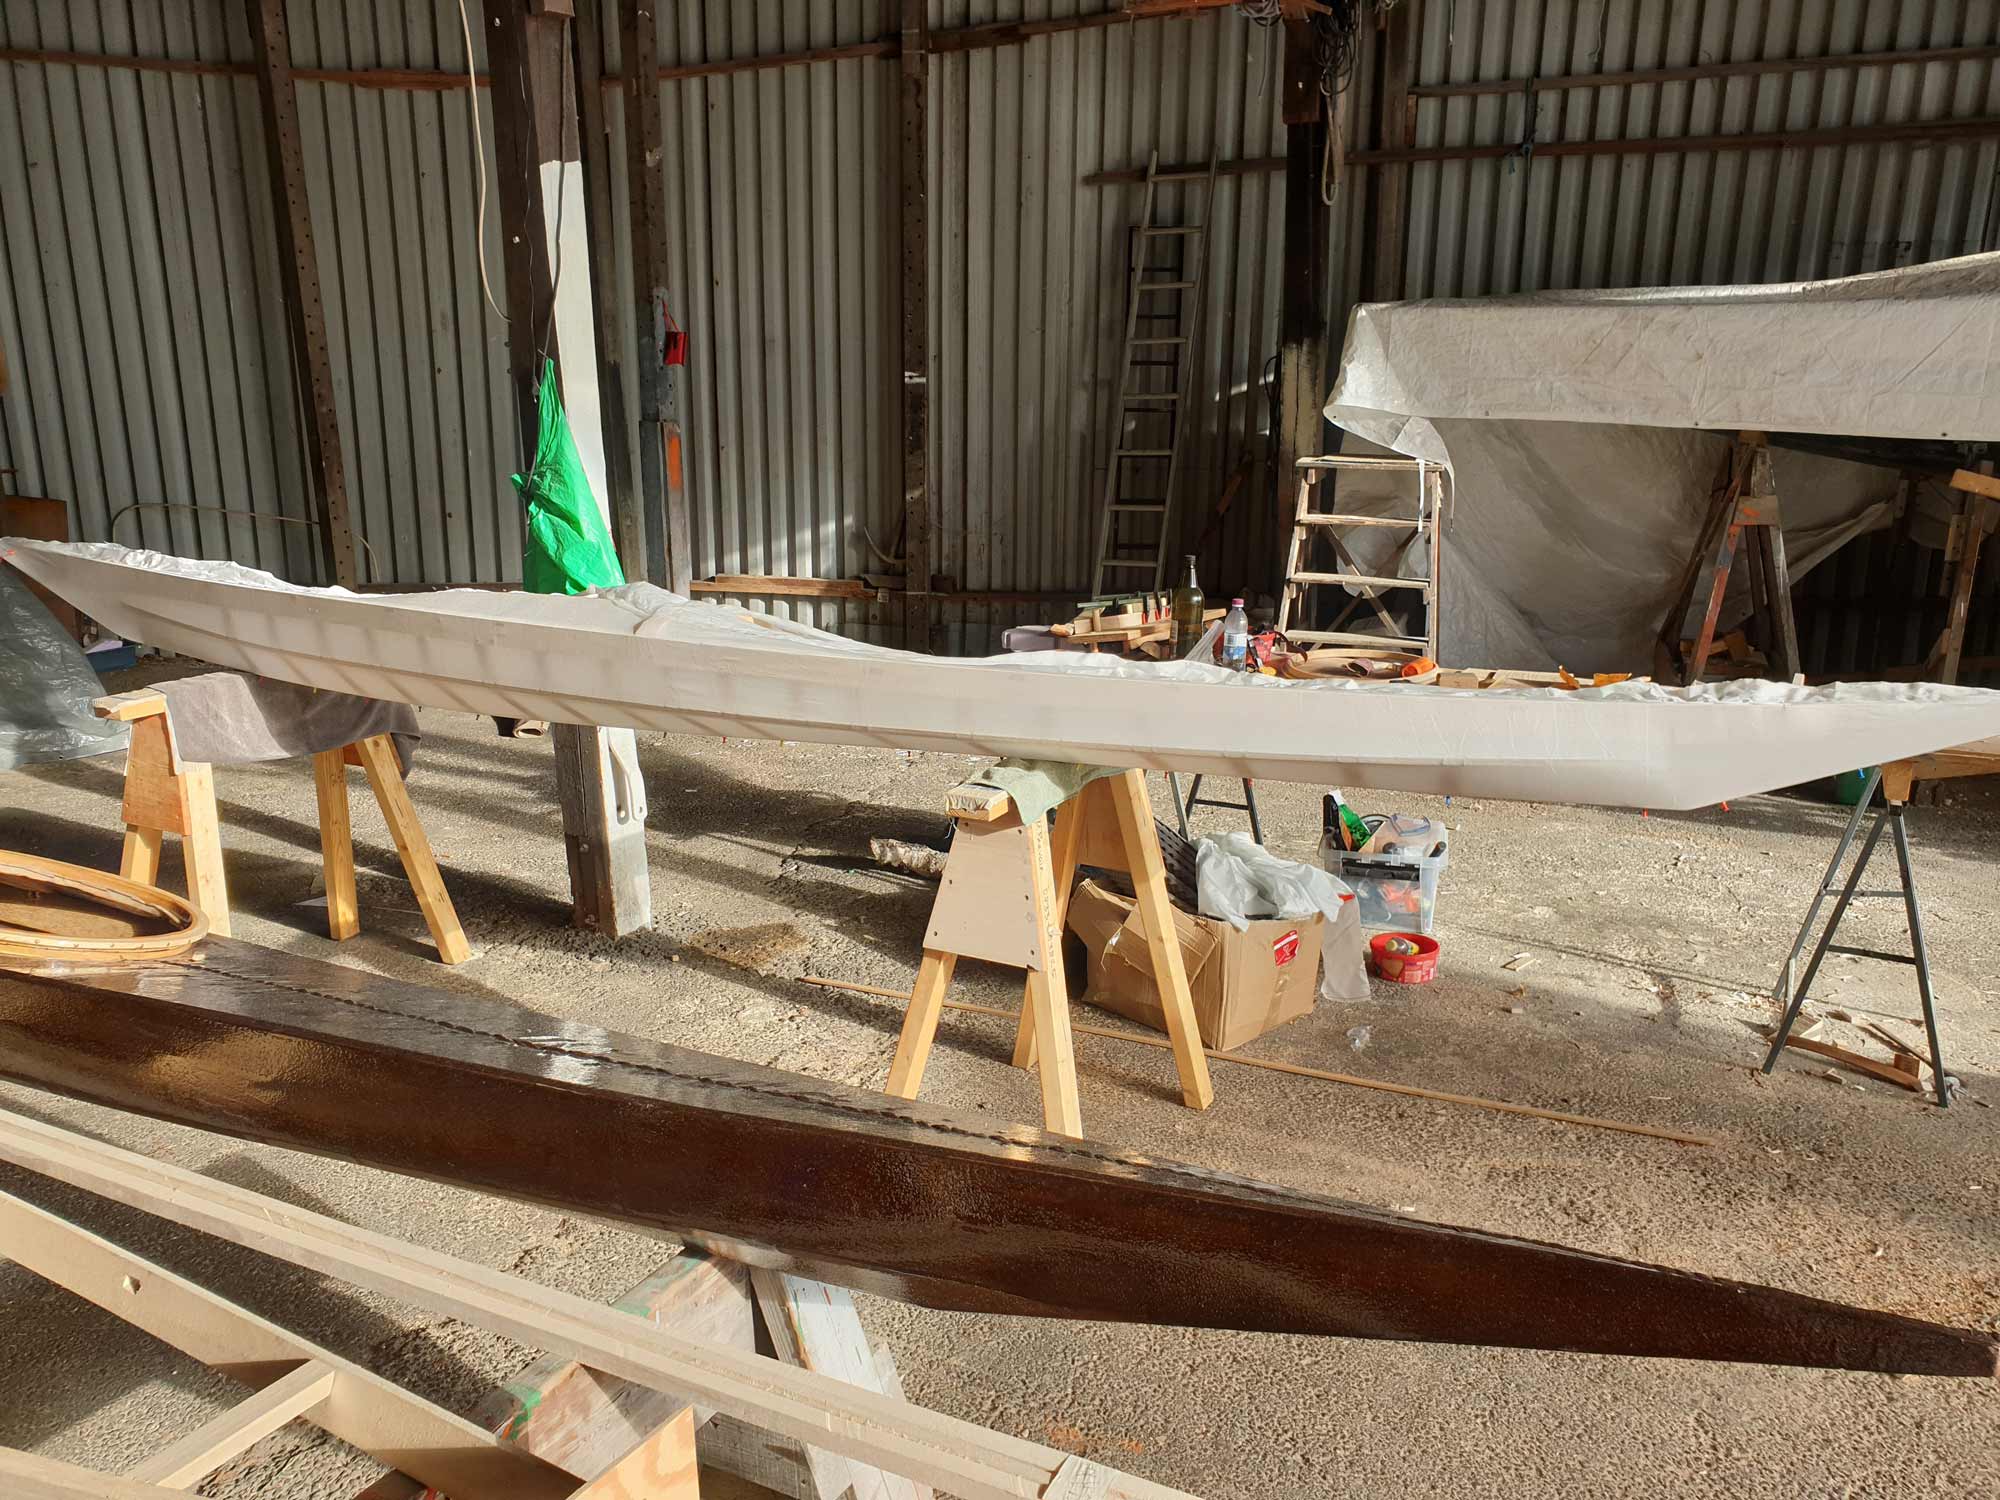
Ok, couldn’t be bothered waiting ’til after the weekend so I quickly stiched her up and put on the coaming. All with the #8 tarred twine we already had at hand. Now all she needs is some PU and deck lines.

And below is a pic from Julijana…
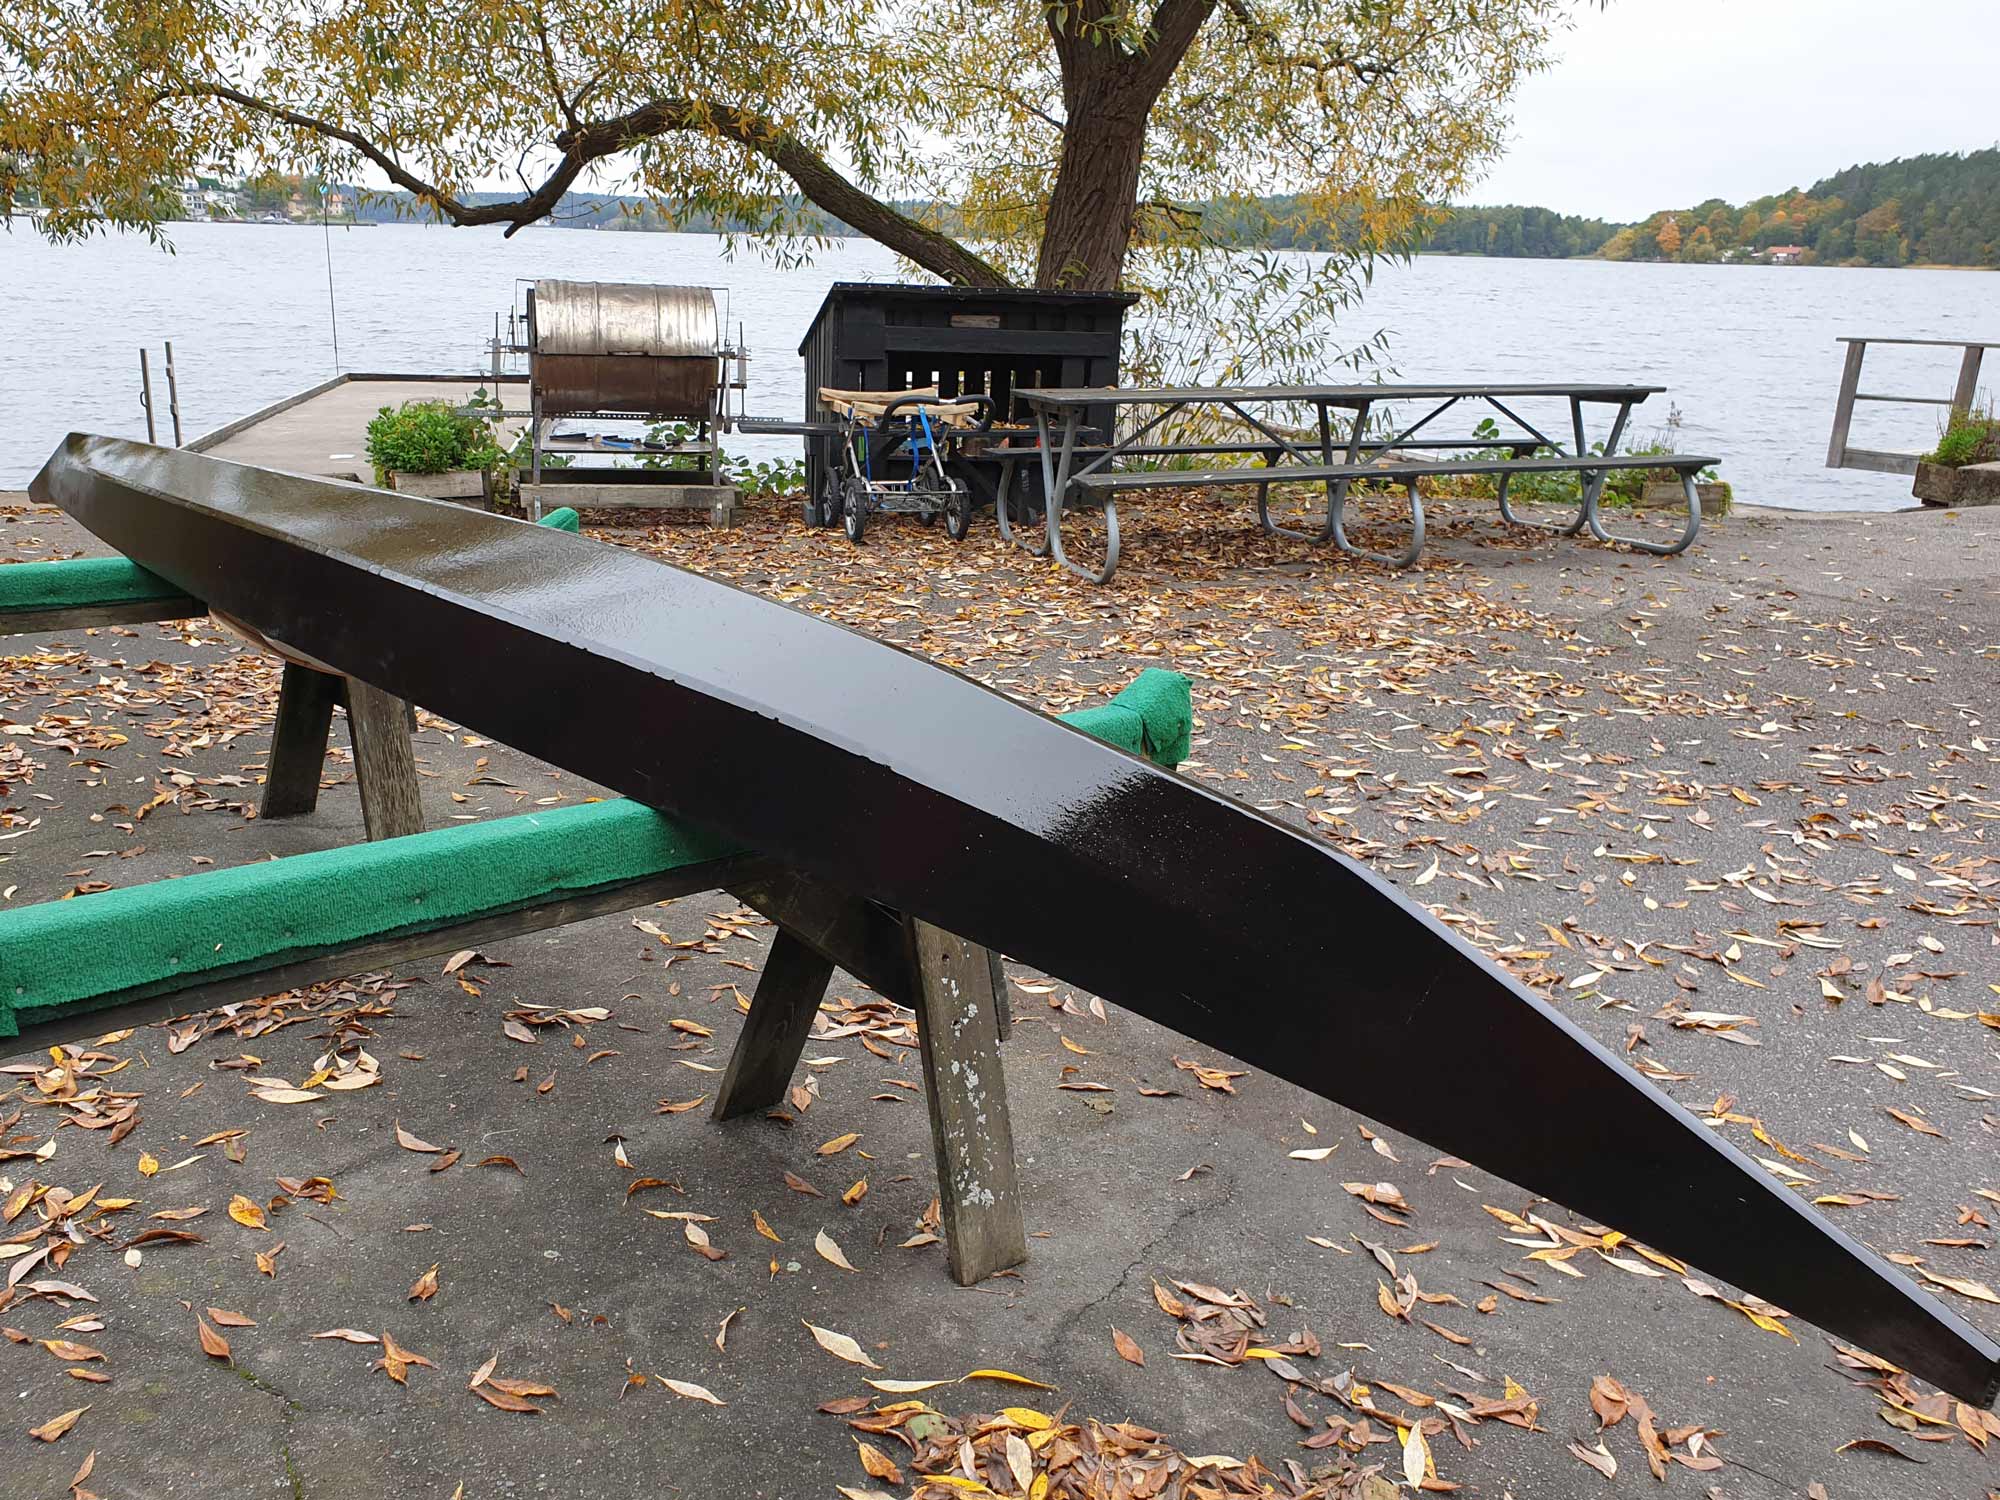
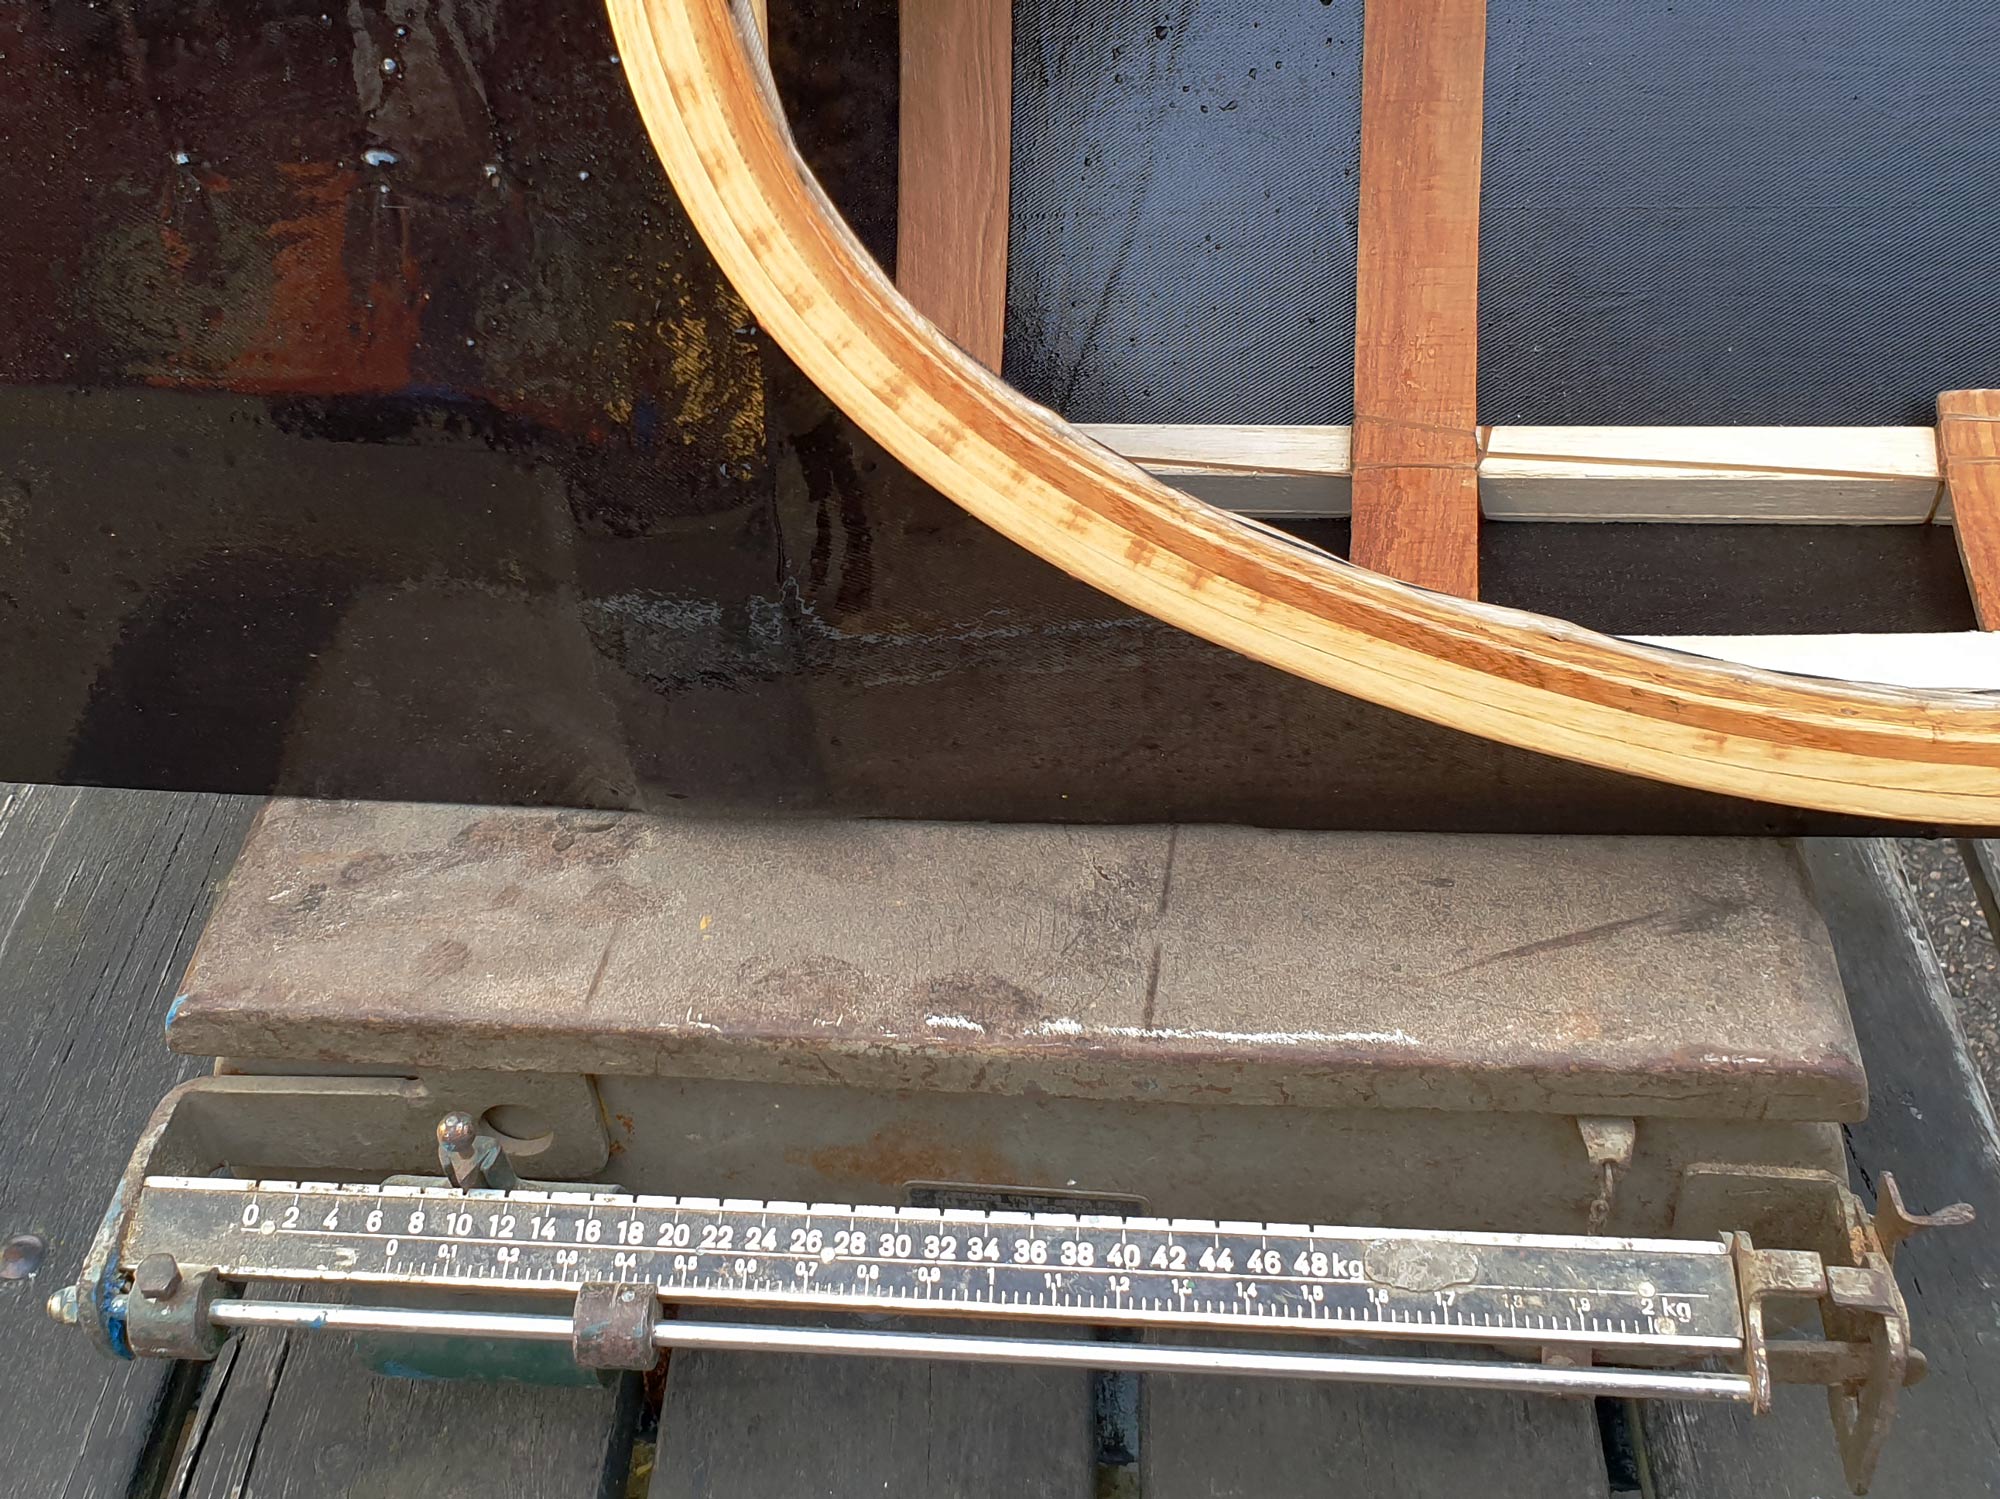
Gooping next. Two quick layers with pigment. I bought a new Jet Black powder and it was way darker and more potent than we expected! These images are after the first, pigmented coating. The subsequent layers were rolled on without pigment and it turned out well. The “money shot” is due today where the proud owner, Maja, is going out for a test paddle. Meanwhile, I used two different scales to weigh it and the result, 10.4kg (23lbs) is remarkable!
I will probably make a post about the building technique and what materials to look for when building light soon, but I need much worse weather than right now to have a break from paddling first.

And the maiden paddle(s)…or something like that 😉
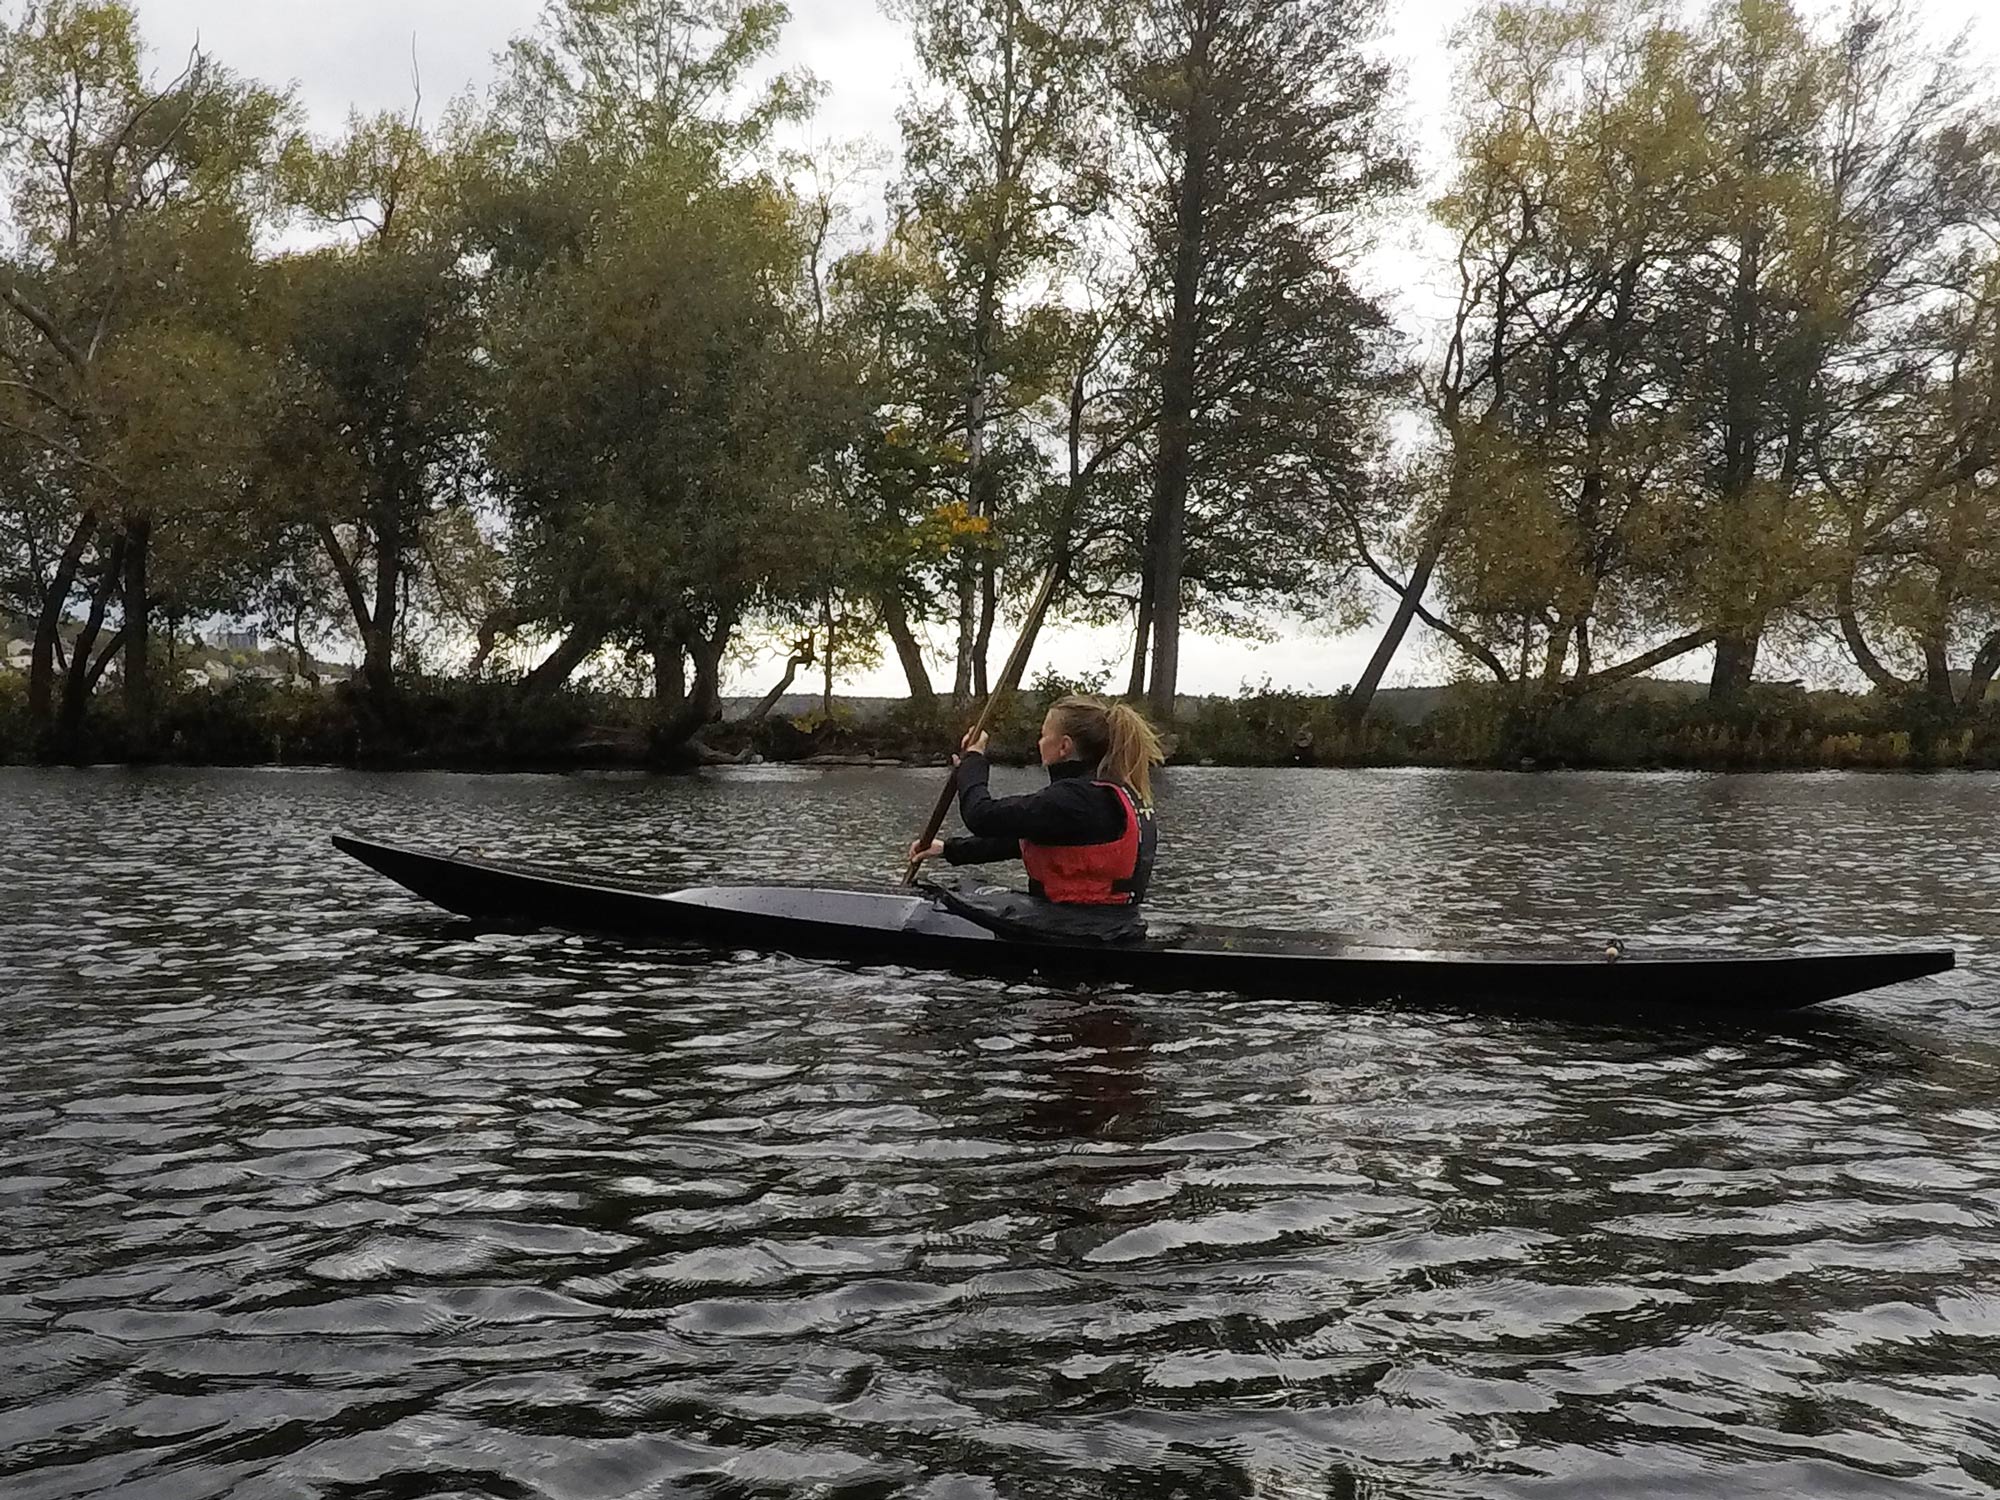
This turned out to be a truly responsive and agile little kayak. Come to think of it, it’s probably (one of?) the best I ever paddled! it’s 4,90m long, almost 51cm wide, light and easily driven in a higher-than-average cruising speed for a Greenland kayak. With ample legroom and a comfortable seat, it’s just pure playfulness and a joy to paddle. A rolling video is up next! Until then, a pic of me accidentally borrowing the Mayak.
