
Yep, it’s that time of the year. Here is my documentation and a few findings about how you can tinker with your Skin On Frame Kayak after you have put it through it’s paces. This one is a replica of an East Greenland qajaq based on the survey of Harvey Golden, who’s book Kayaks Of Greenland I truly recommend by the way. The drawings and building method is from Cape Falcon Kayaks. This kayak is not so practical for more than day trips and the occasional overnighter, but fun to paddle in the mostly calm waters of the Stockholm Lake Mälaren and -Archipelago.
I retrofitted a fabric bulkhead and a hatch at the rear as a test last spring, diverging from the original. In my opinion the East Greenland models are the prettiest kayaks in the world. This one measures 550x48cm and weighs approximately 13kg. I weigh in at 80kg. If this would be a pure rolling kayak I would probably lower the volume but I like’em paddleable at sea too.
First for some horror!
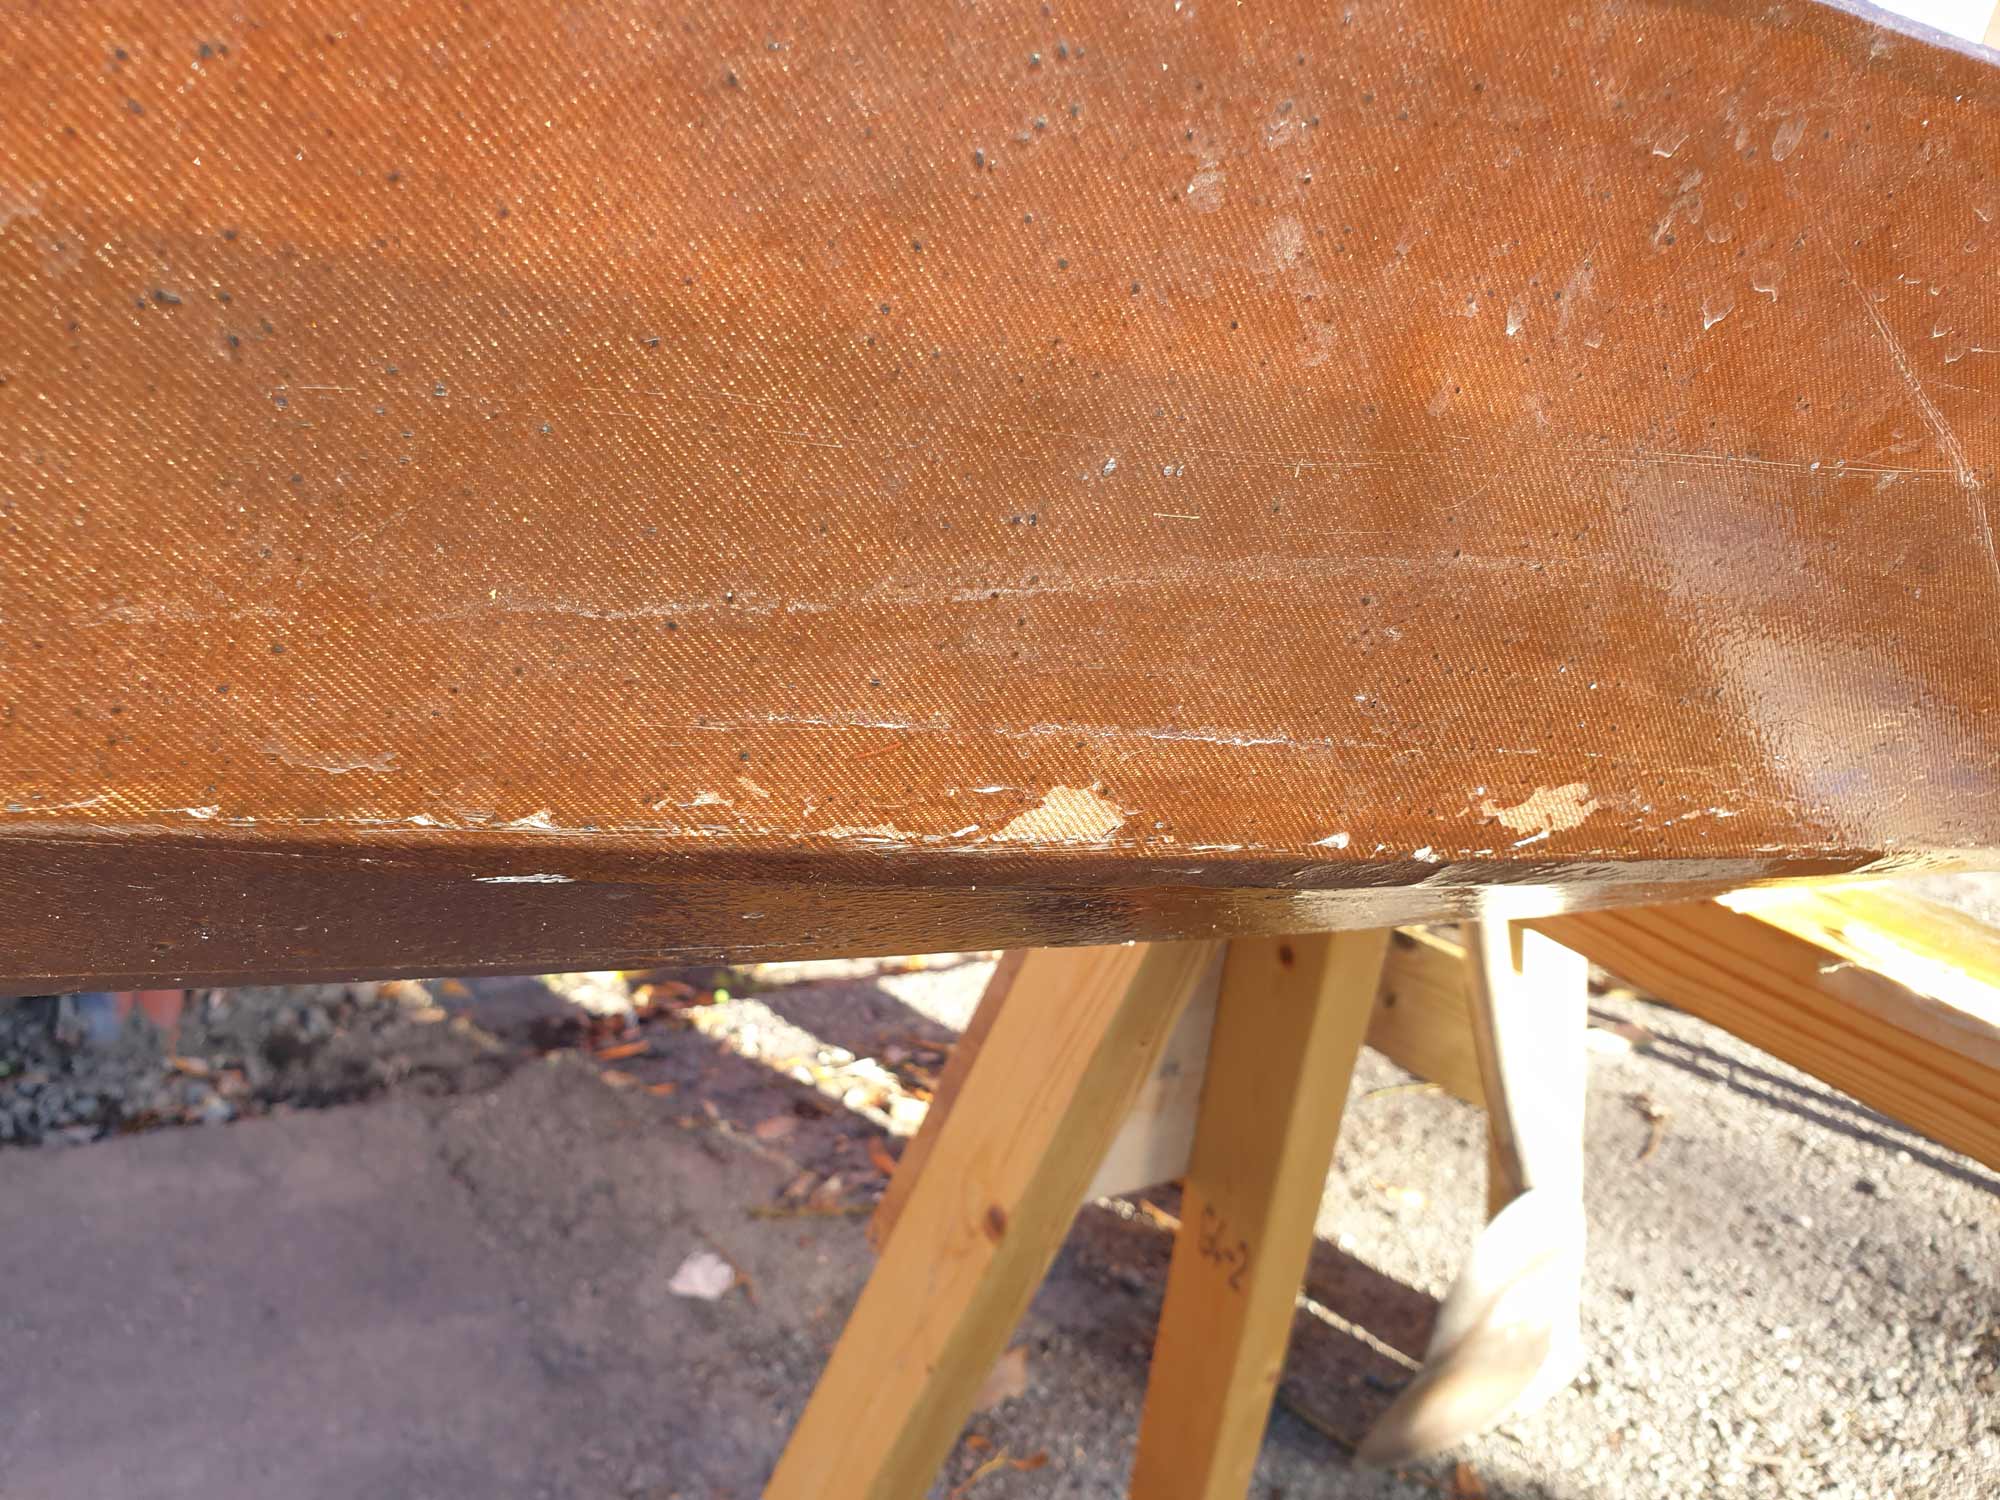
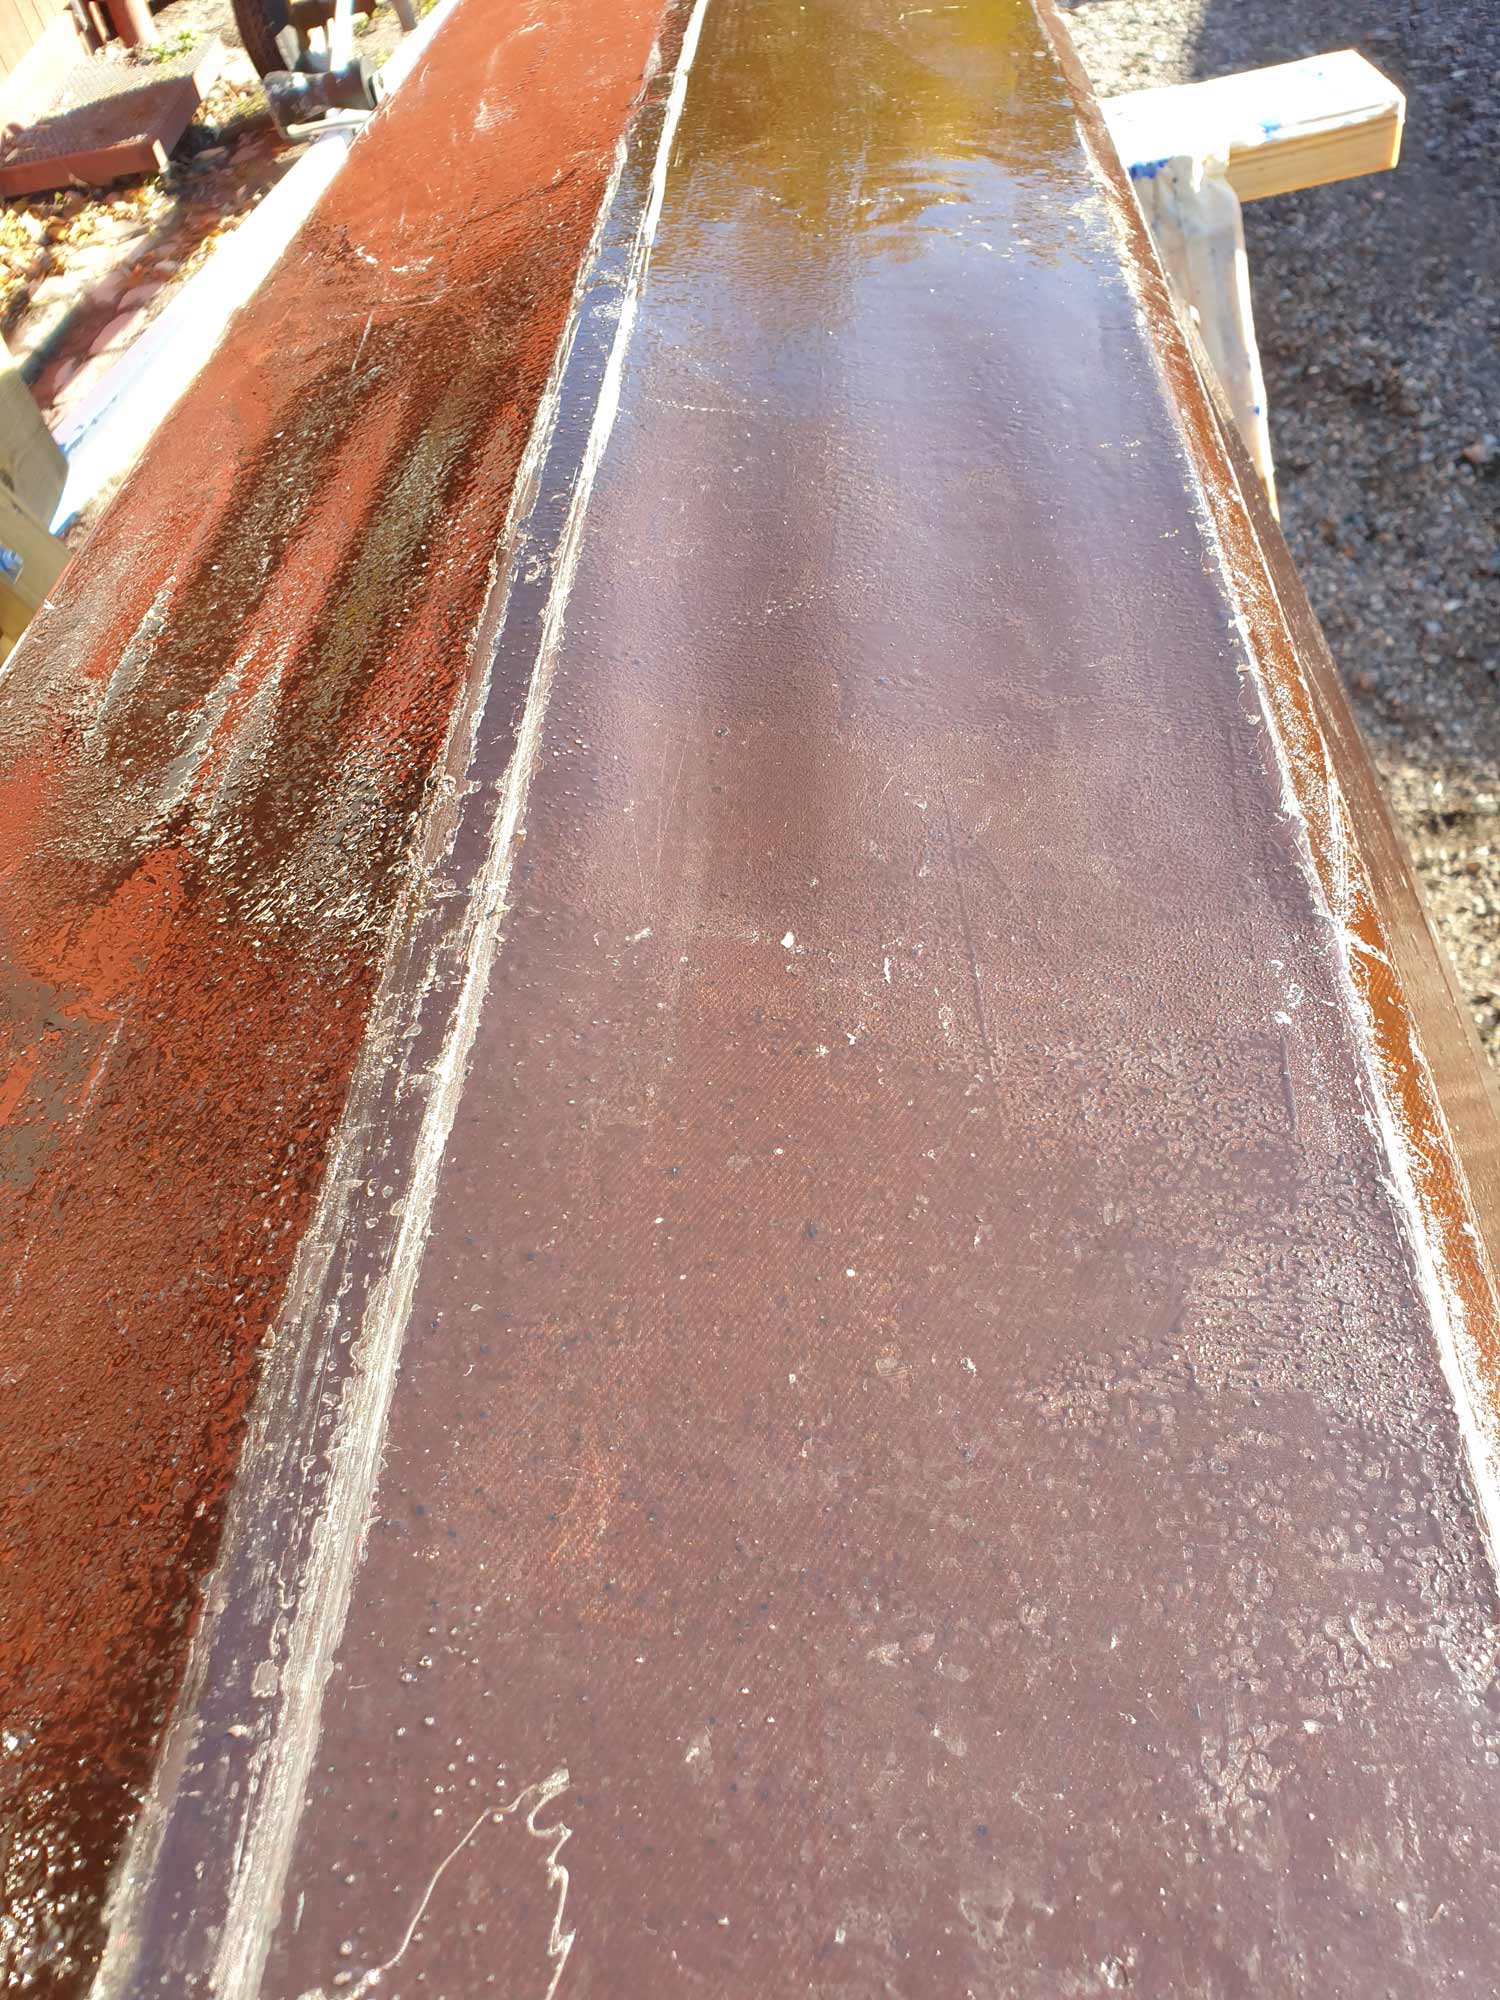
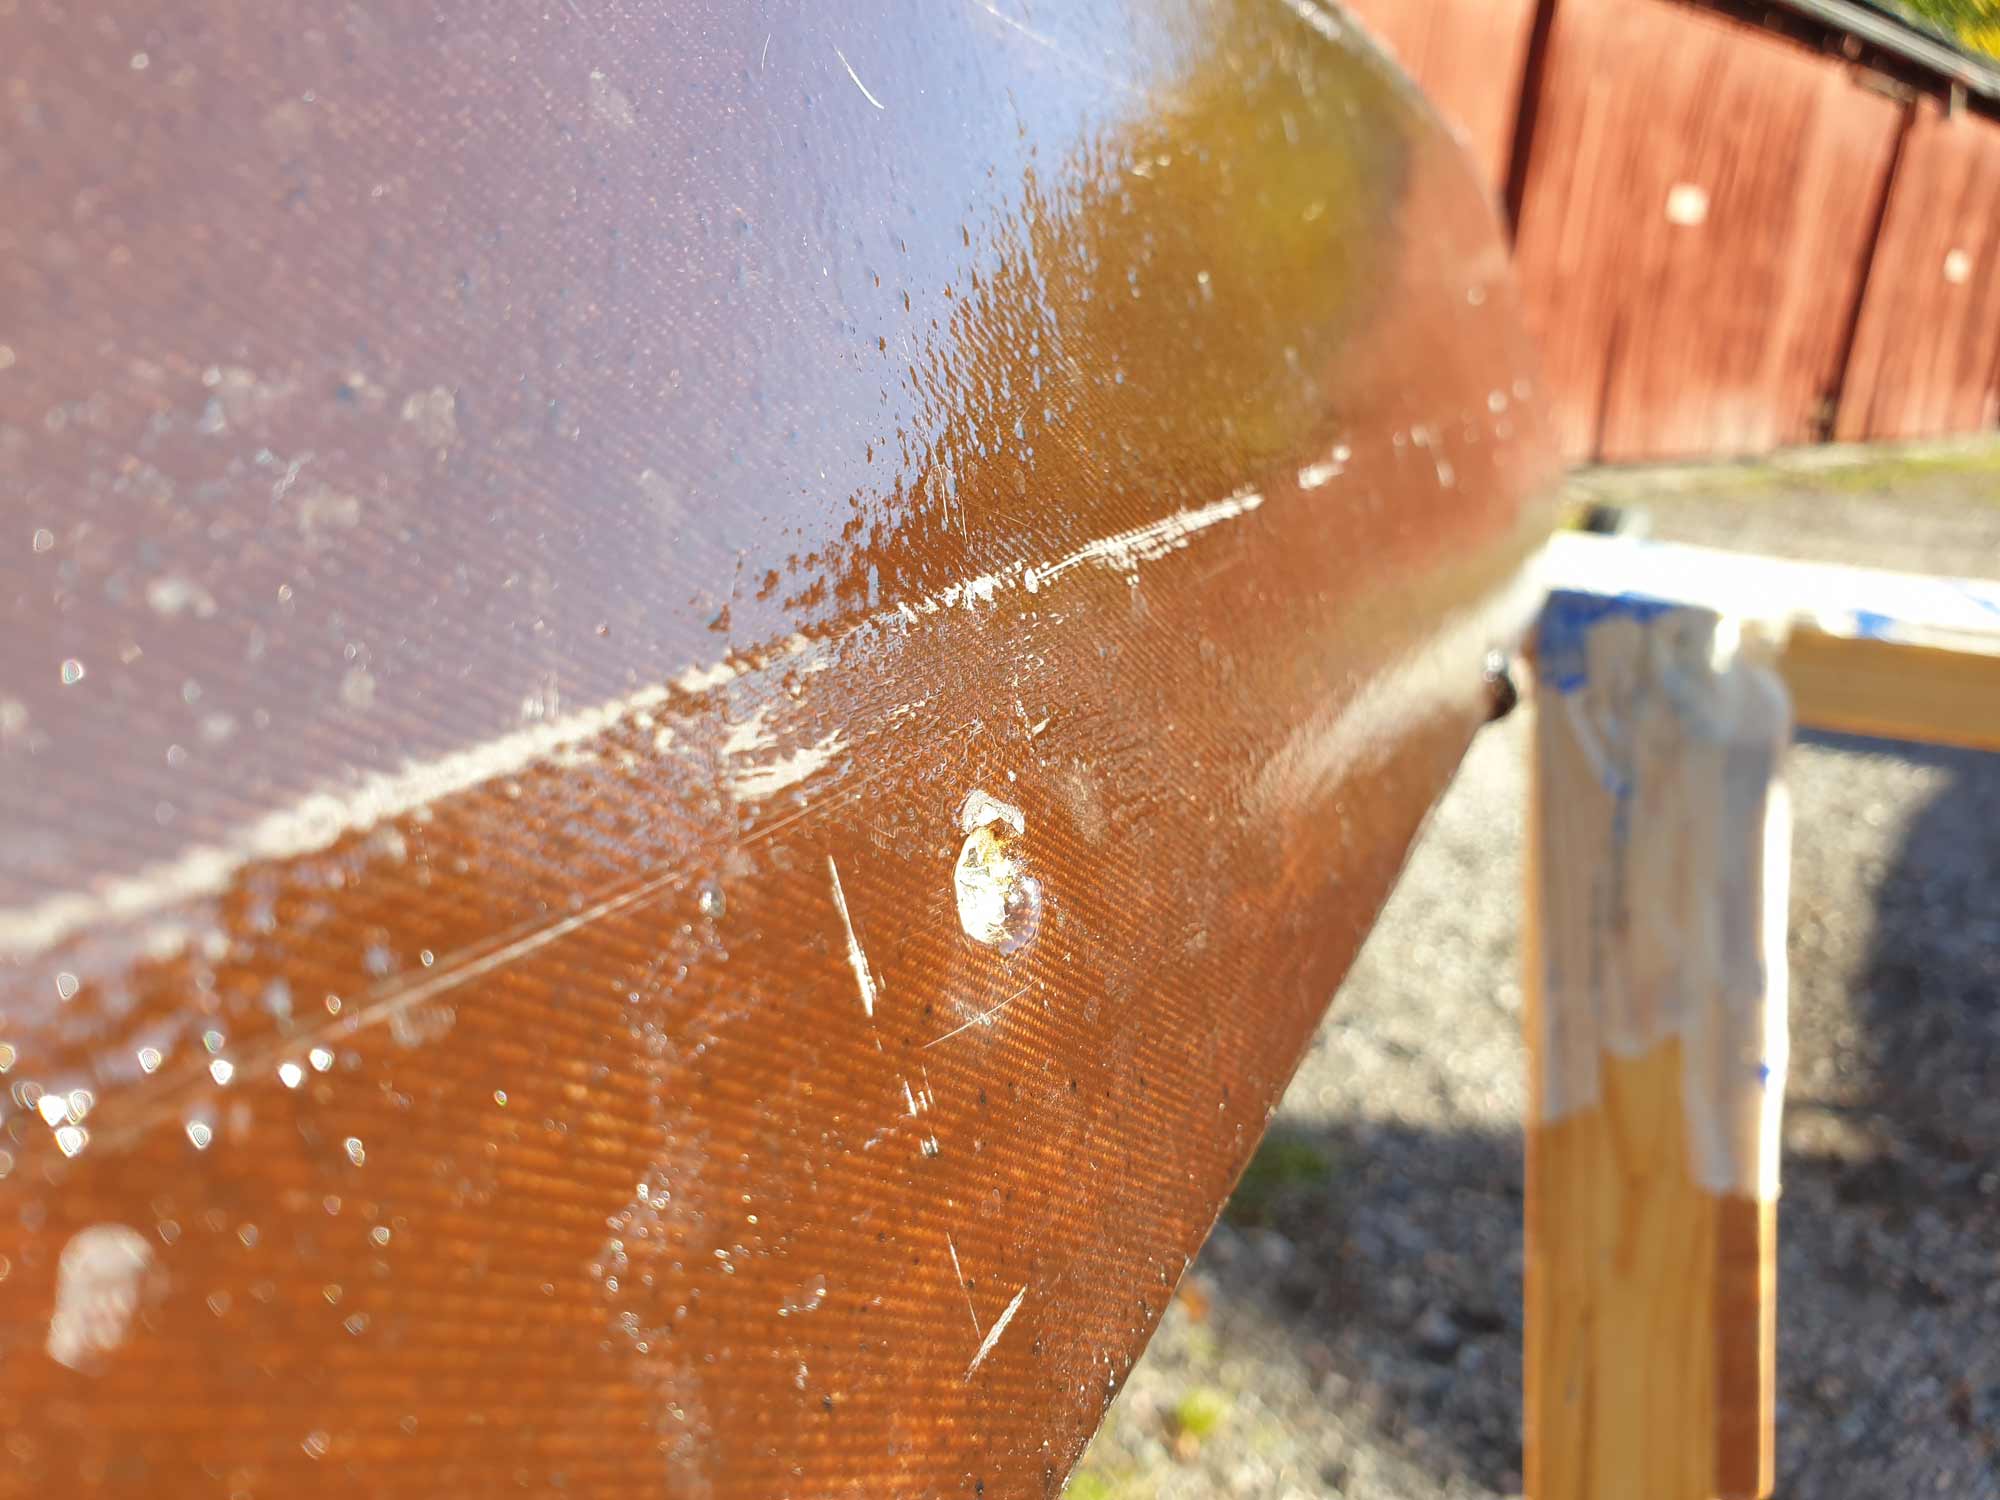
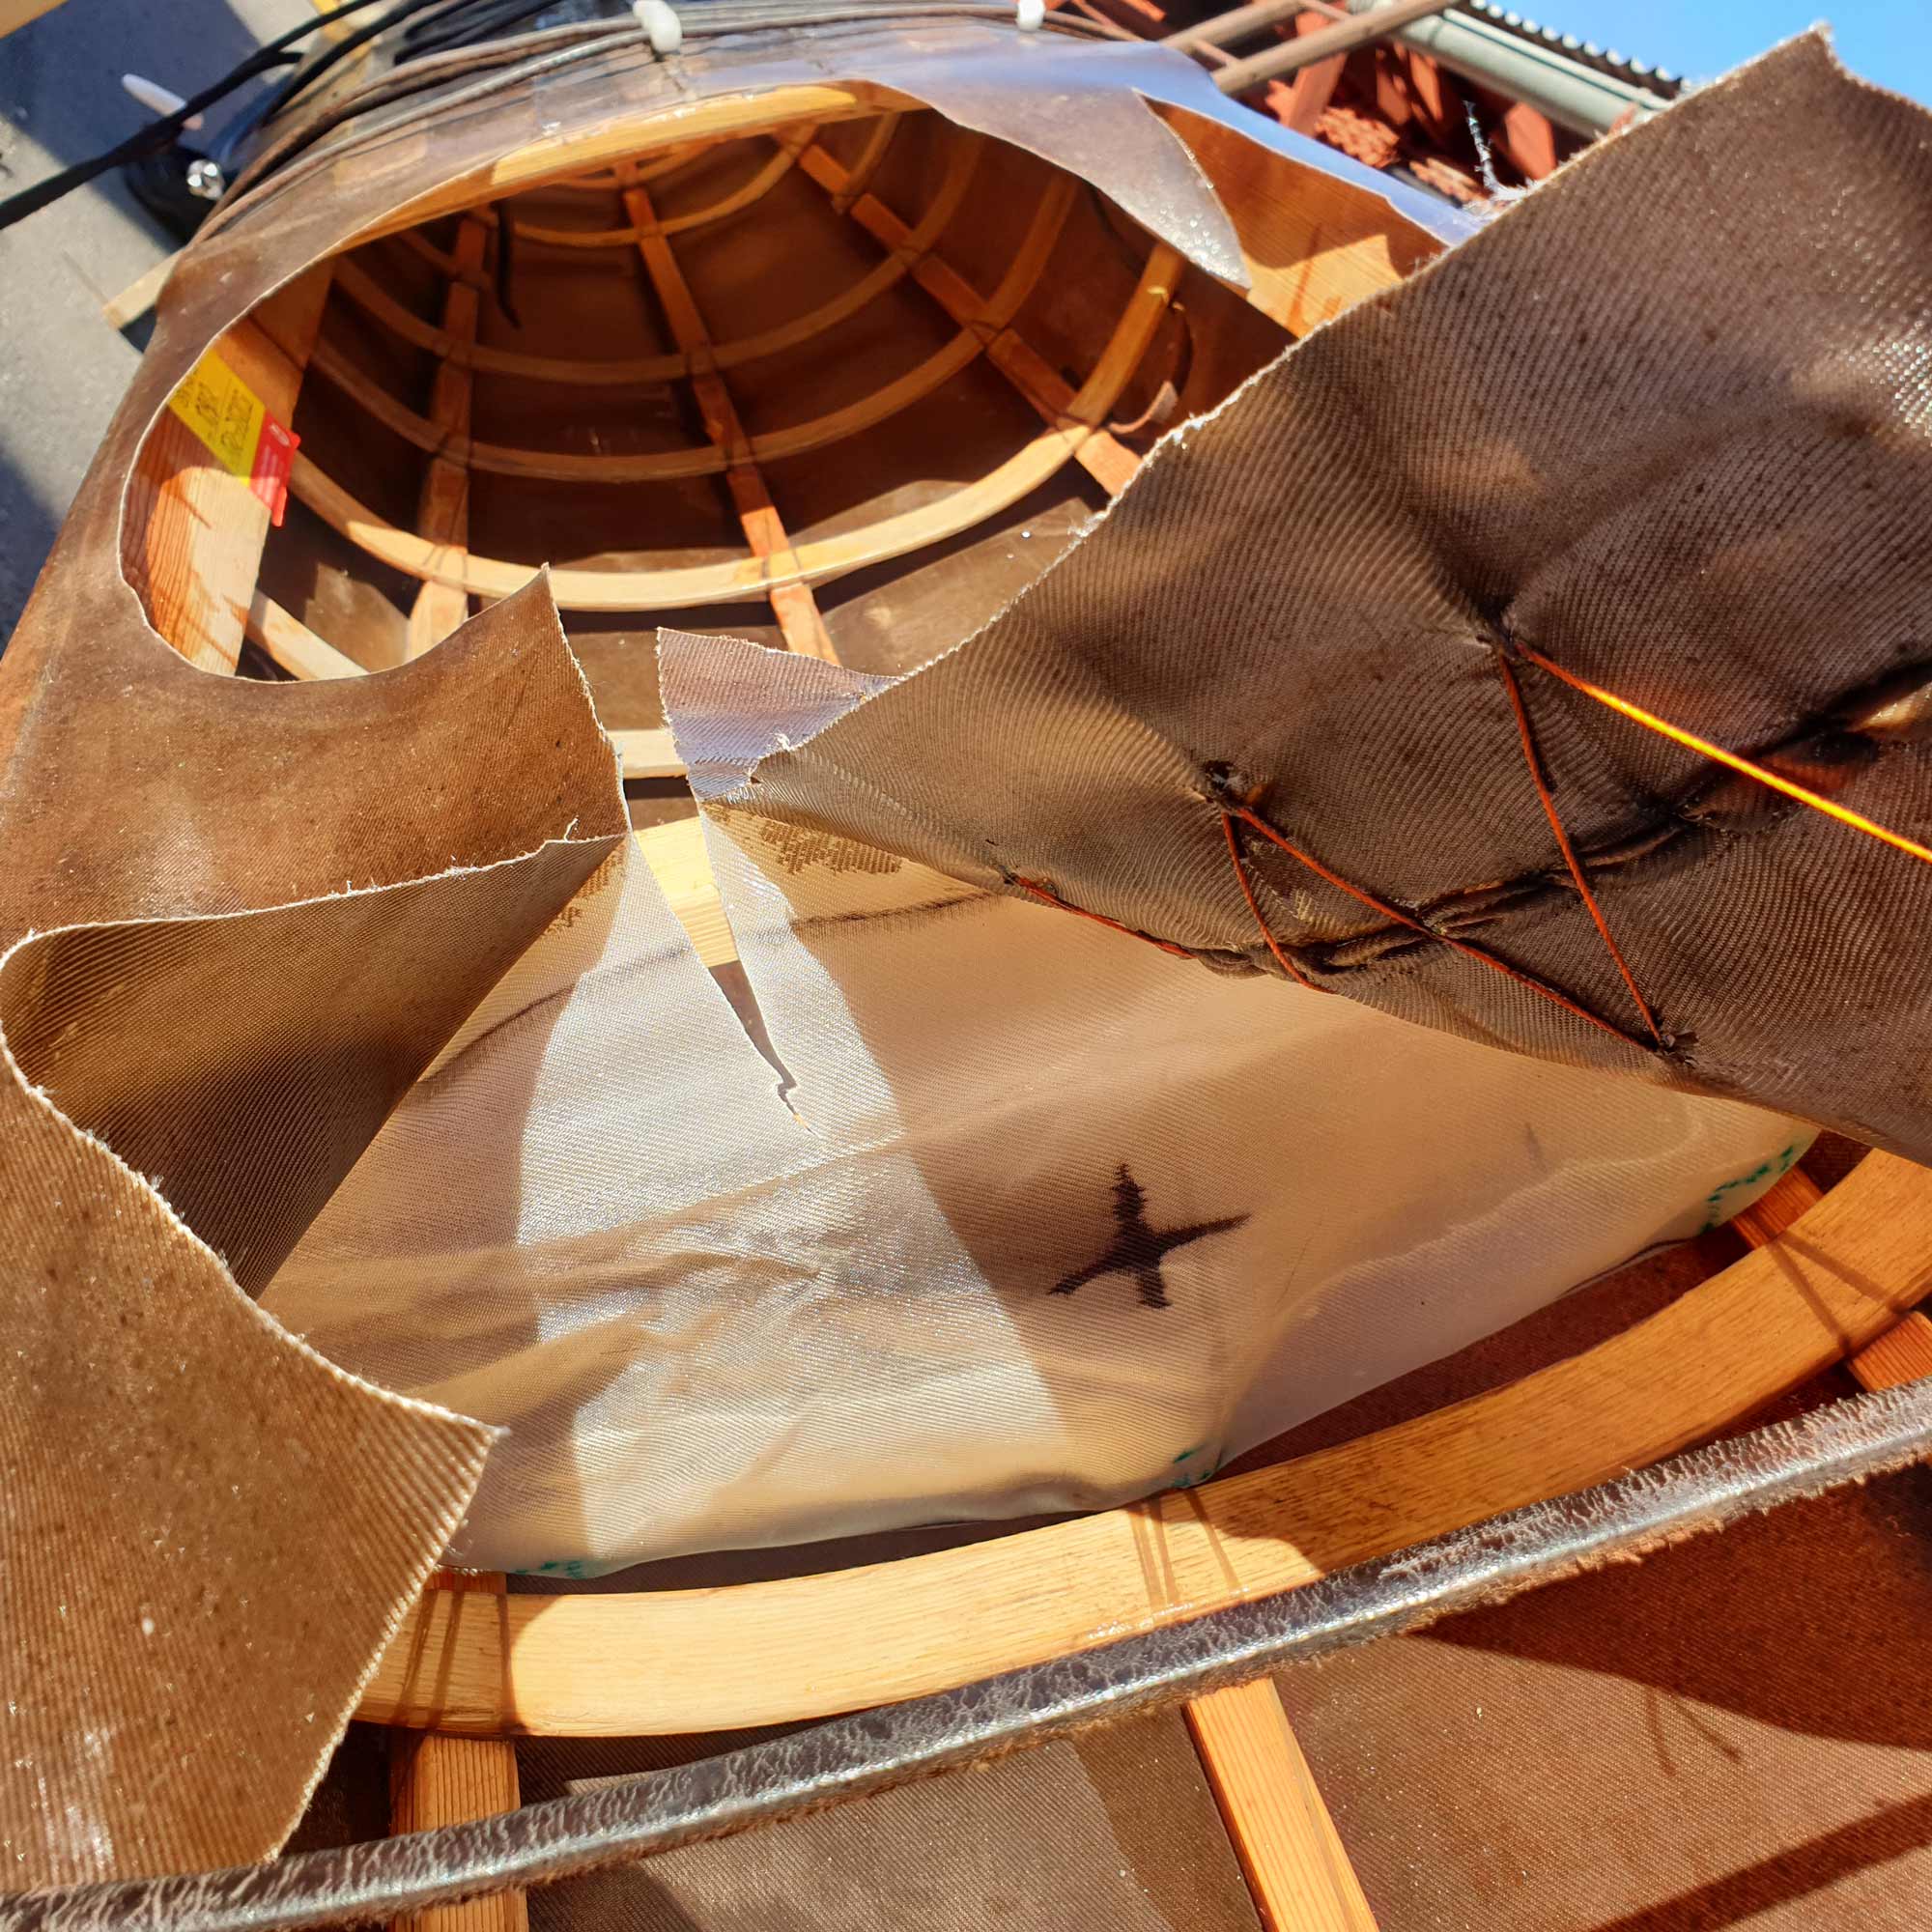
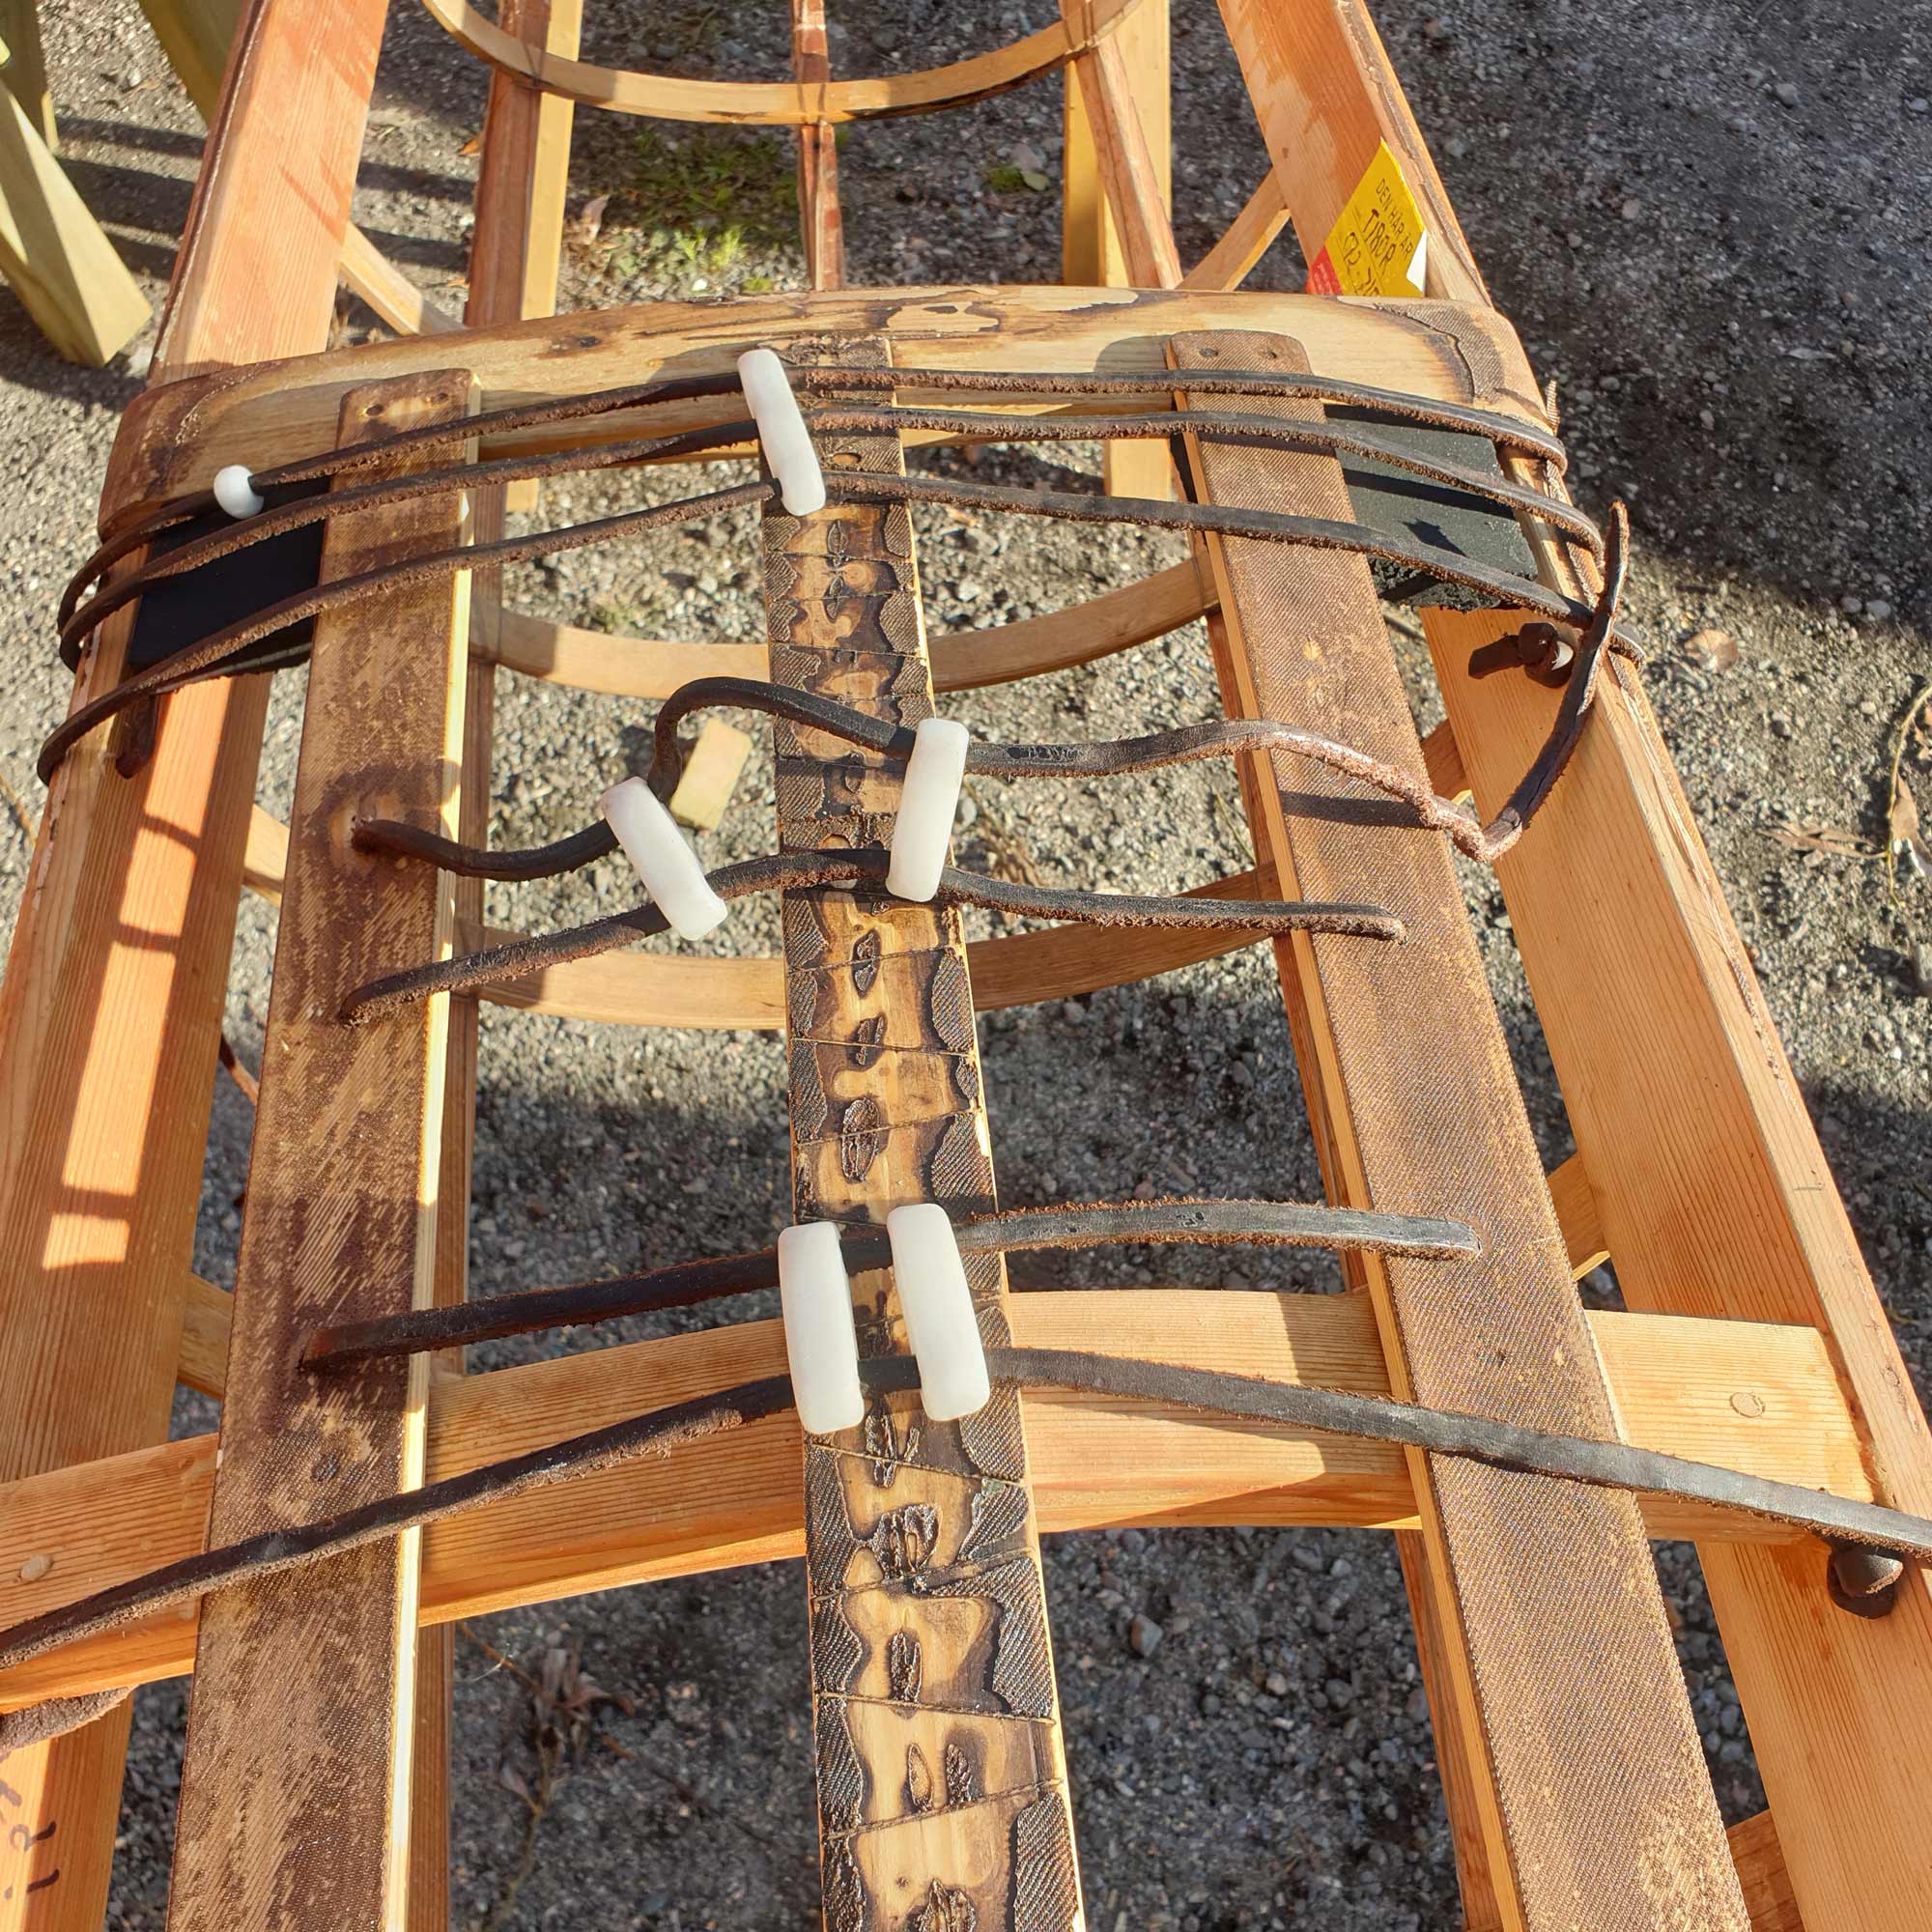
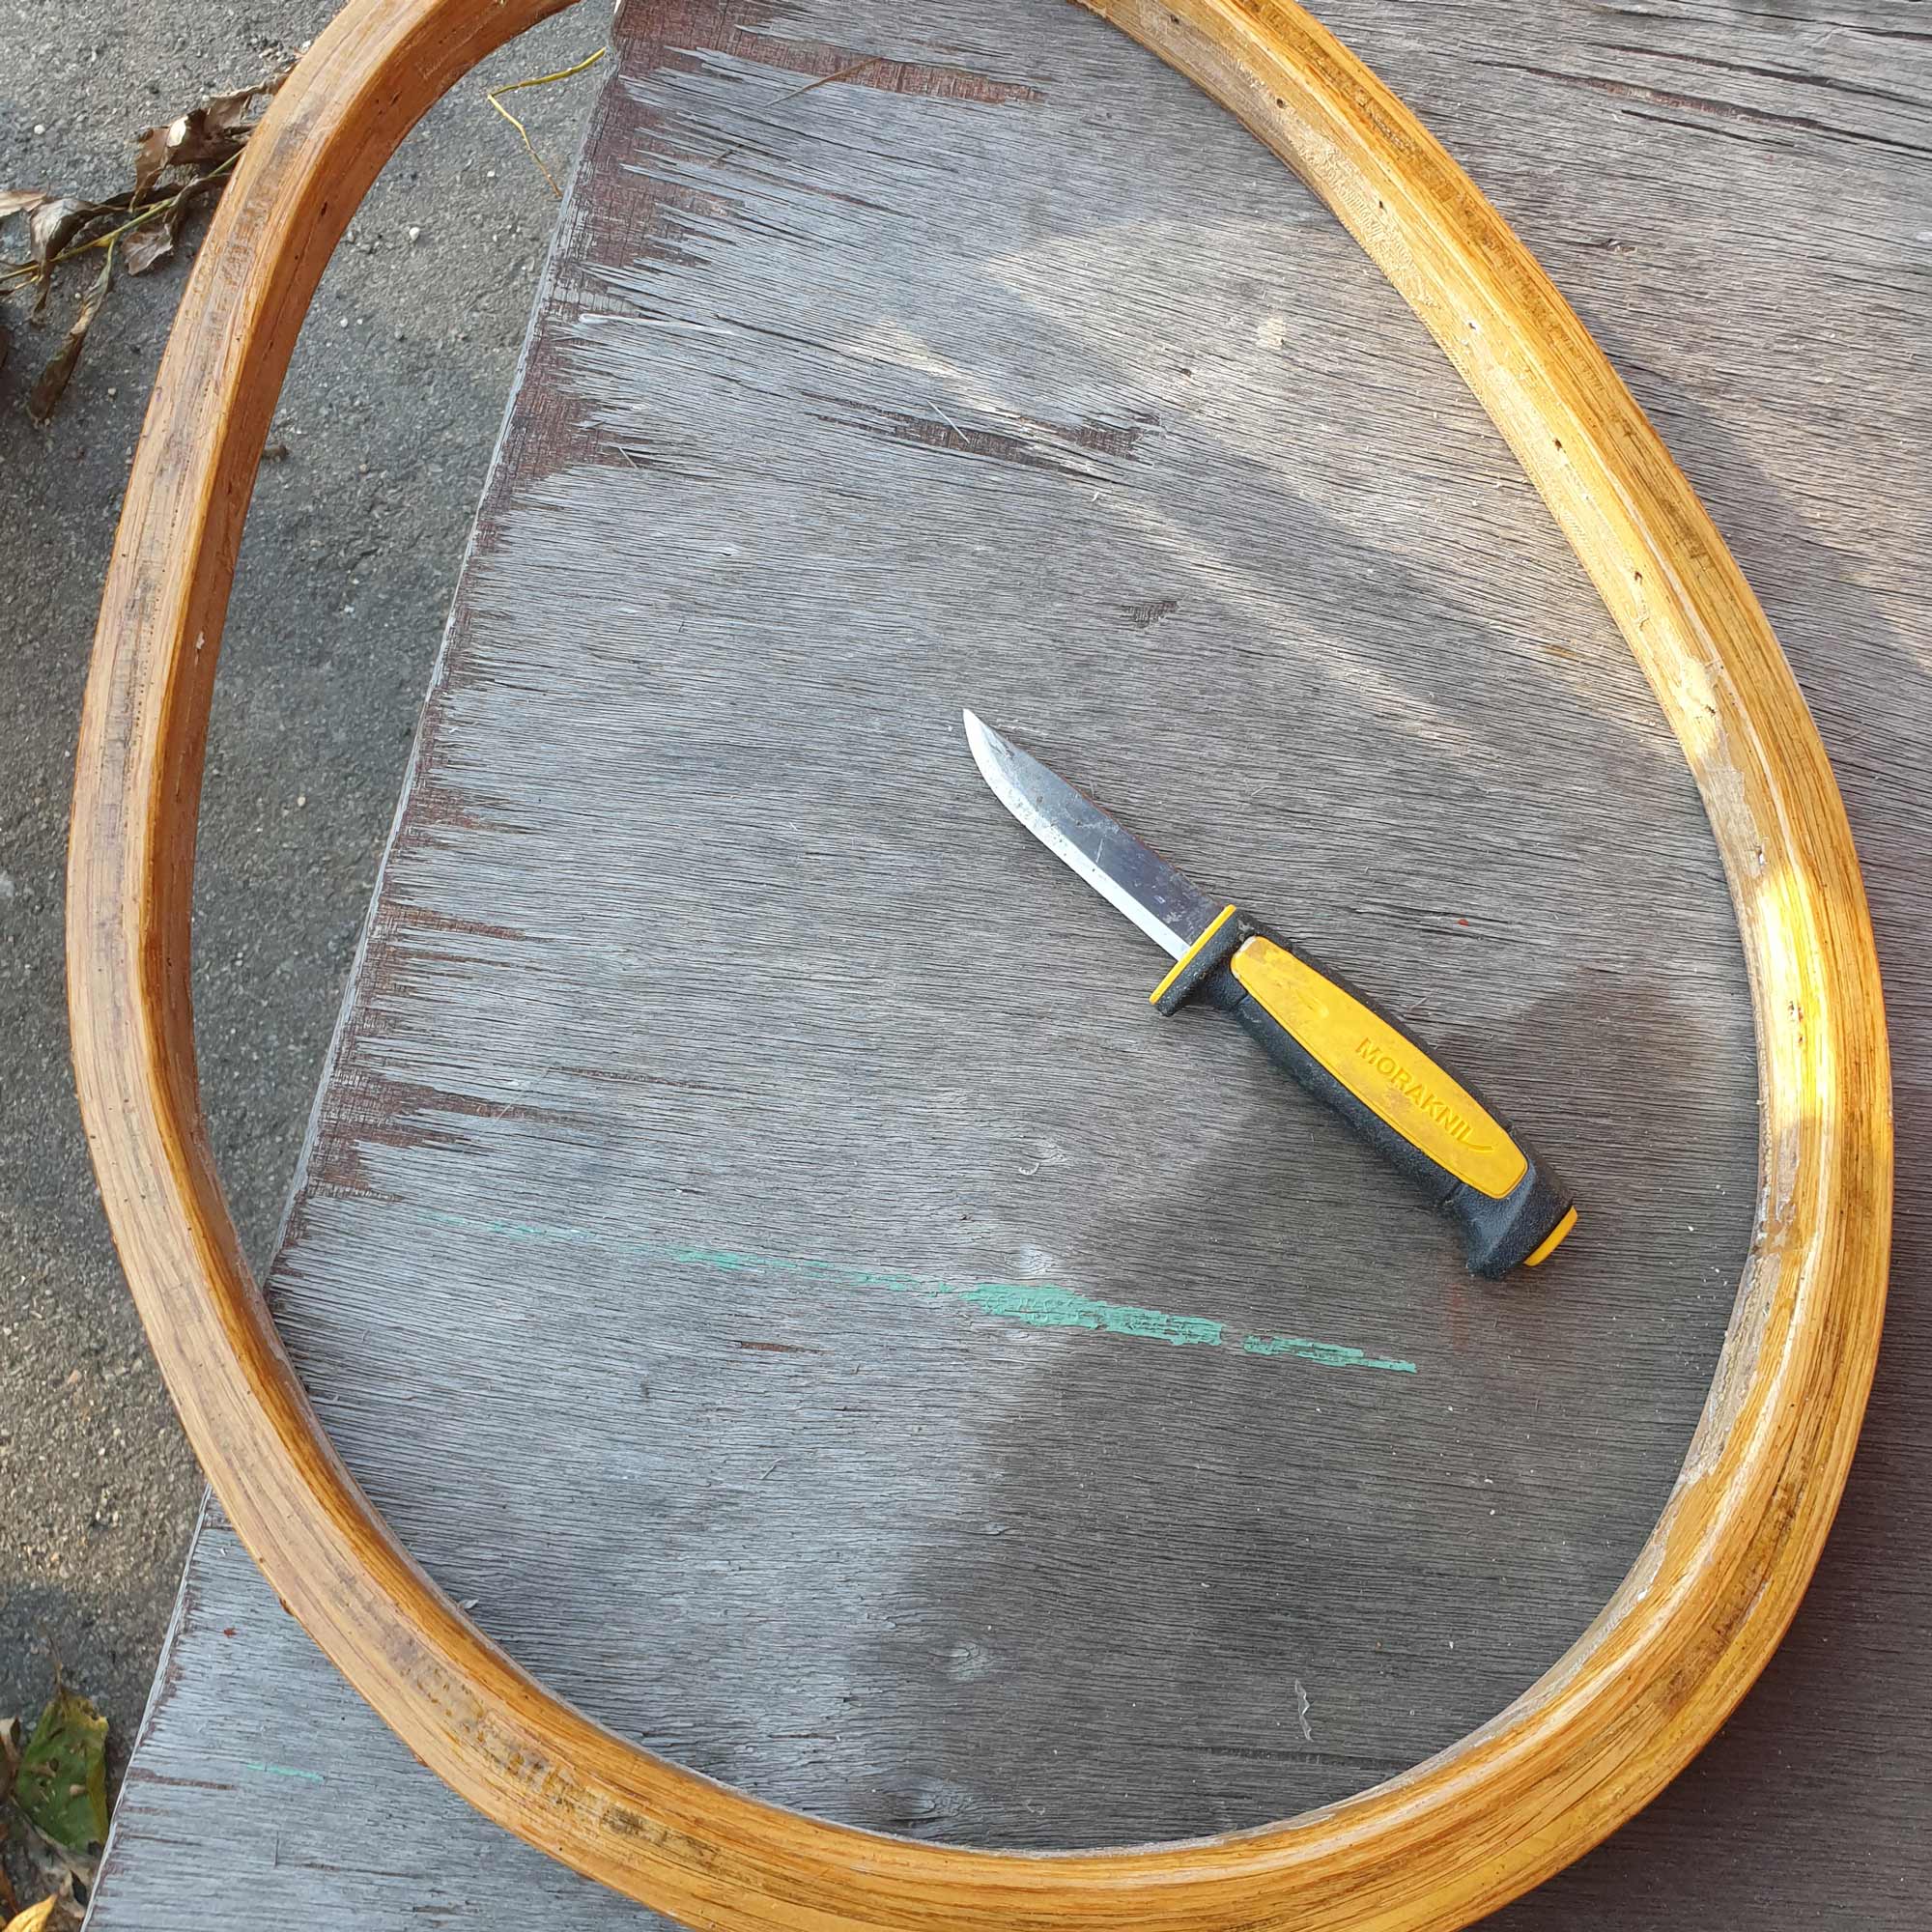
Now with a few holes in my kayak, there was nothing to regret. No way to paddle home. I had to fix this! There were quite a few cracks in the coating, some of which I have tried to patch last summer with PU and some new ones. Along the bottom, fabric was showing here and there. So after a few pictures I cut out the coaming.


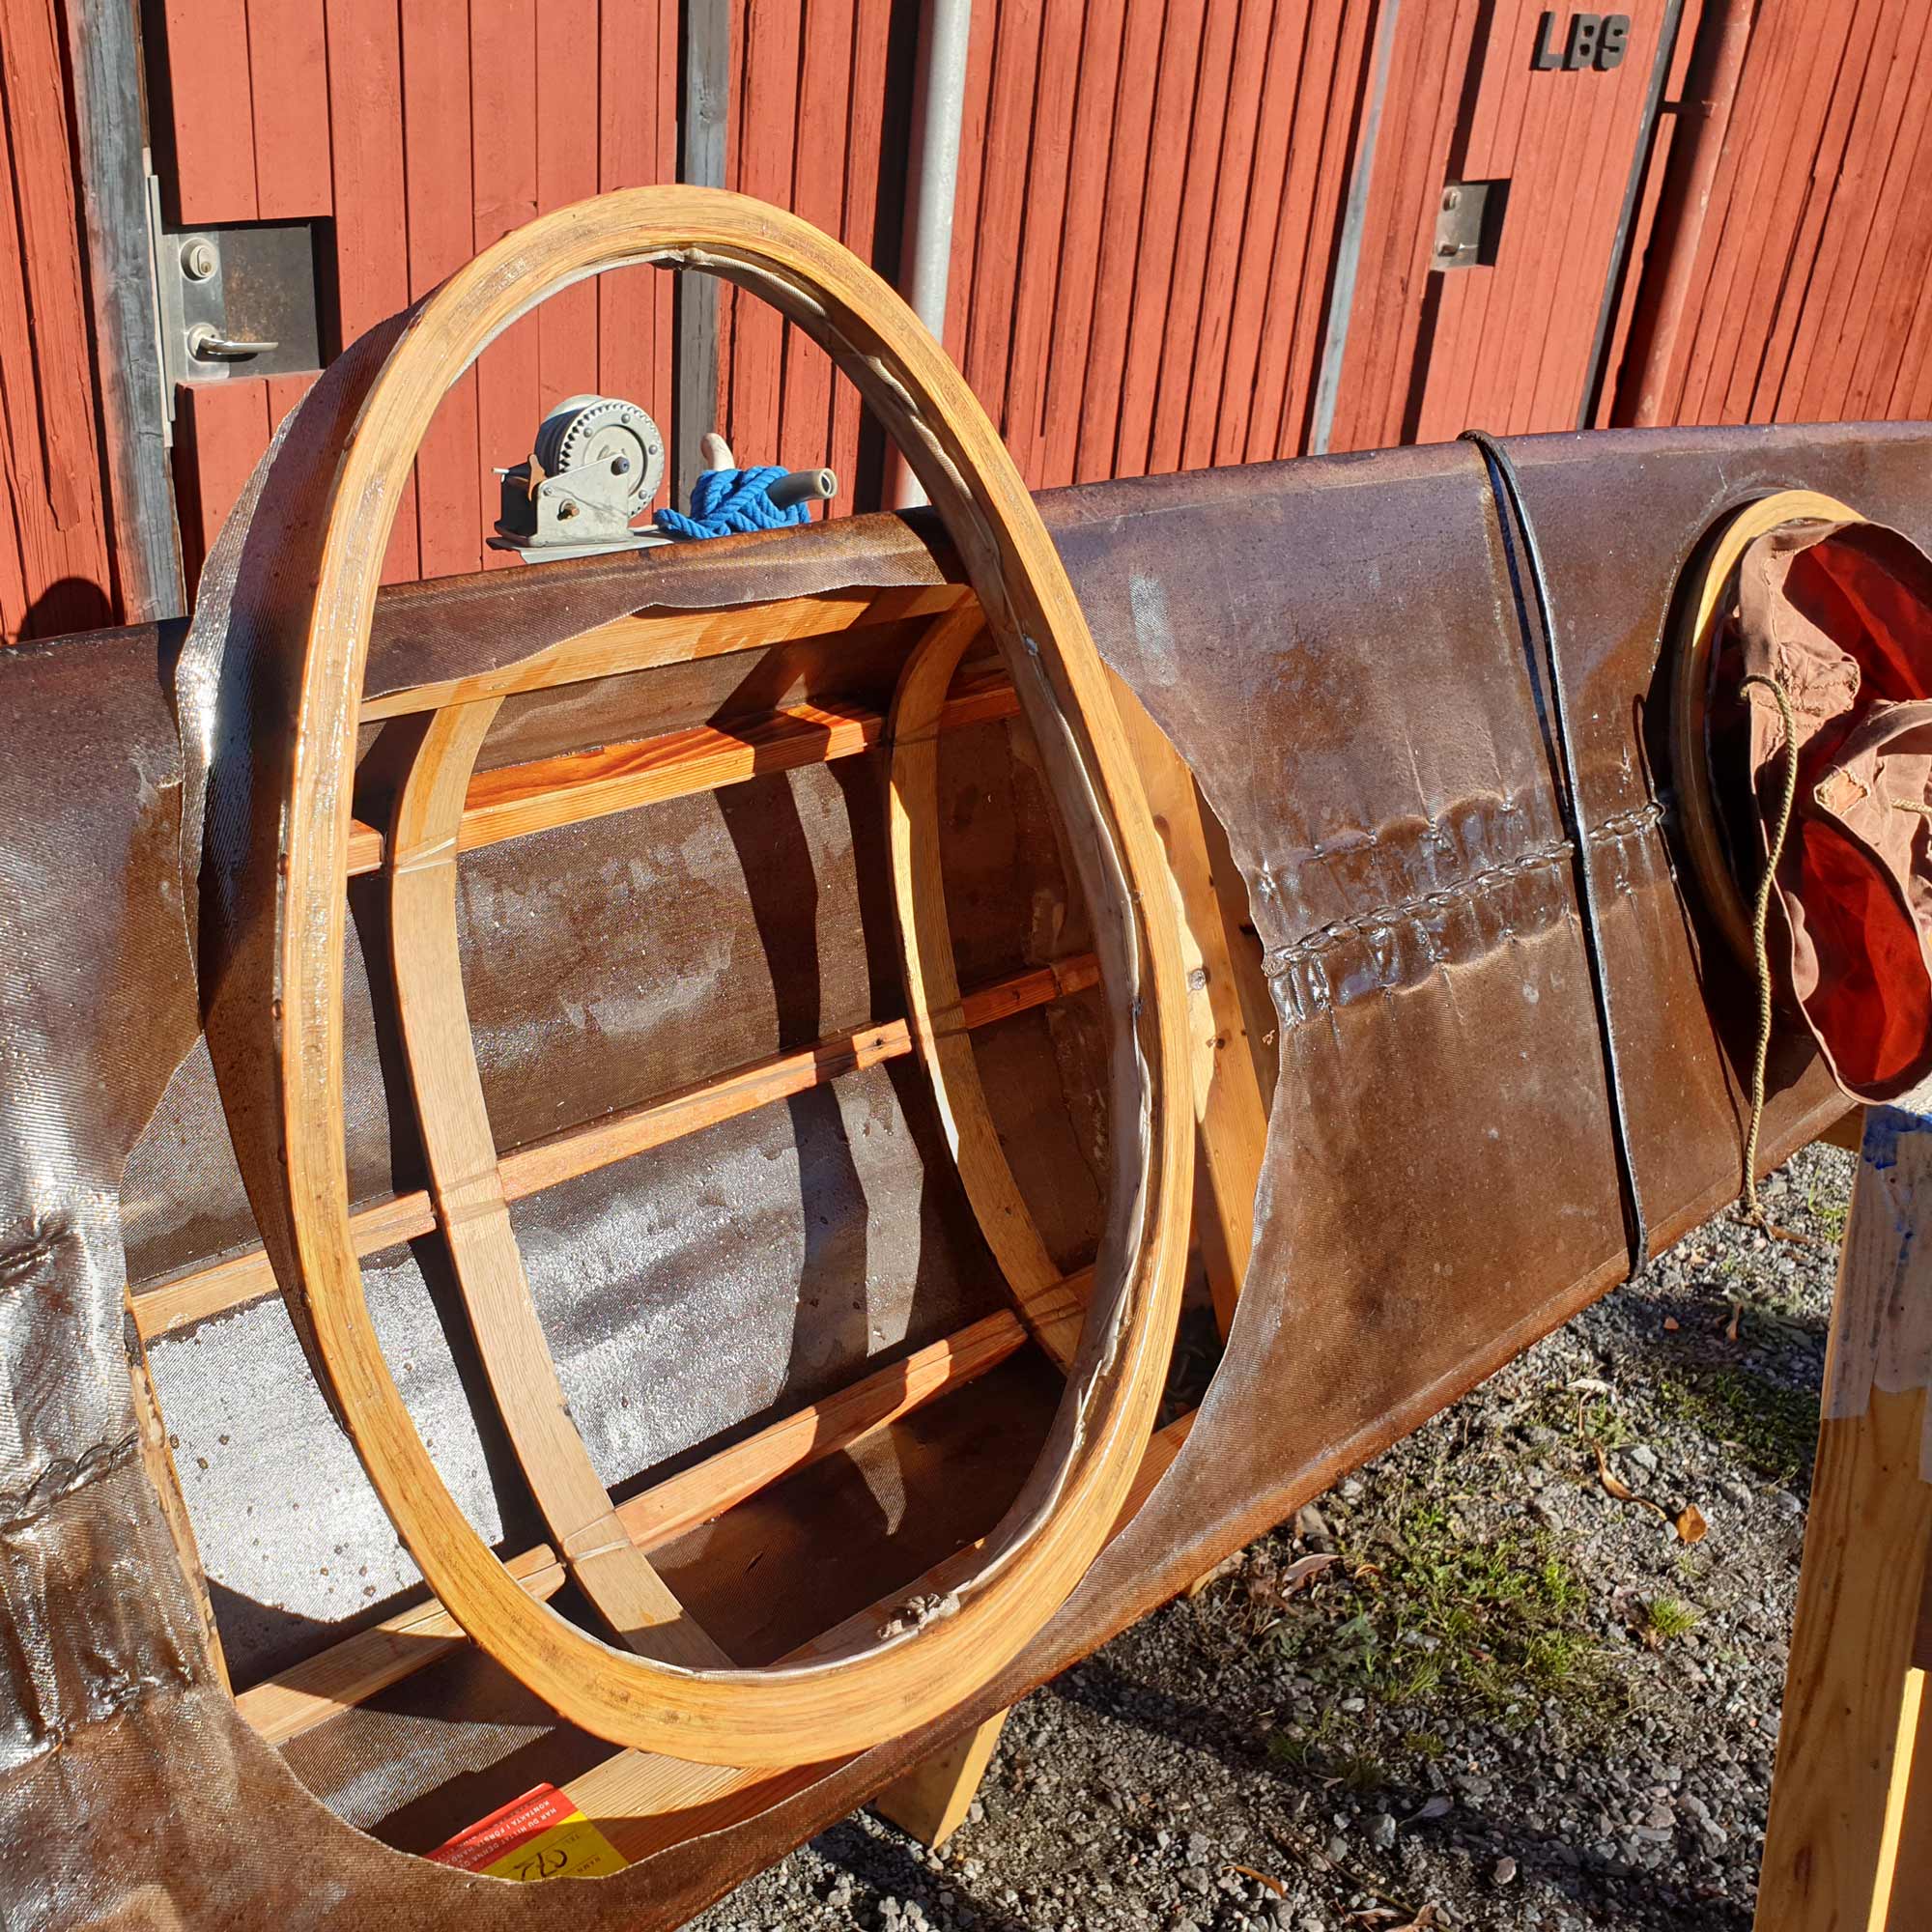
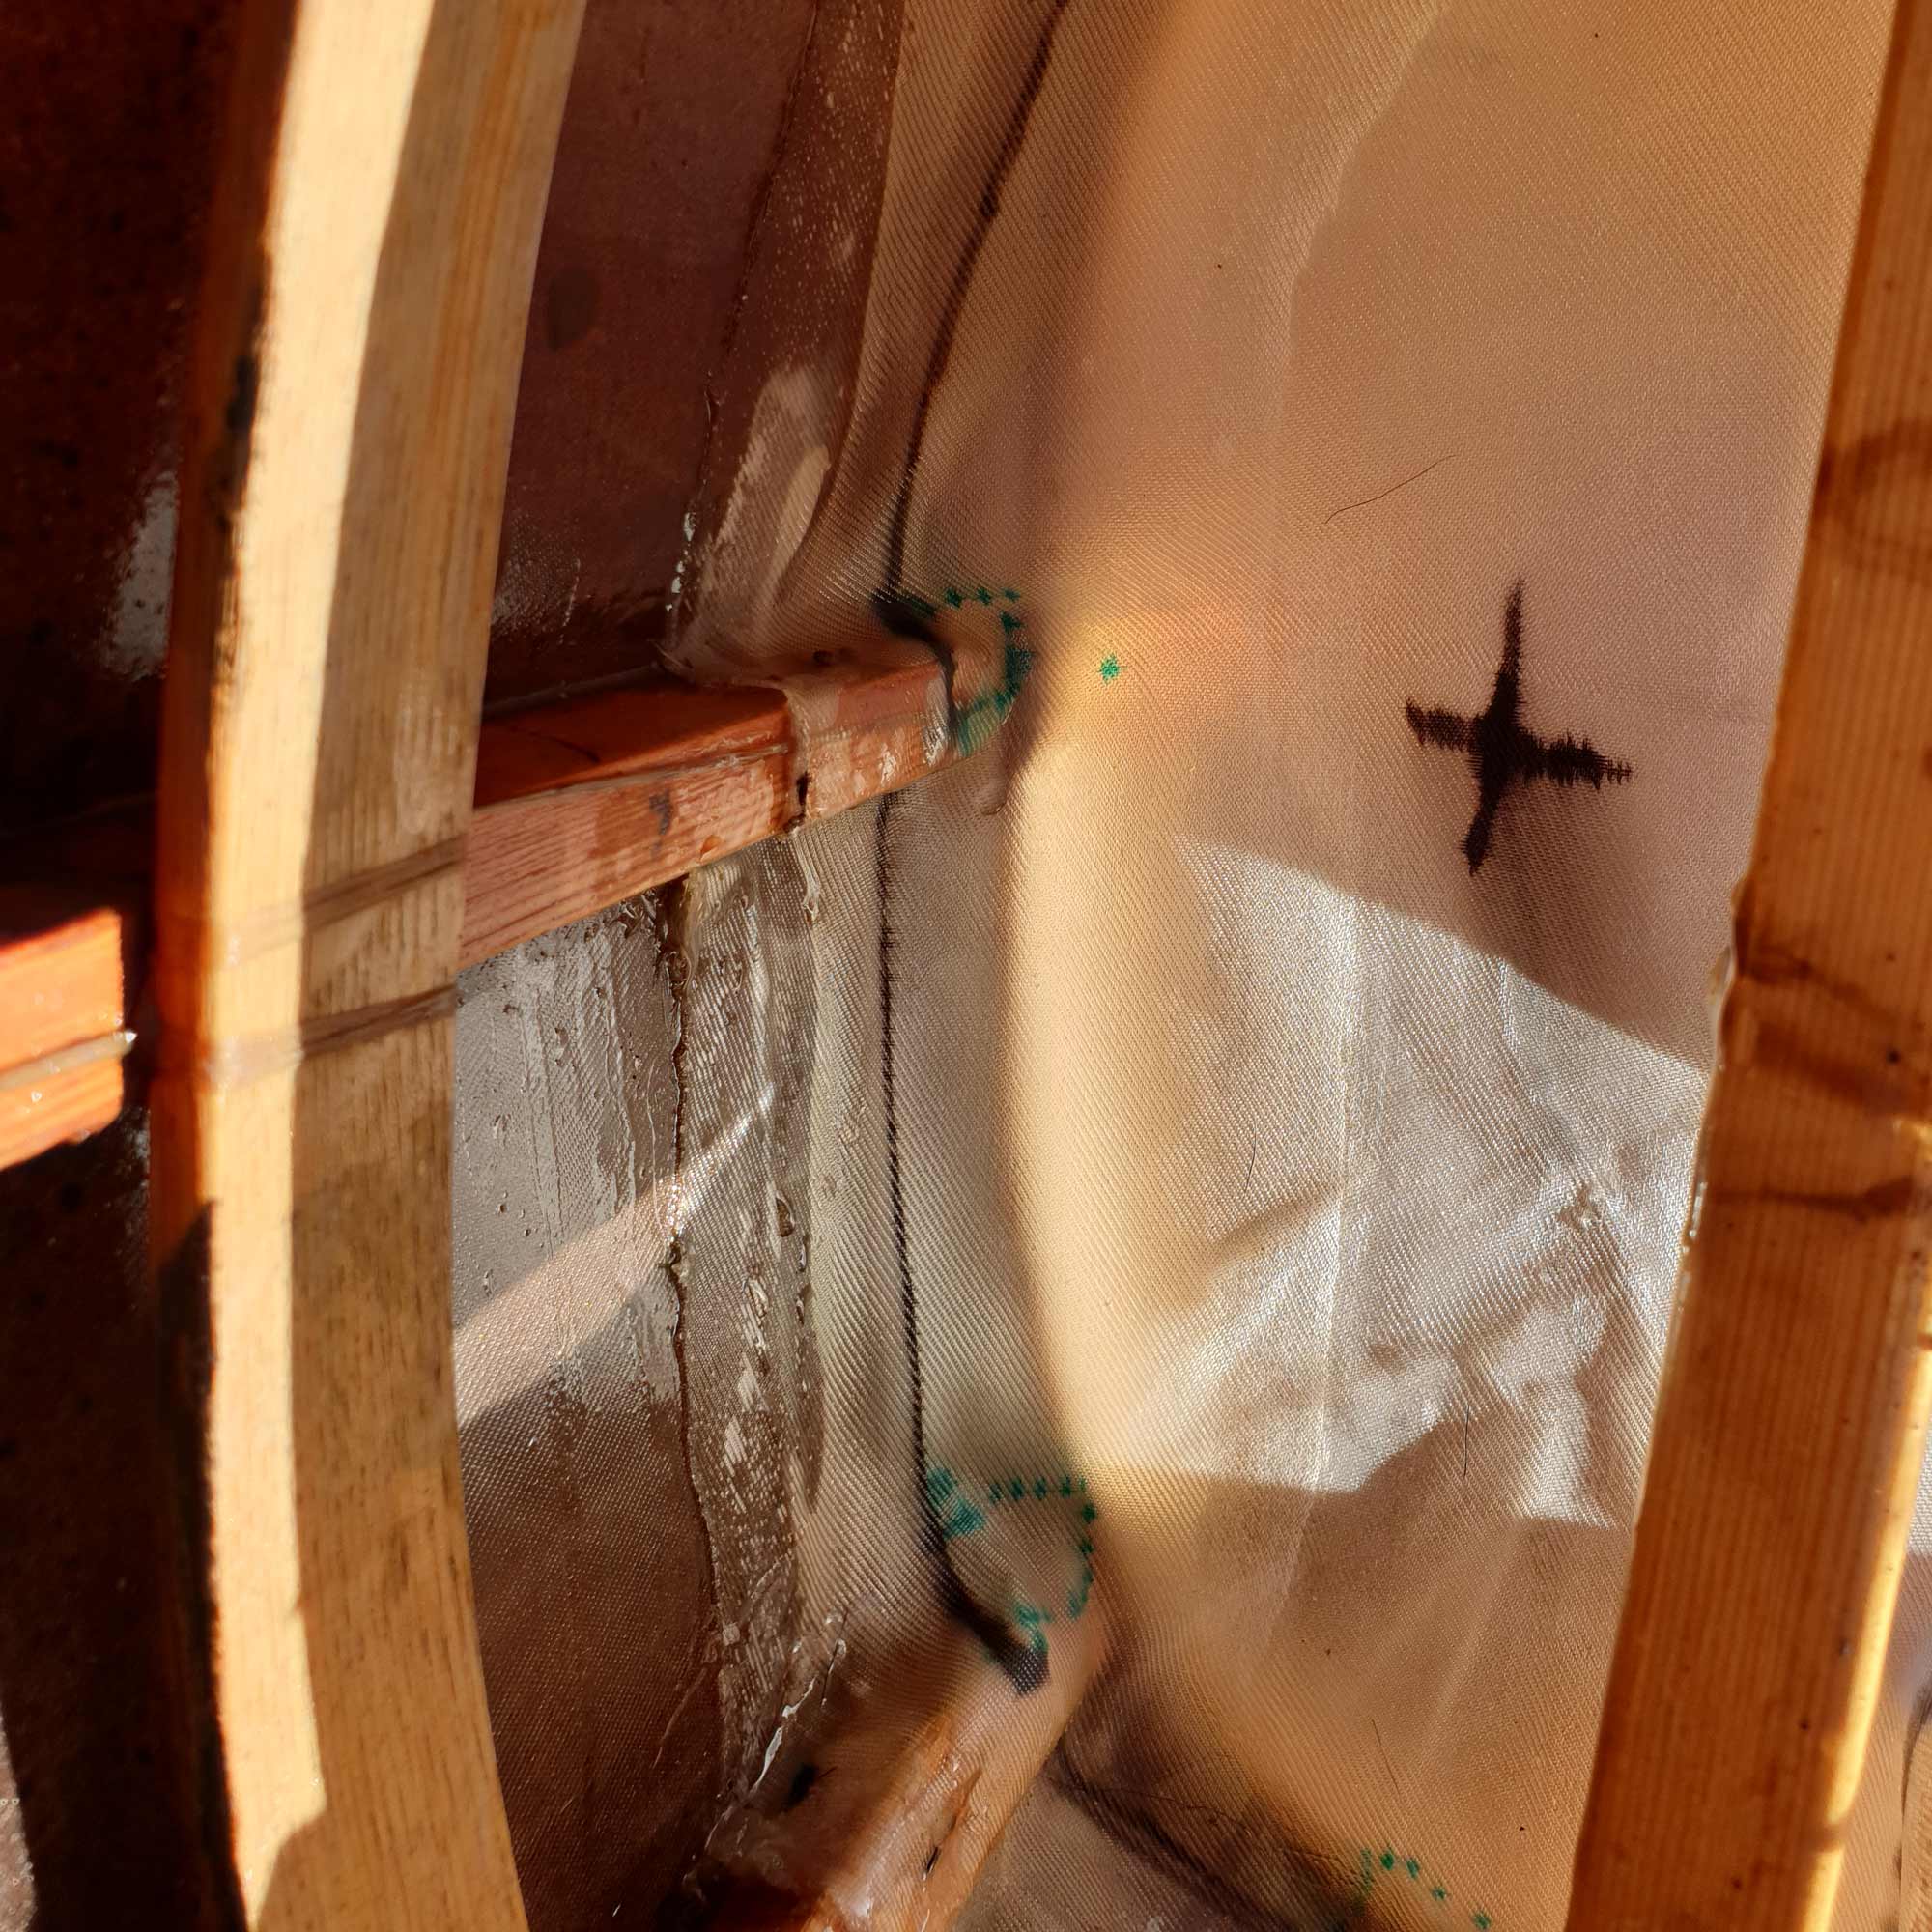
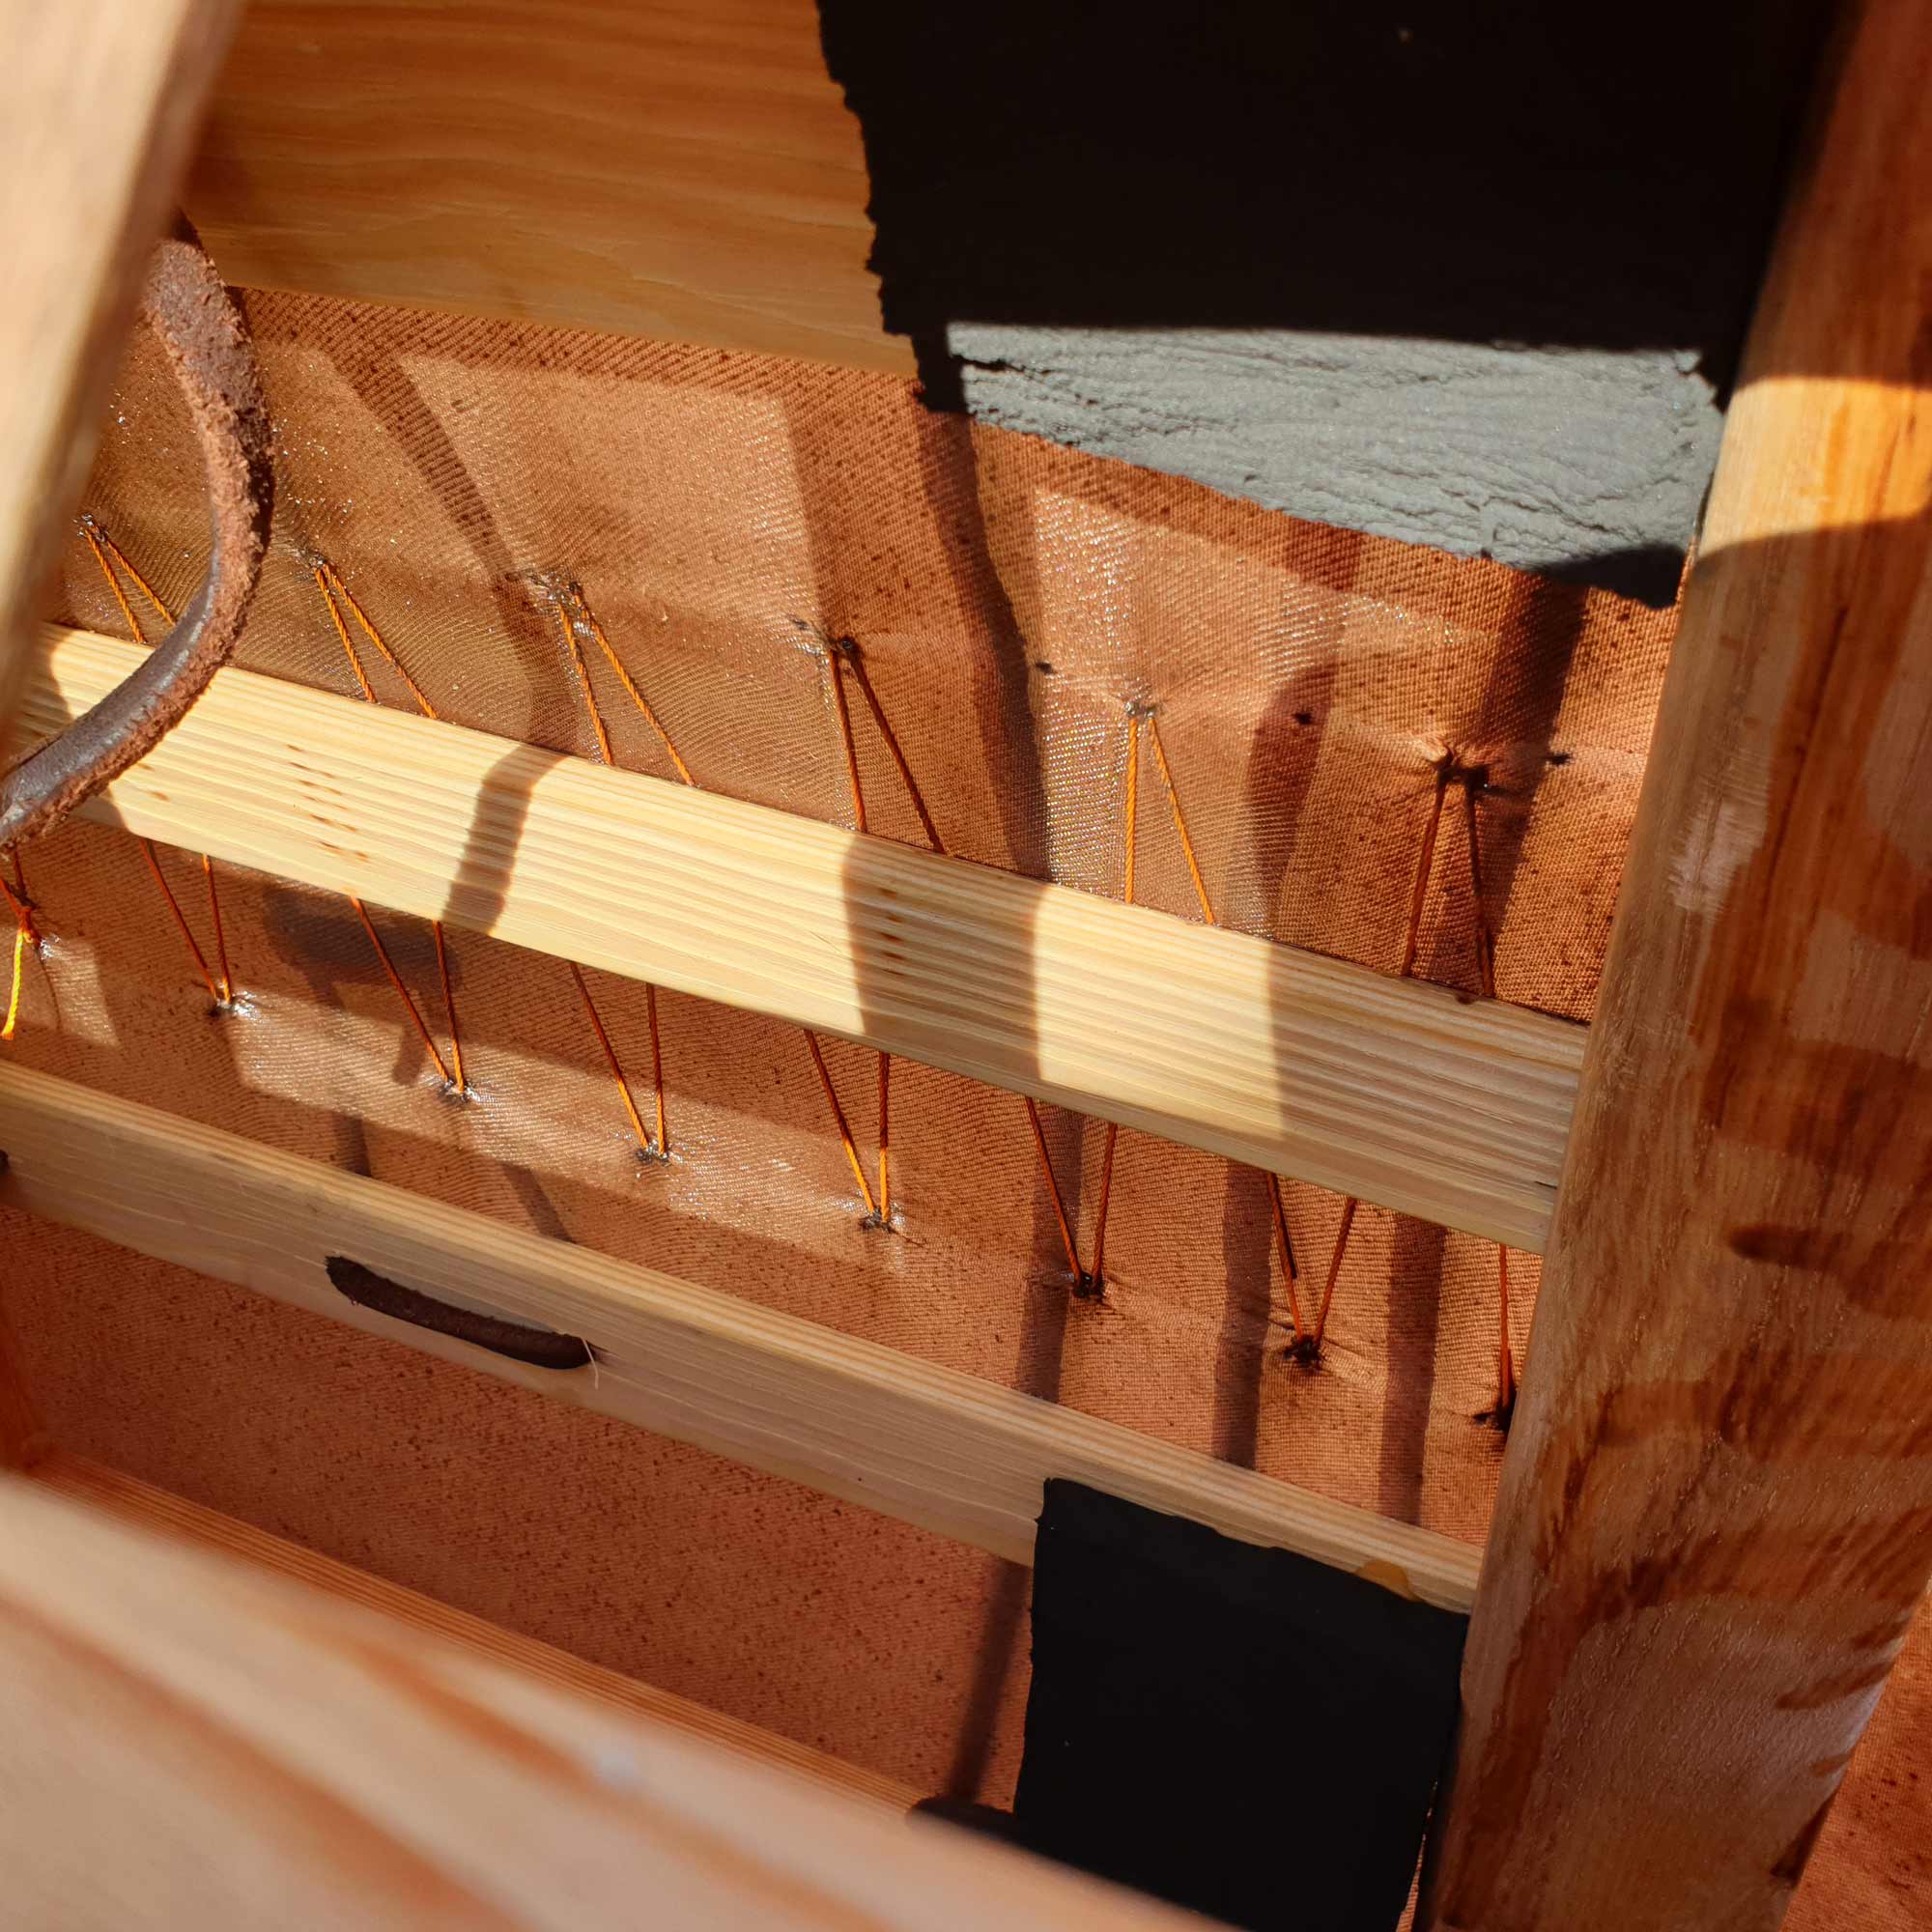
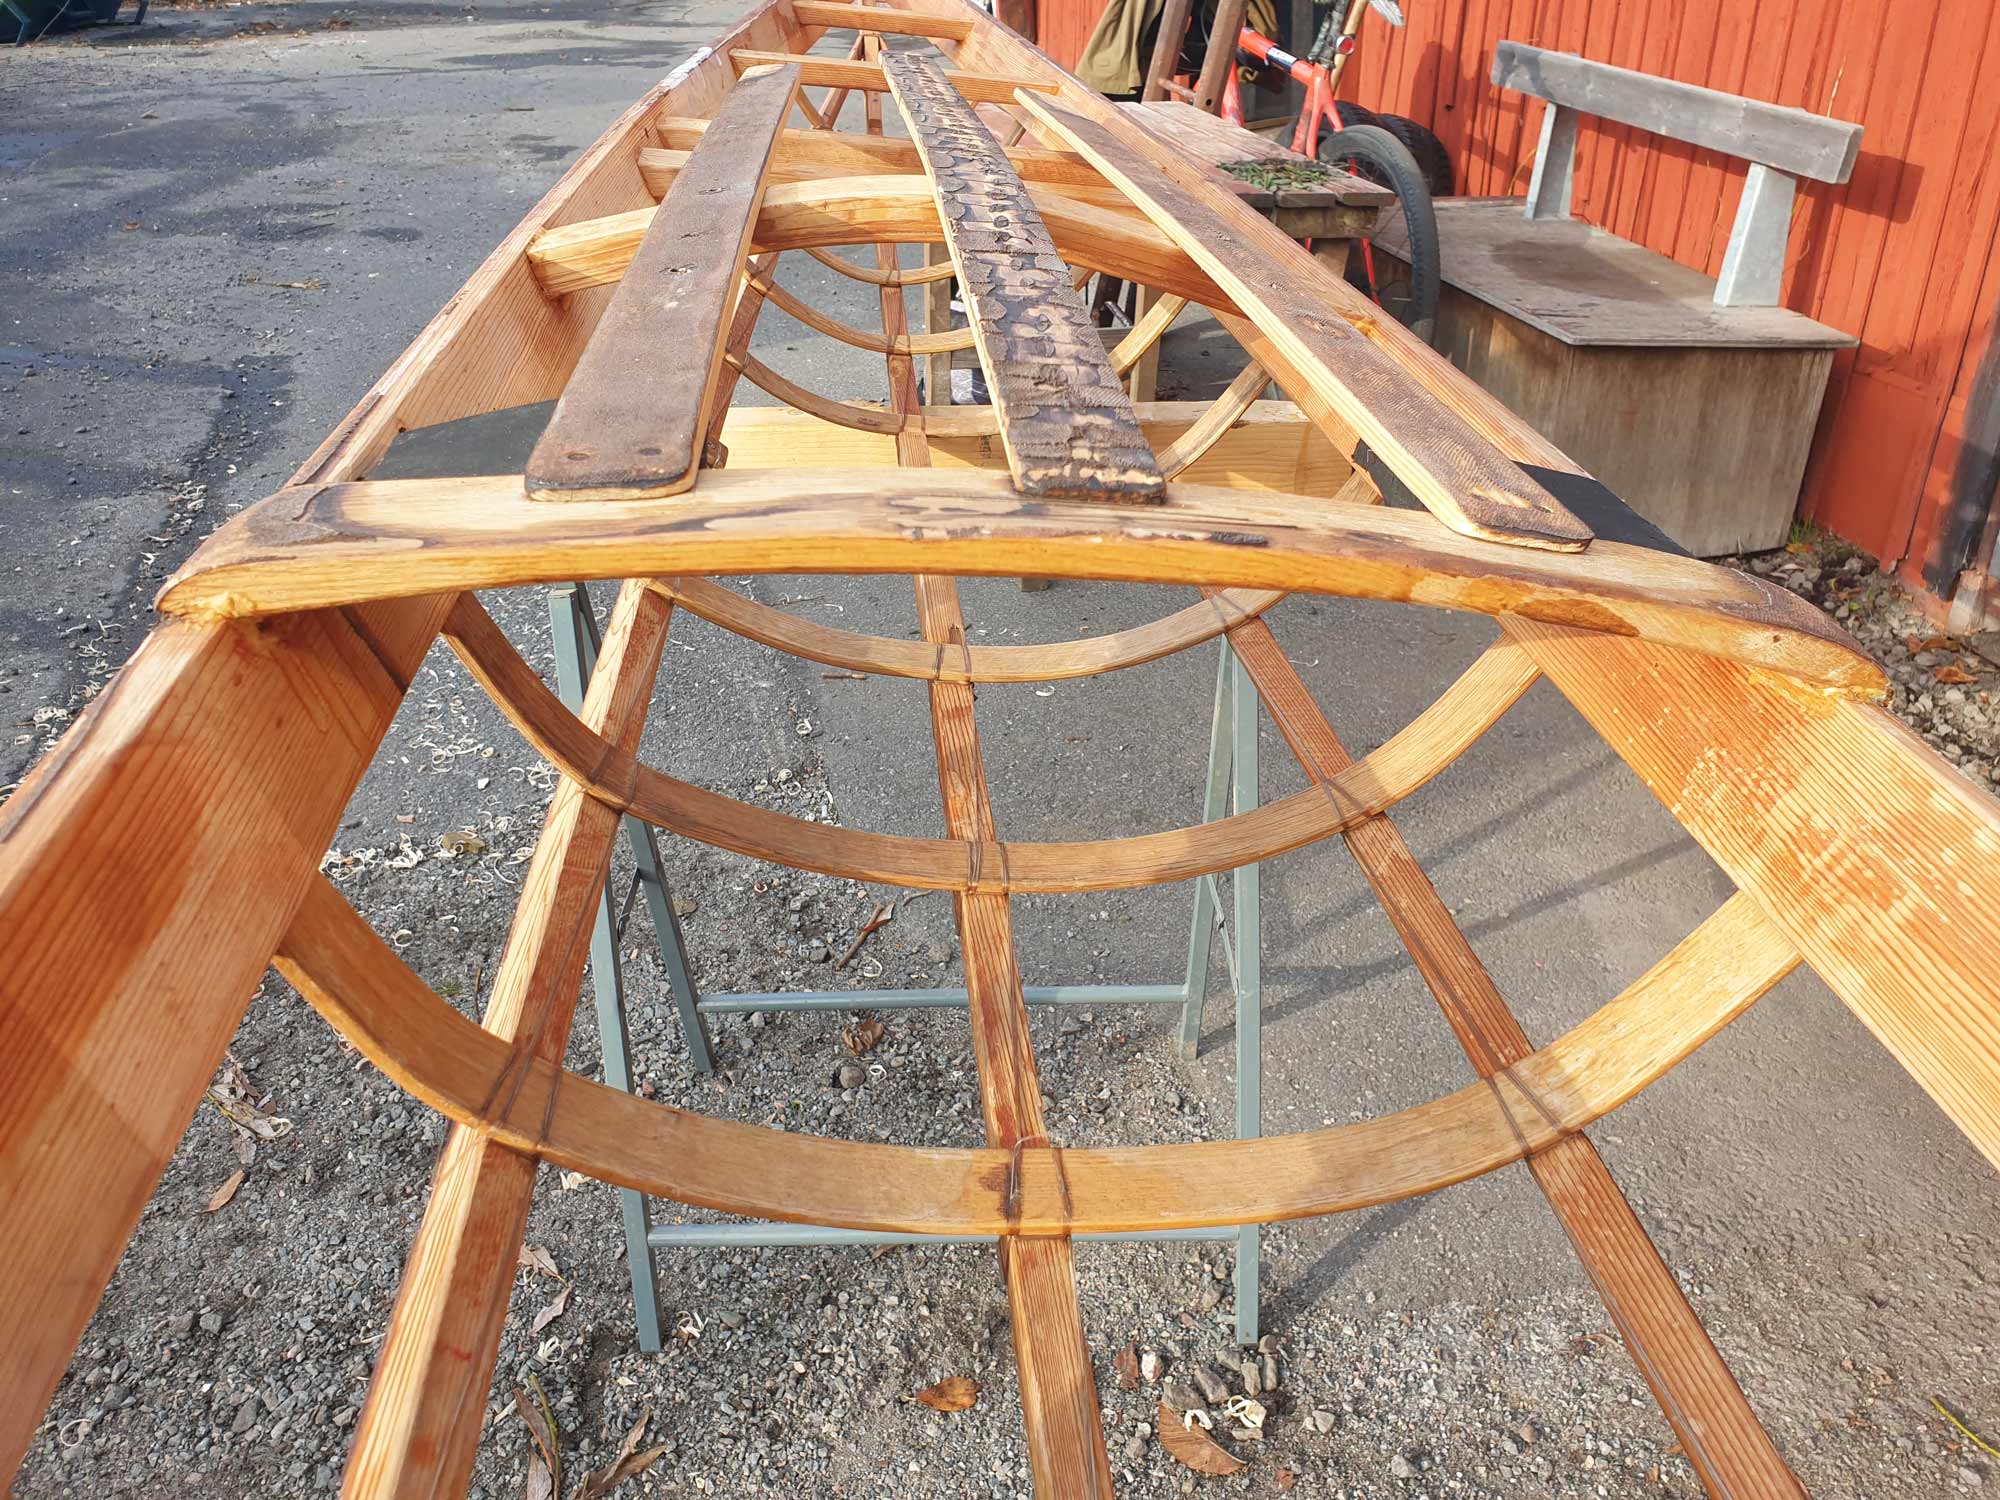
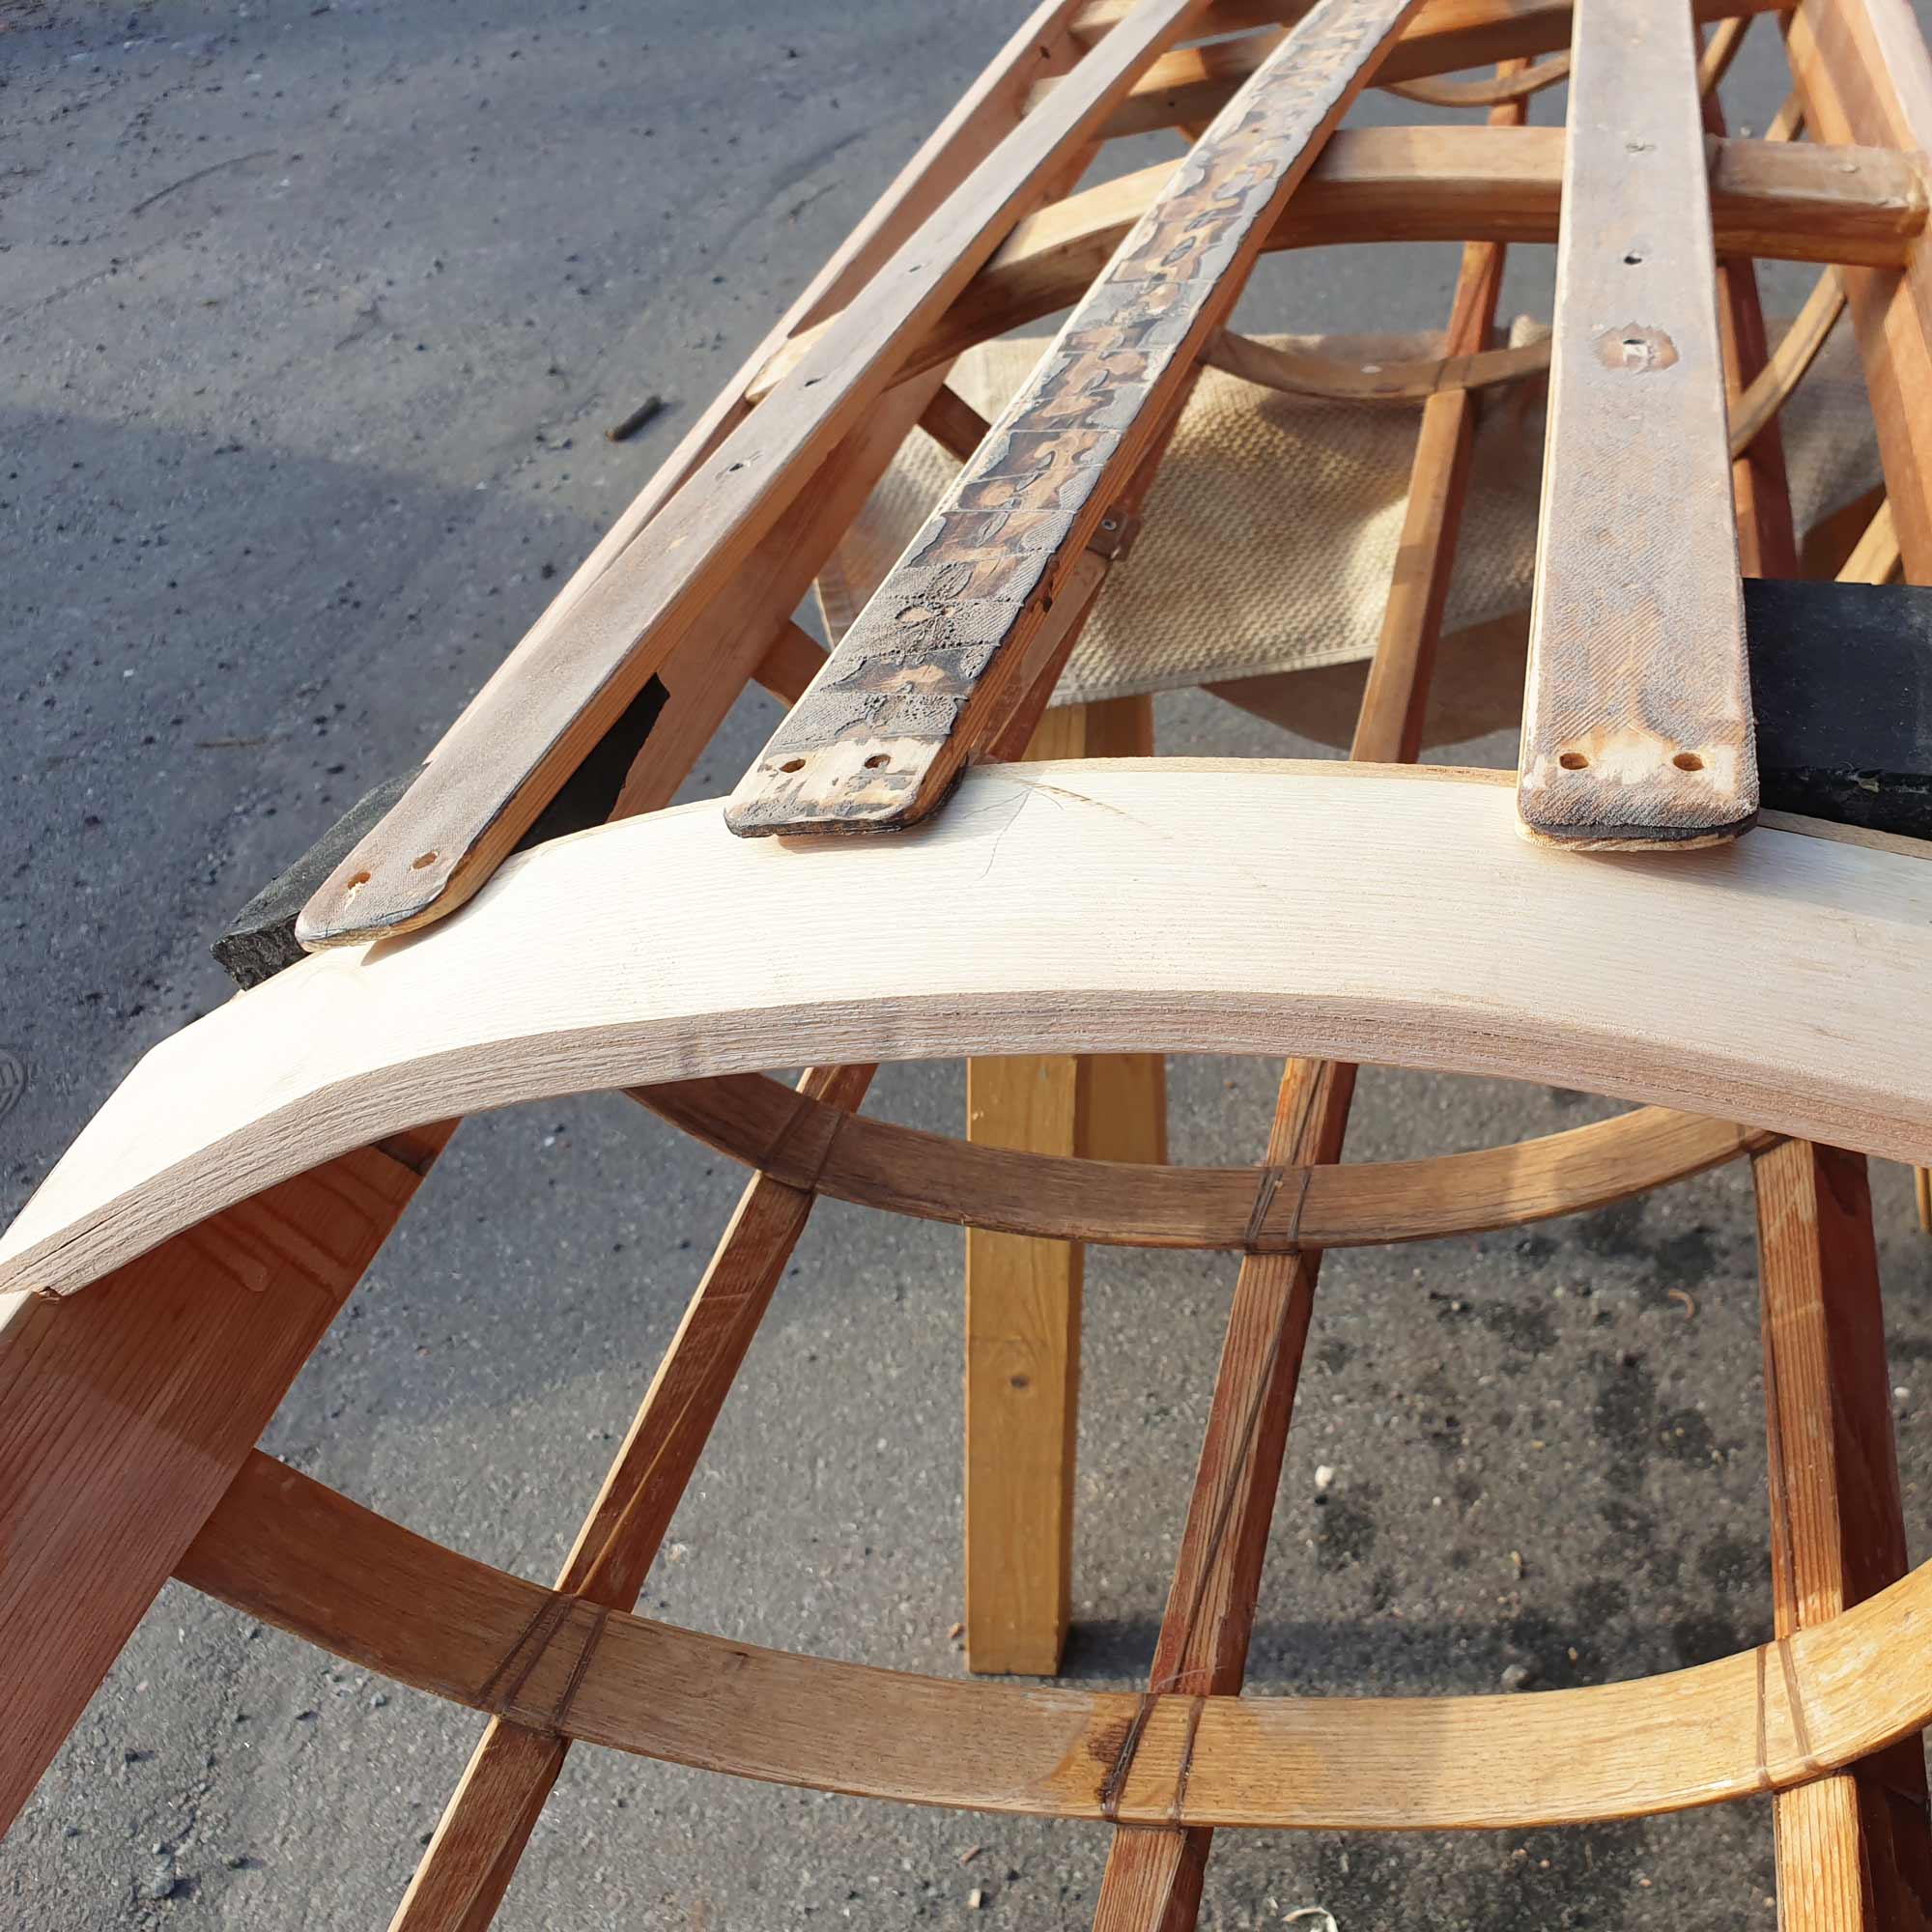
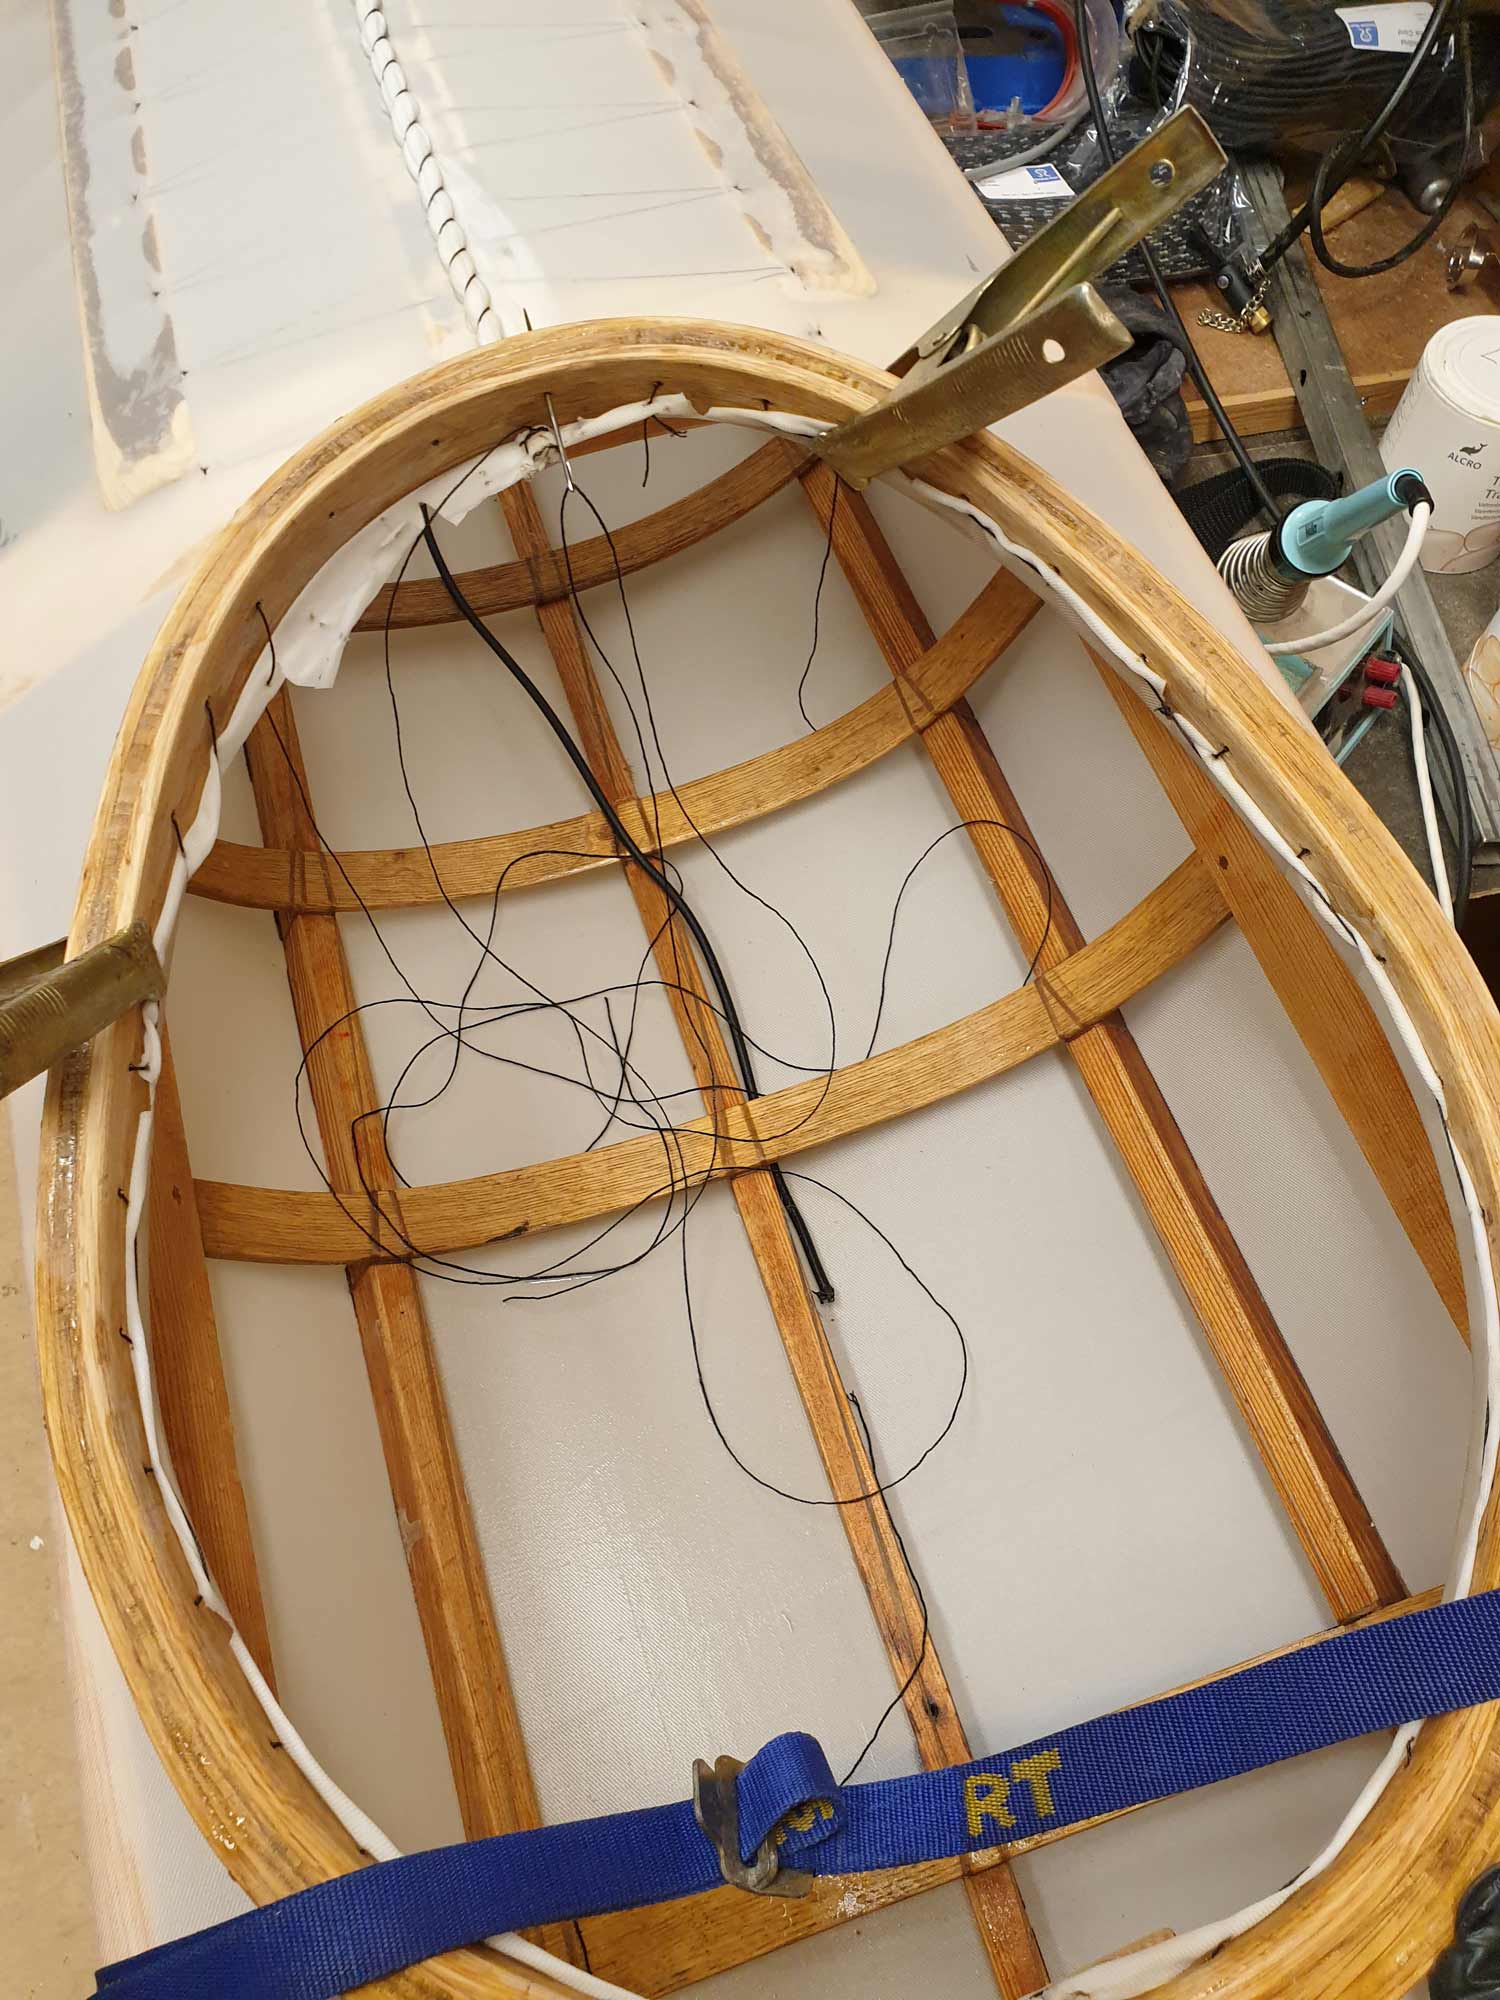
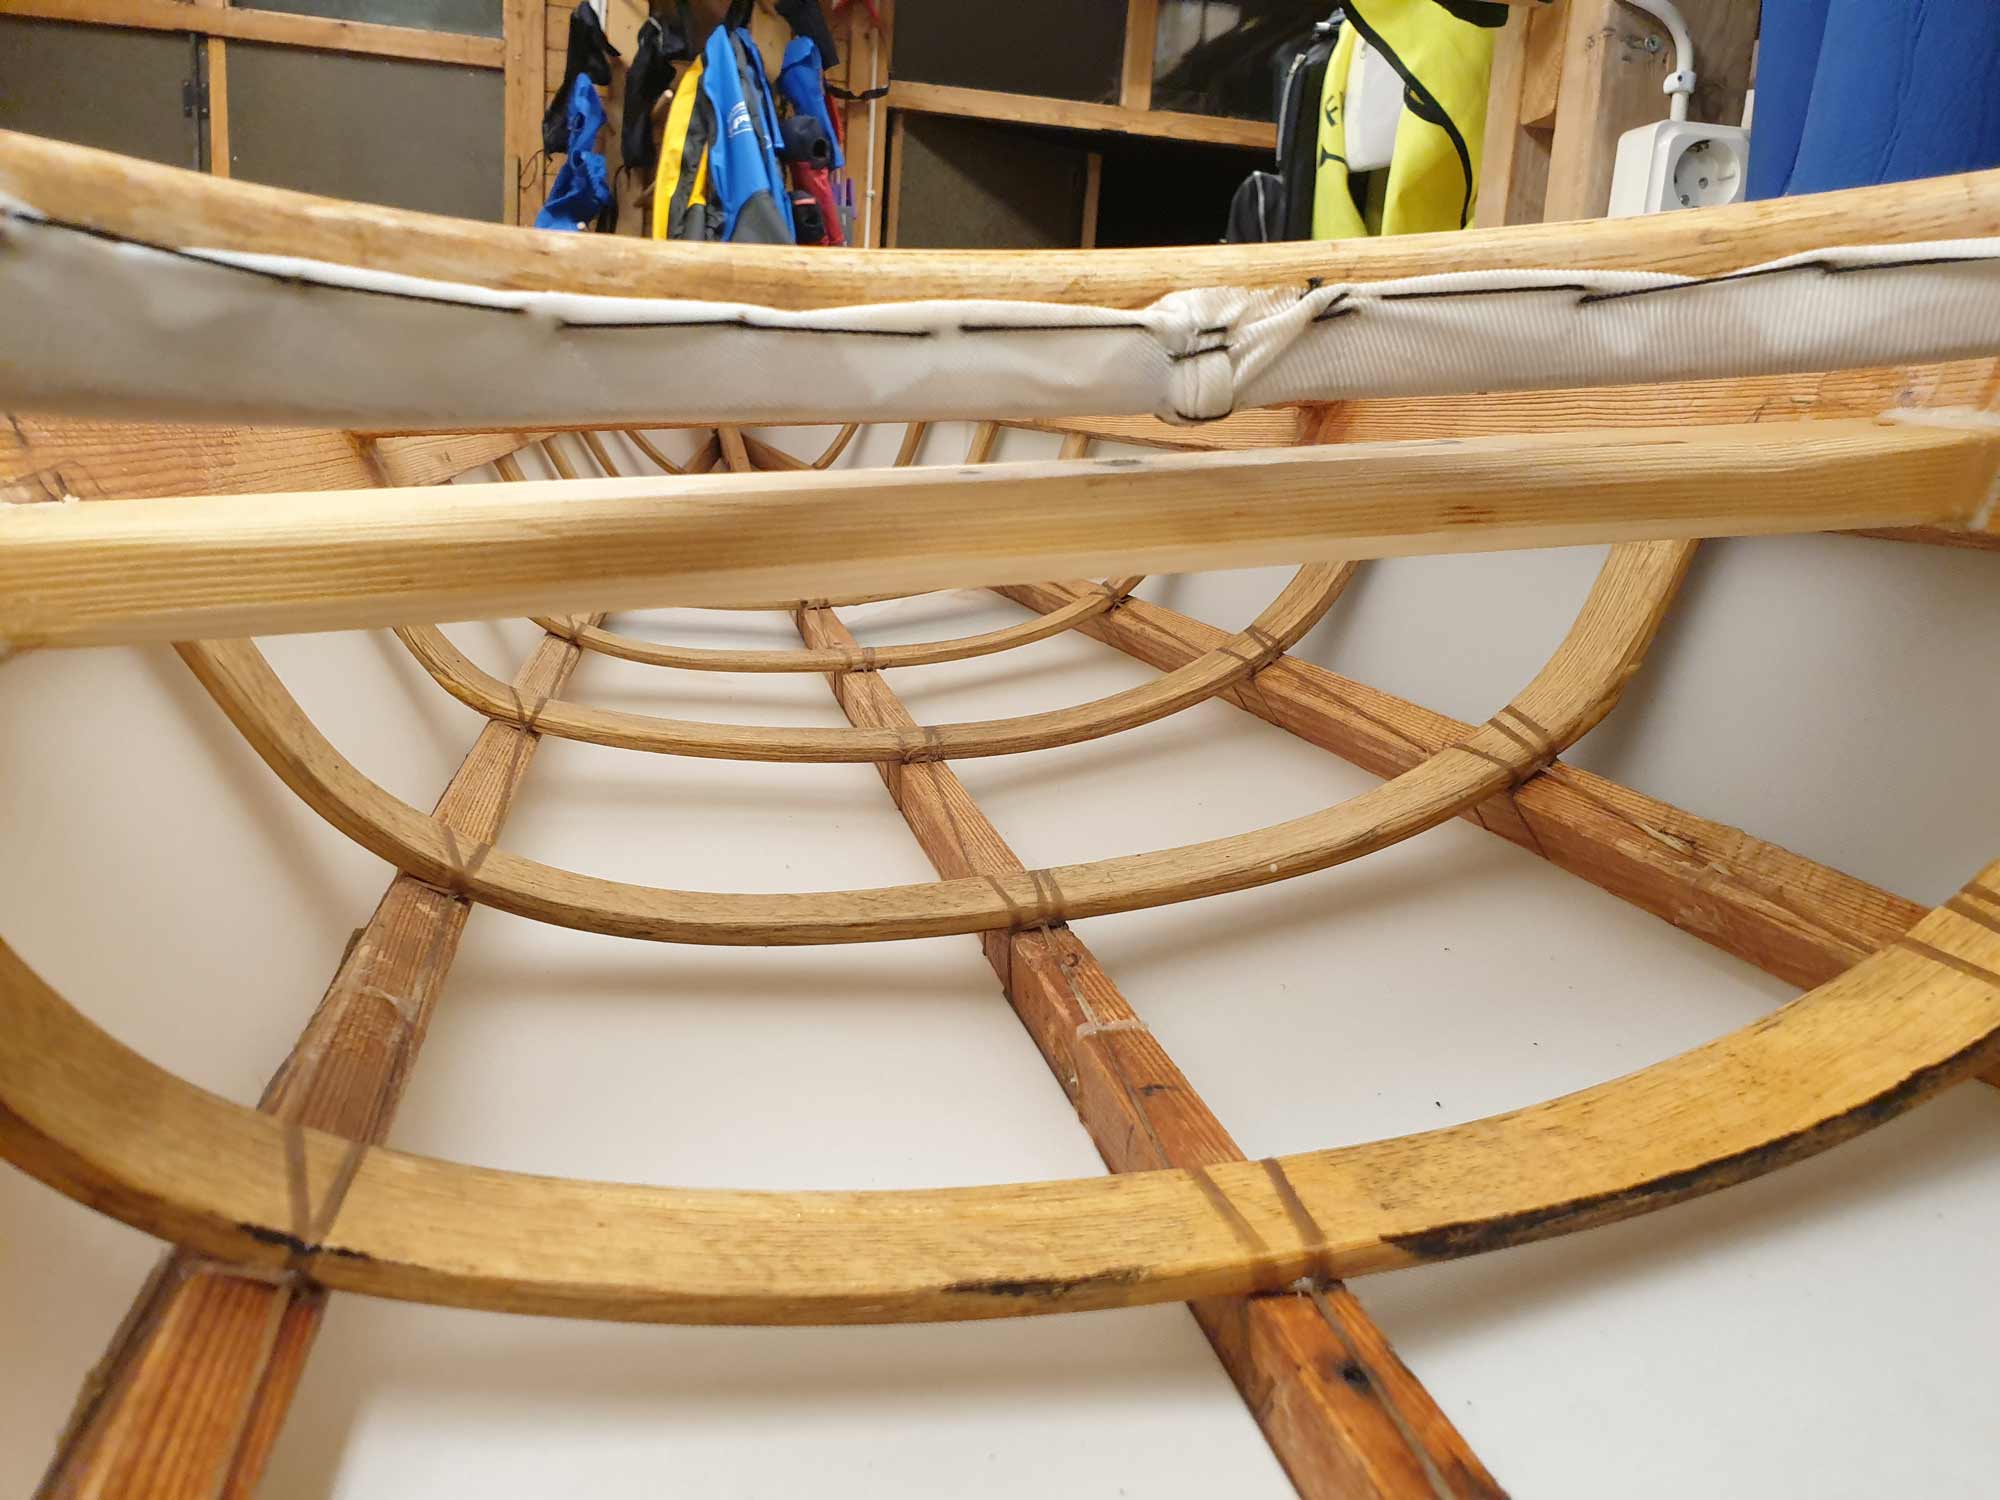
Went on to open up the rest. Here you can clearly see the fabric bulkhead I glued in behind the coaming.
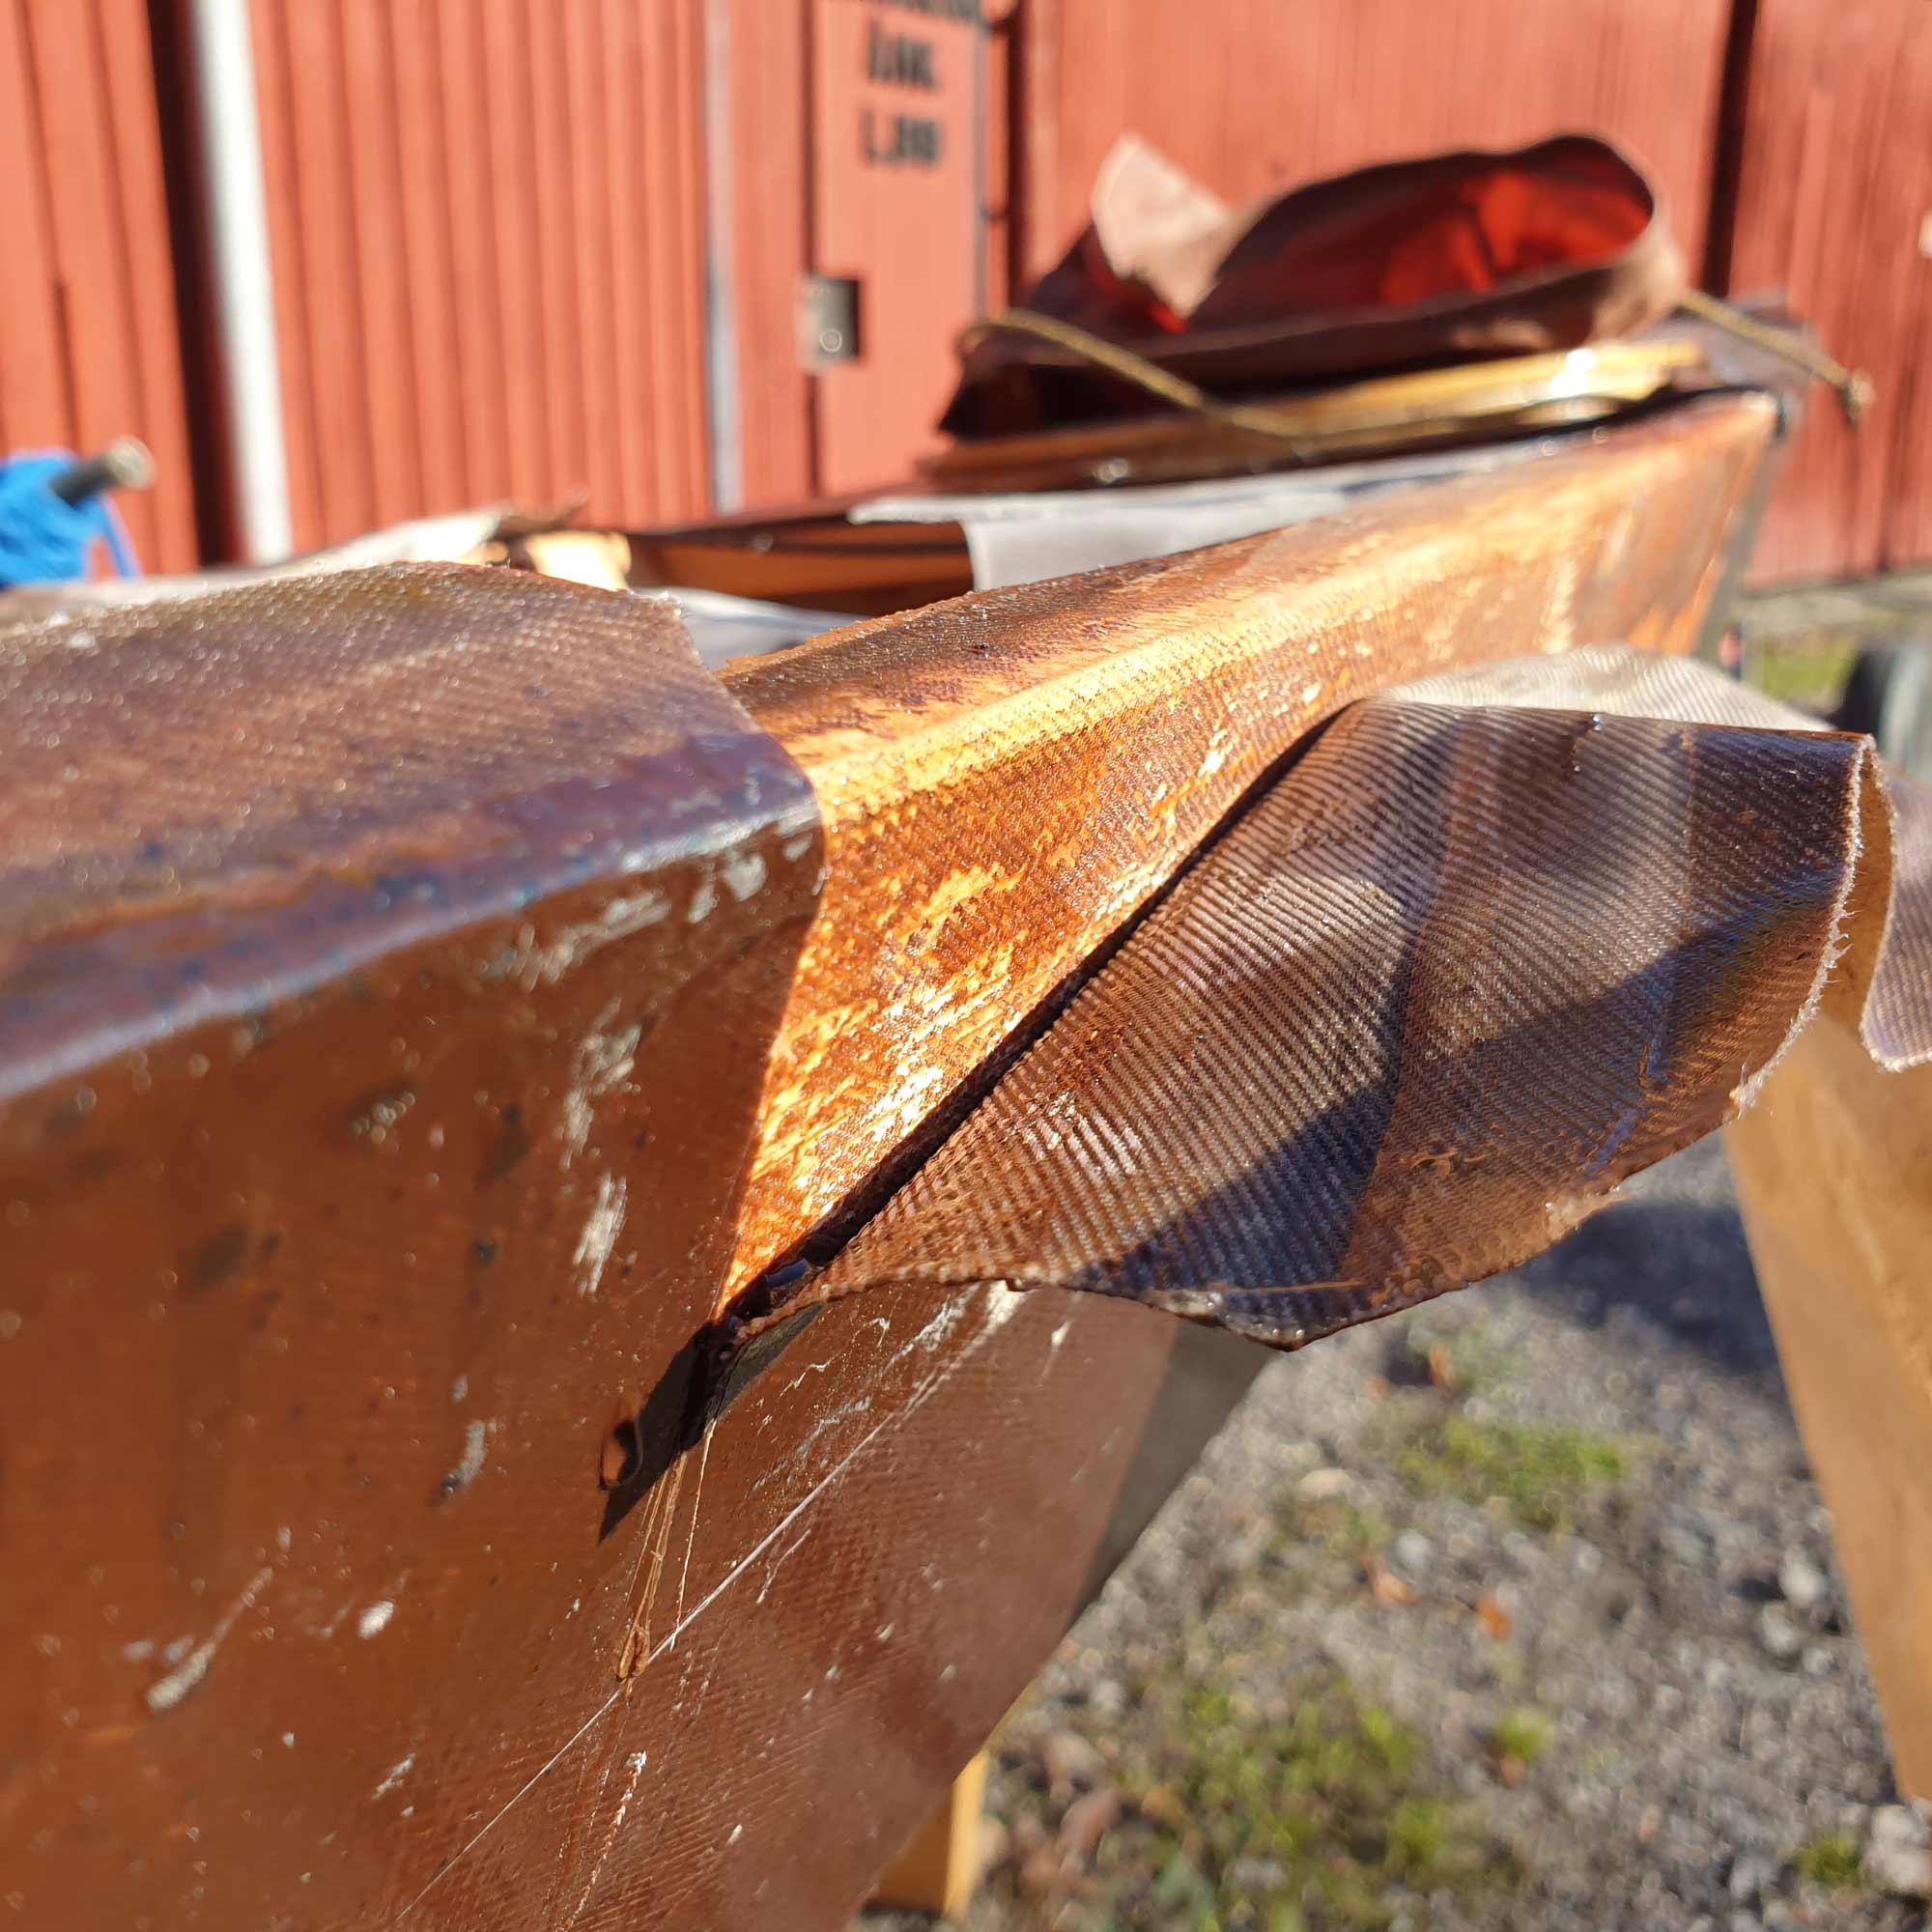
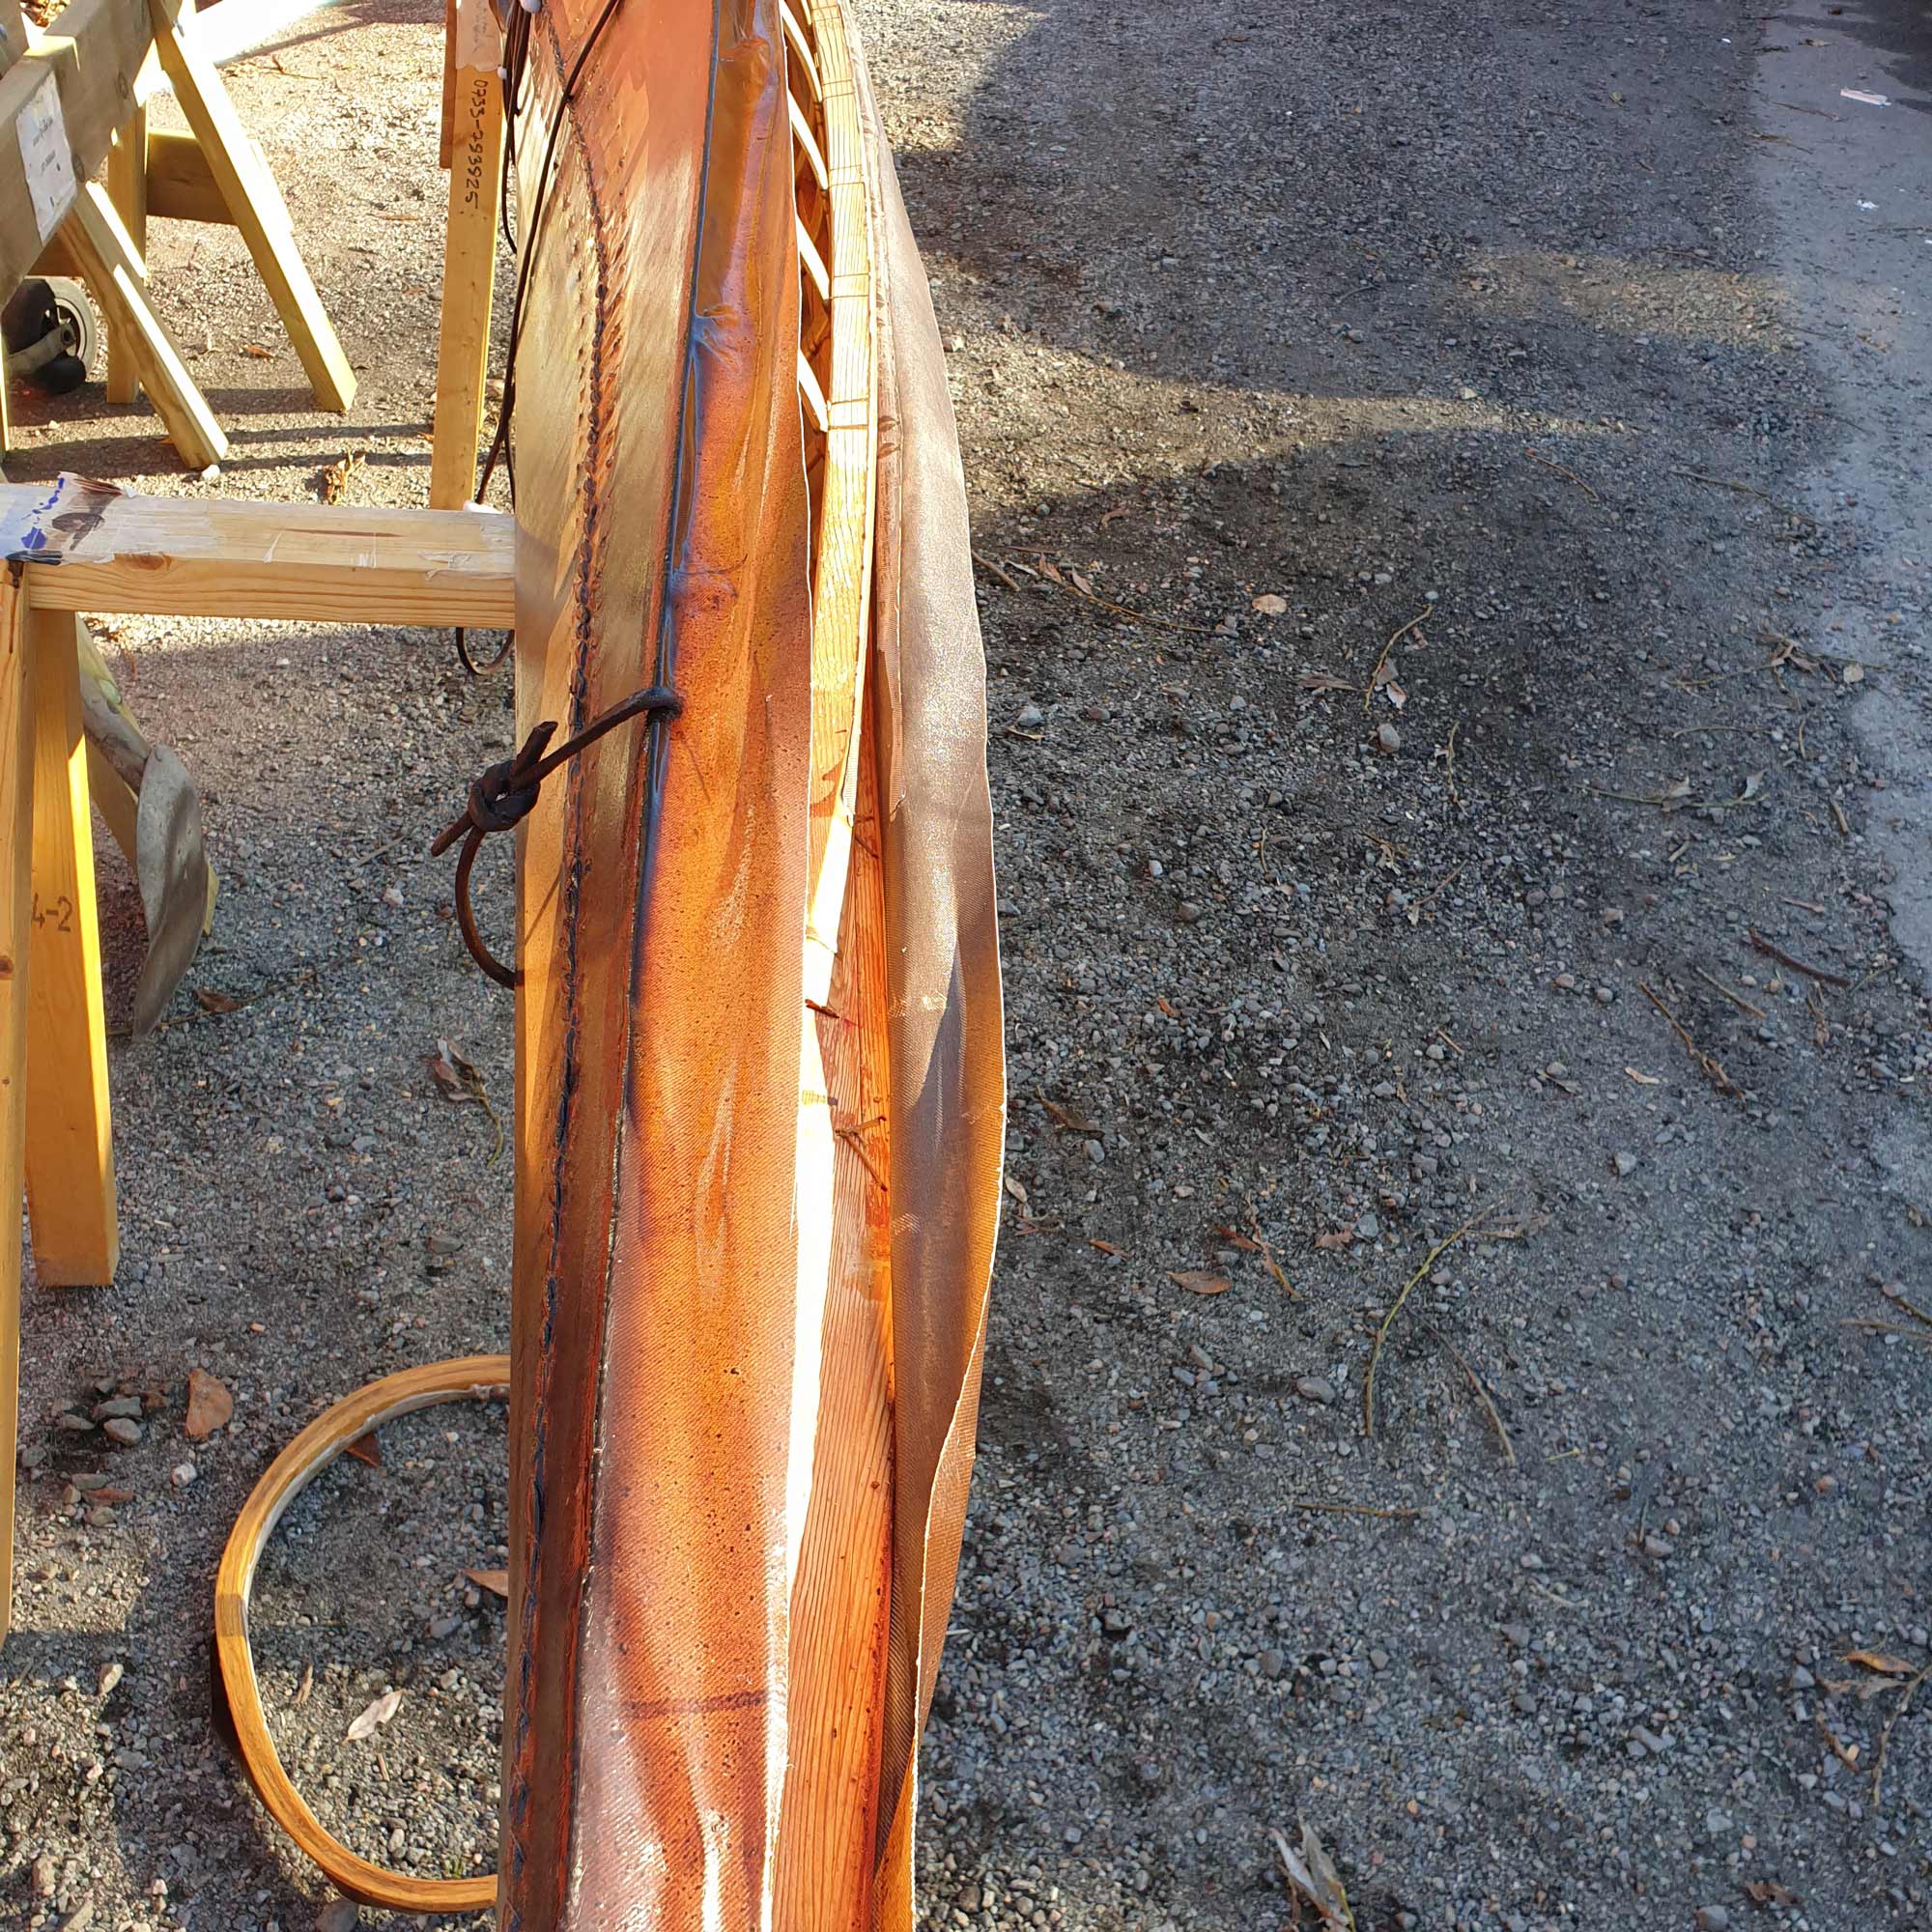
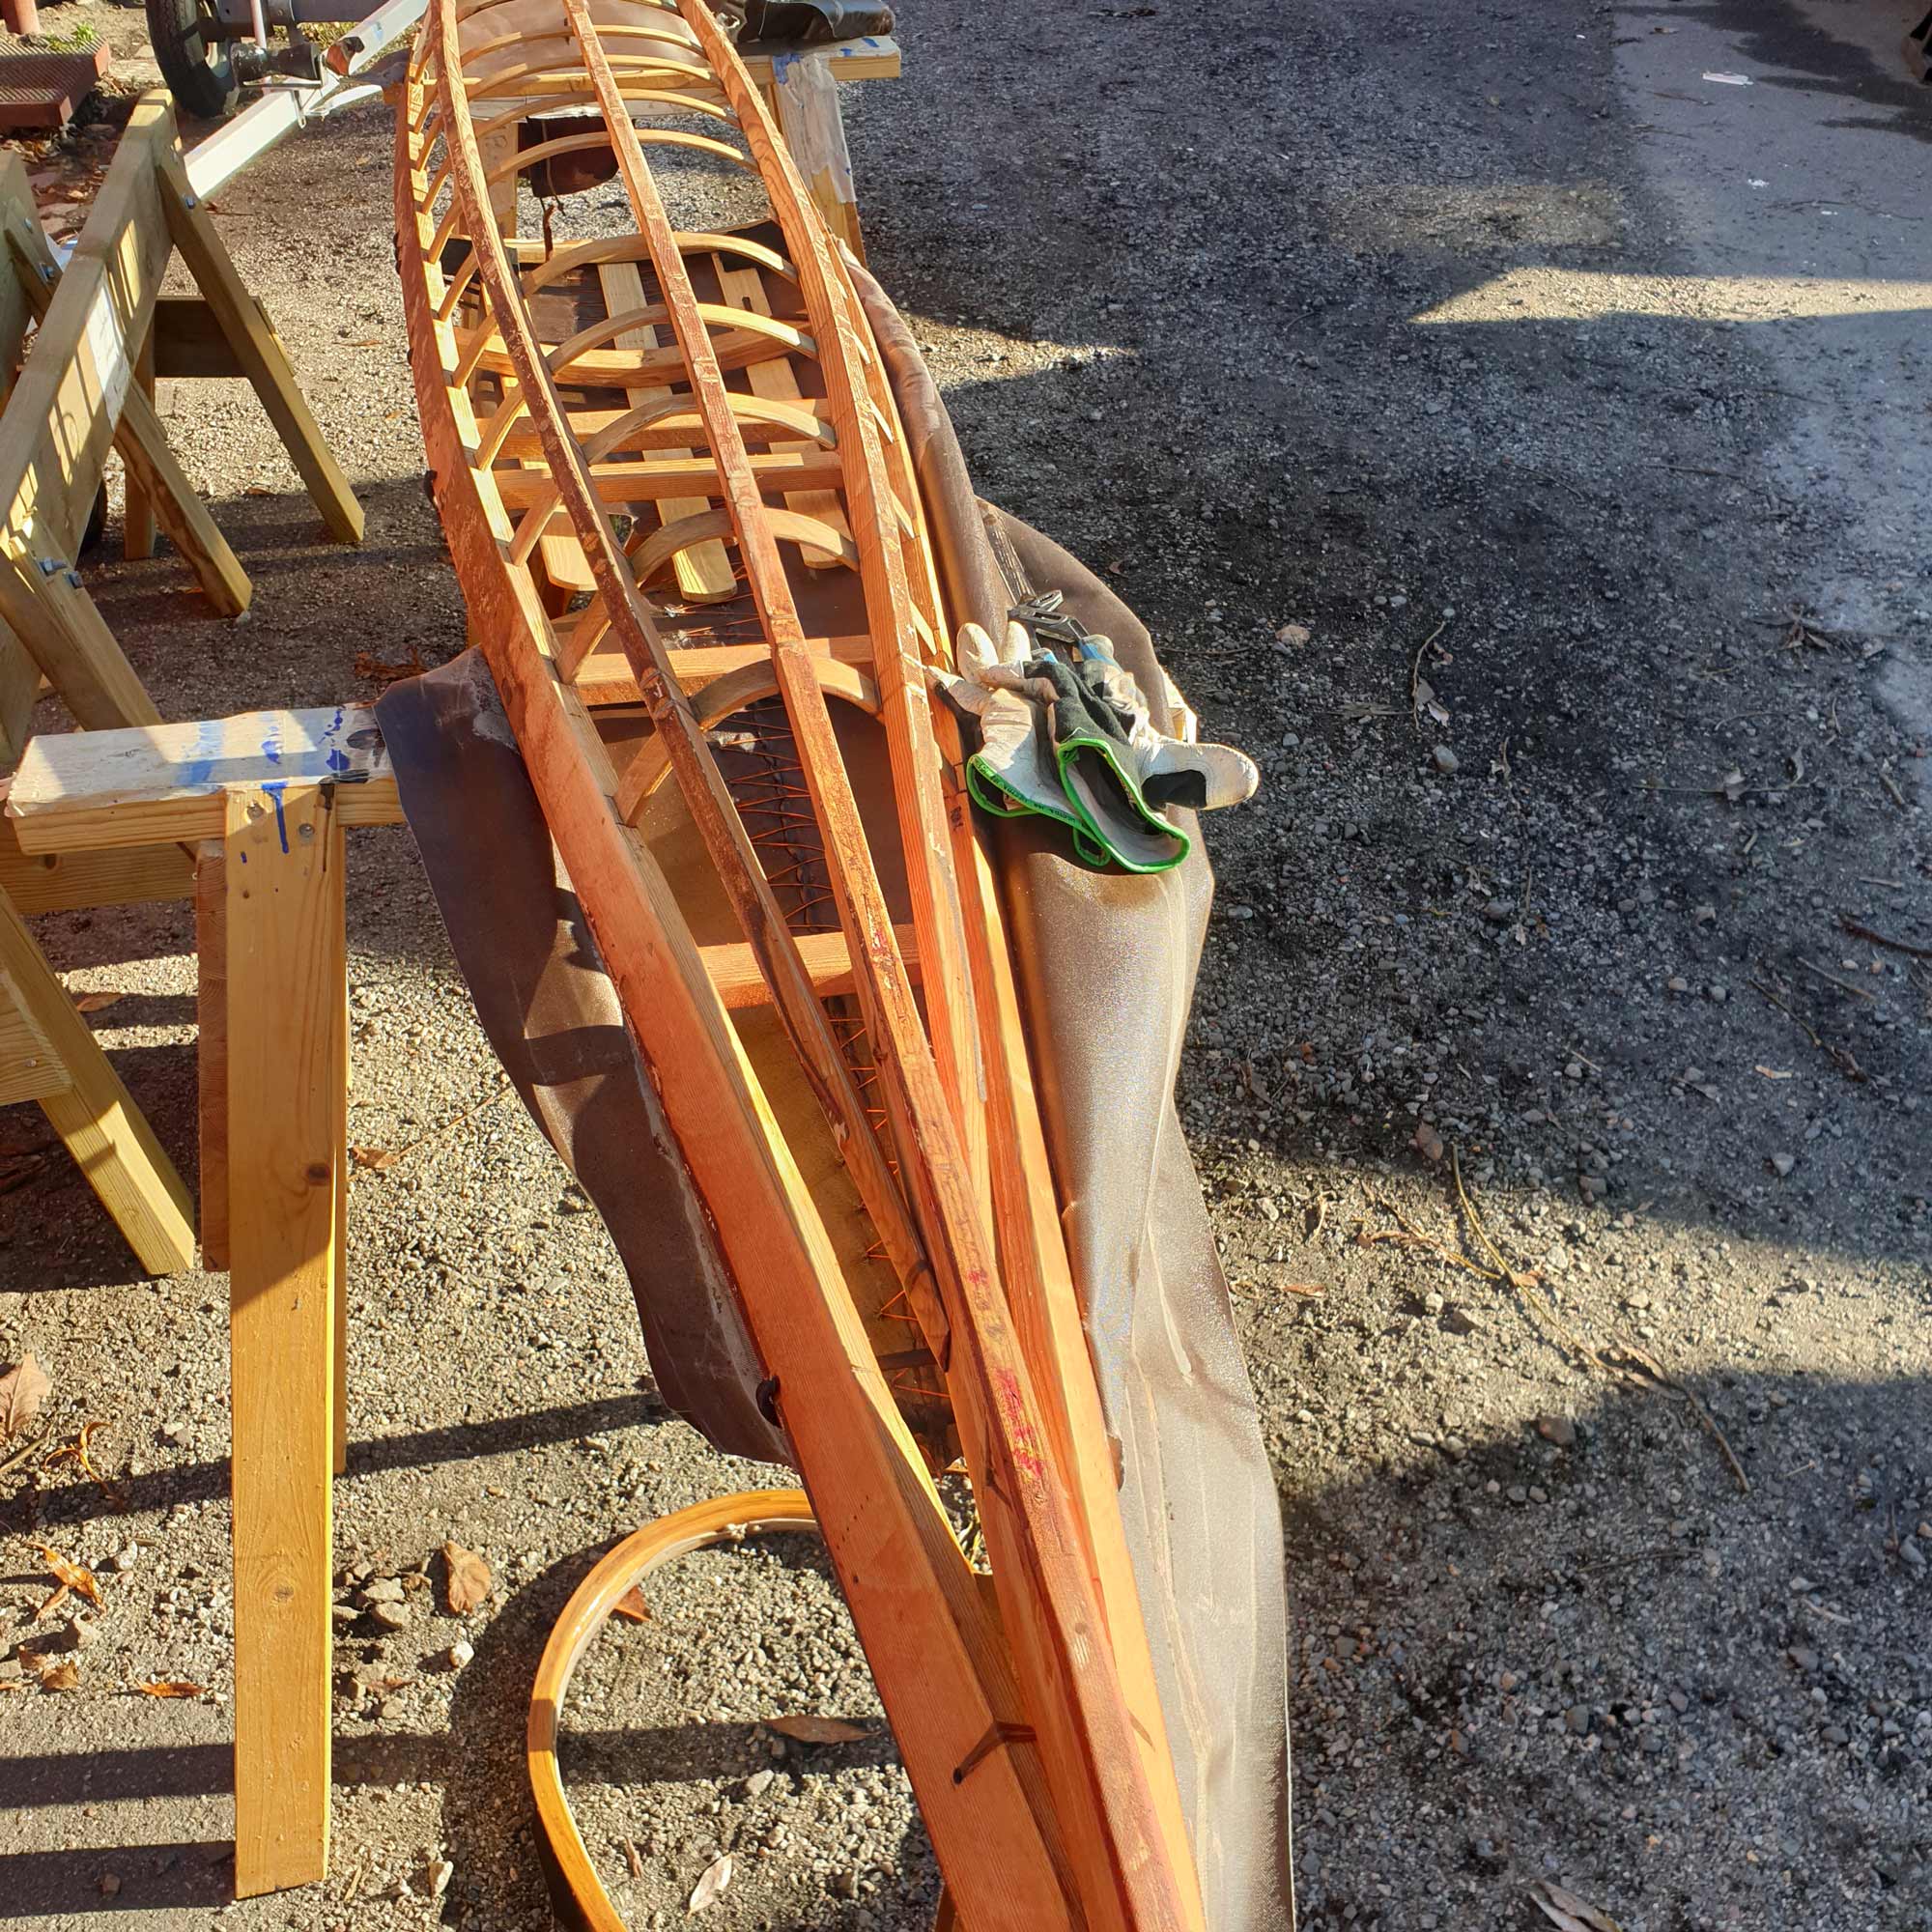
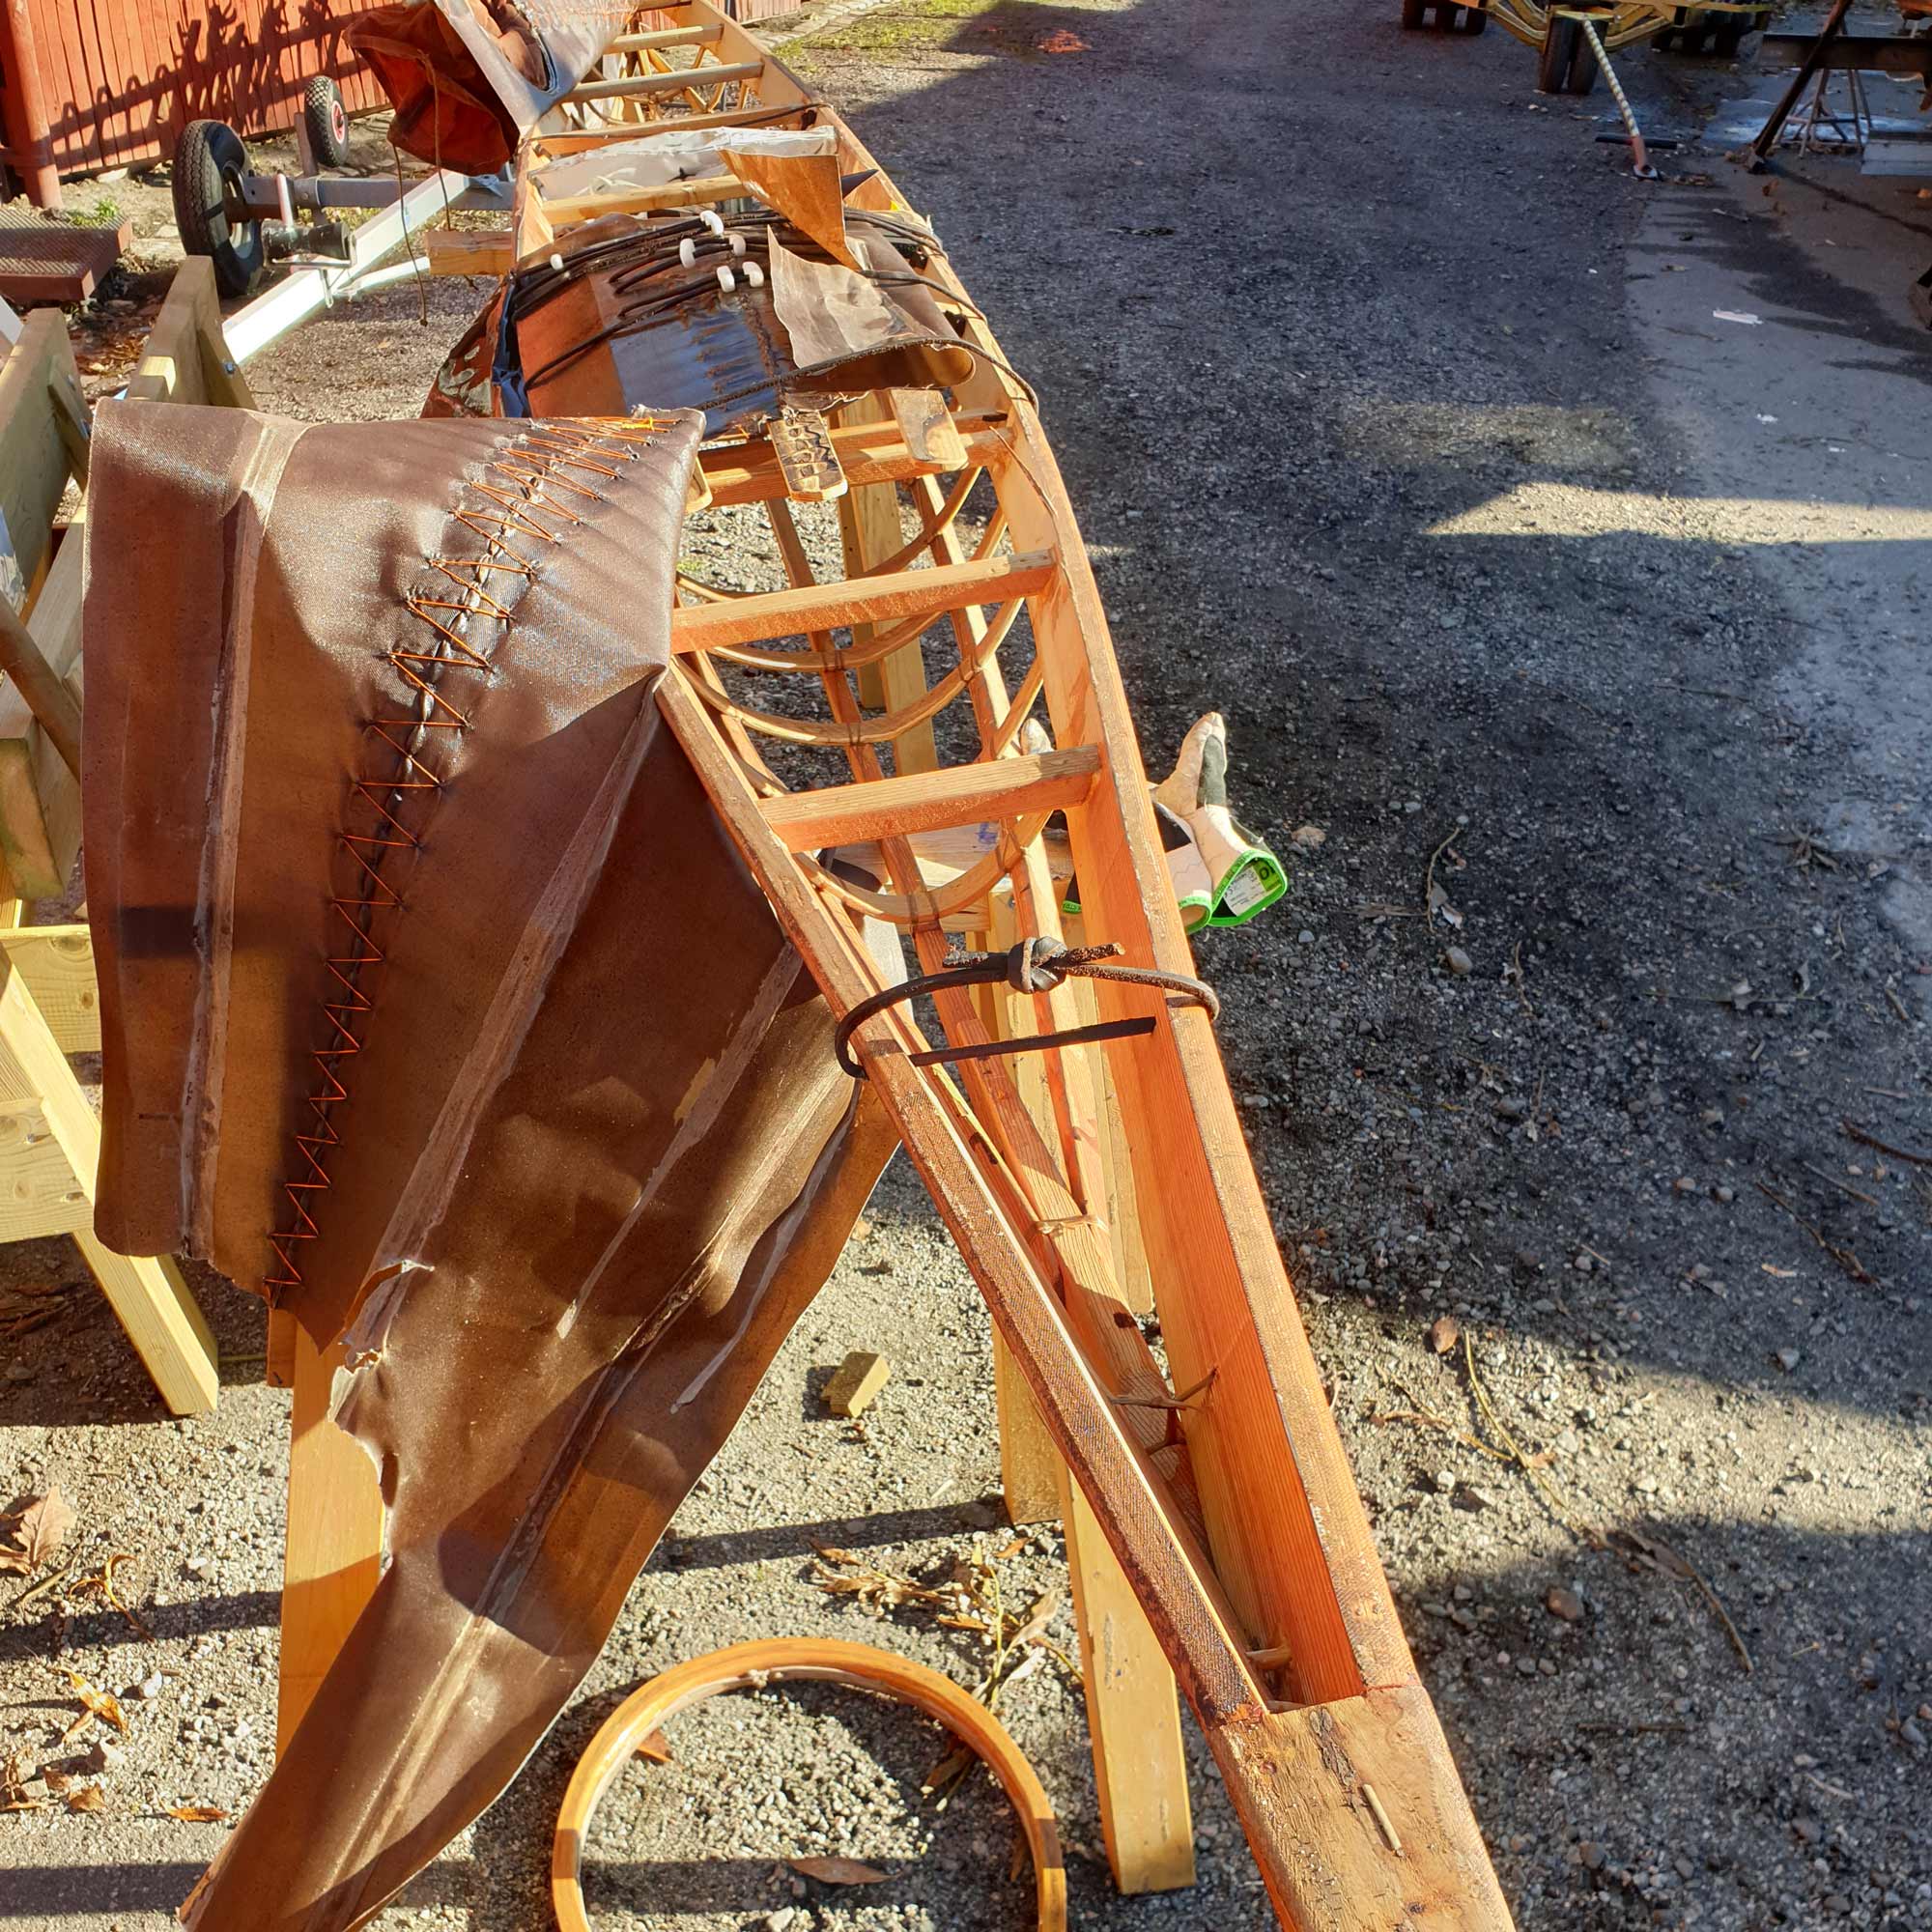
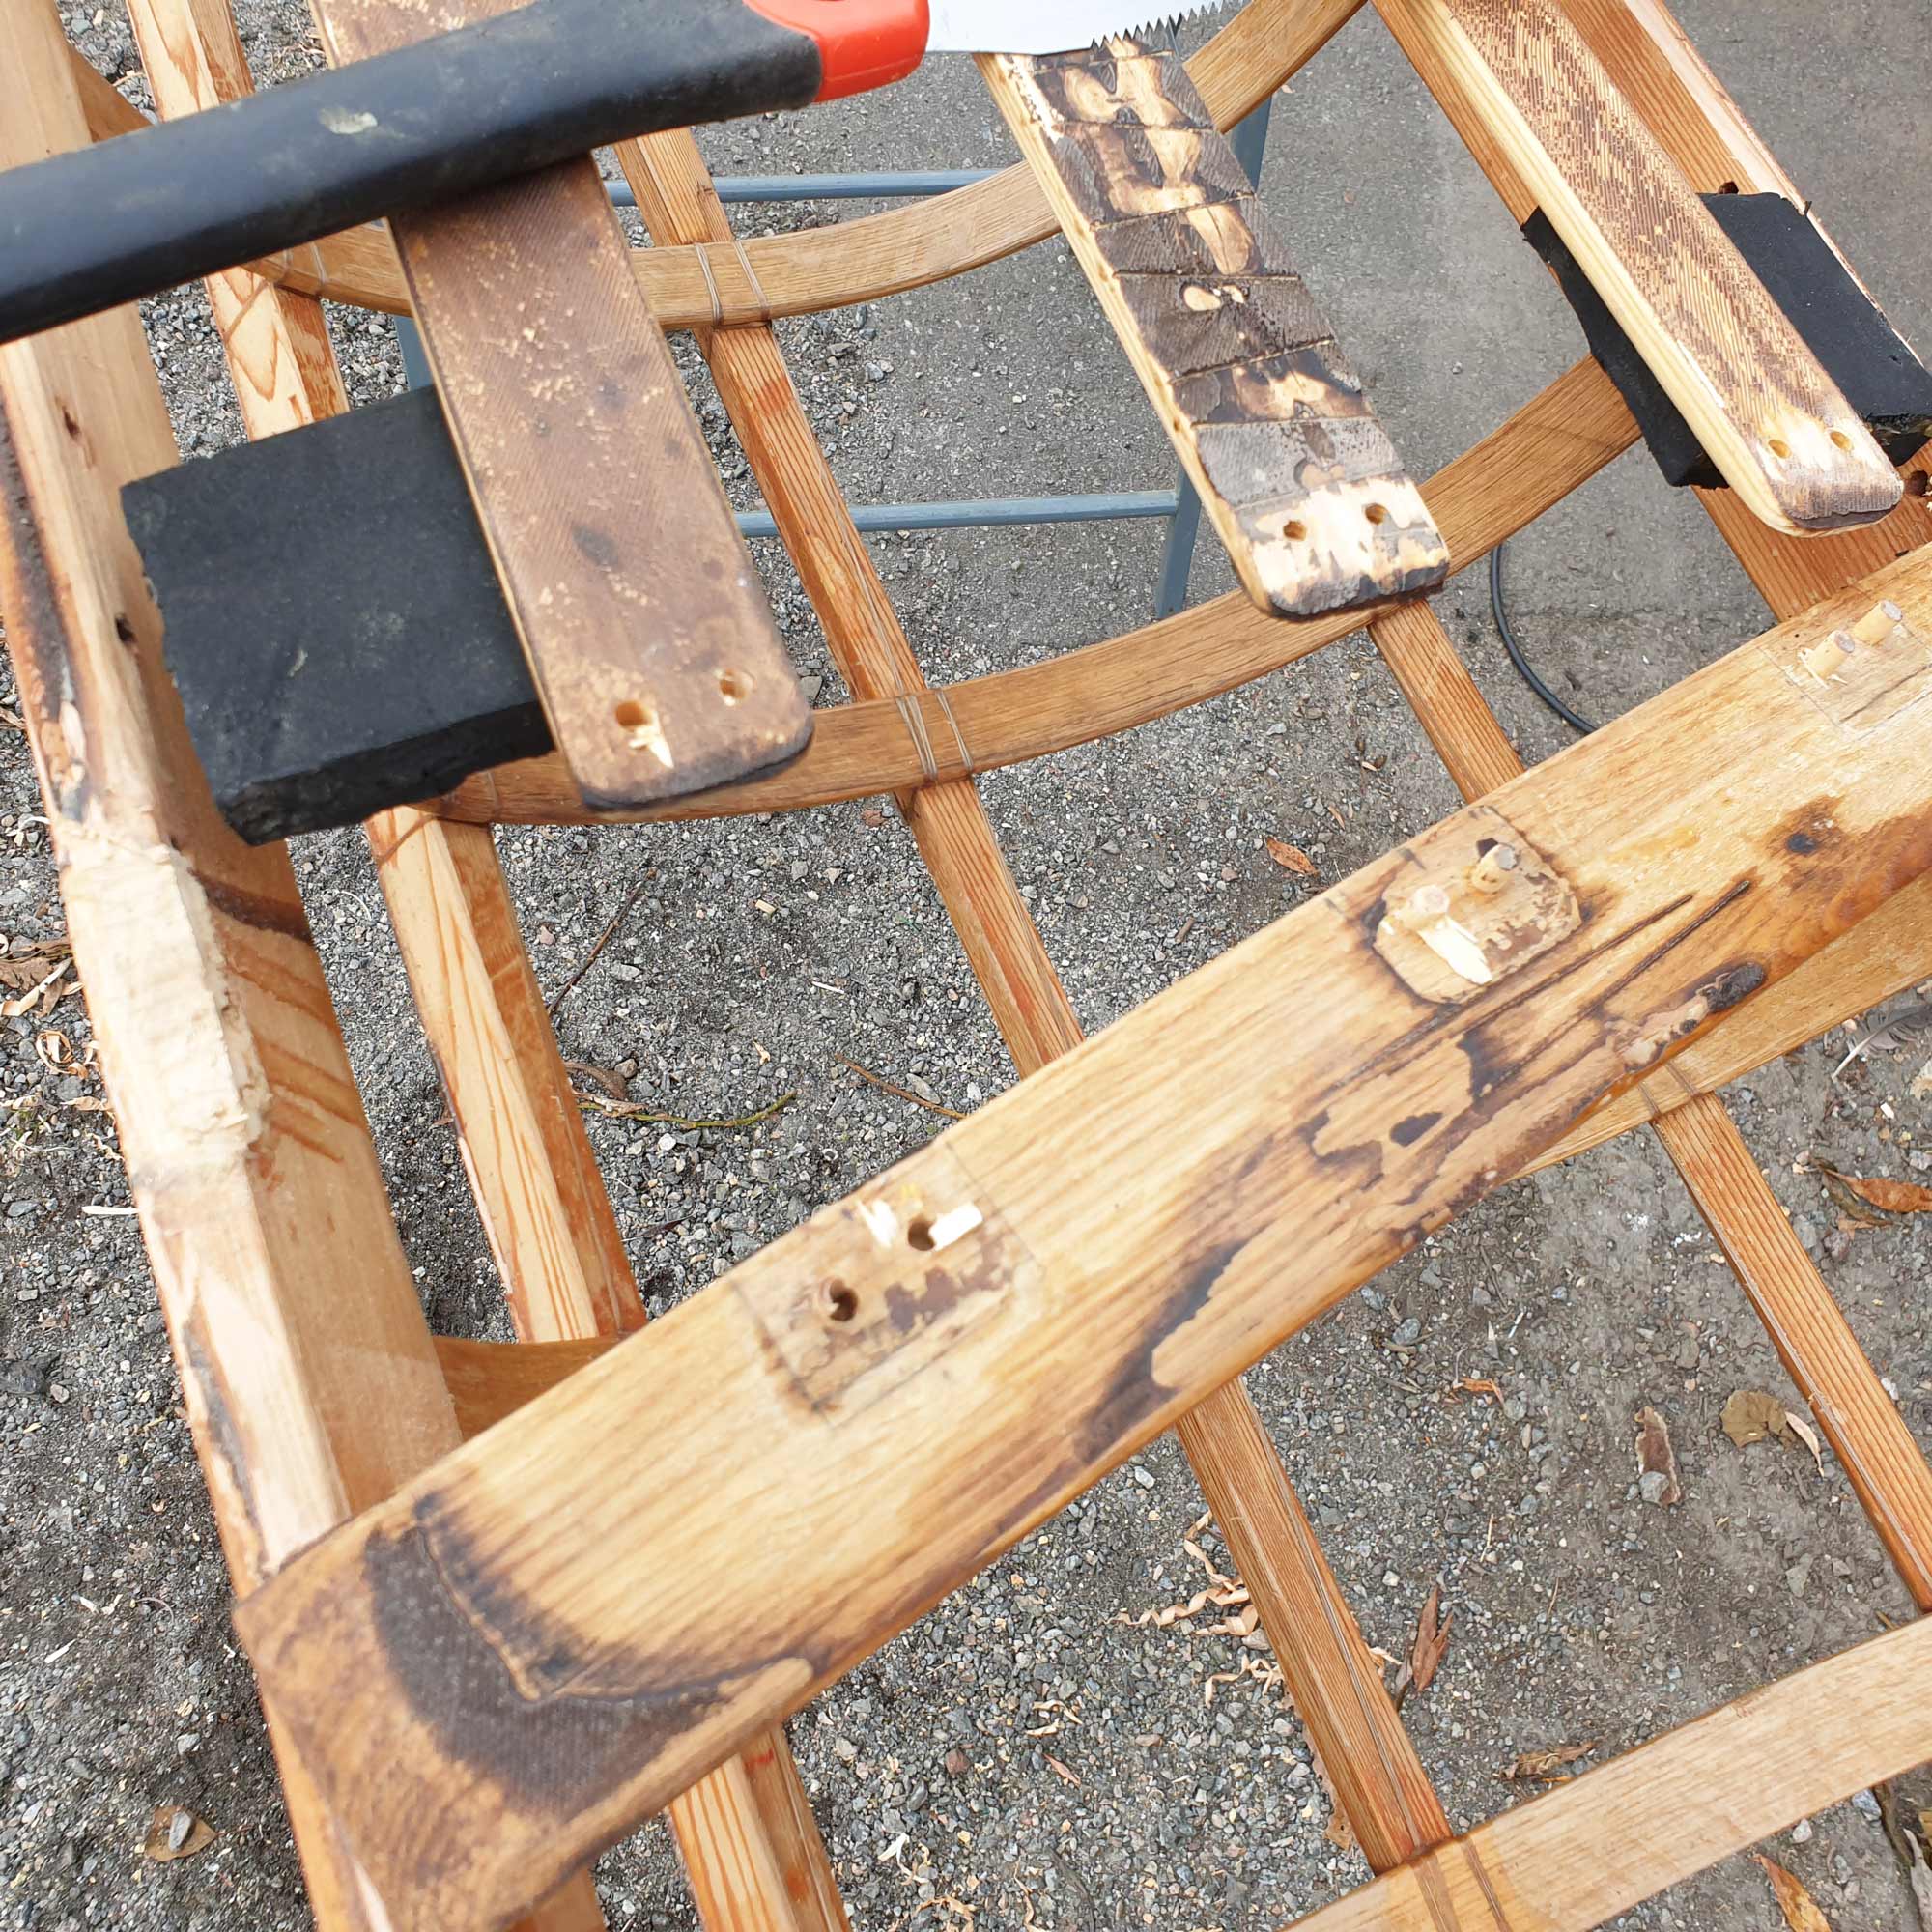
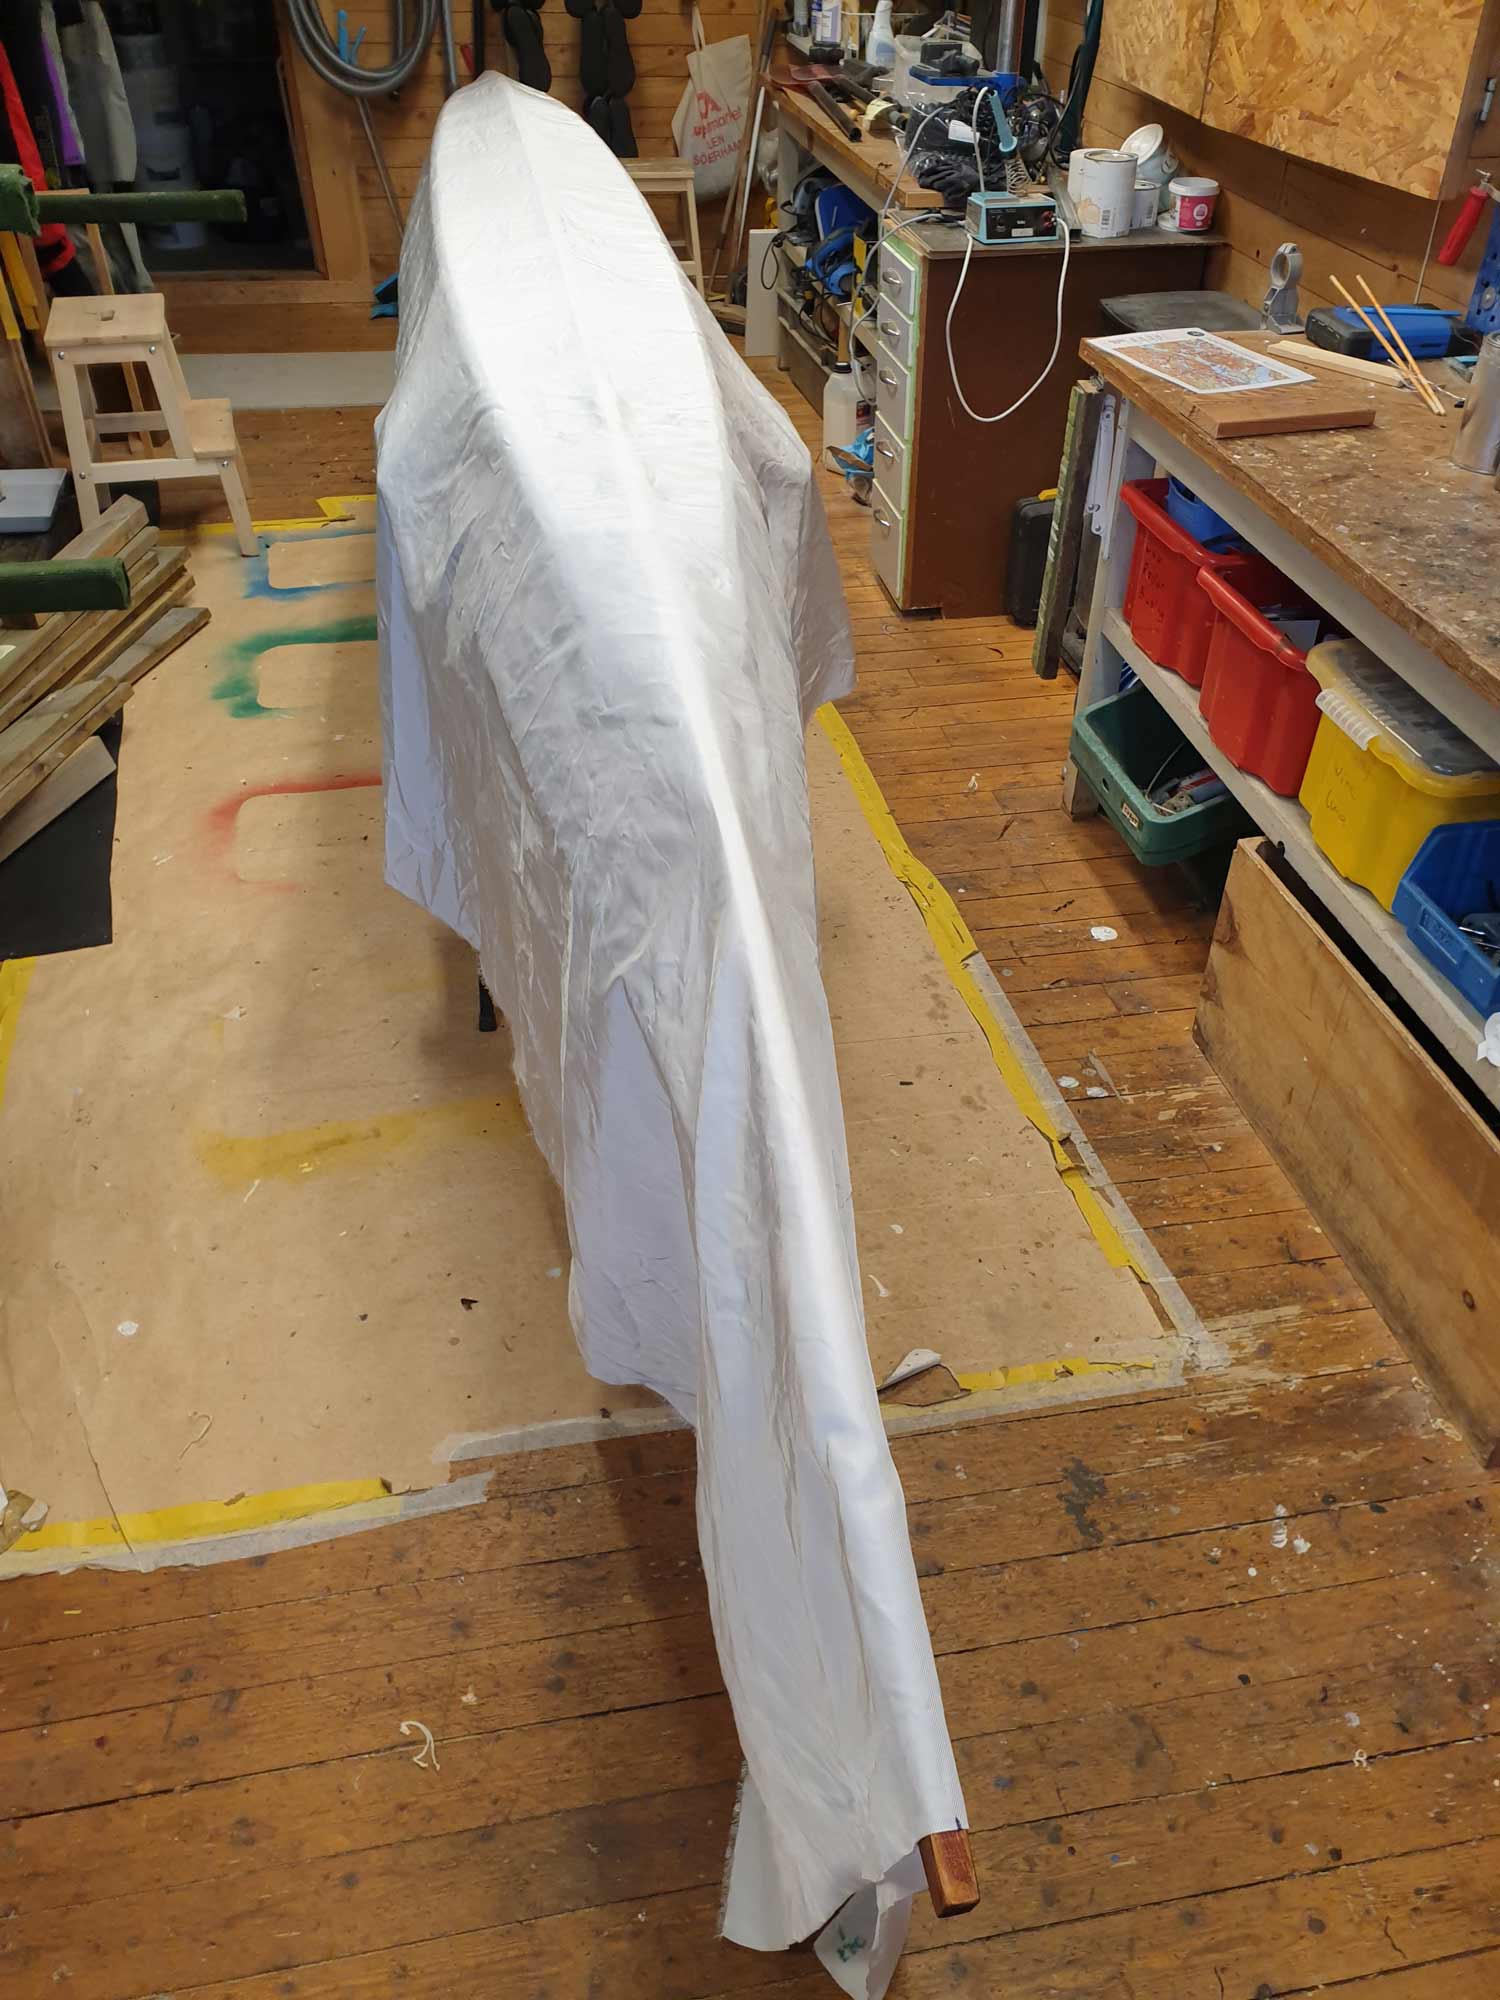
Didn’t know what to do with the deck lines or straps so I left them on while cutting out the old skin. If you’re doing this, be gentle to your kayak! Try to pull the skin off at an angle or you will potentially tear loose big splinters. PU glue and some tape comes in handy…

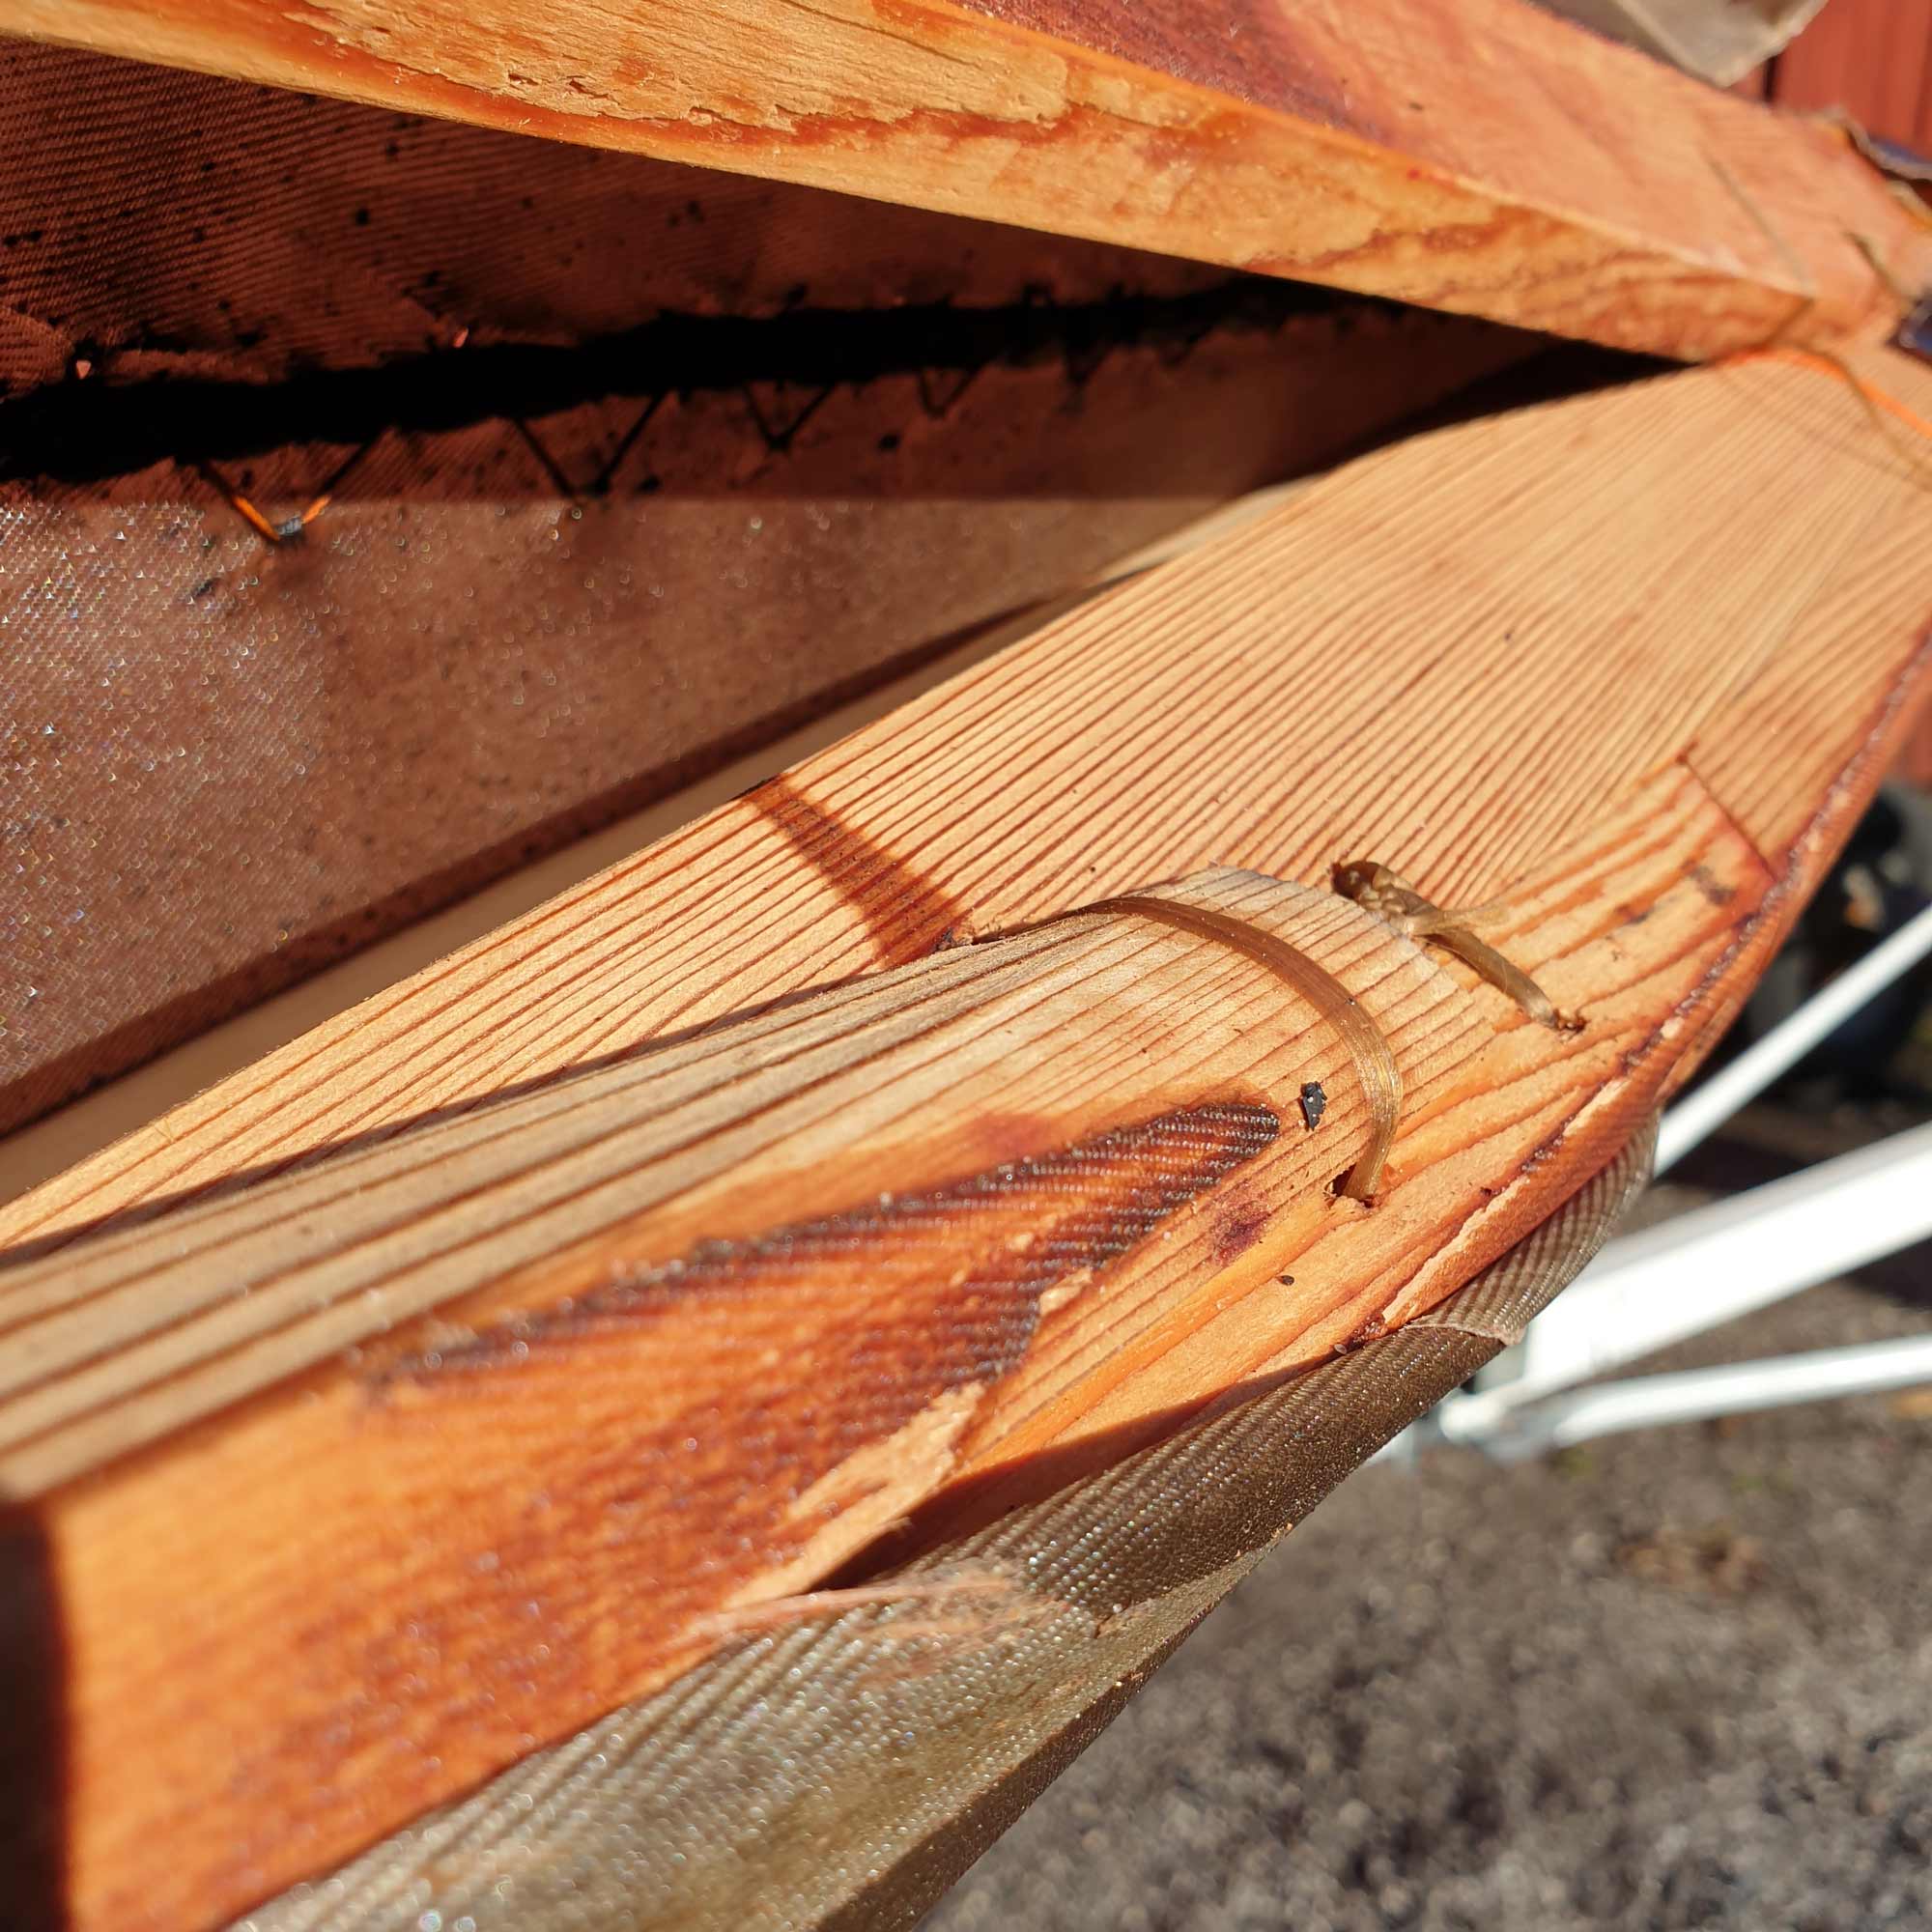
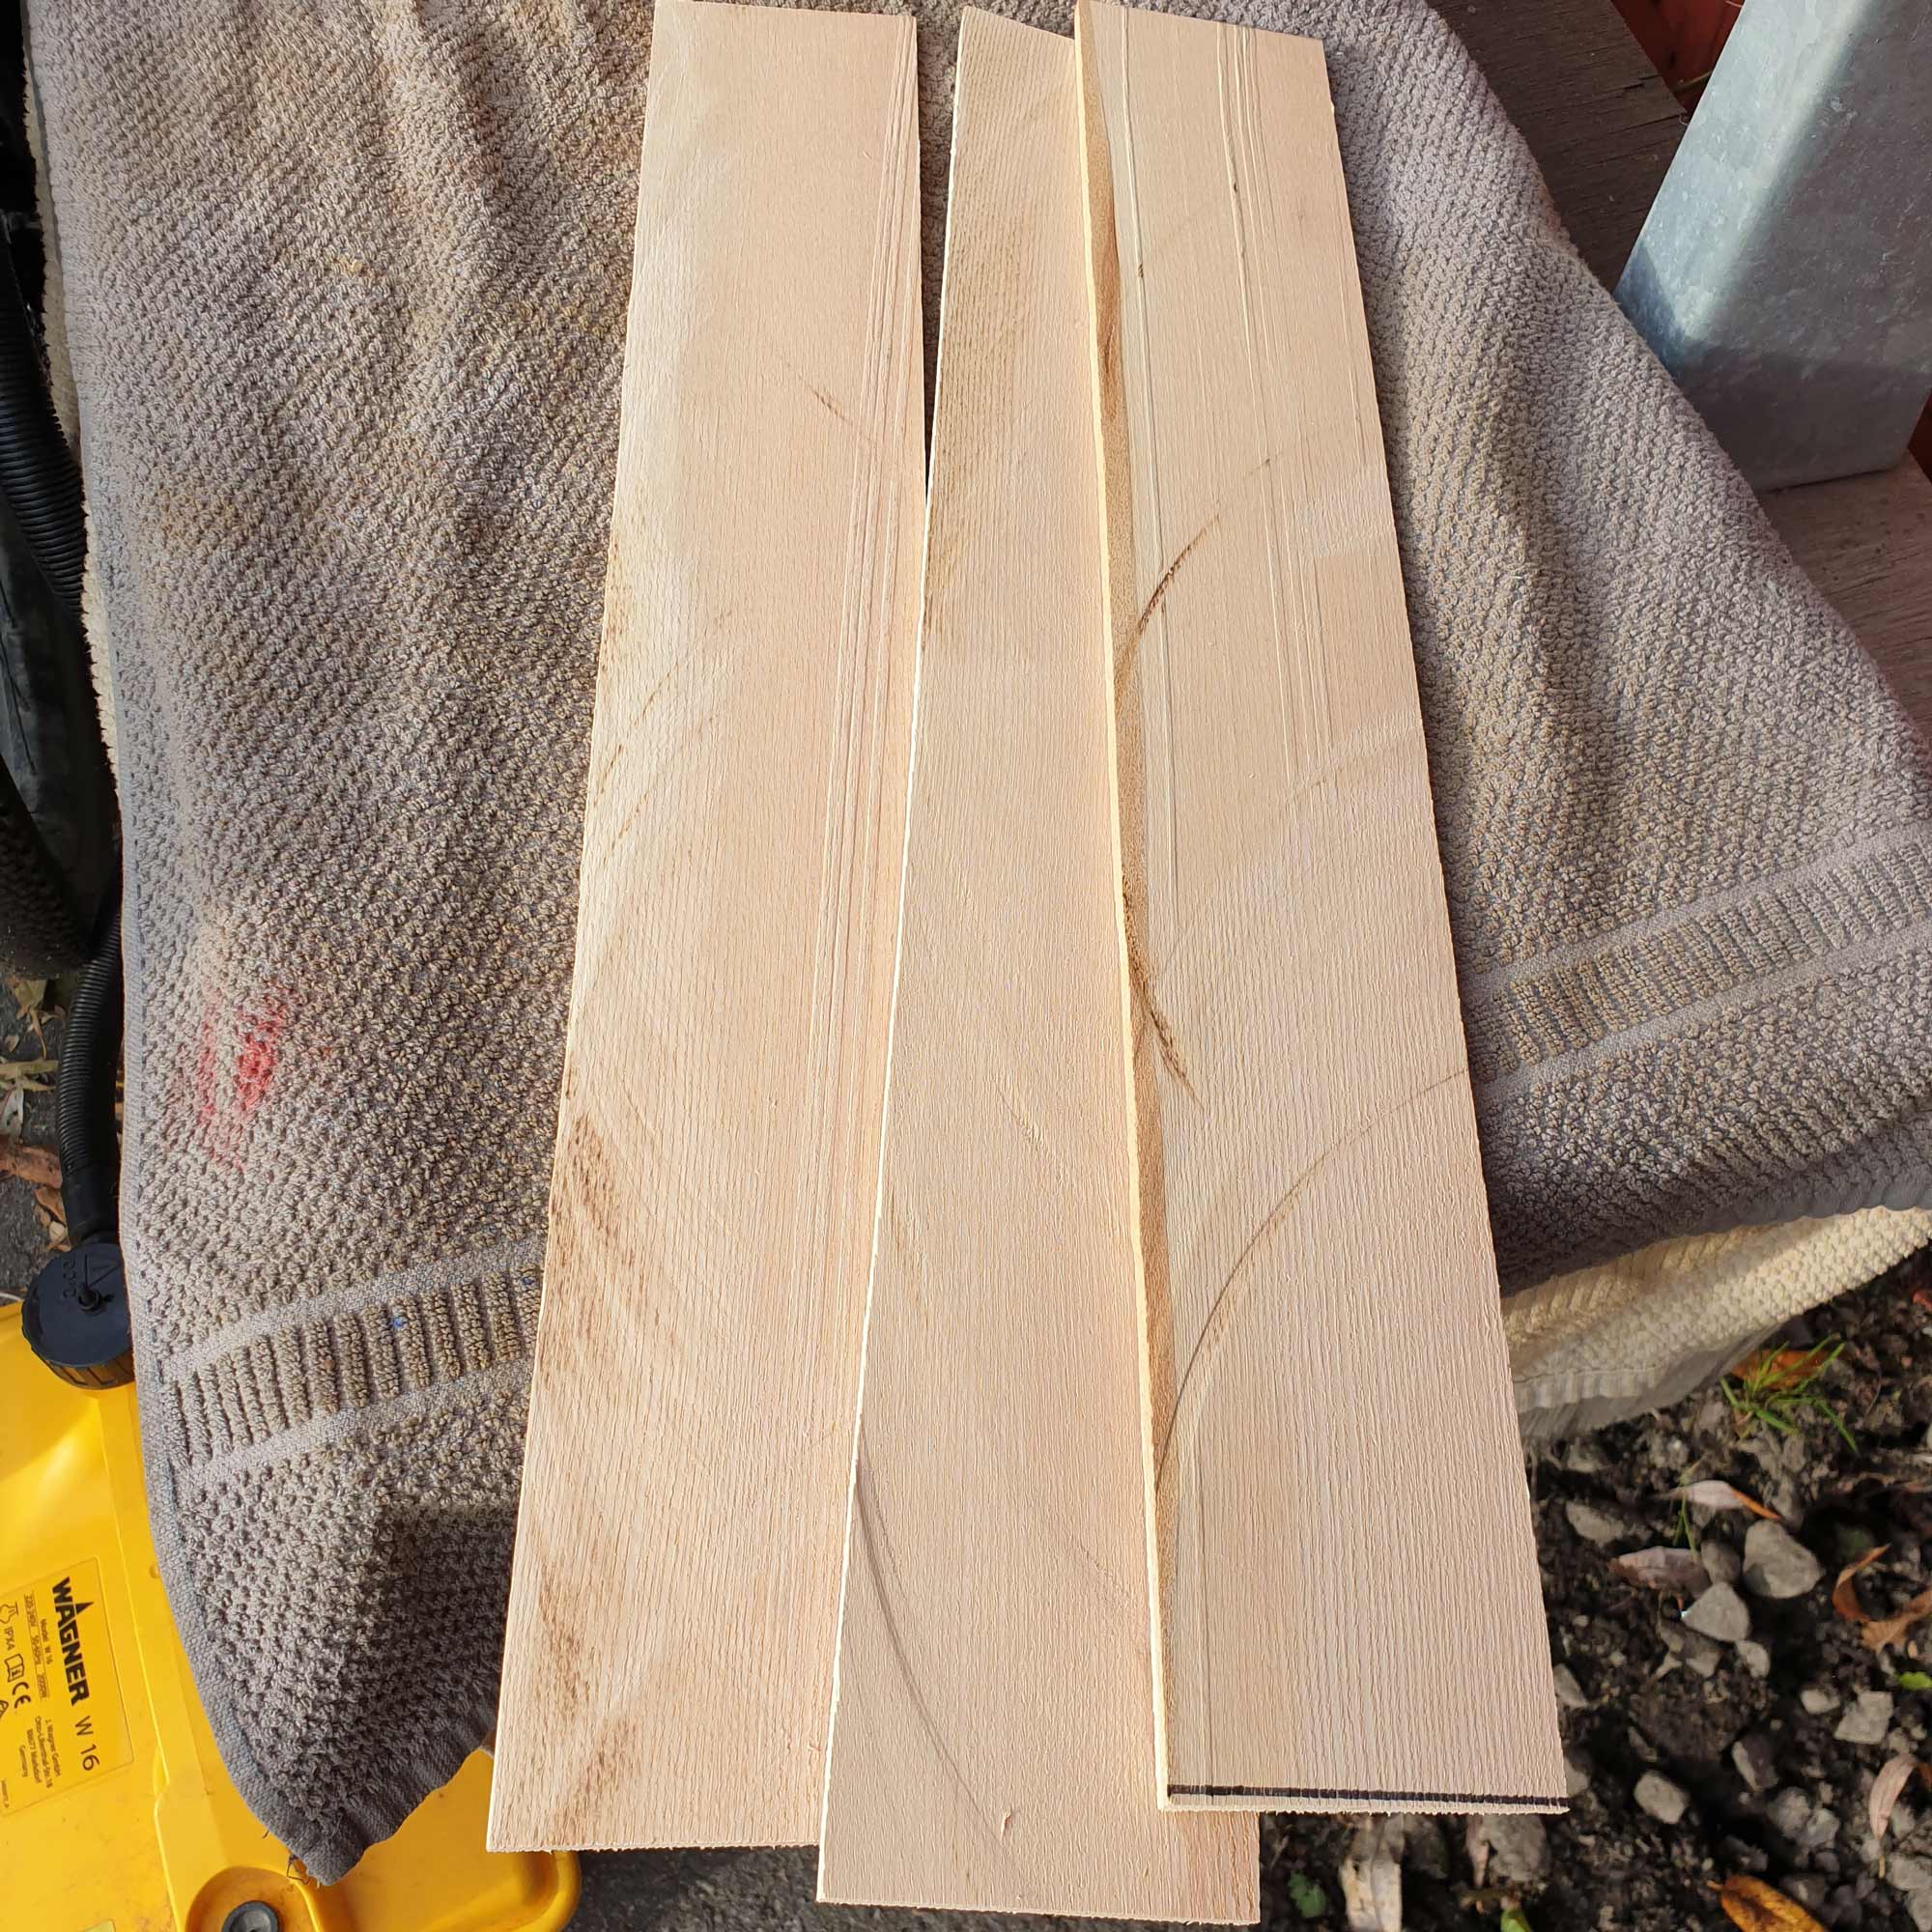
I thought the cleaning up would be a pain and a mess but it was quite straight forward. Use whatever tools you have handy and then some sandpaper.

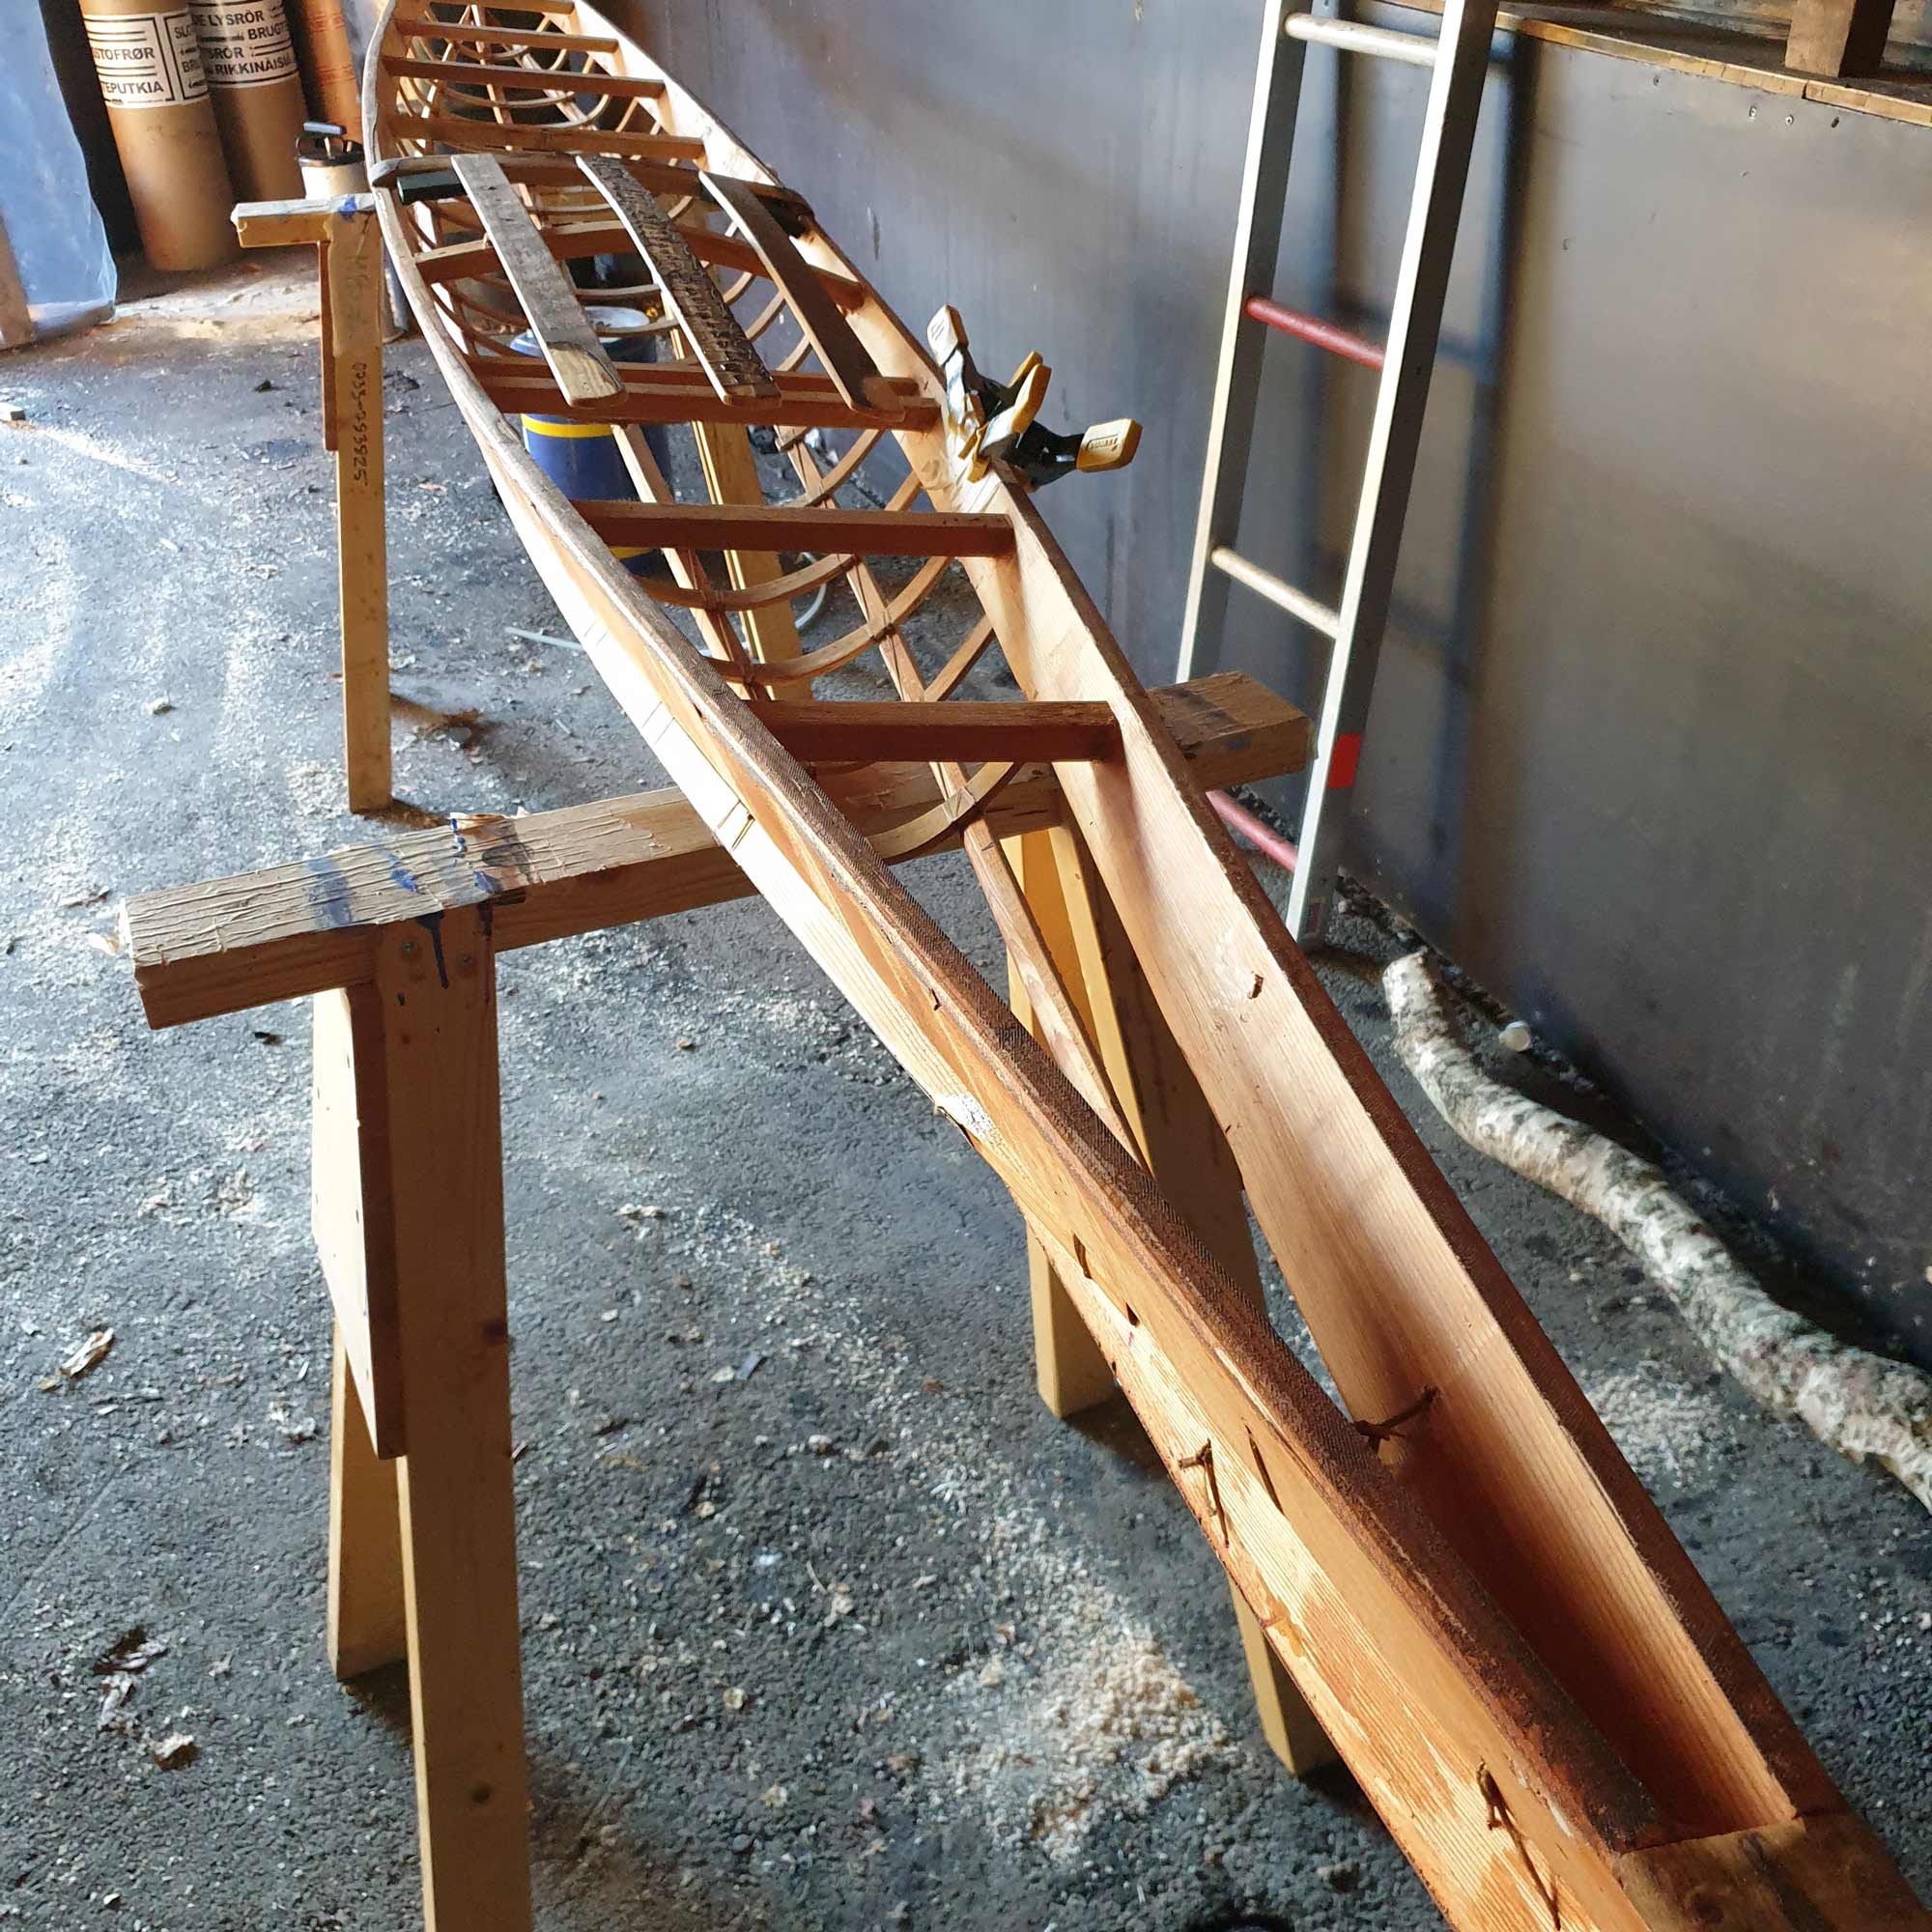
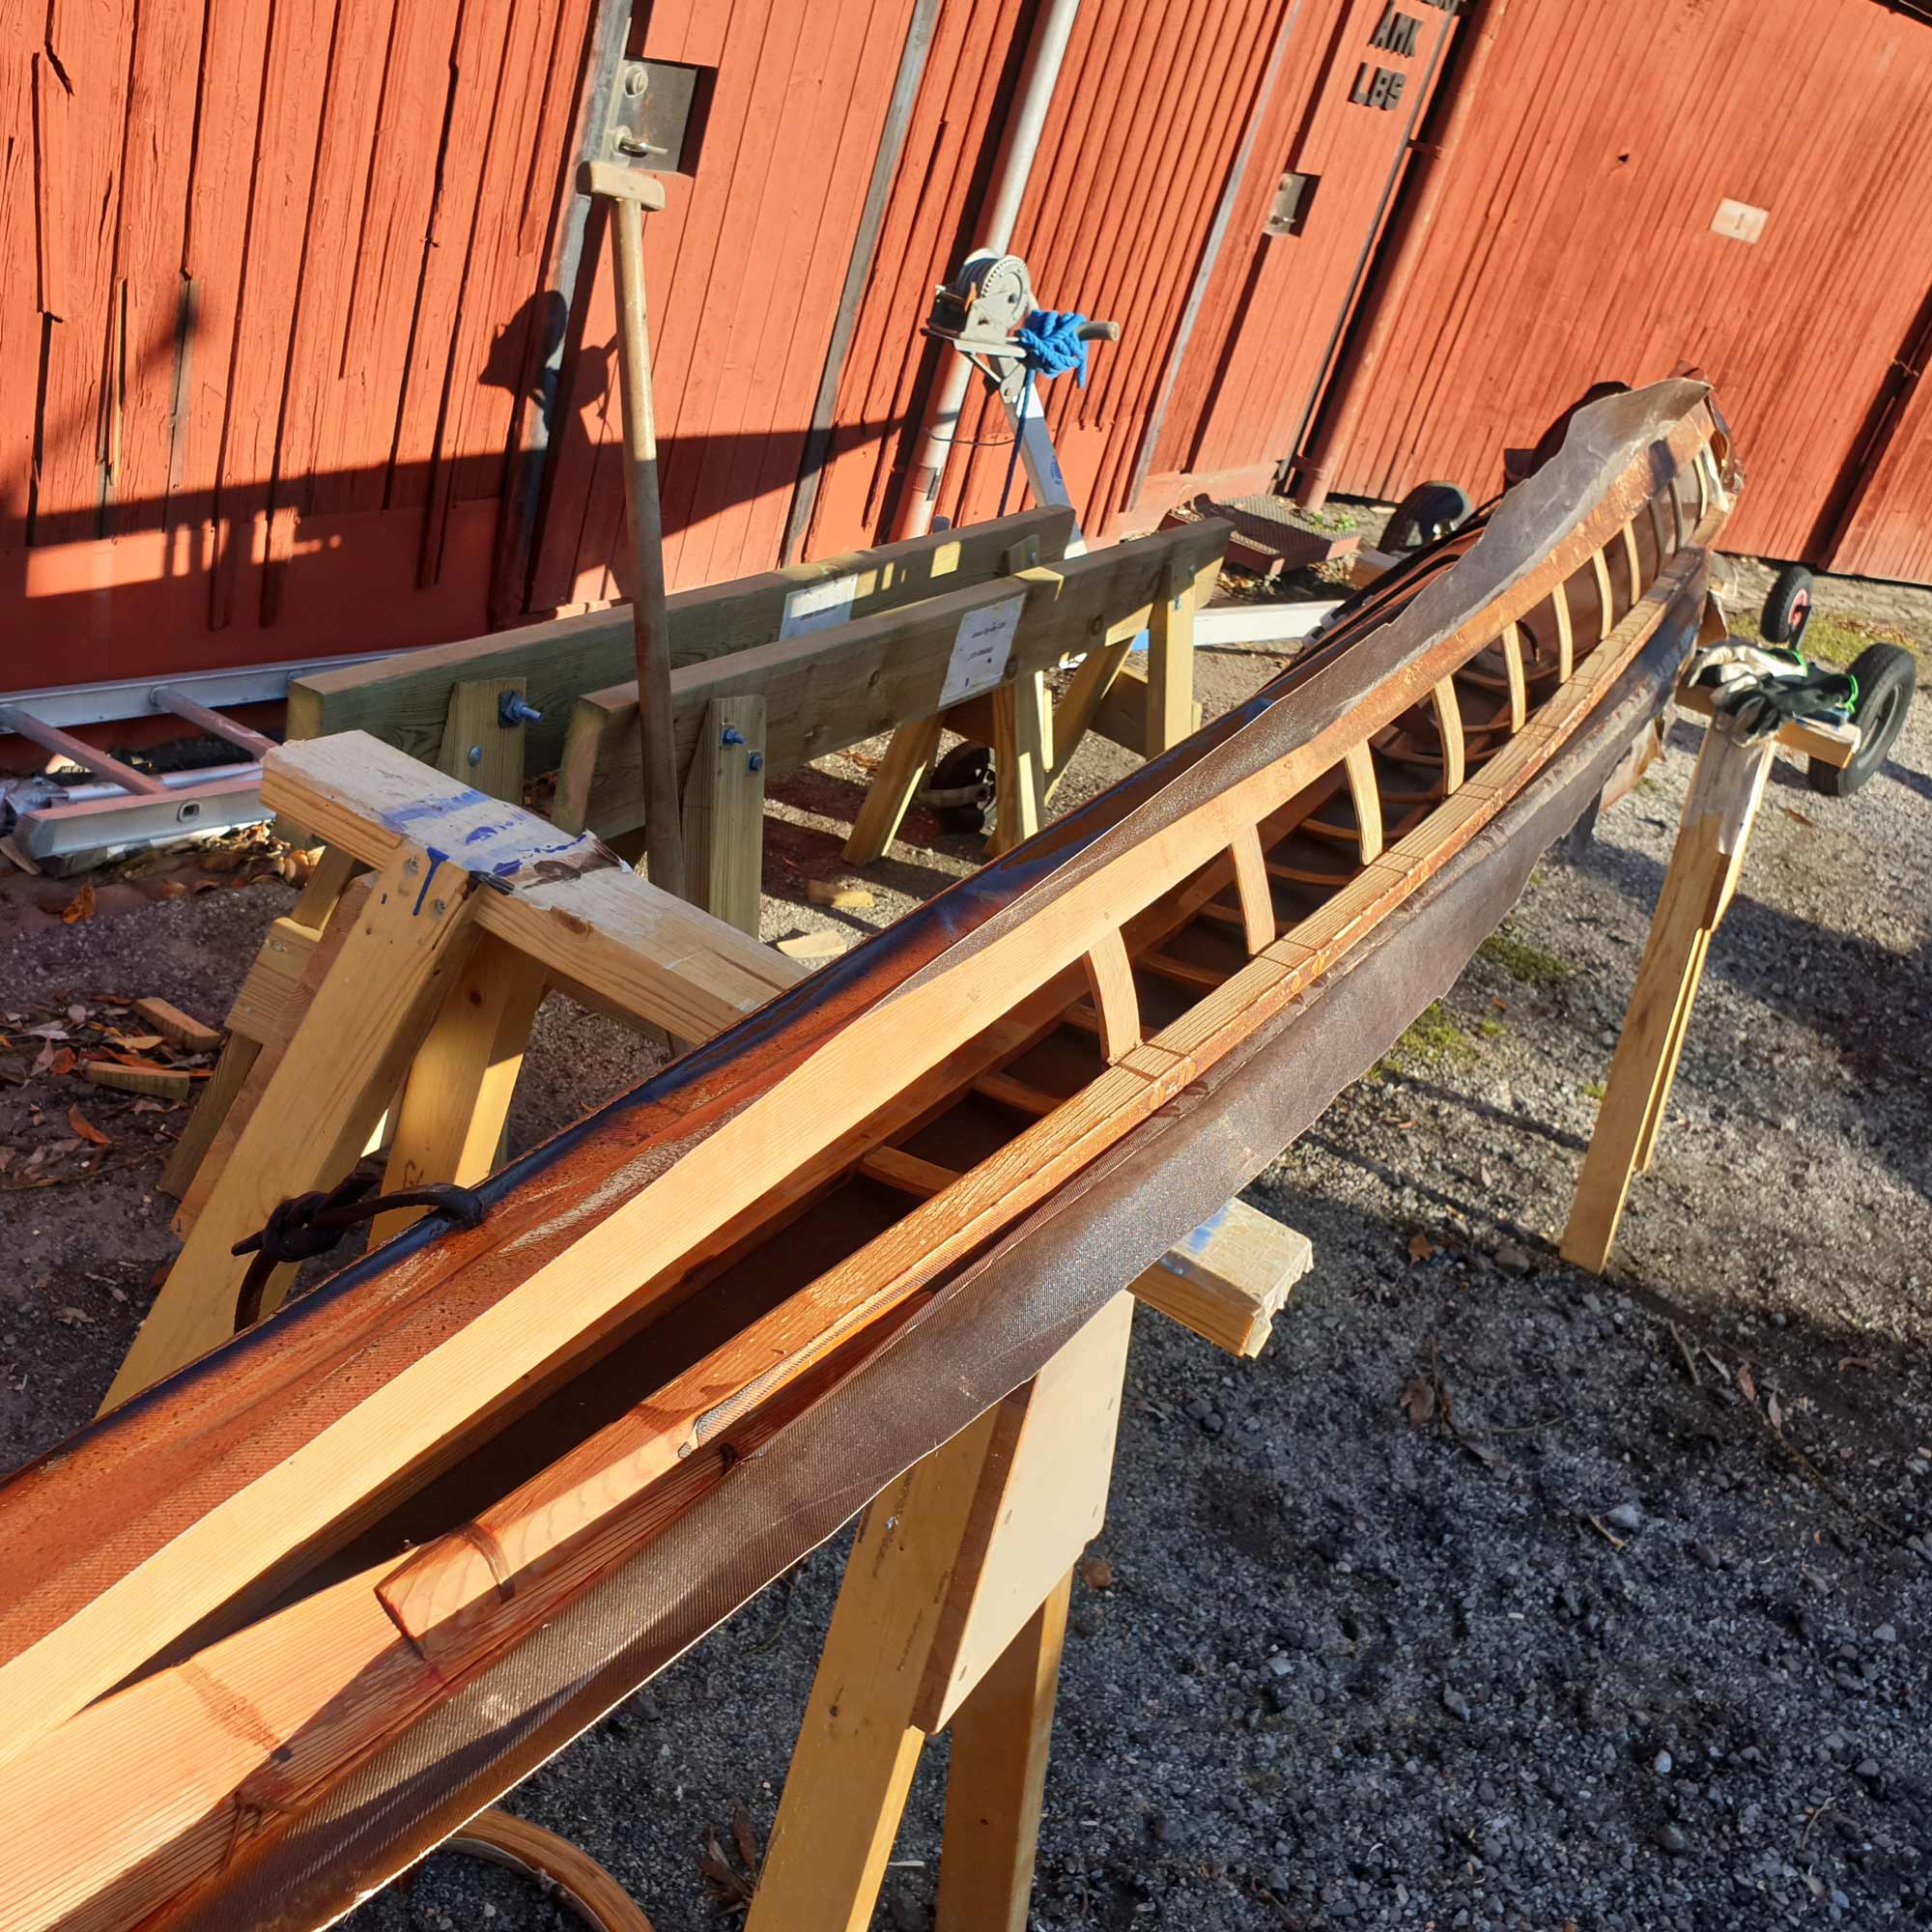
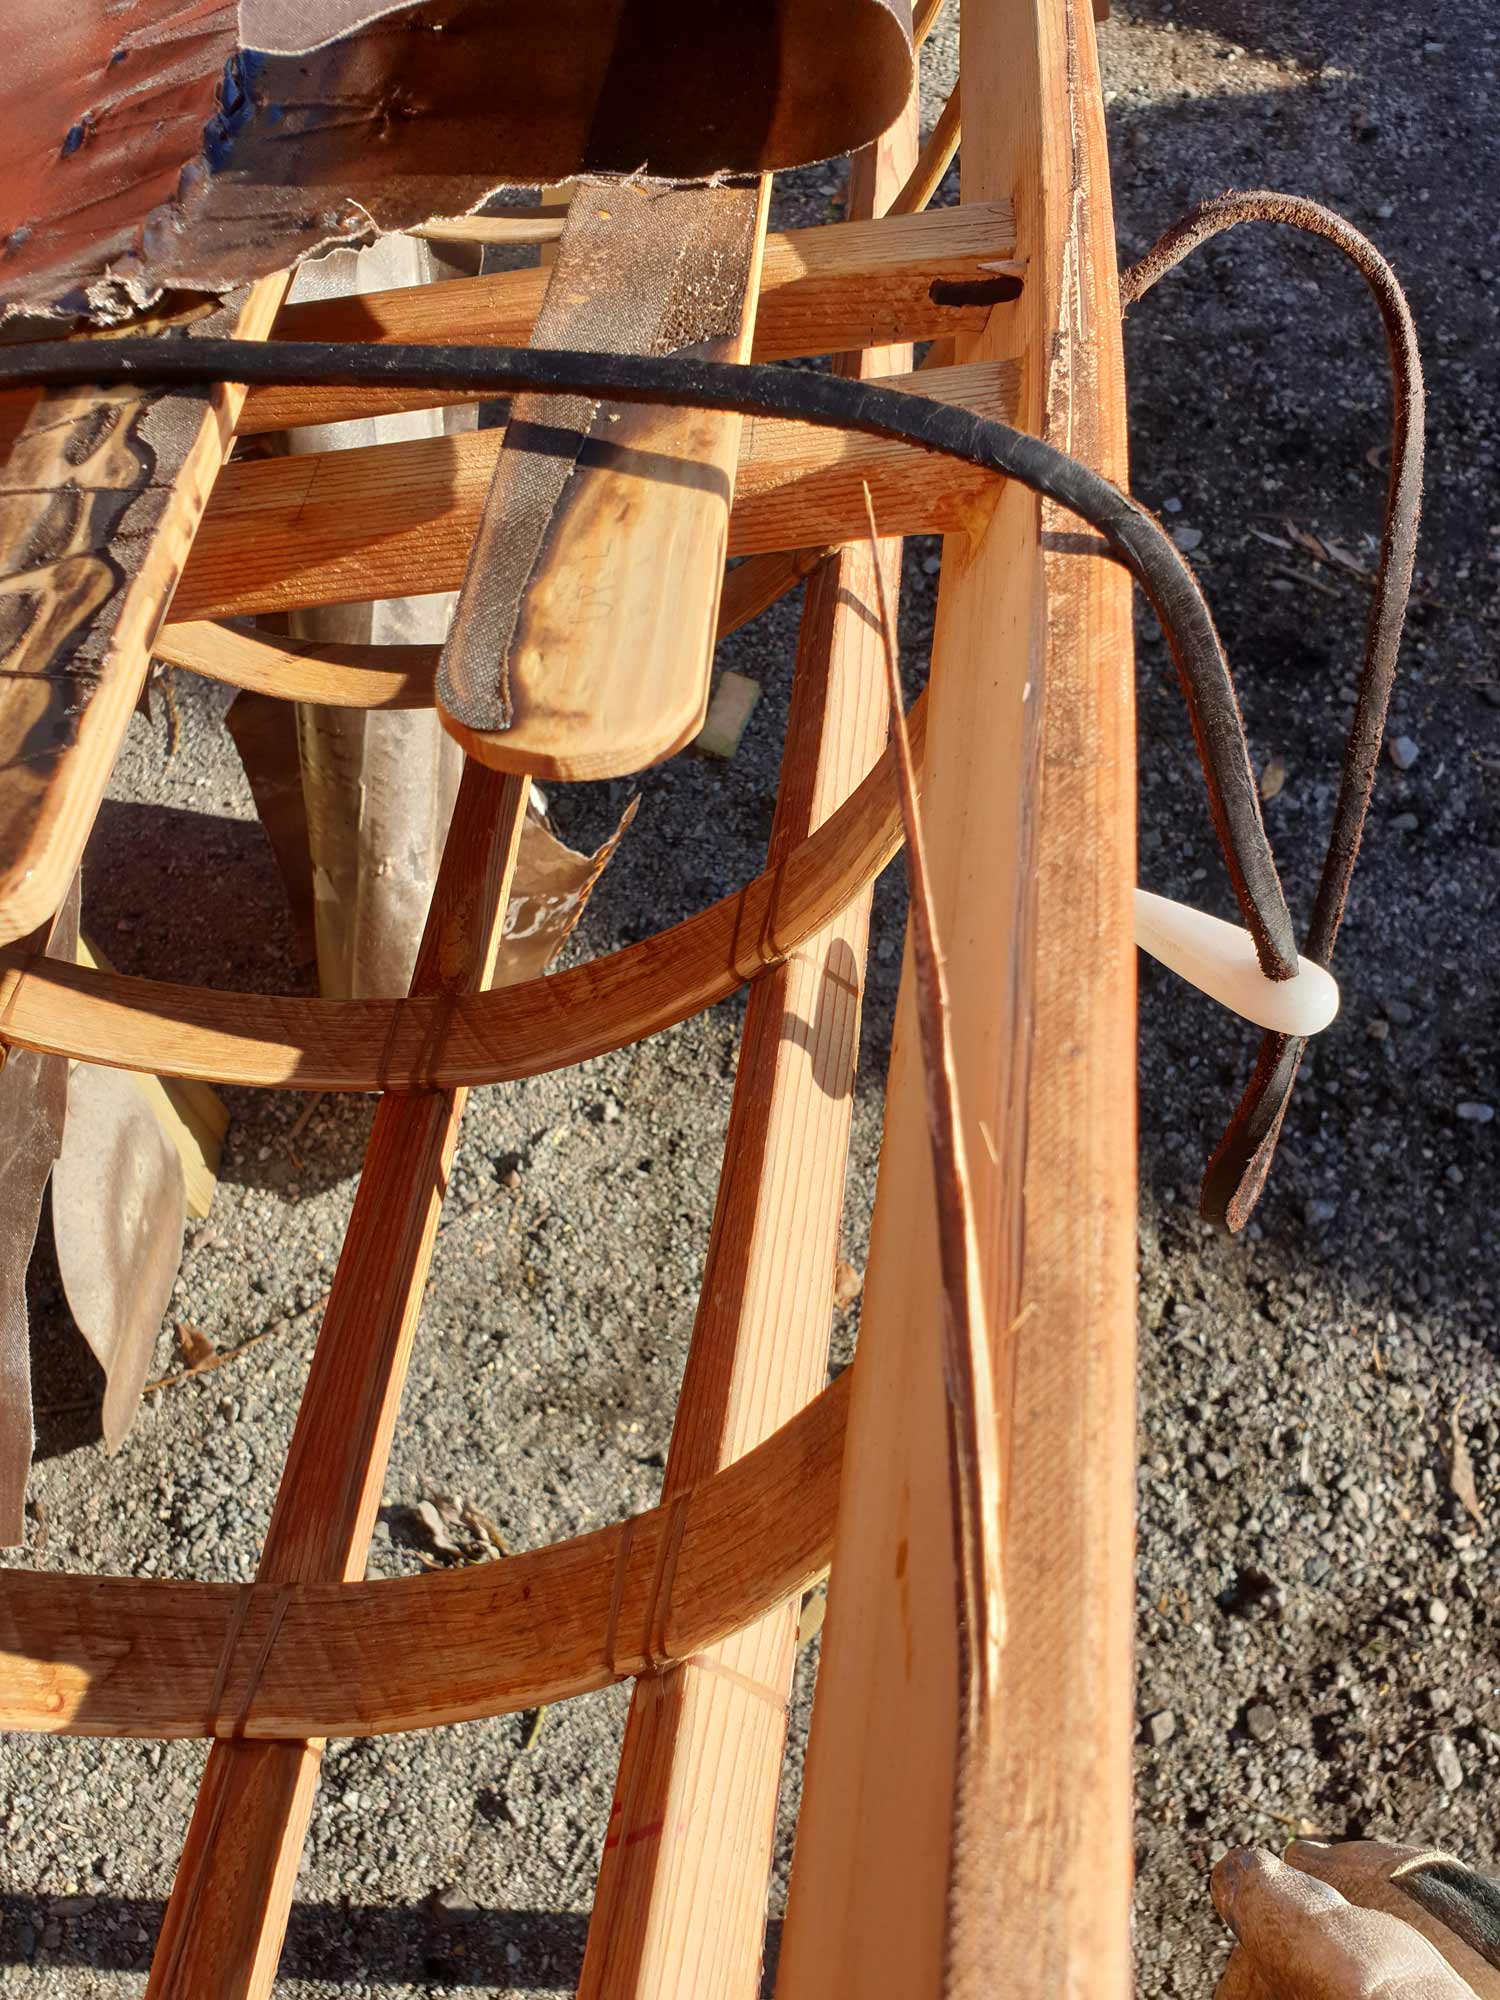
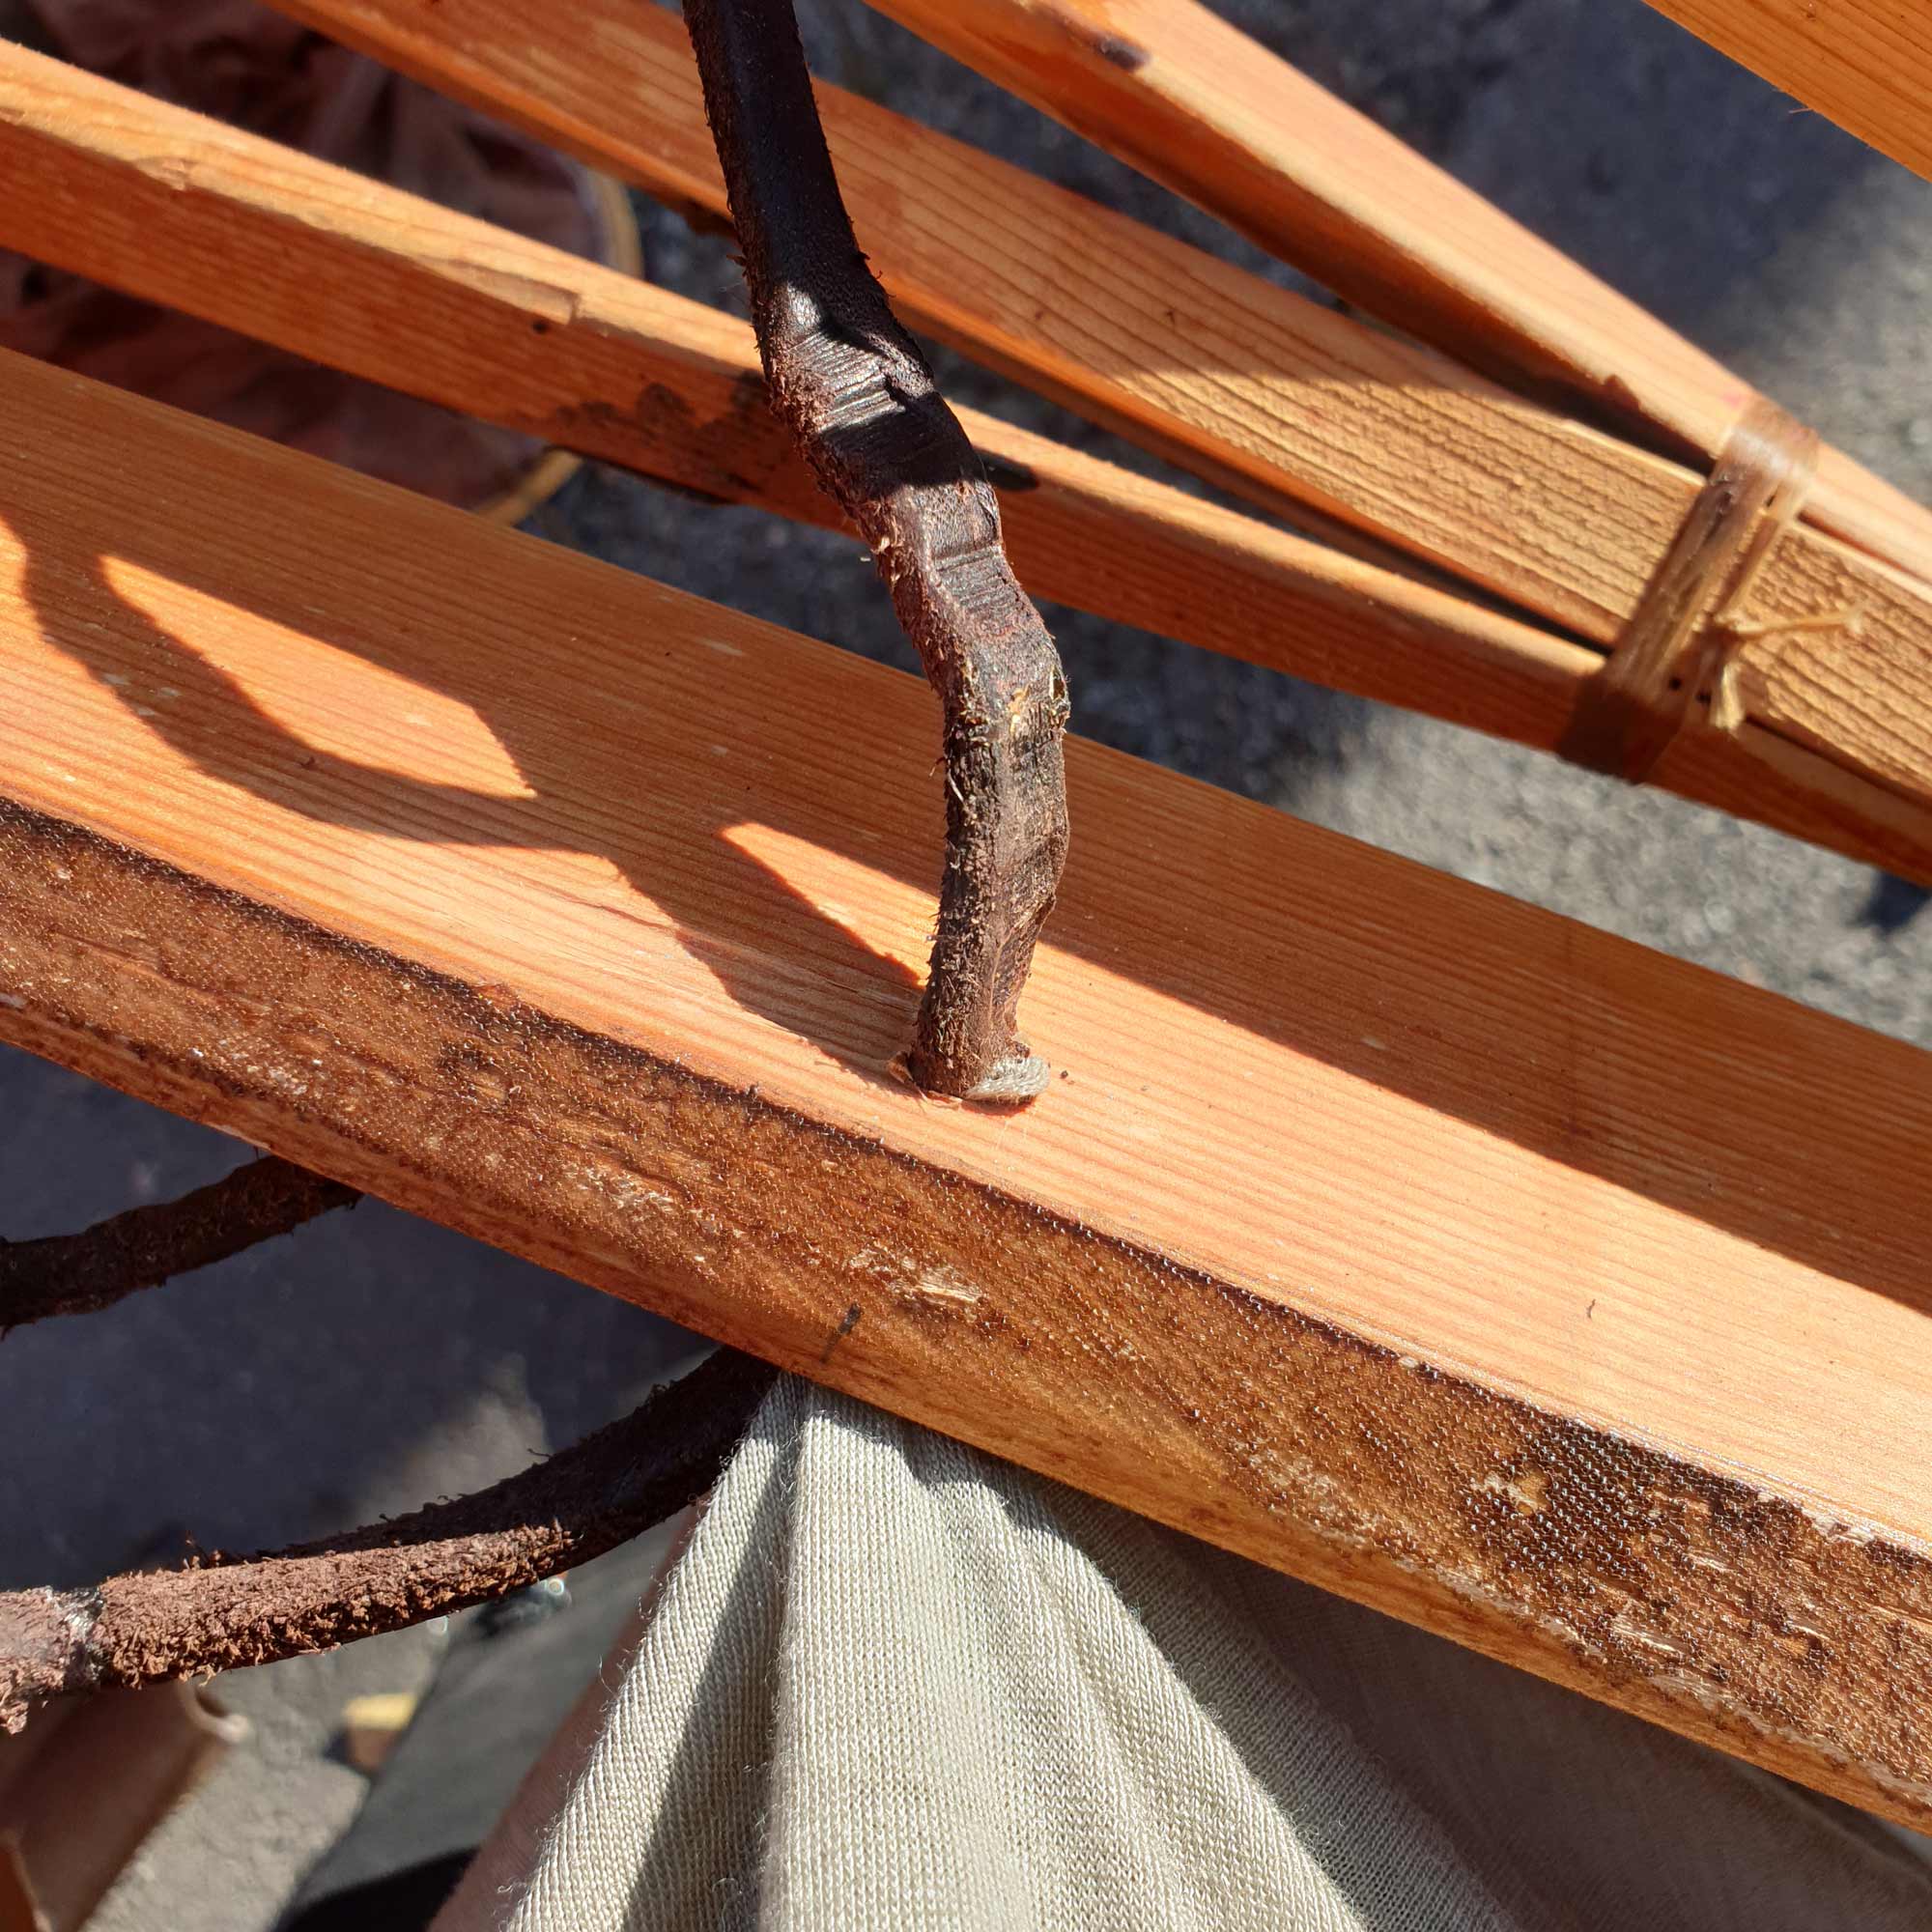
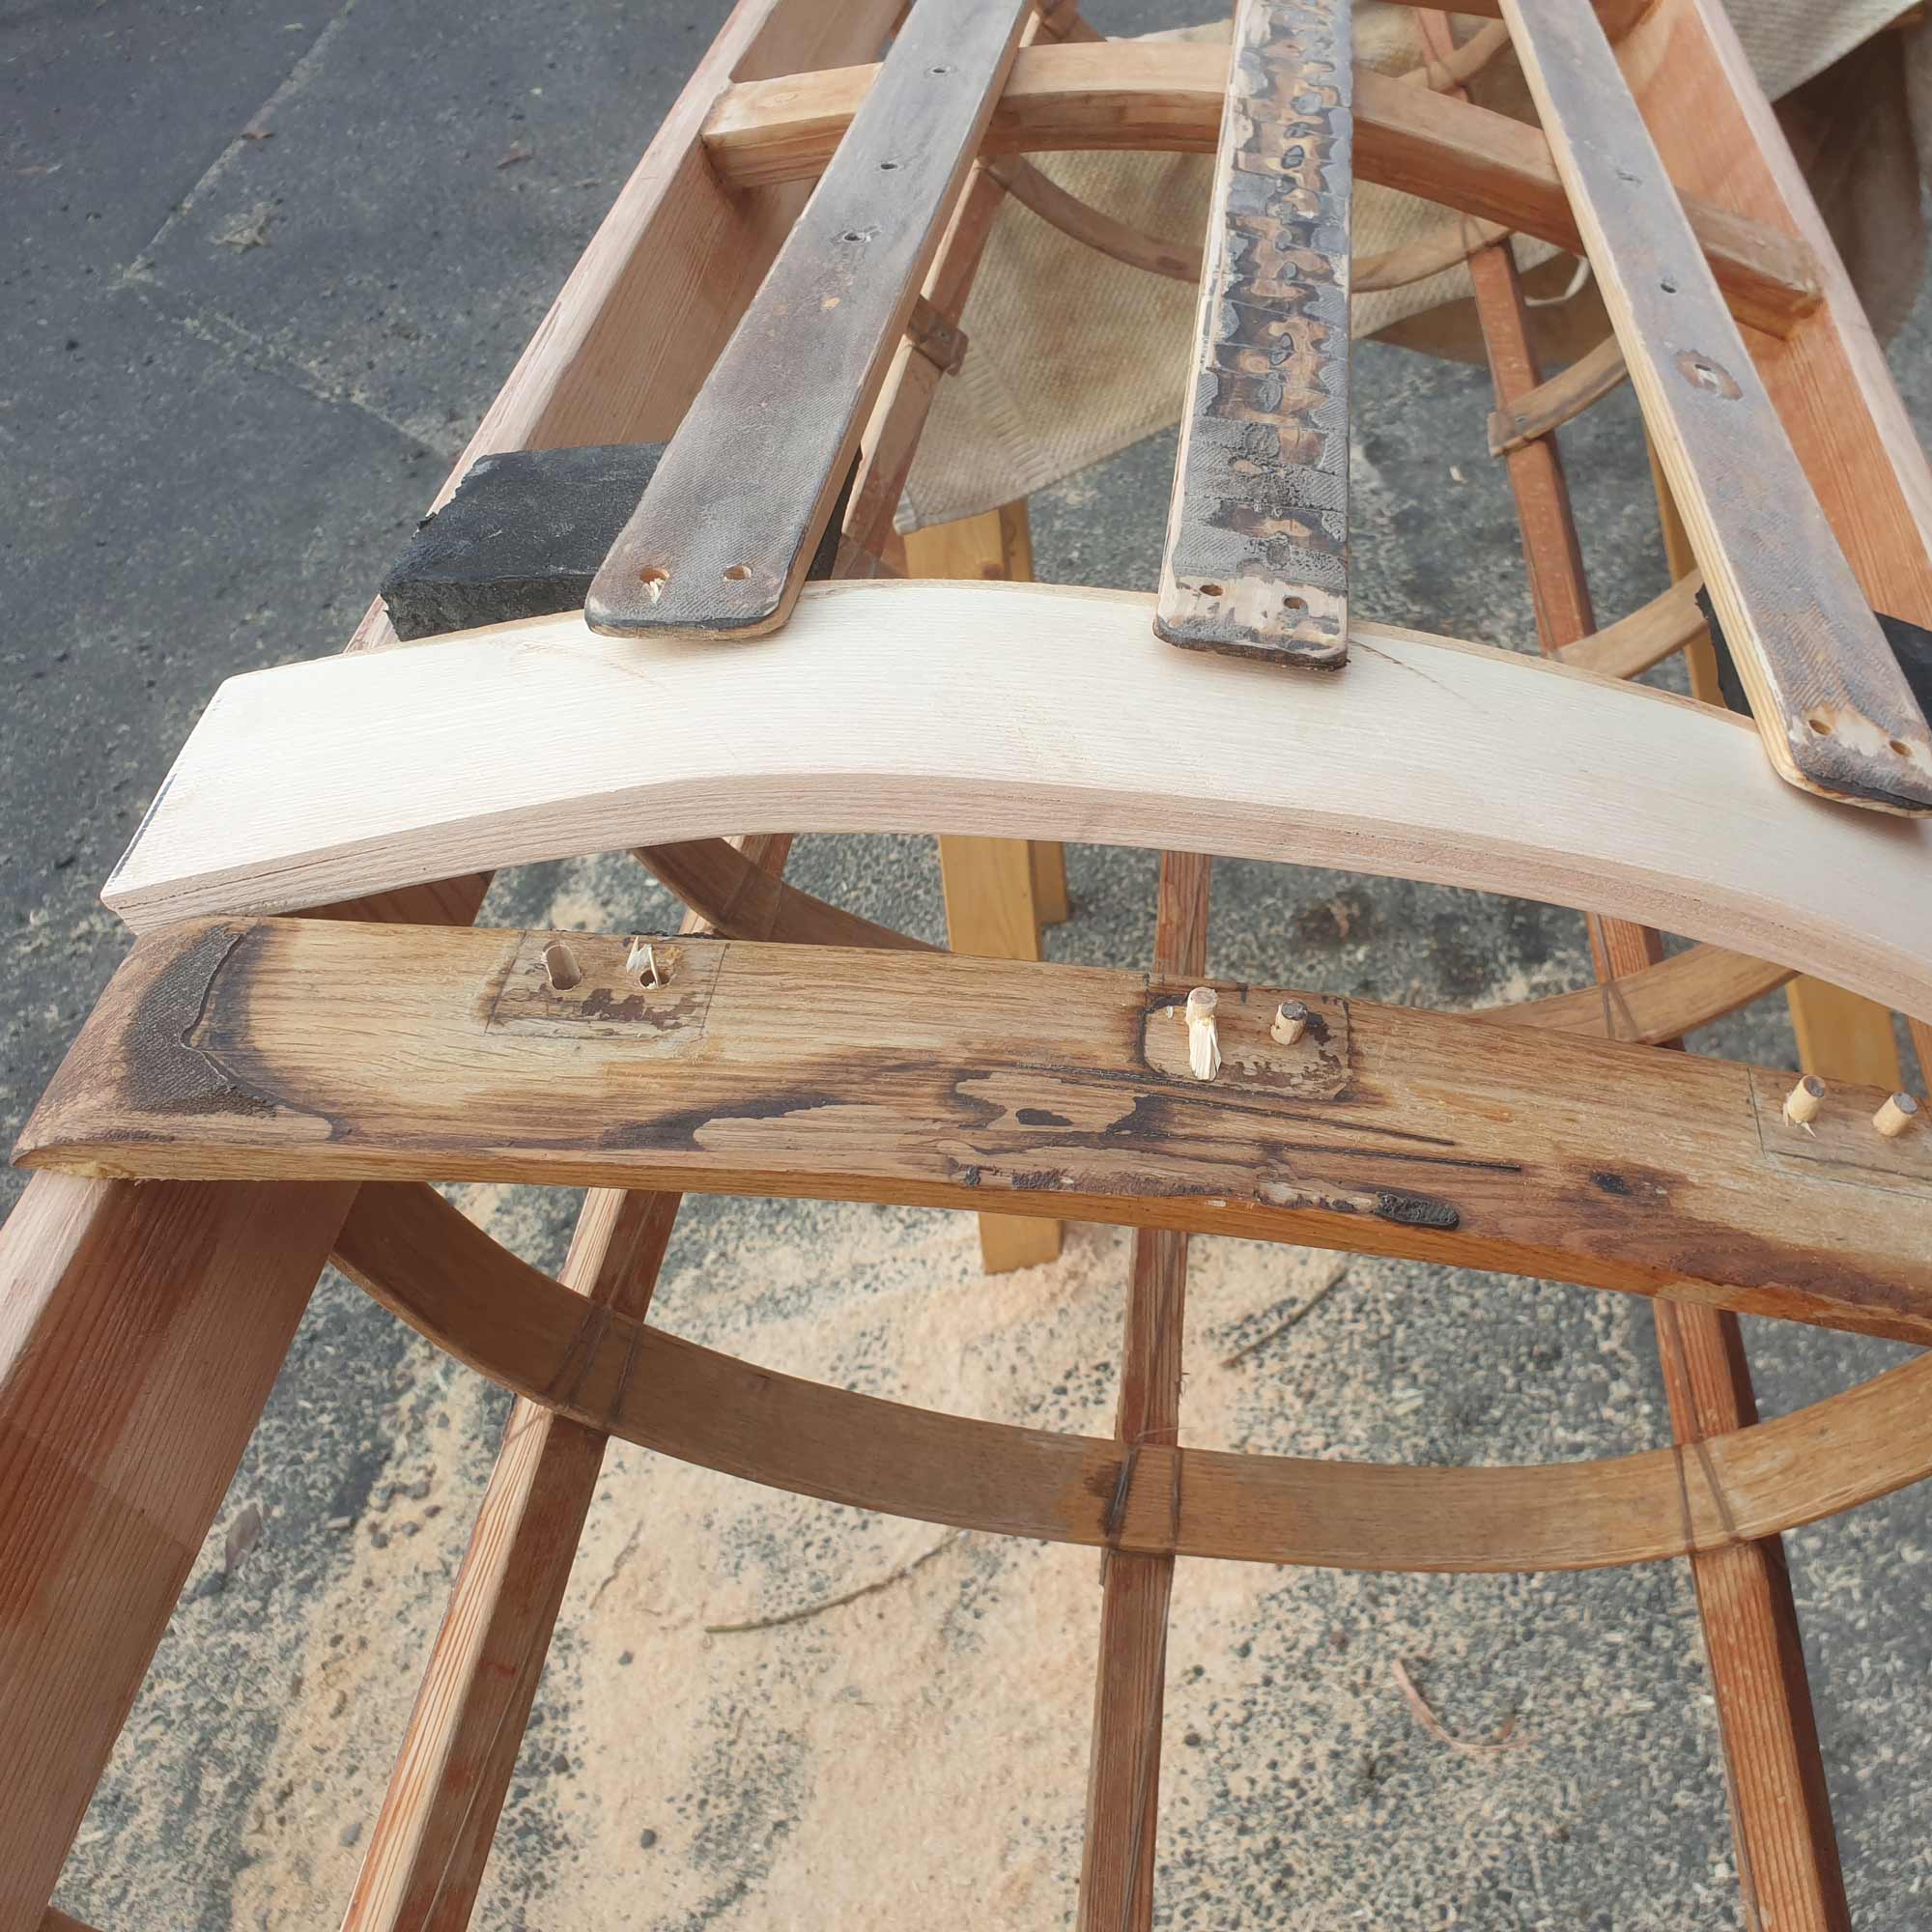
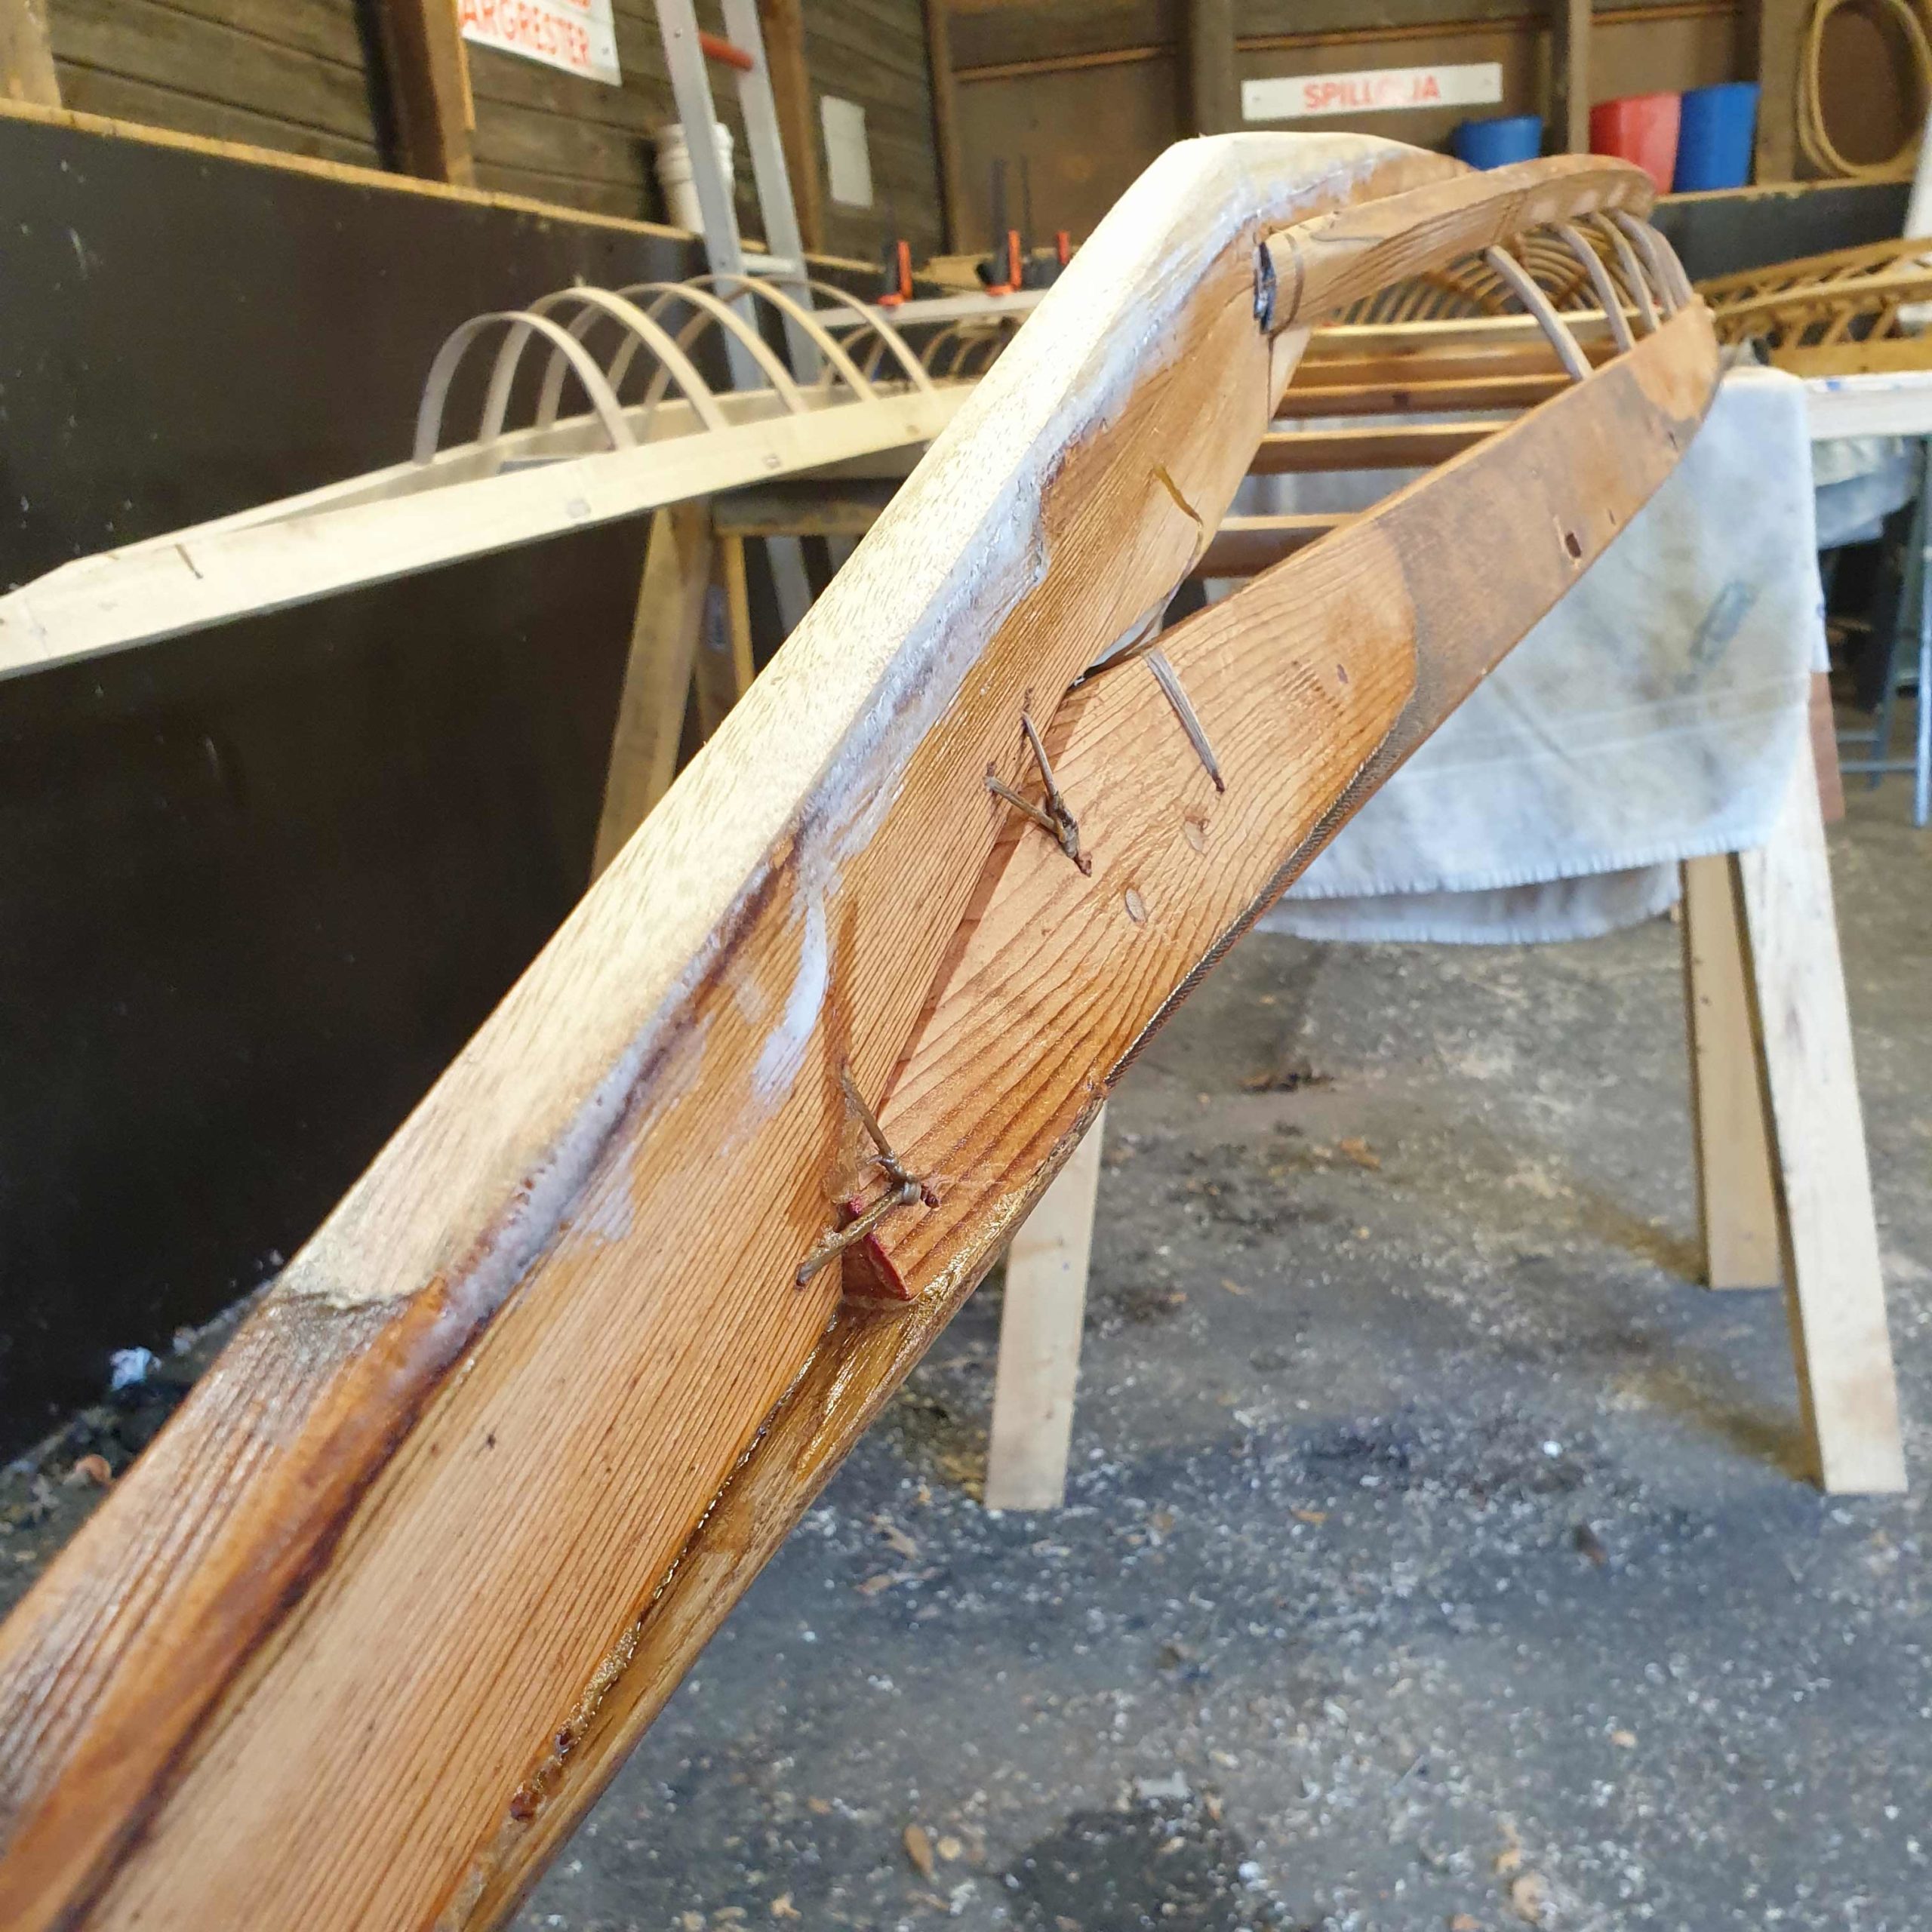
While reskinning I thought it to be a good idea to adjust the center of gravity and tracking issues this kayak had. I also put in a new Masik for a more comfortable fit. Simple formula: raised the Masik by 2cm and added 2cm to the keel at the rear. The keel, minus glueing, took less than 10 minutes to hone in perfectly to the keel line, which was surprising. Actually most of the work was pretty easy tehnically, but so rewarding.

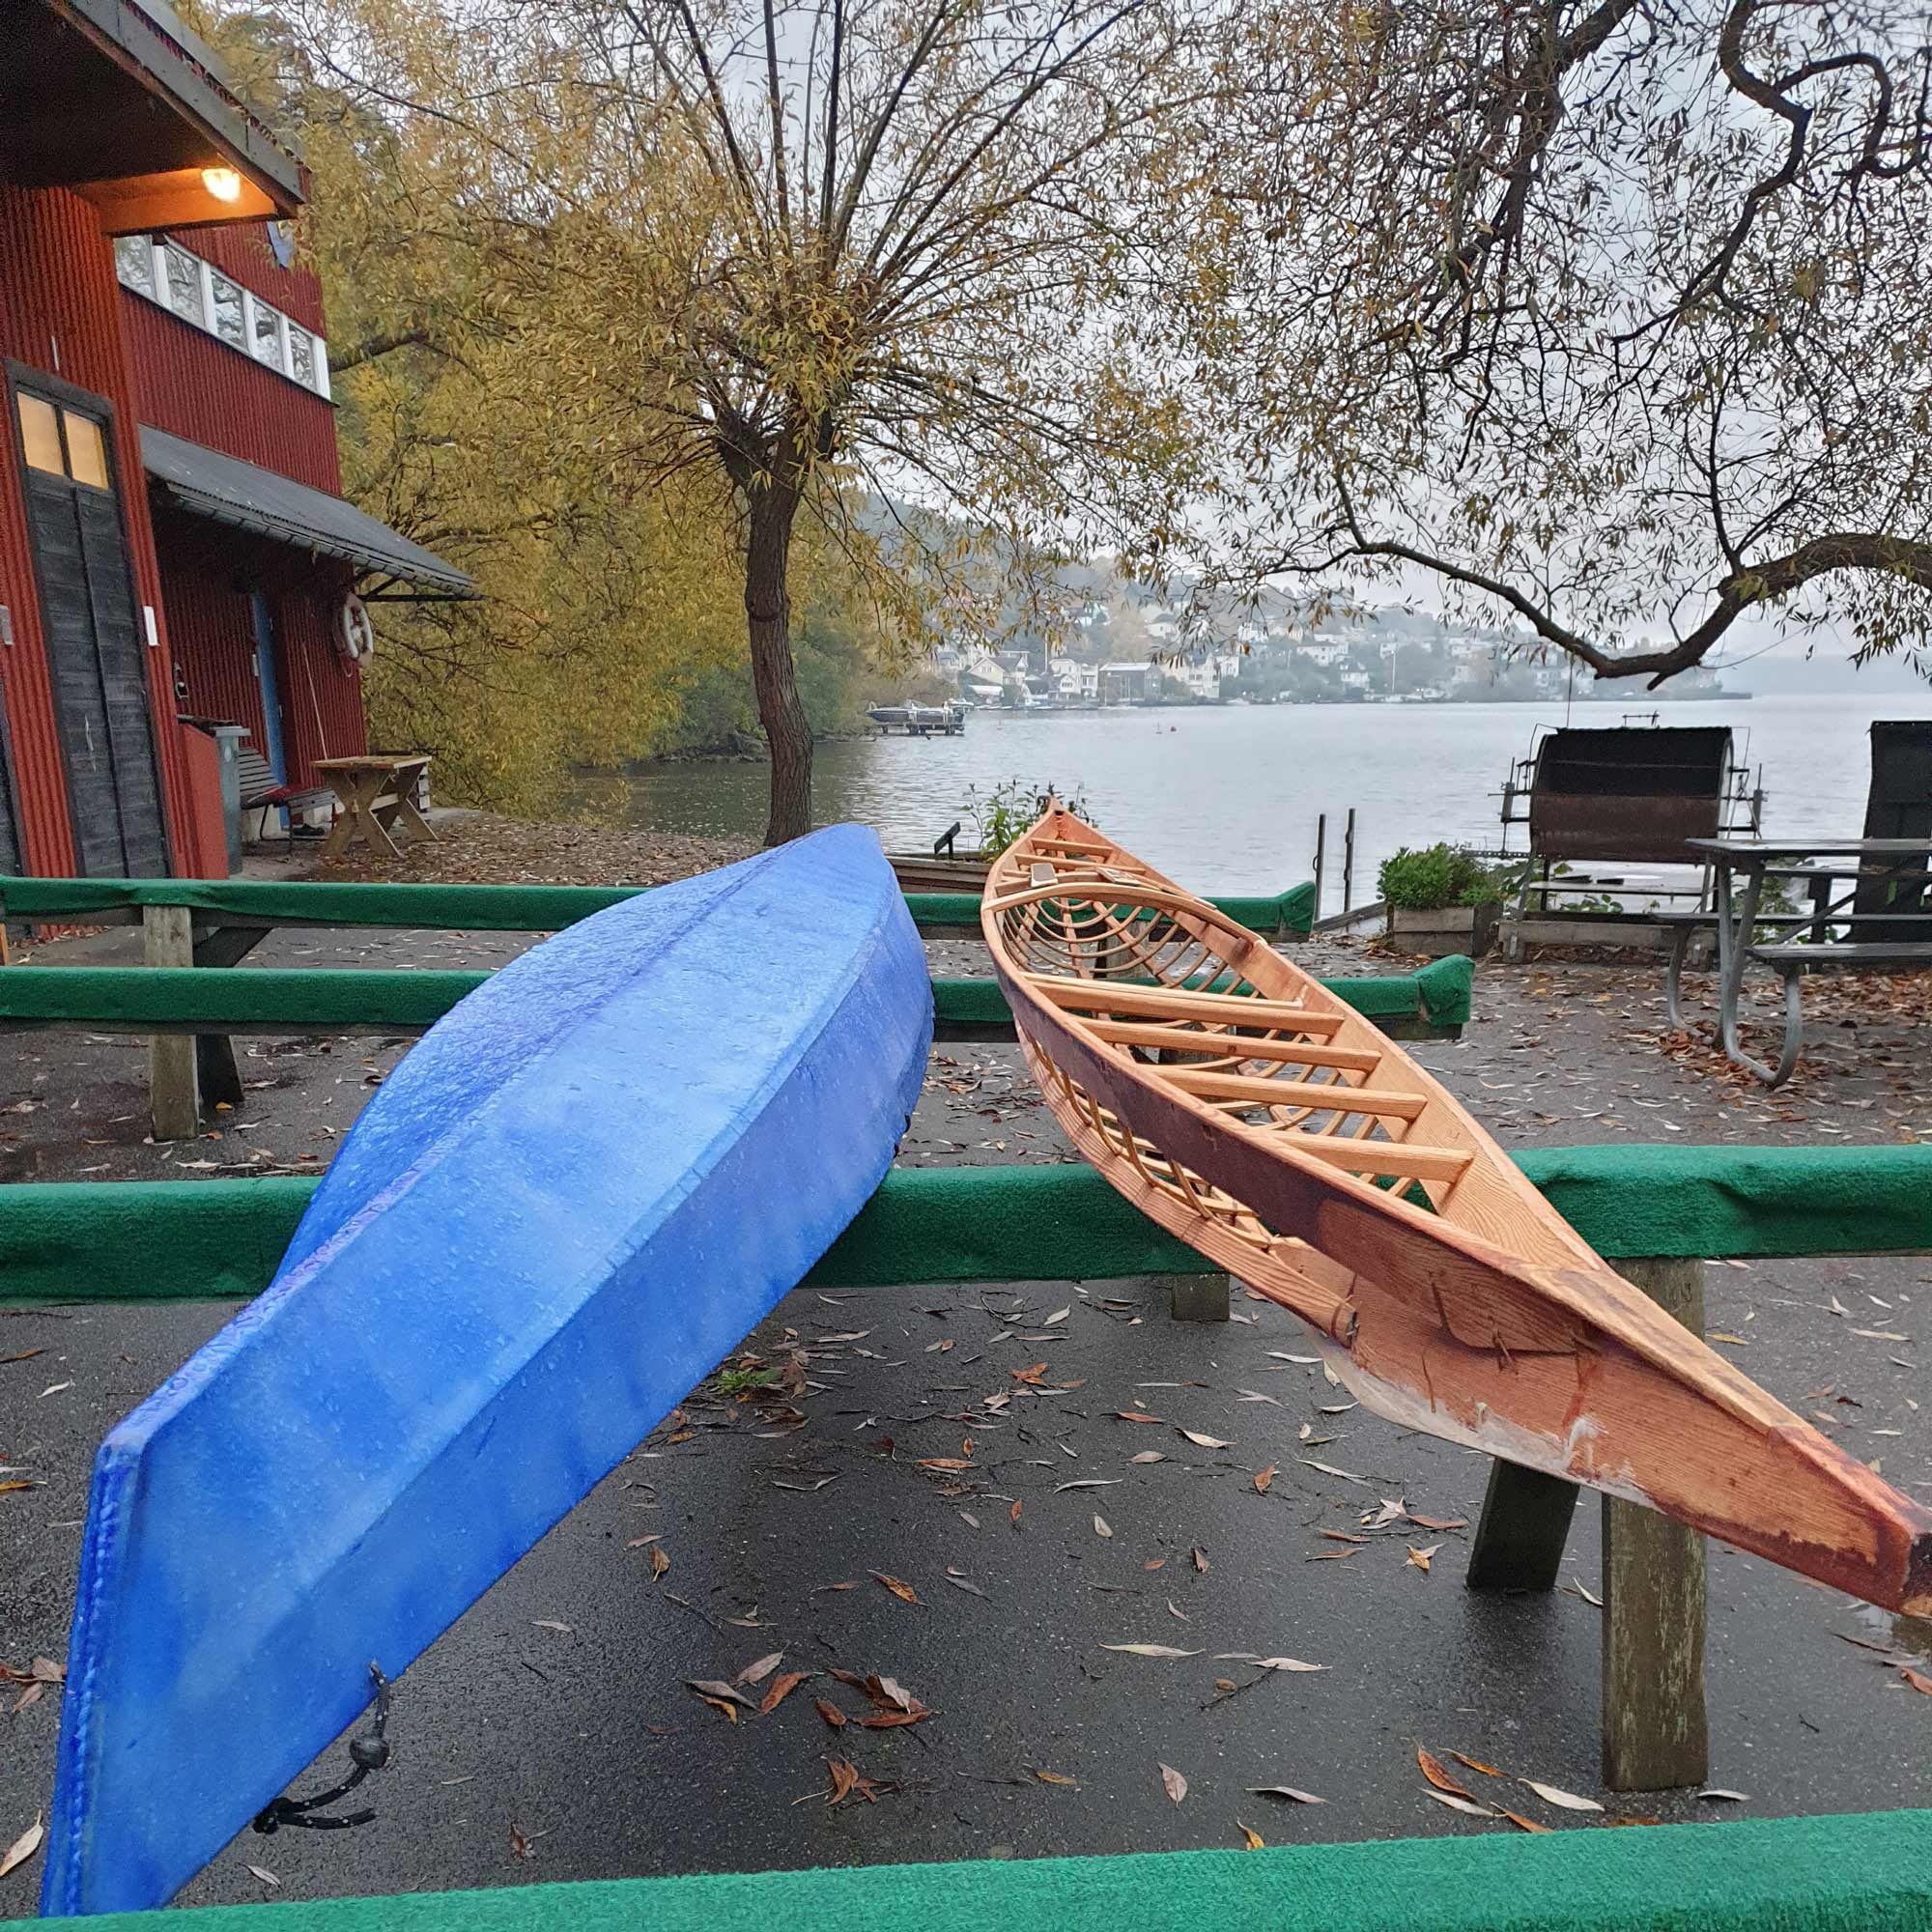
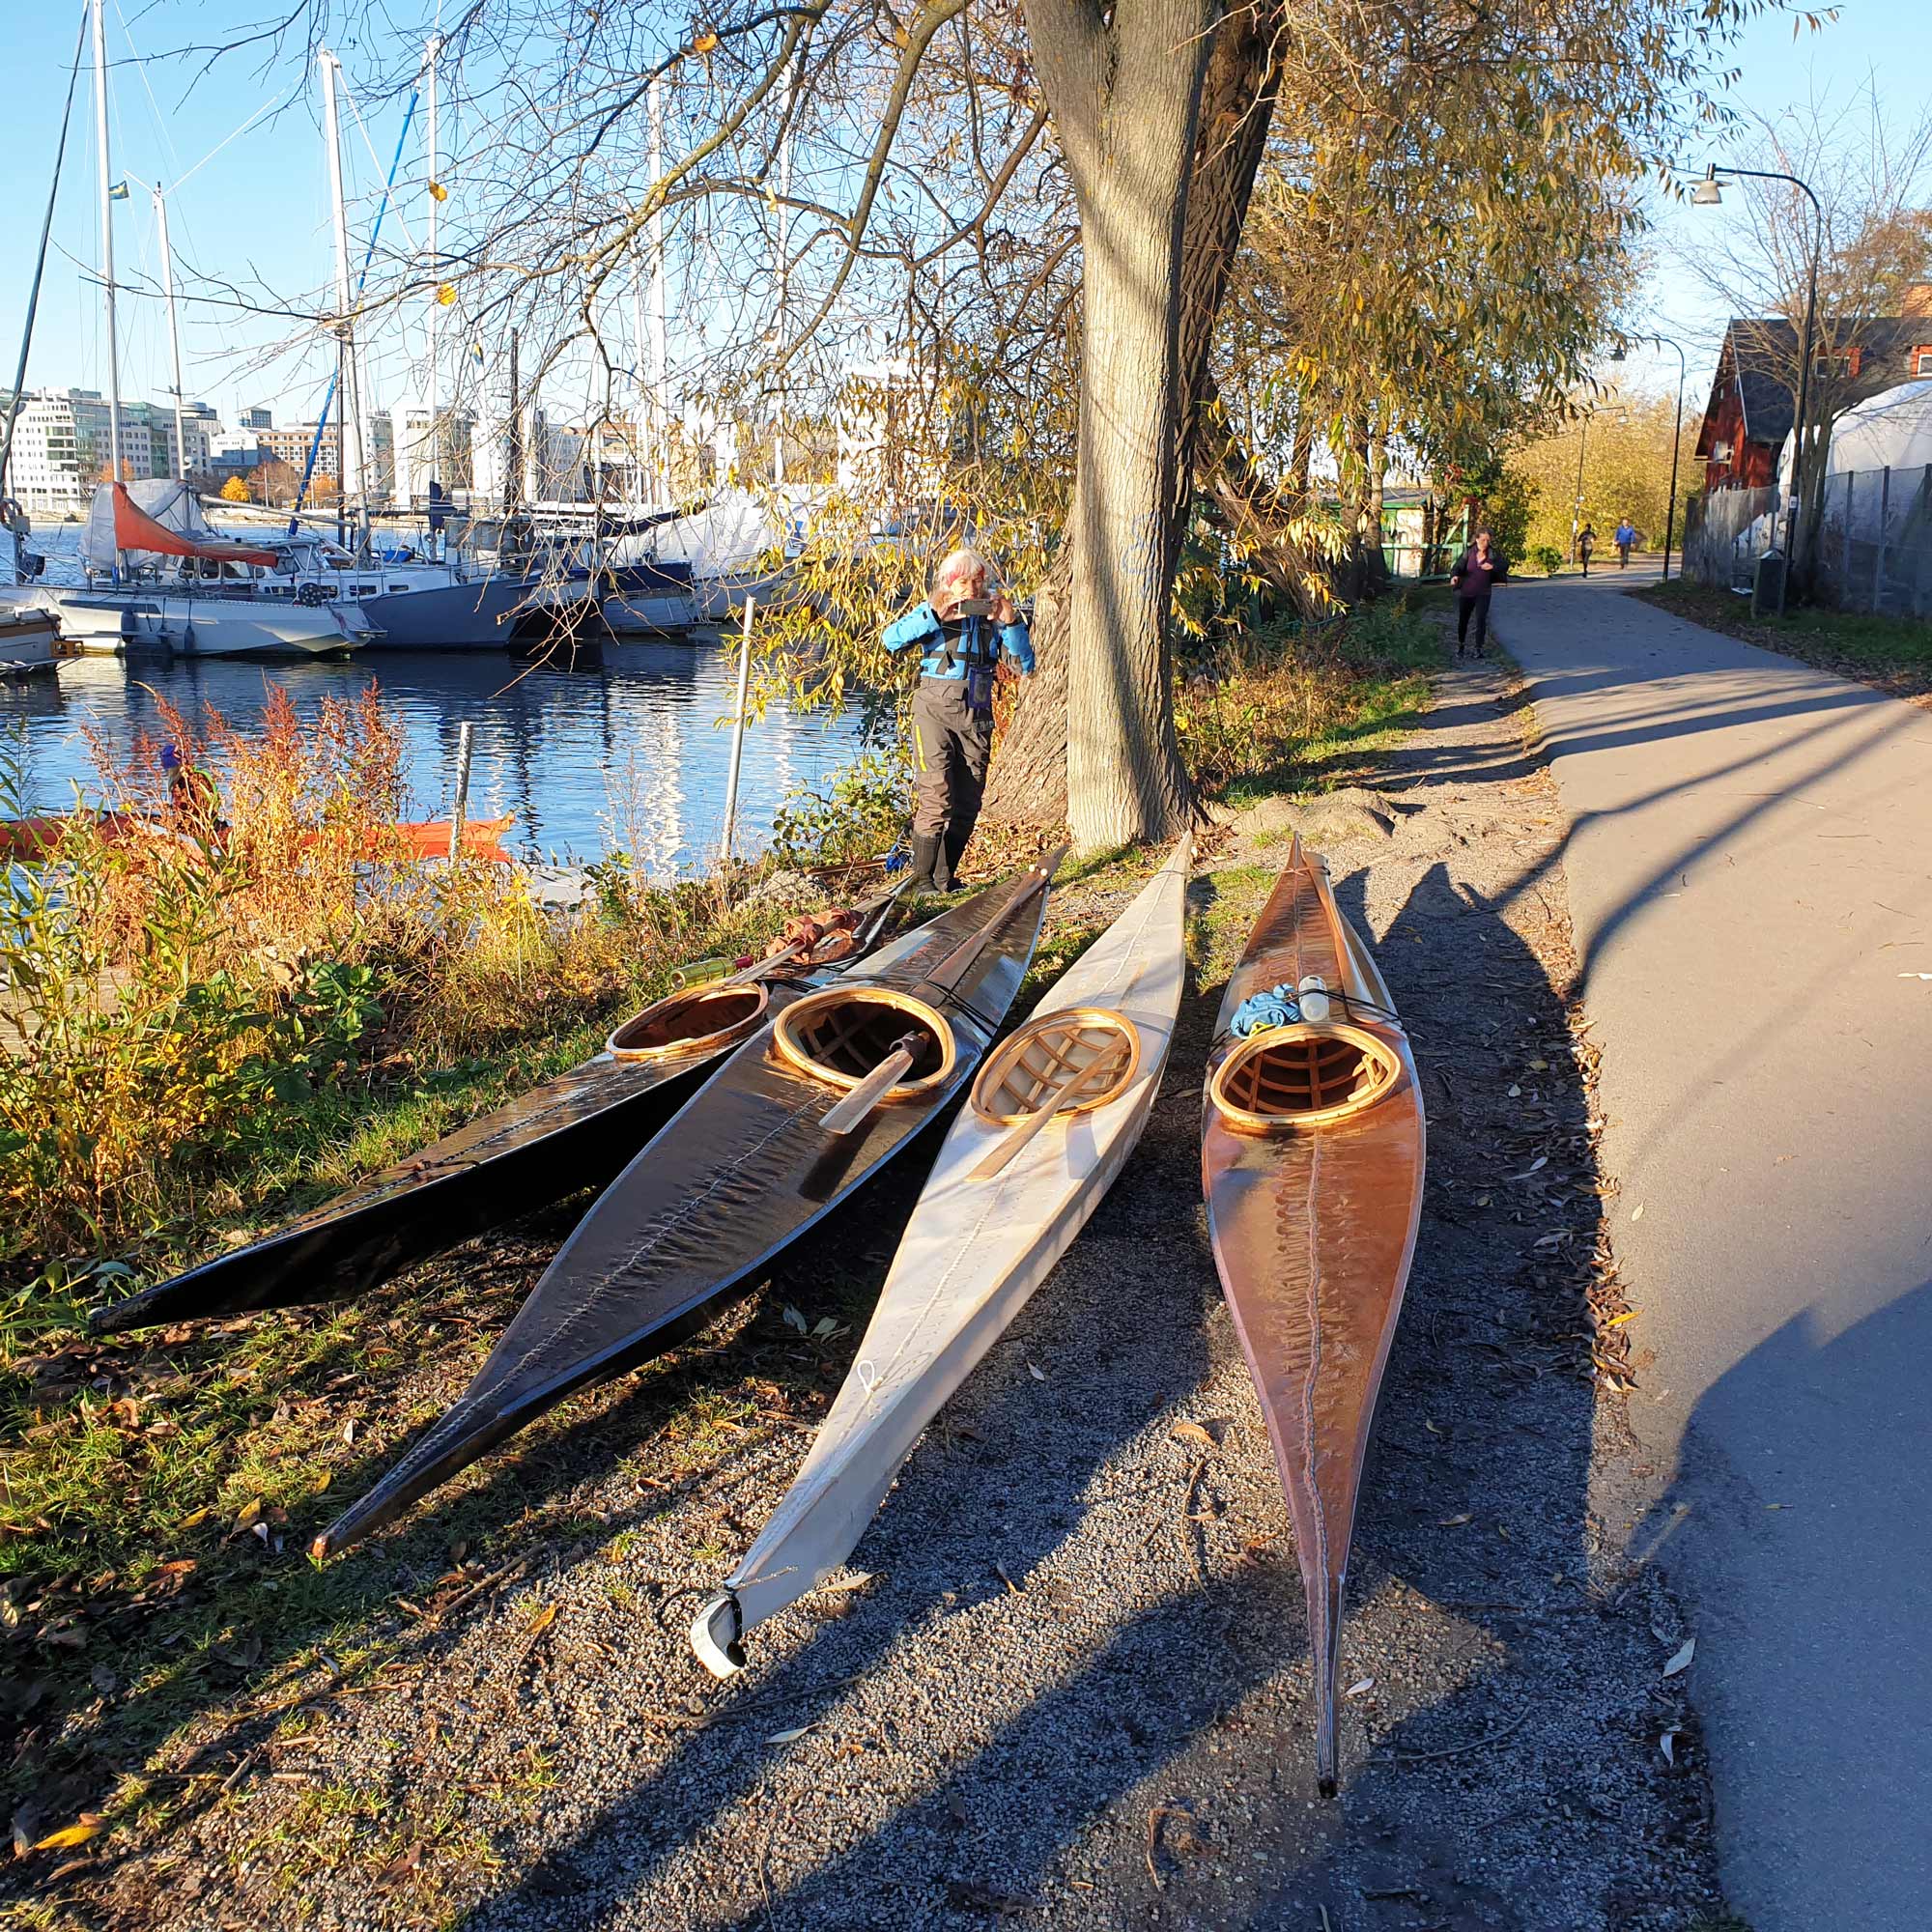
Comparing volume. The blue kayak is an LPB, plans from Cape Falcon Kayaks.
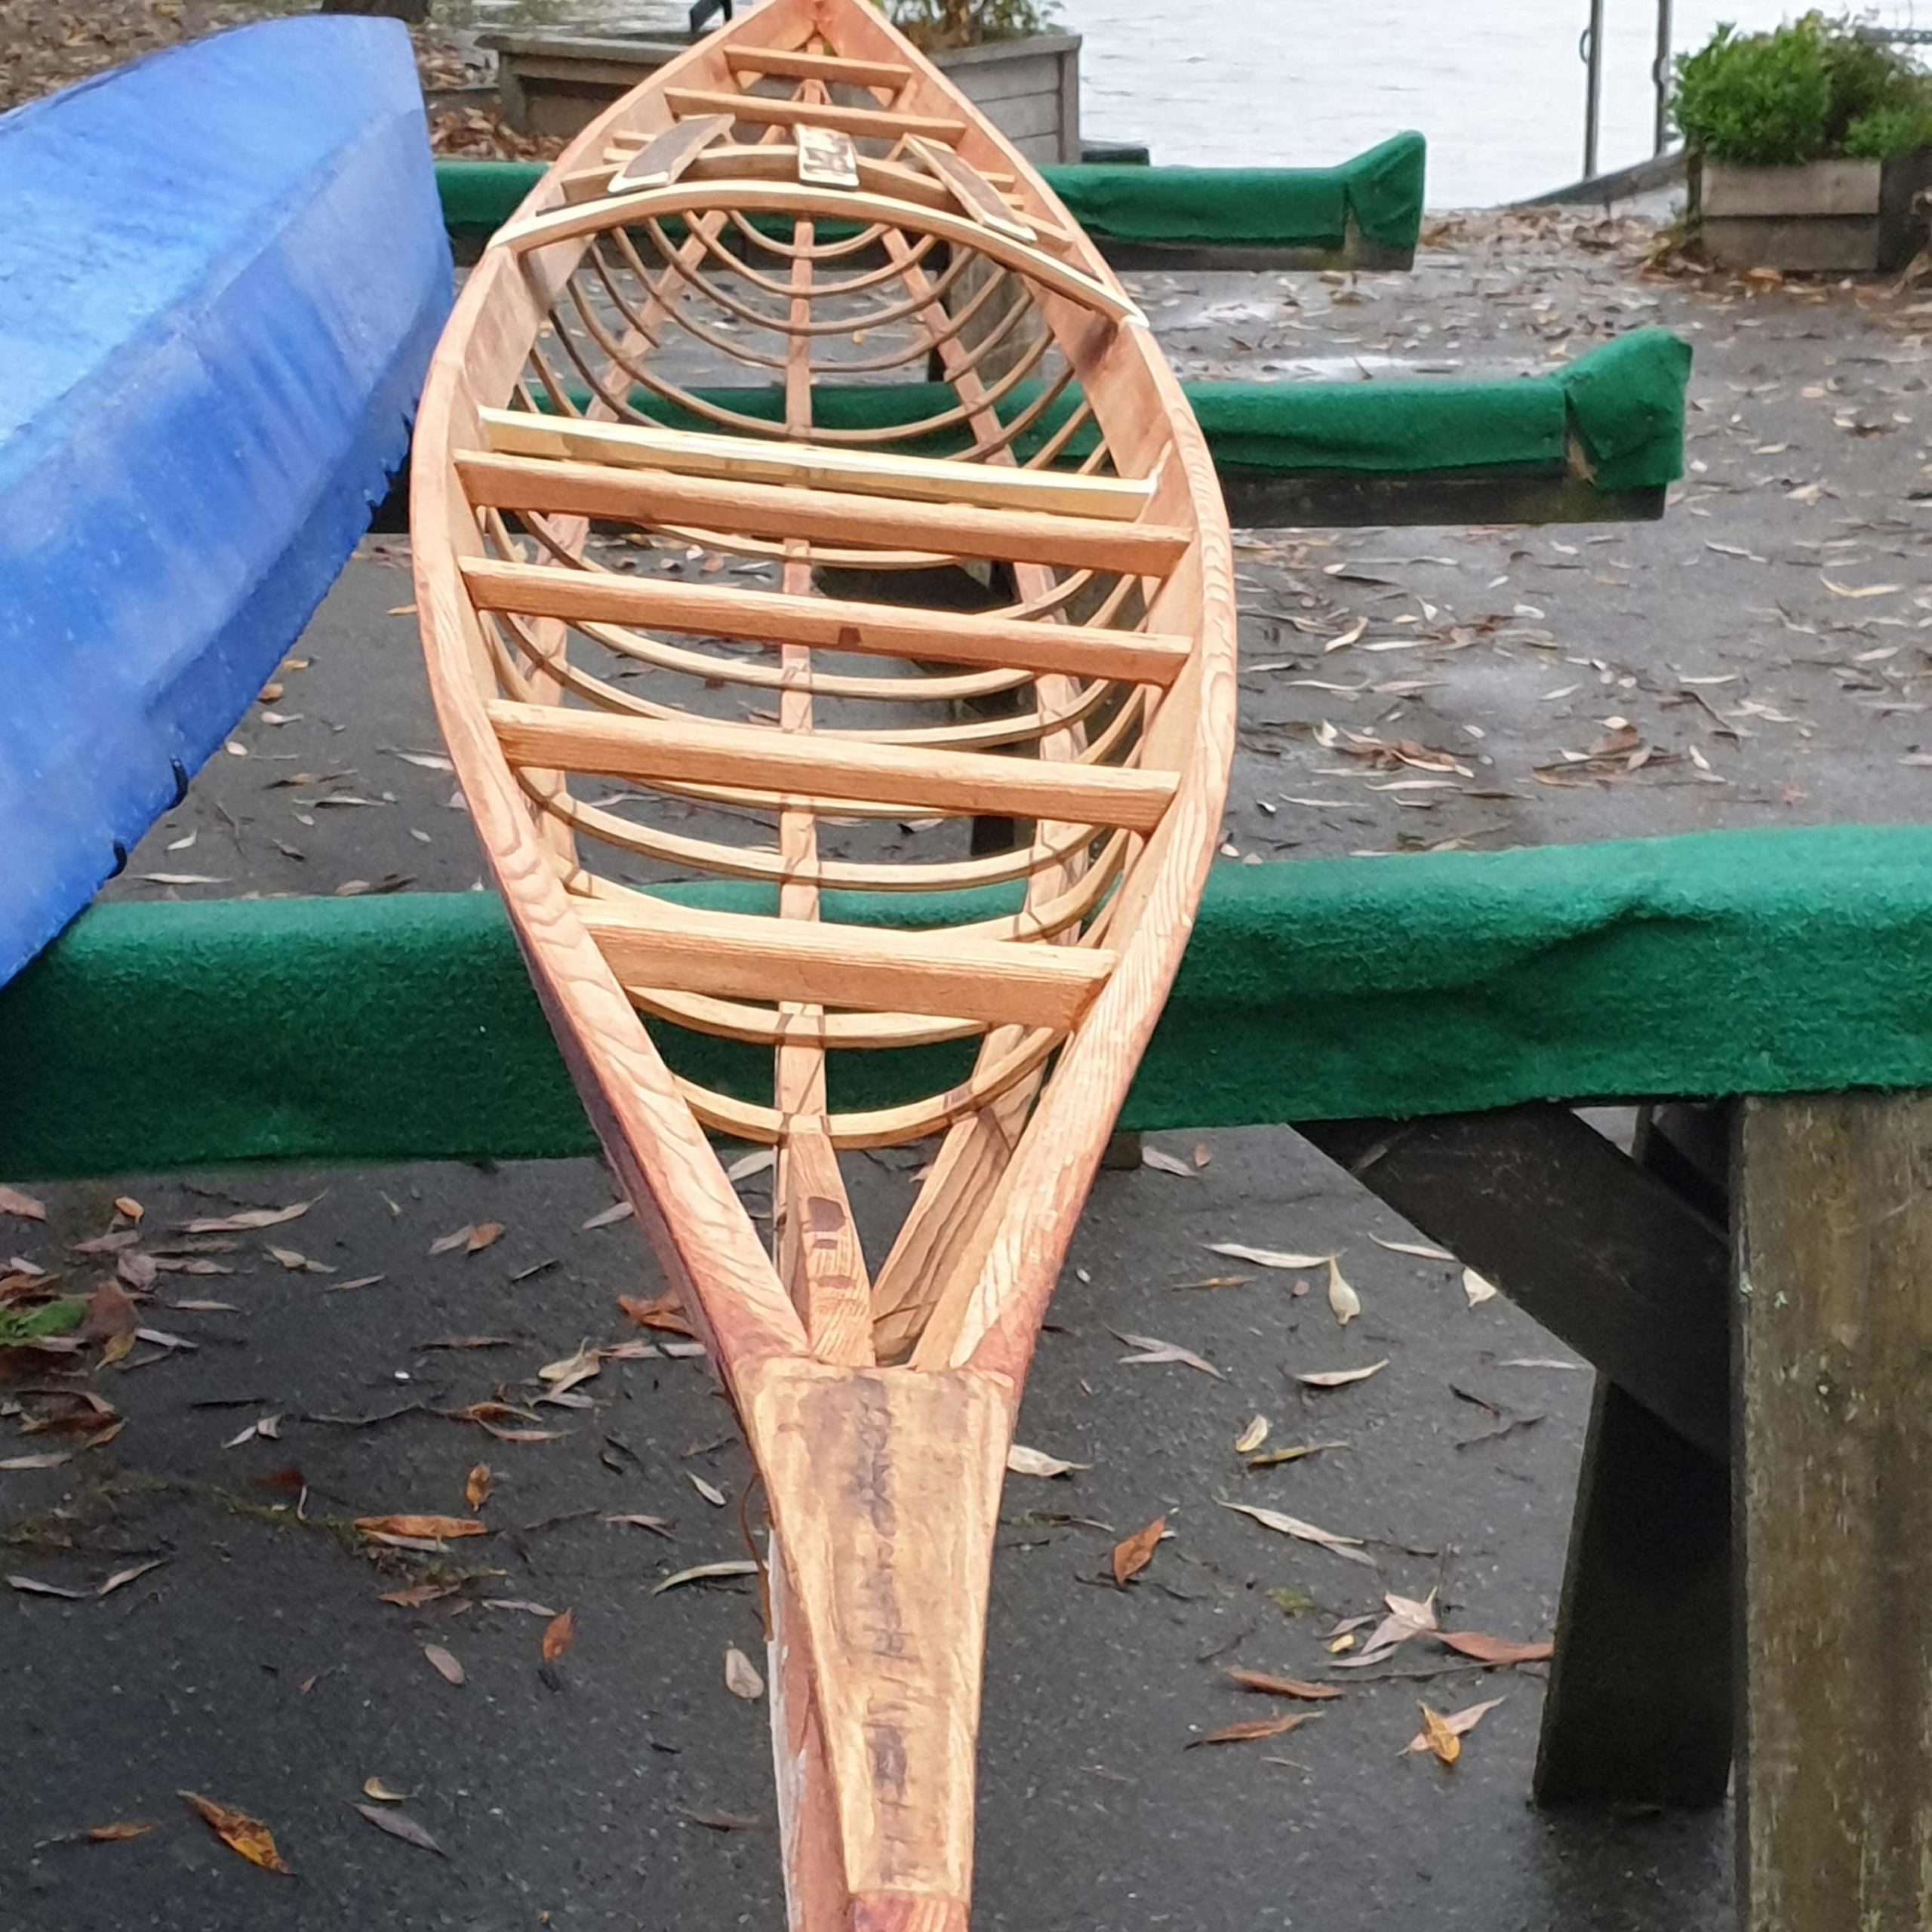
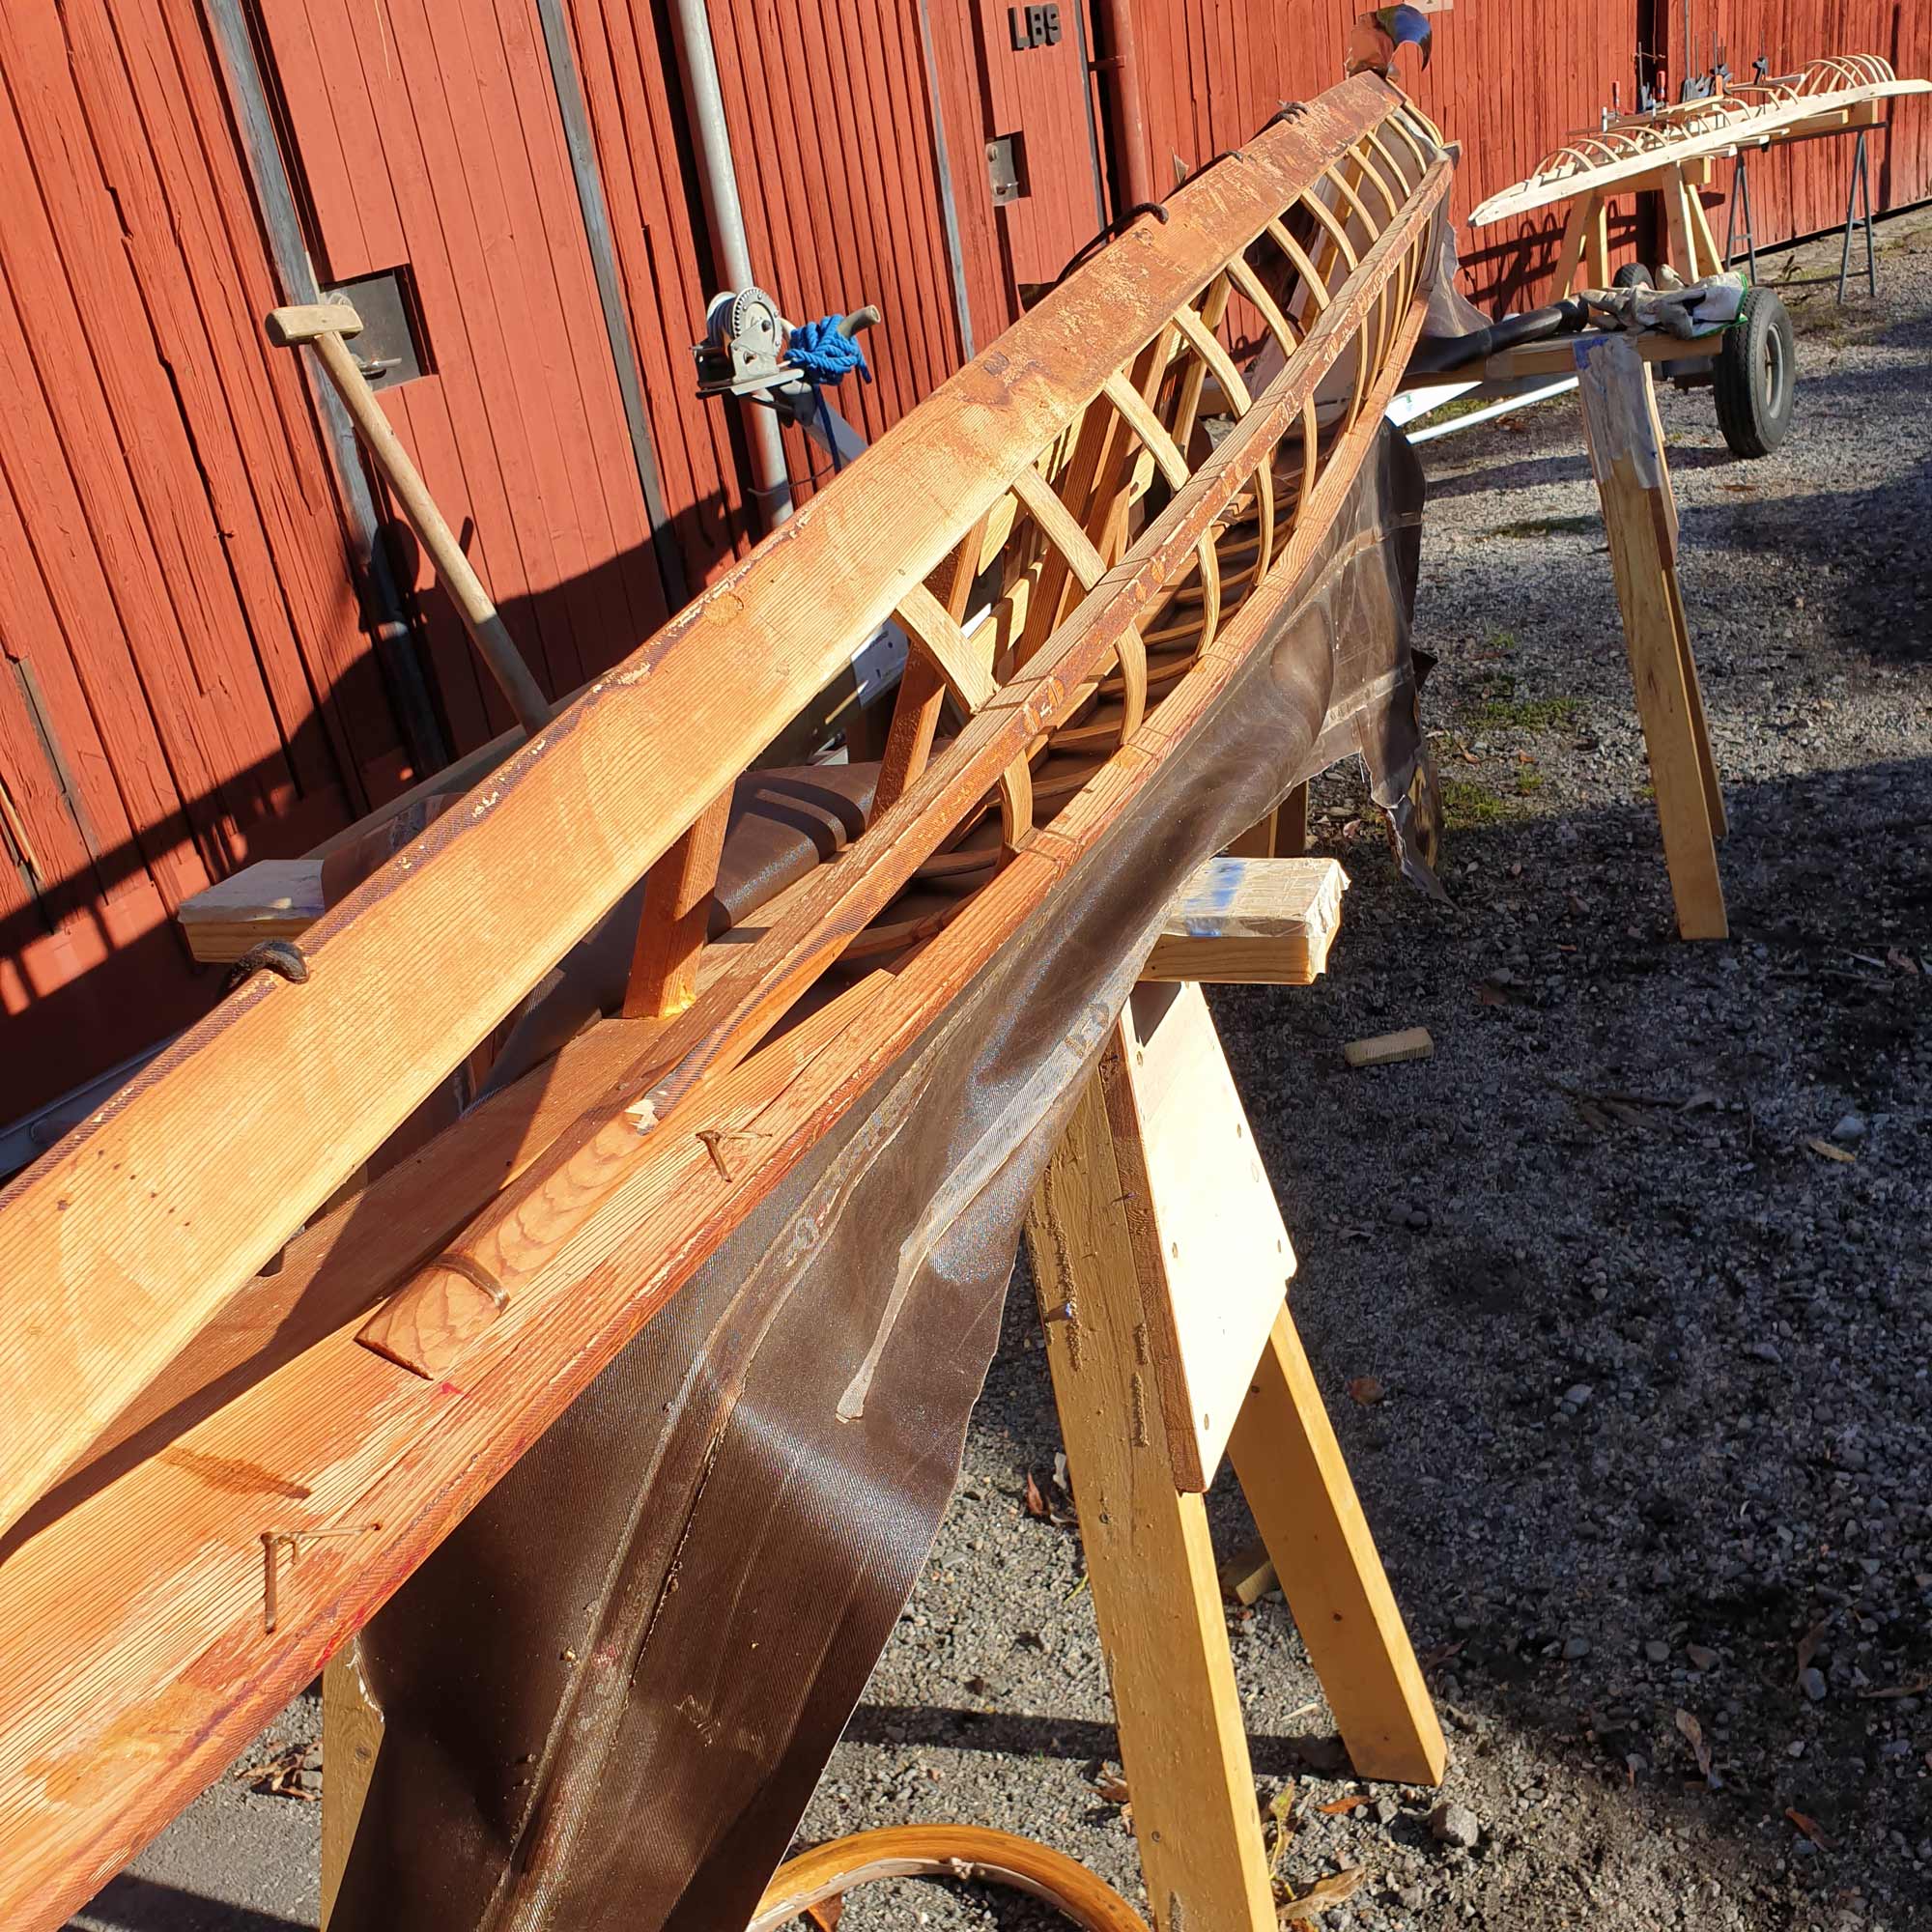
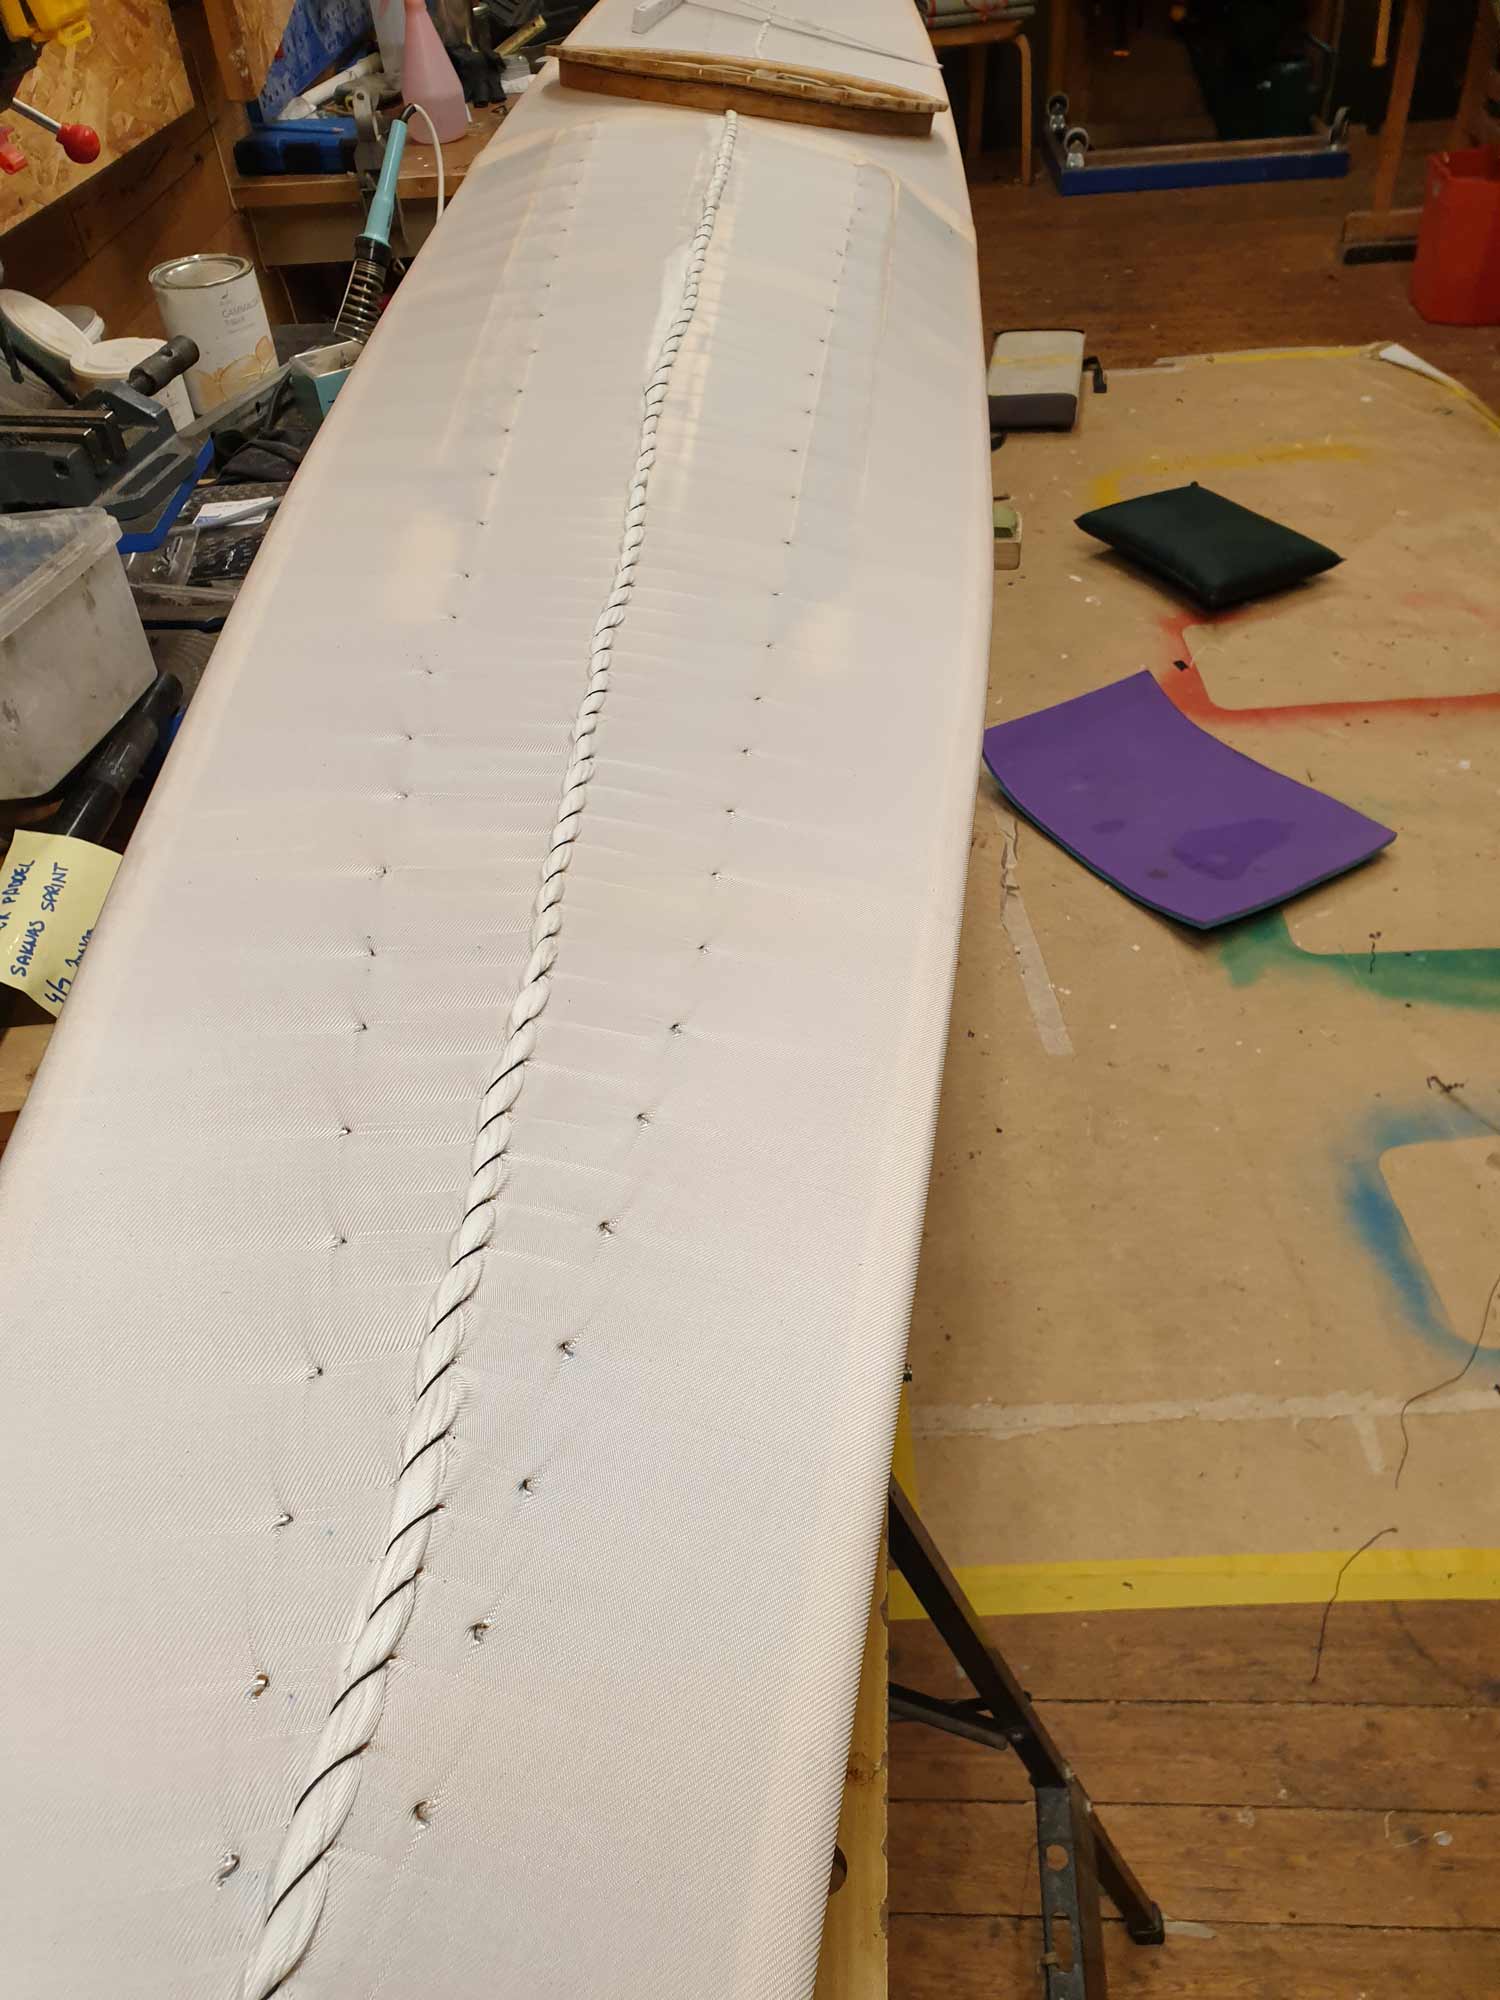
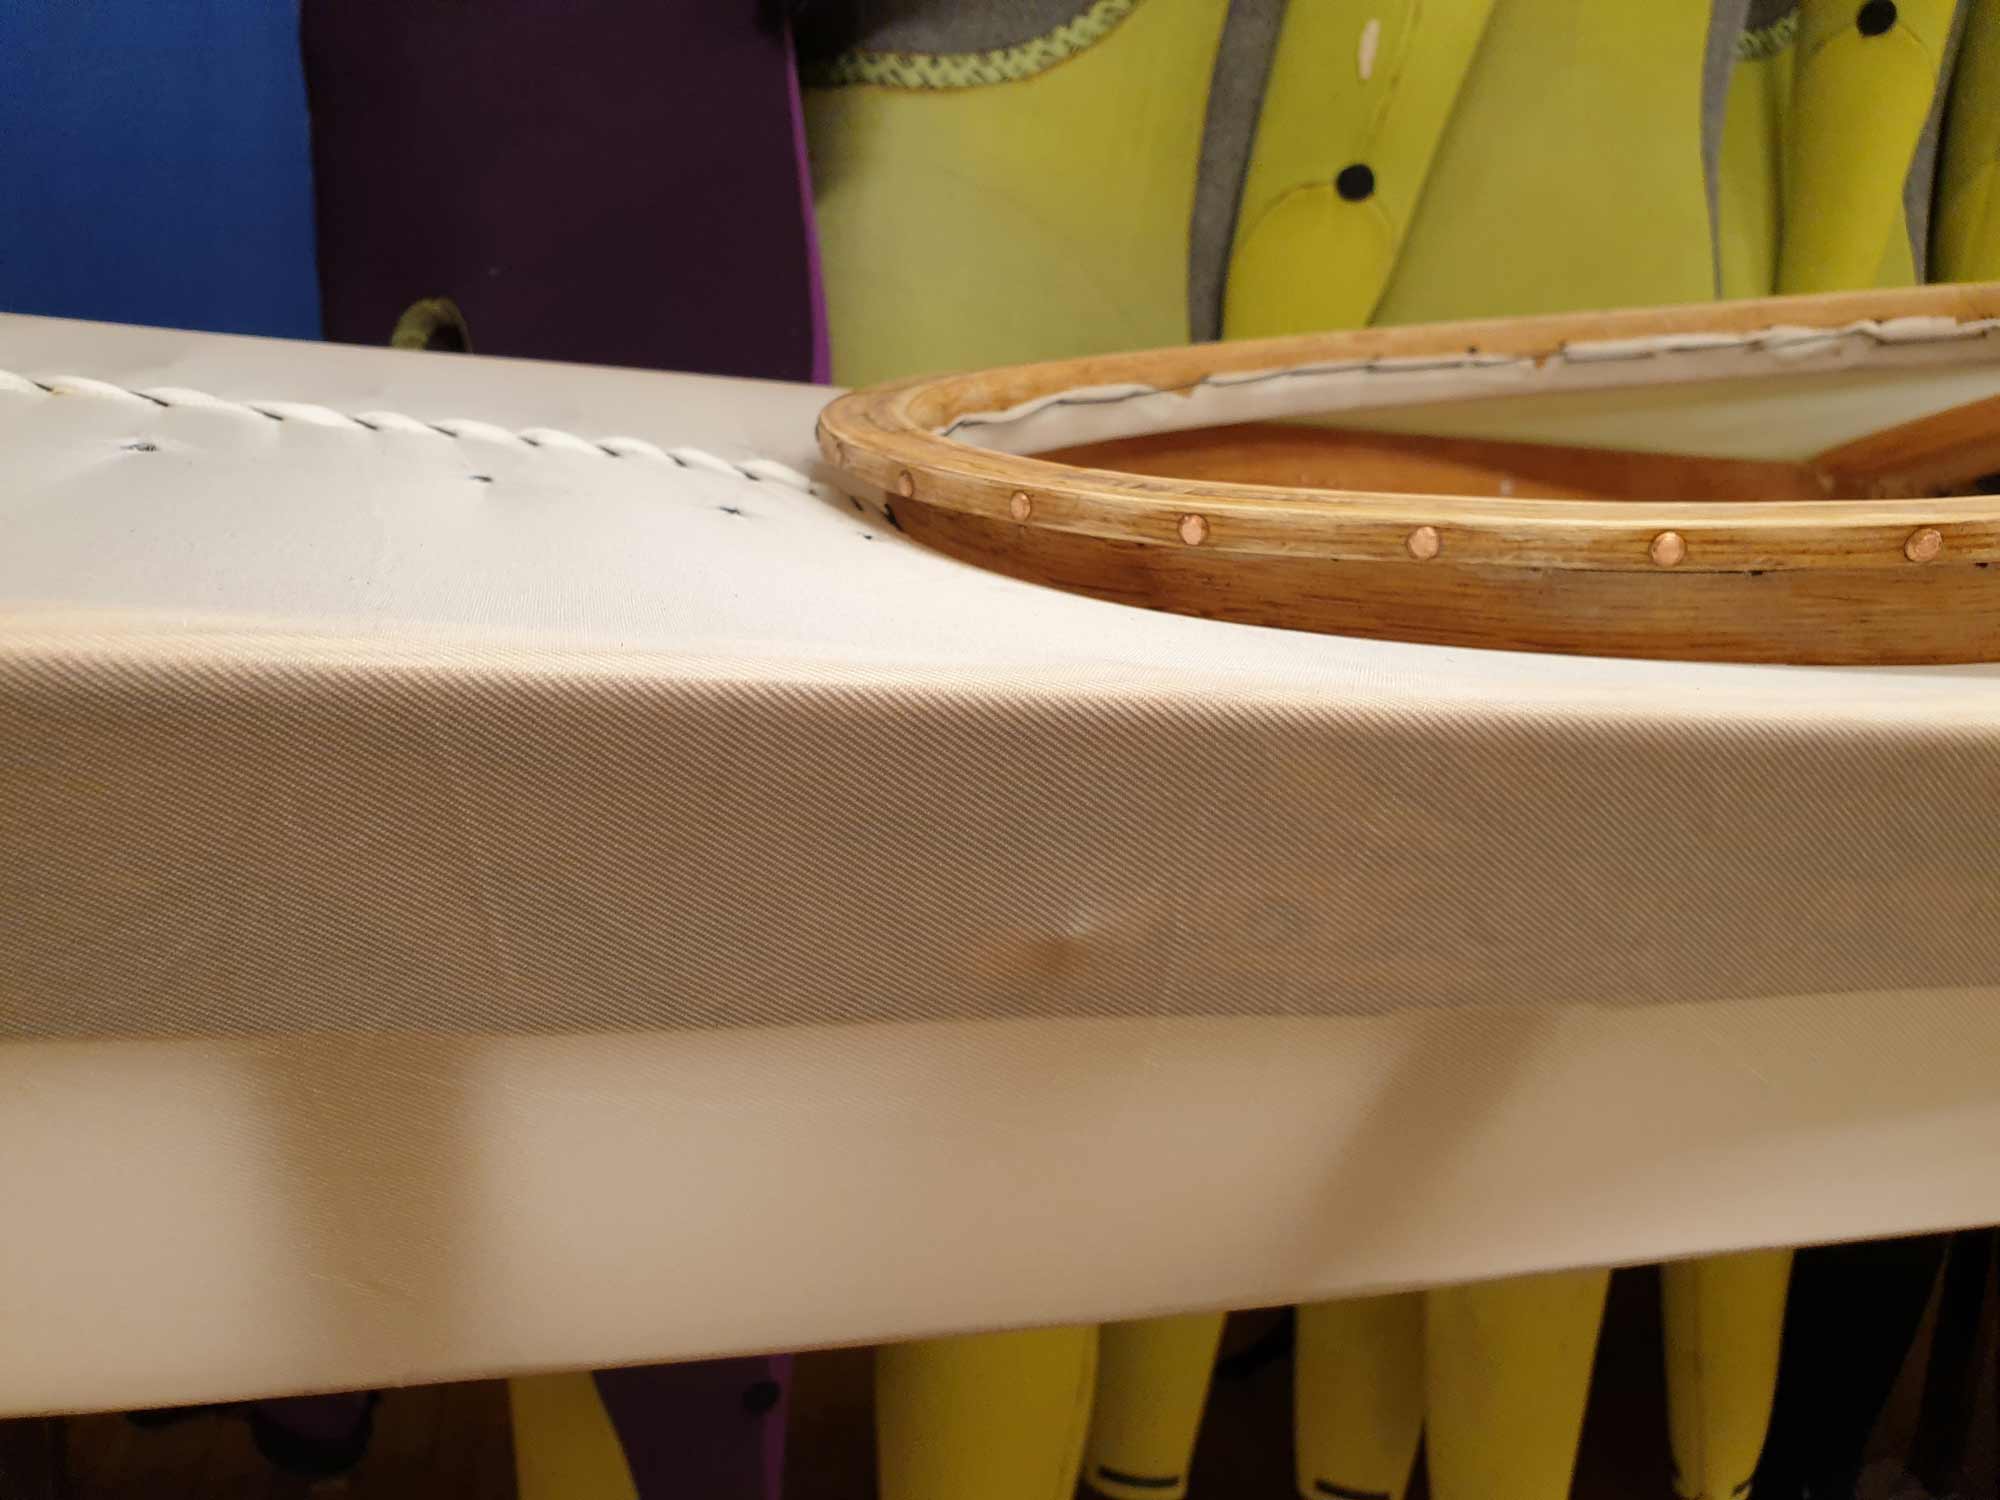
Well, now for skinning and coating. First the standard sewing pictures.
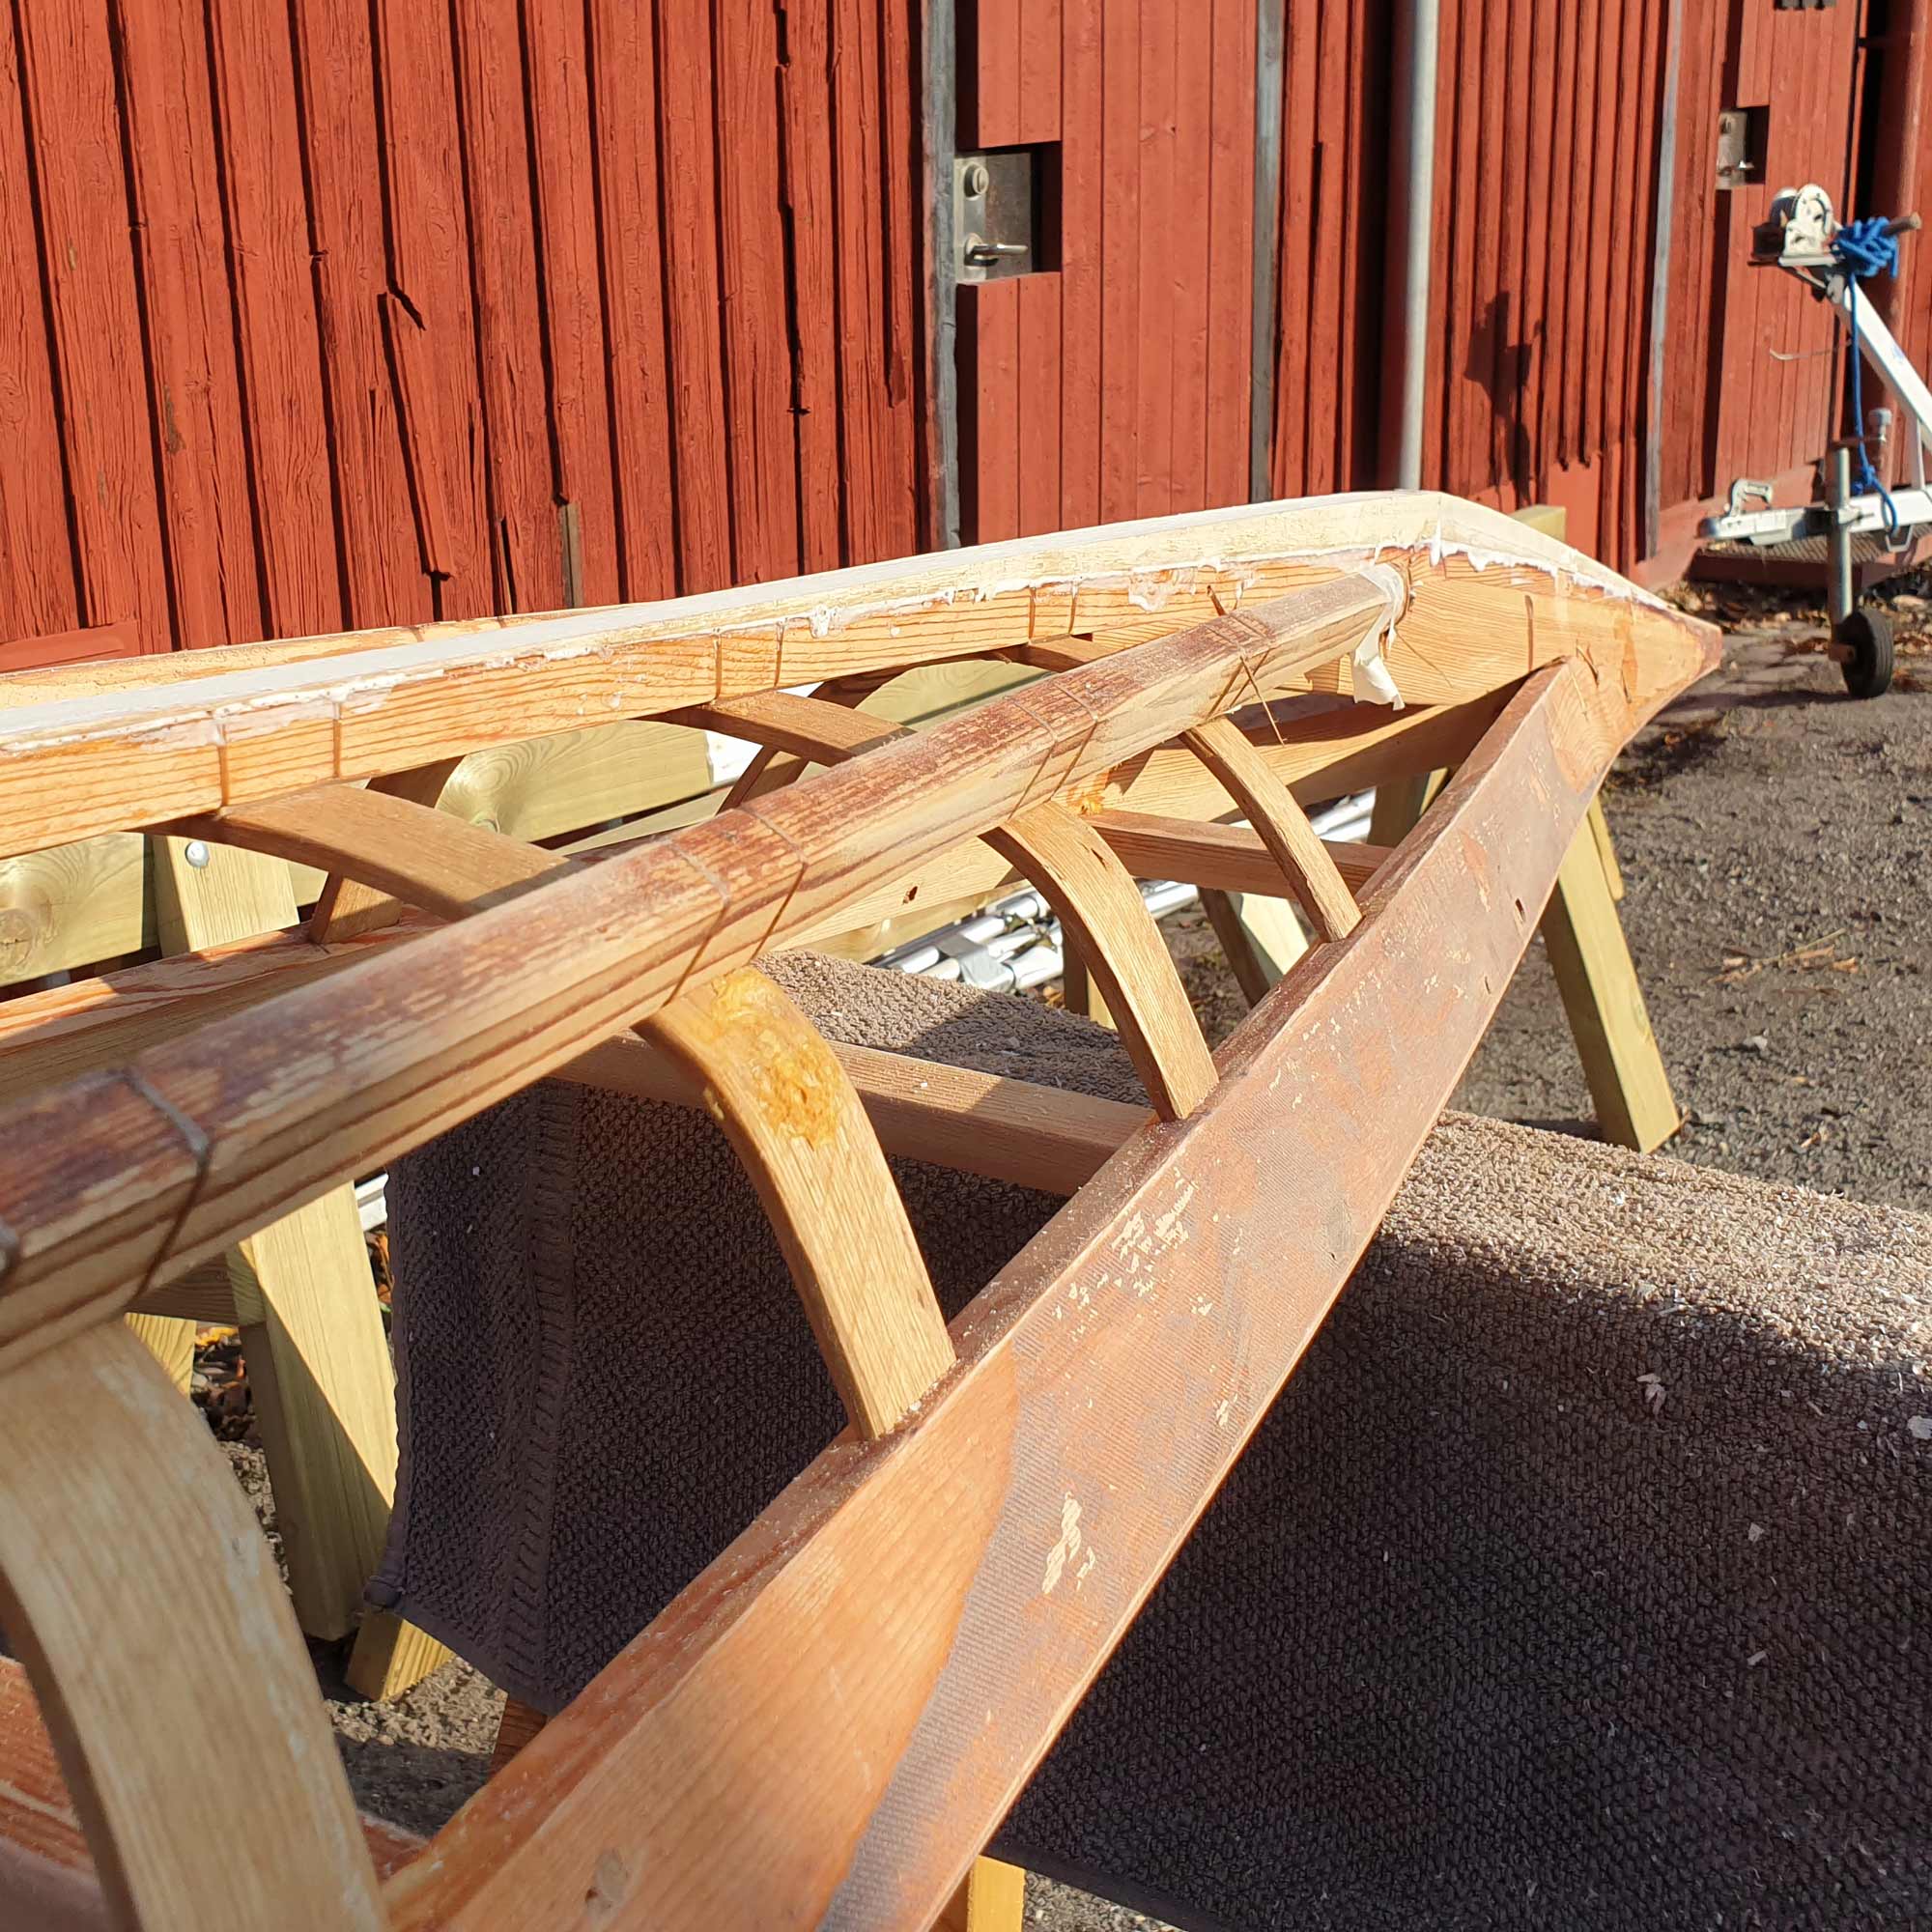
I lower the Isserfik, the beam behinf the cockpit, all the way to the bottom of the Gunwhale on all my kayak builds nowadays. It makes for an easier entry and is softer on your back when leaning aft, like in aft finishing rolls. Because the coaming flexes up and down with the skin, I have no fear of getting stuck, neither with body nor jacket/sprayskirt, contrary to what some local experts might say. That way your coaming line is a few centimeters higher when paddling, but lower when rolling or getting in and out of the kayak.
If training for security is not your thing, maybe you should look elsewhere 😉

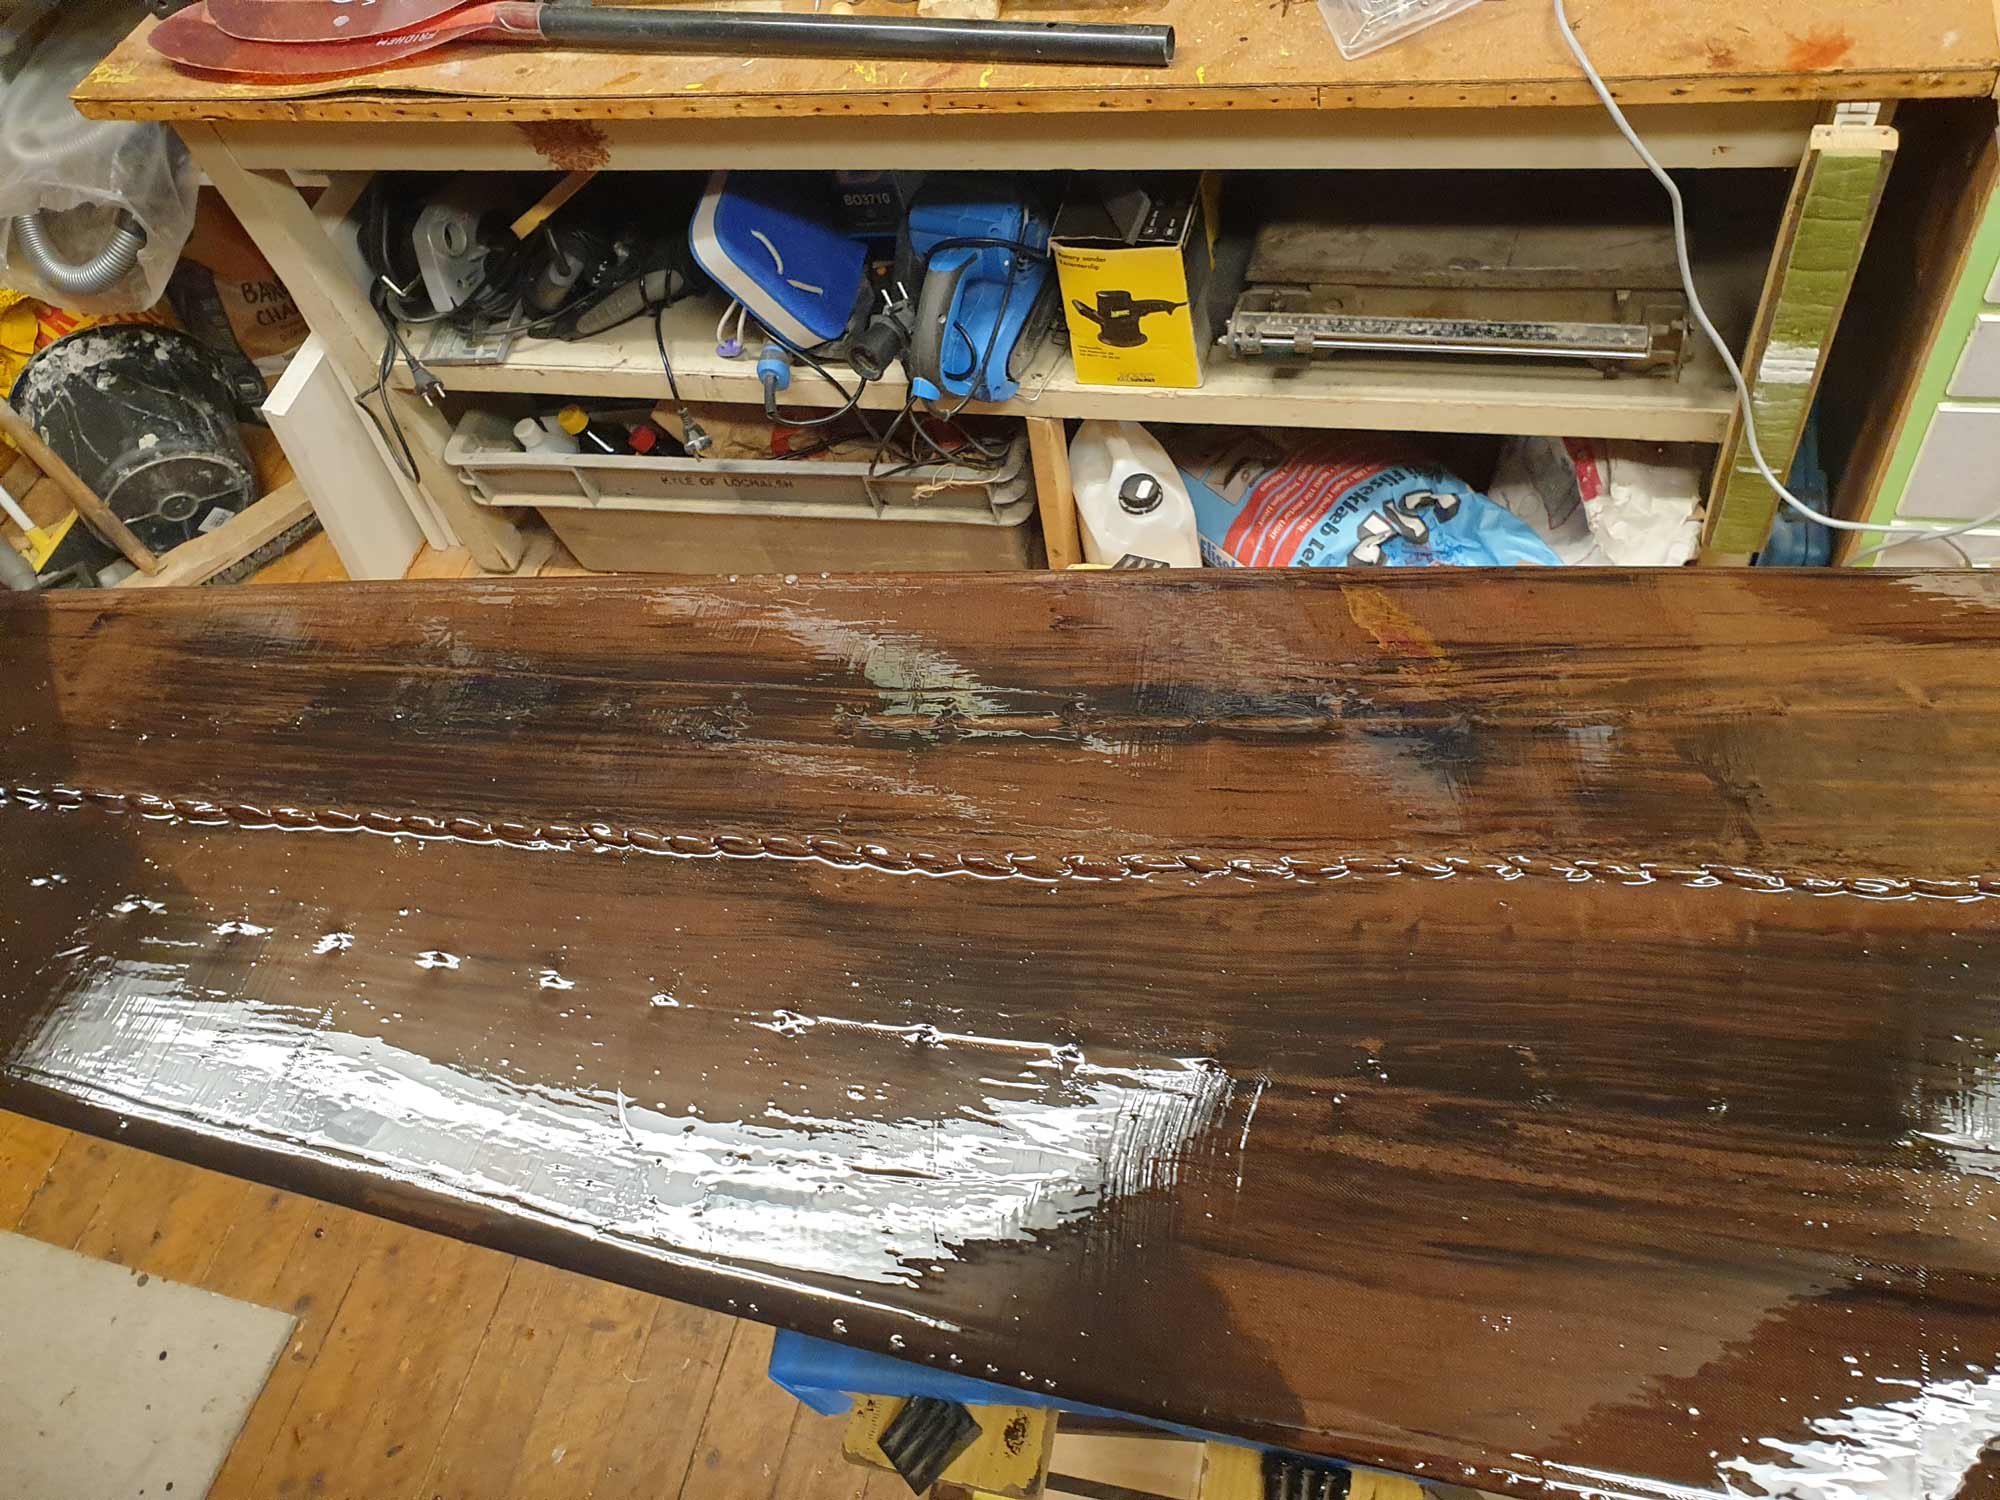
I totally botched my PU with a lovely excrement brown color, so I winged it (again) and sprinkled some black pigment on the second coat and then used the scraper on it. I sure liked the old color, before the reskinning…Someone comforted me with saying it’s Mahogany-like. Oh well, I’ll settle for that then!

Now for the verdict: after the reskinning, lowering and moving the coaming and adding some keel, the kayak does exactly what it’s supposed to. It is quite friendly to paddle and gives precise feedback. I have surfed it, paddled it in streaming waters backwards for show and there are no surpises.
However, be advised. A surfing kayak is good for surfing, a whitewater kayak for exactly that. This is a very long, sleek, narrow and light low volume kayak. It has sharp stems (ends) that will potentially get abruptly stuck, resulting in catastrophic failure of the kayak and potentially even you, in any shallow water.
What it does best is day cruising with a greenland paddle and rolling, perhaps without one.