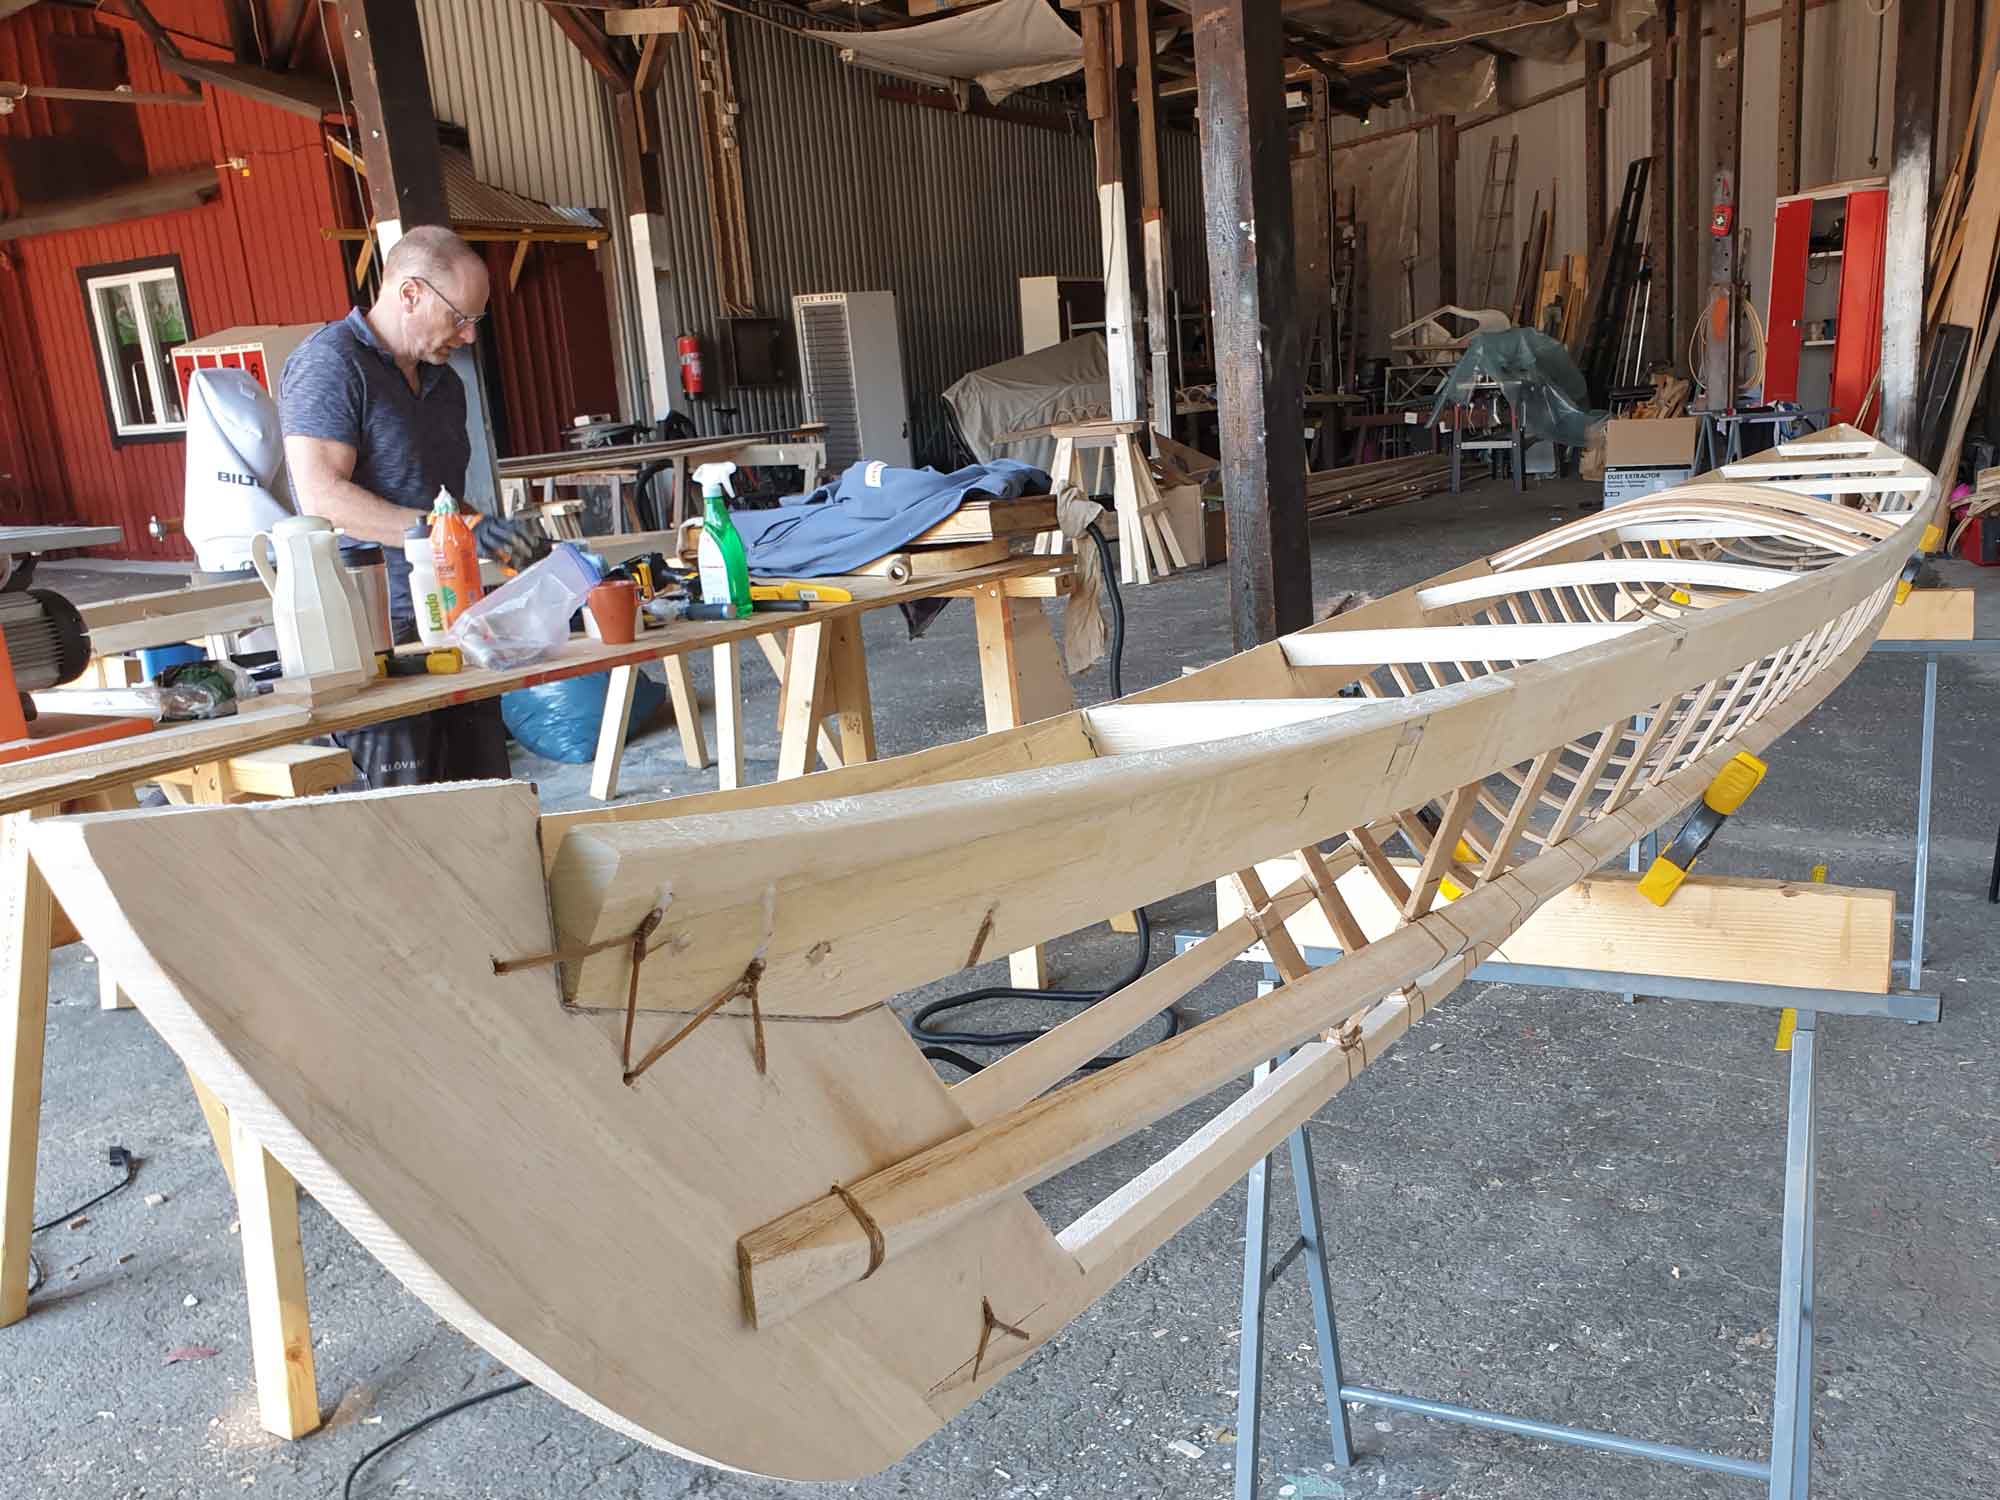
So the 5m long sticks are a mess. They need to sit with the thin end towards the ribs and they are long and unwieldly.
What to do? Start with securing a few key ribs along your kayak with a thin dowel, 3-4mm. Make sure to drill a hole through the rib tenon. Dab a dowel with glue and punch it in. Which ribs to secure is in your plans, so check them out.
Also note the stringers should be on their high end and the keel should be centered. I suppose that’s a tad too much information, right? Well, center the keel with clamps to the same ribs you secured with dowels, the same ribs where the stringers should be clamped. Check your plans once more to see the stringer heights at those locations, counting from the far side of the gunwhale to the start of the stringer, vertically at the rib location.
You might think this is easy. I don’t! I need to check the plans at least 10 times, every time. Says something about my goldfish memory…
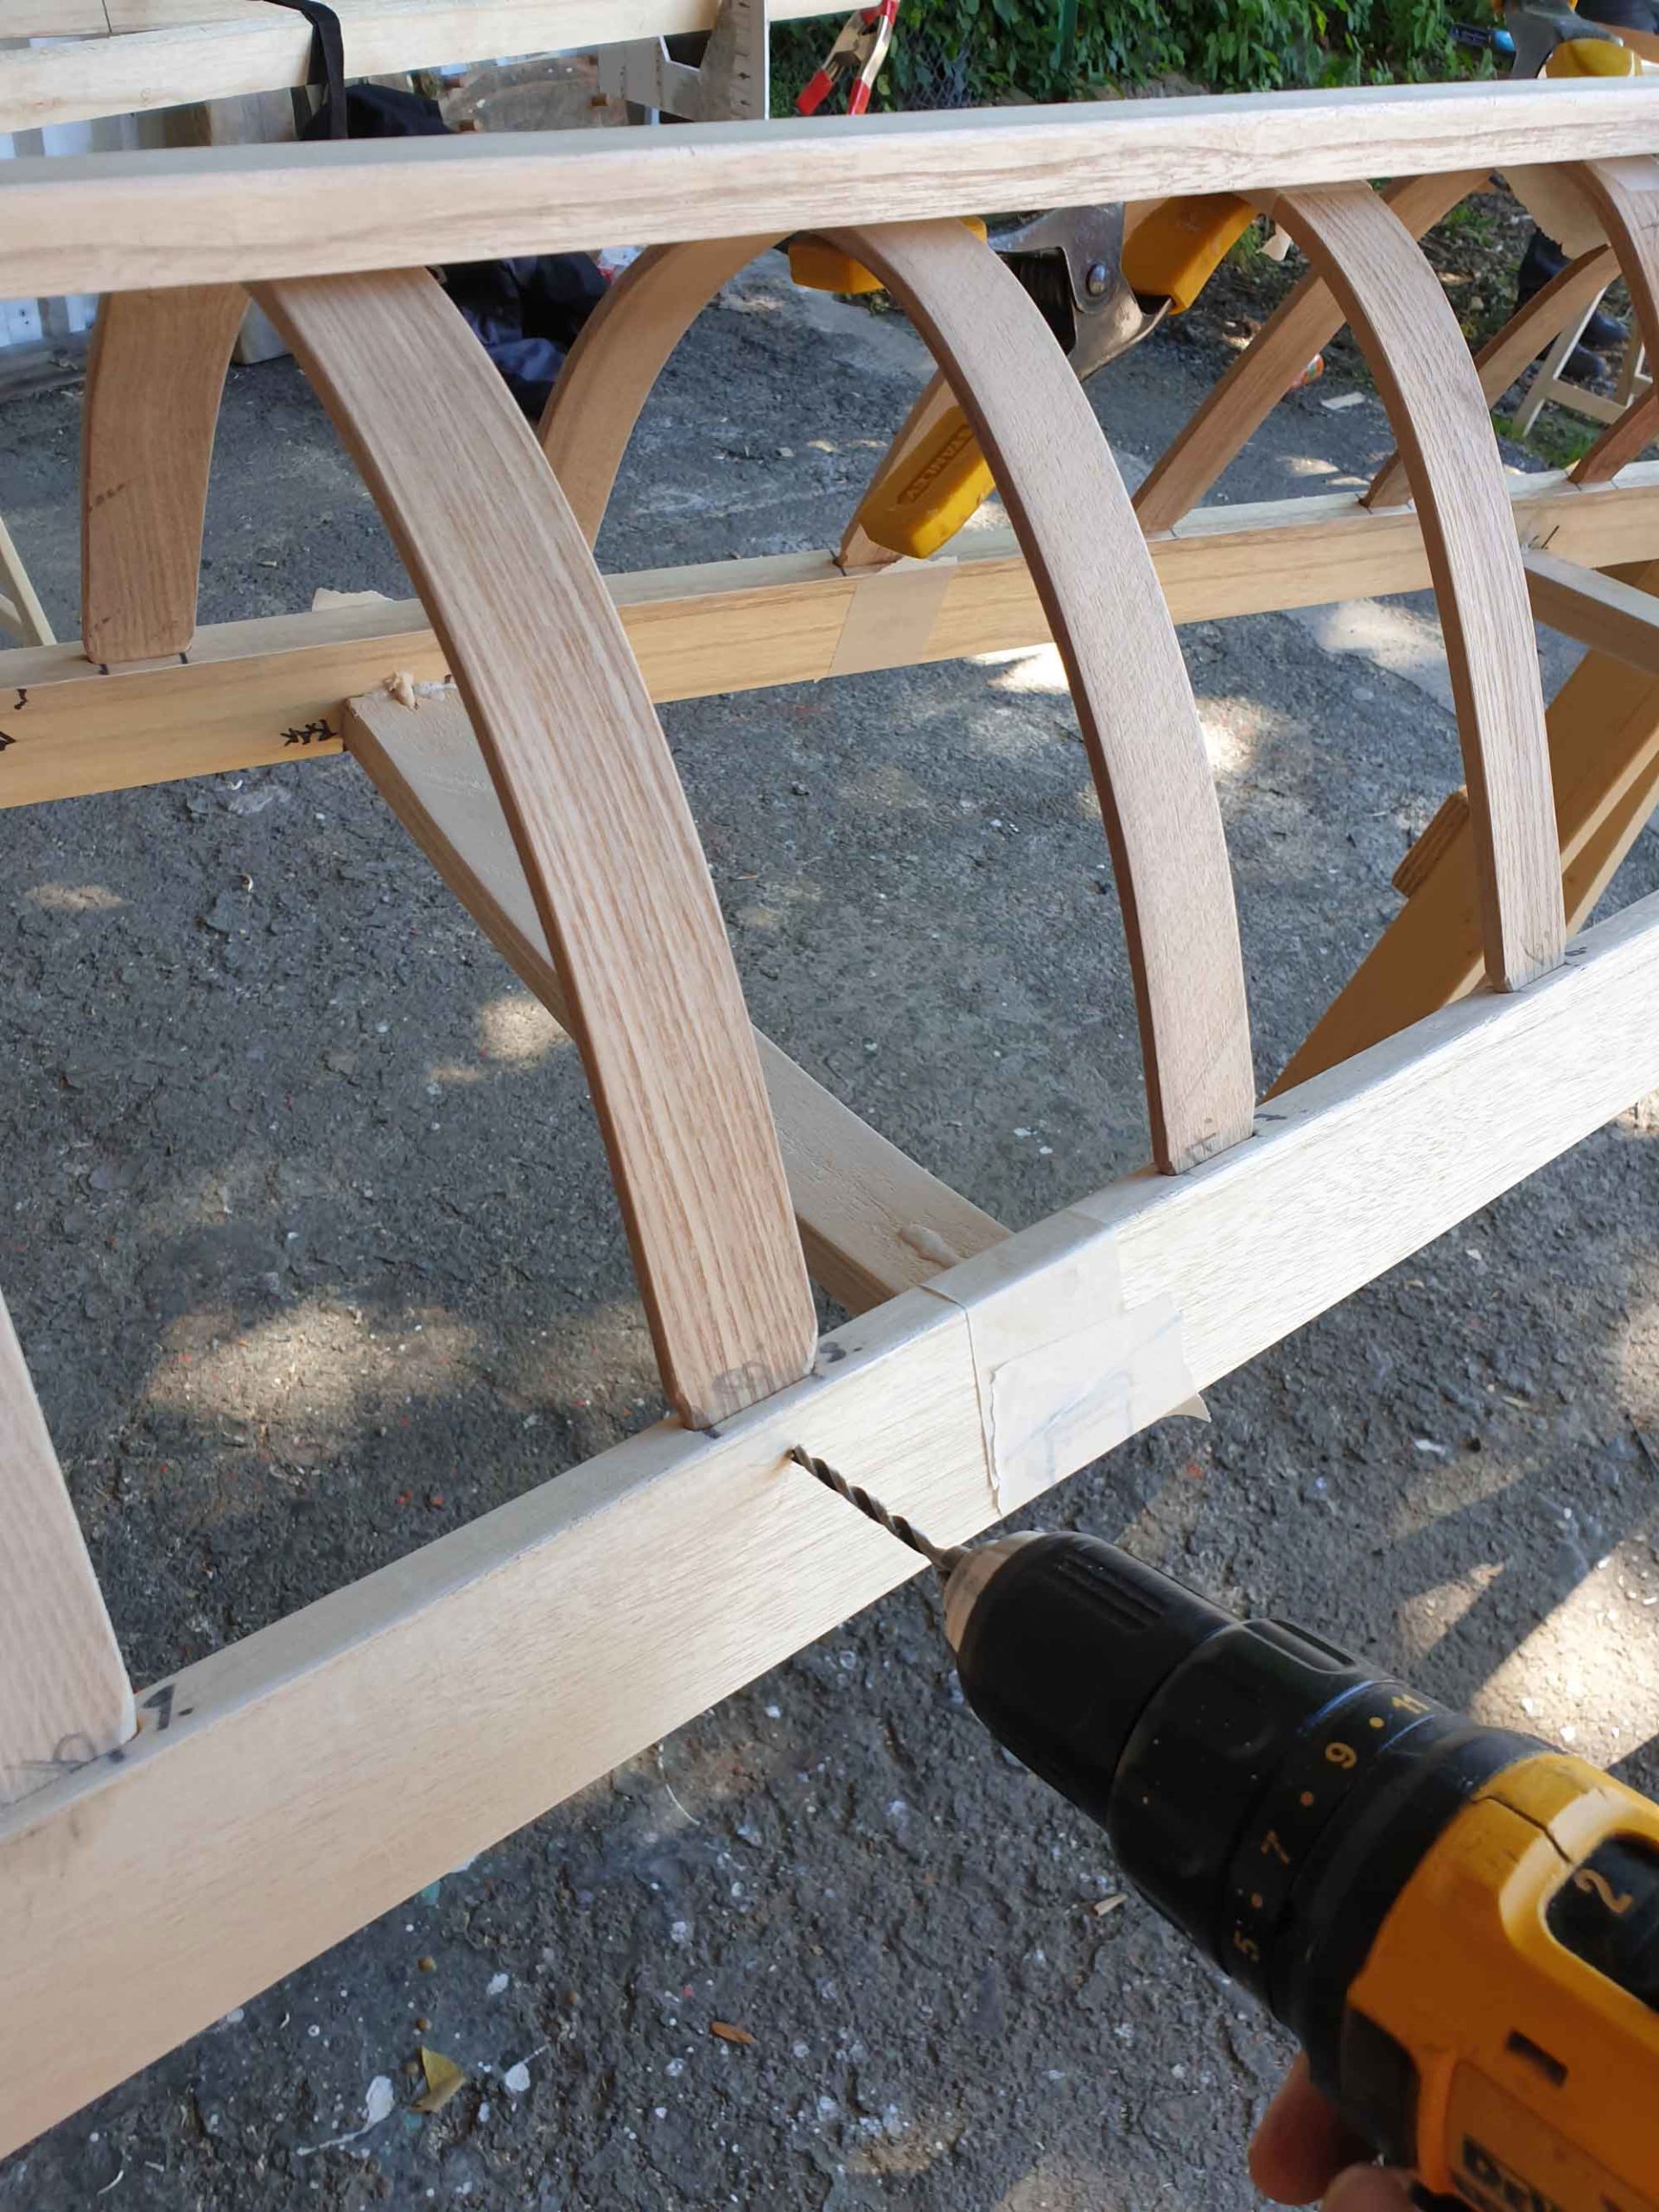
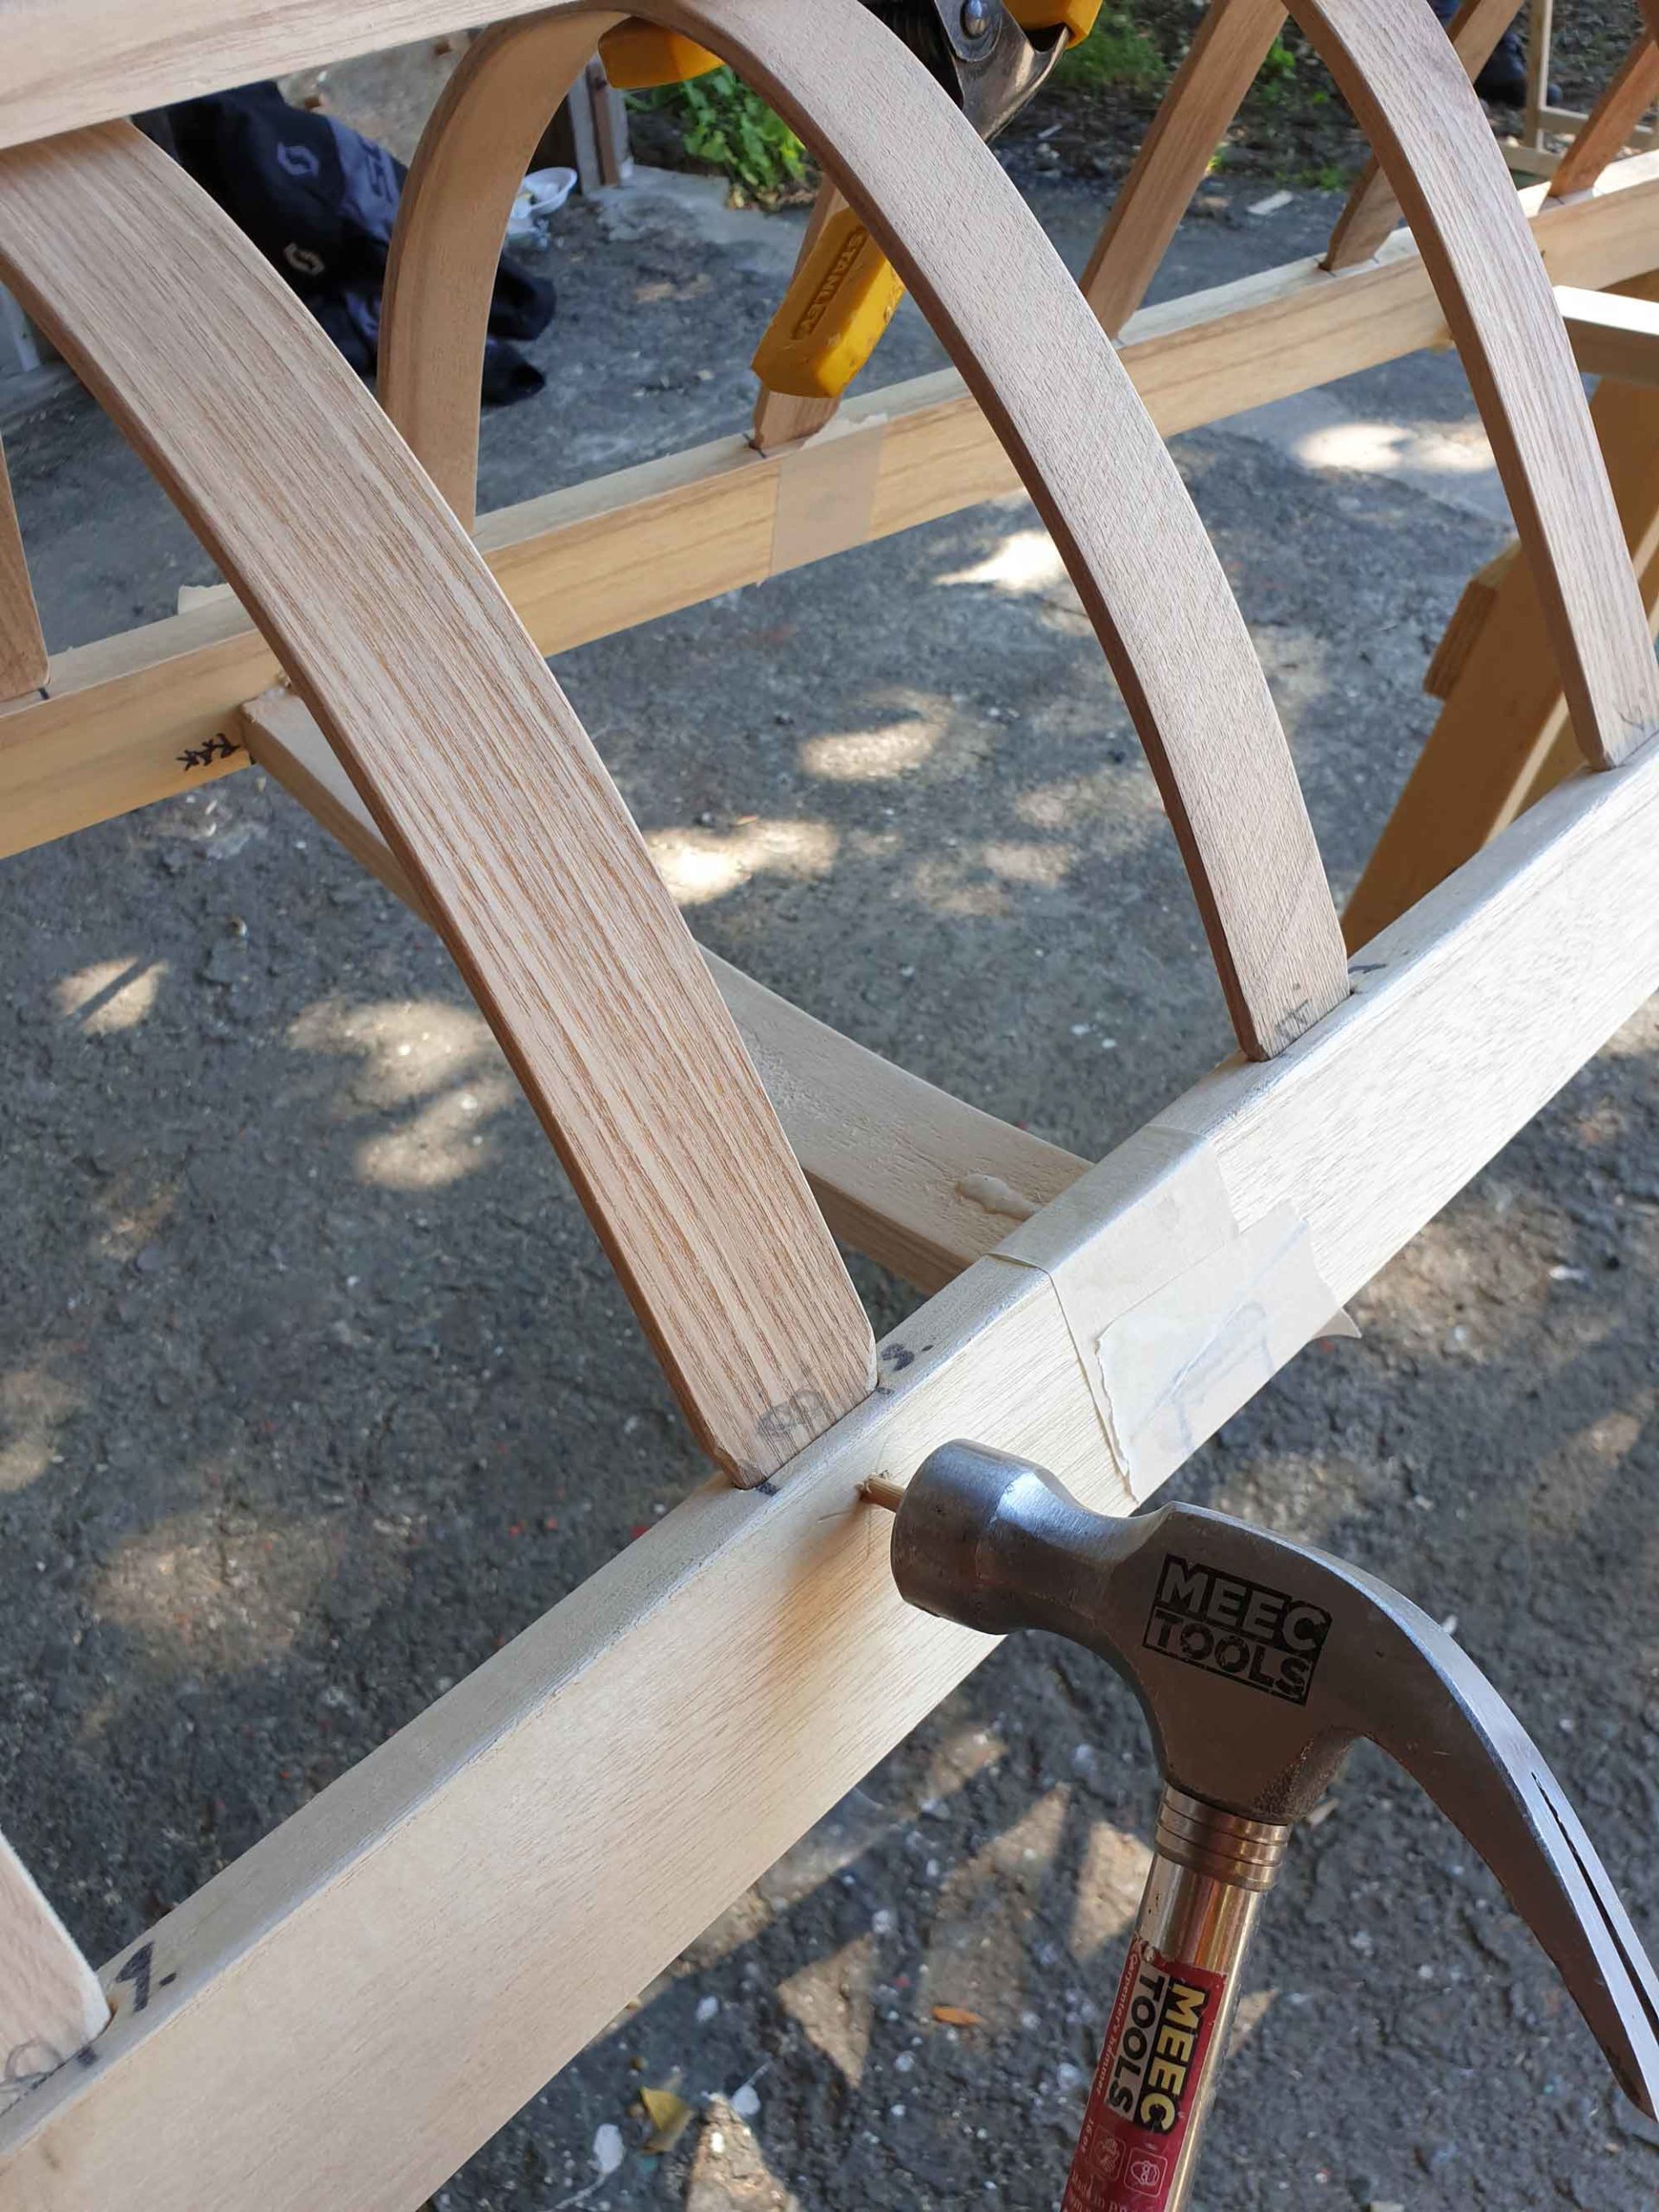
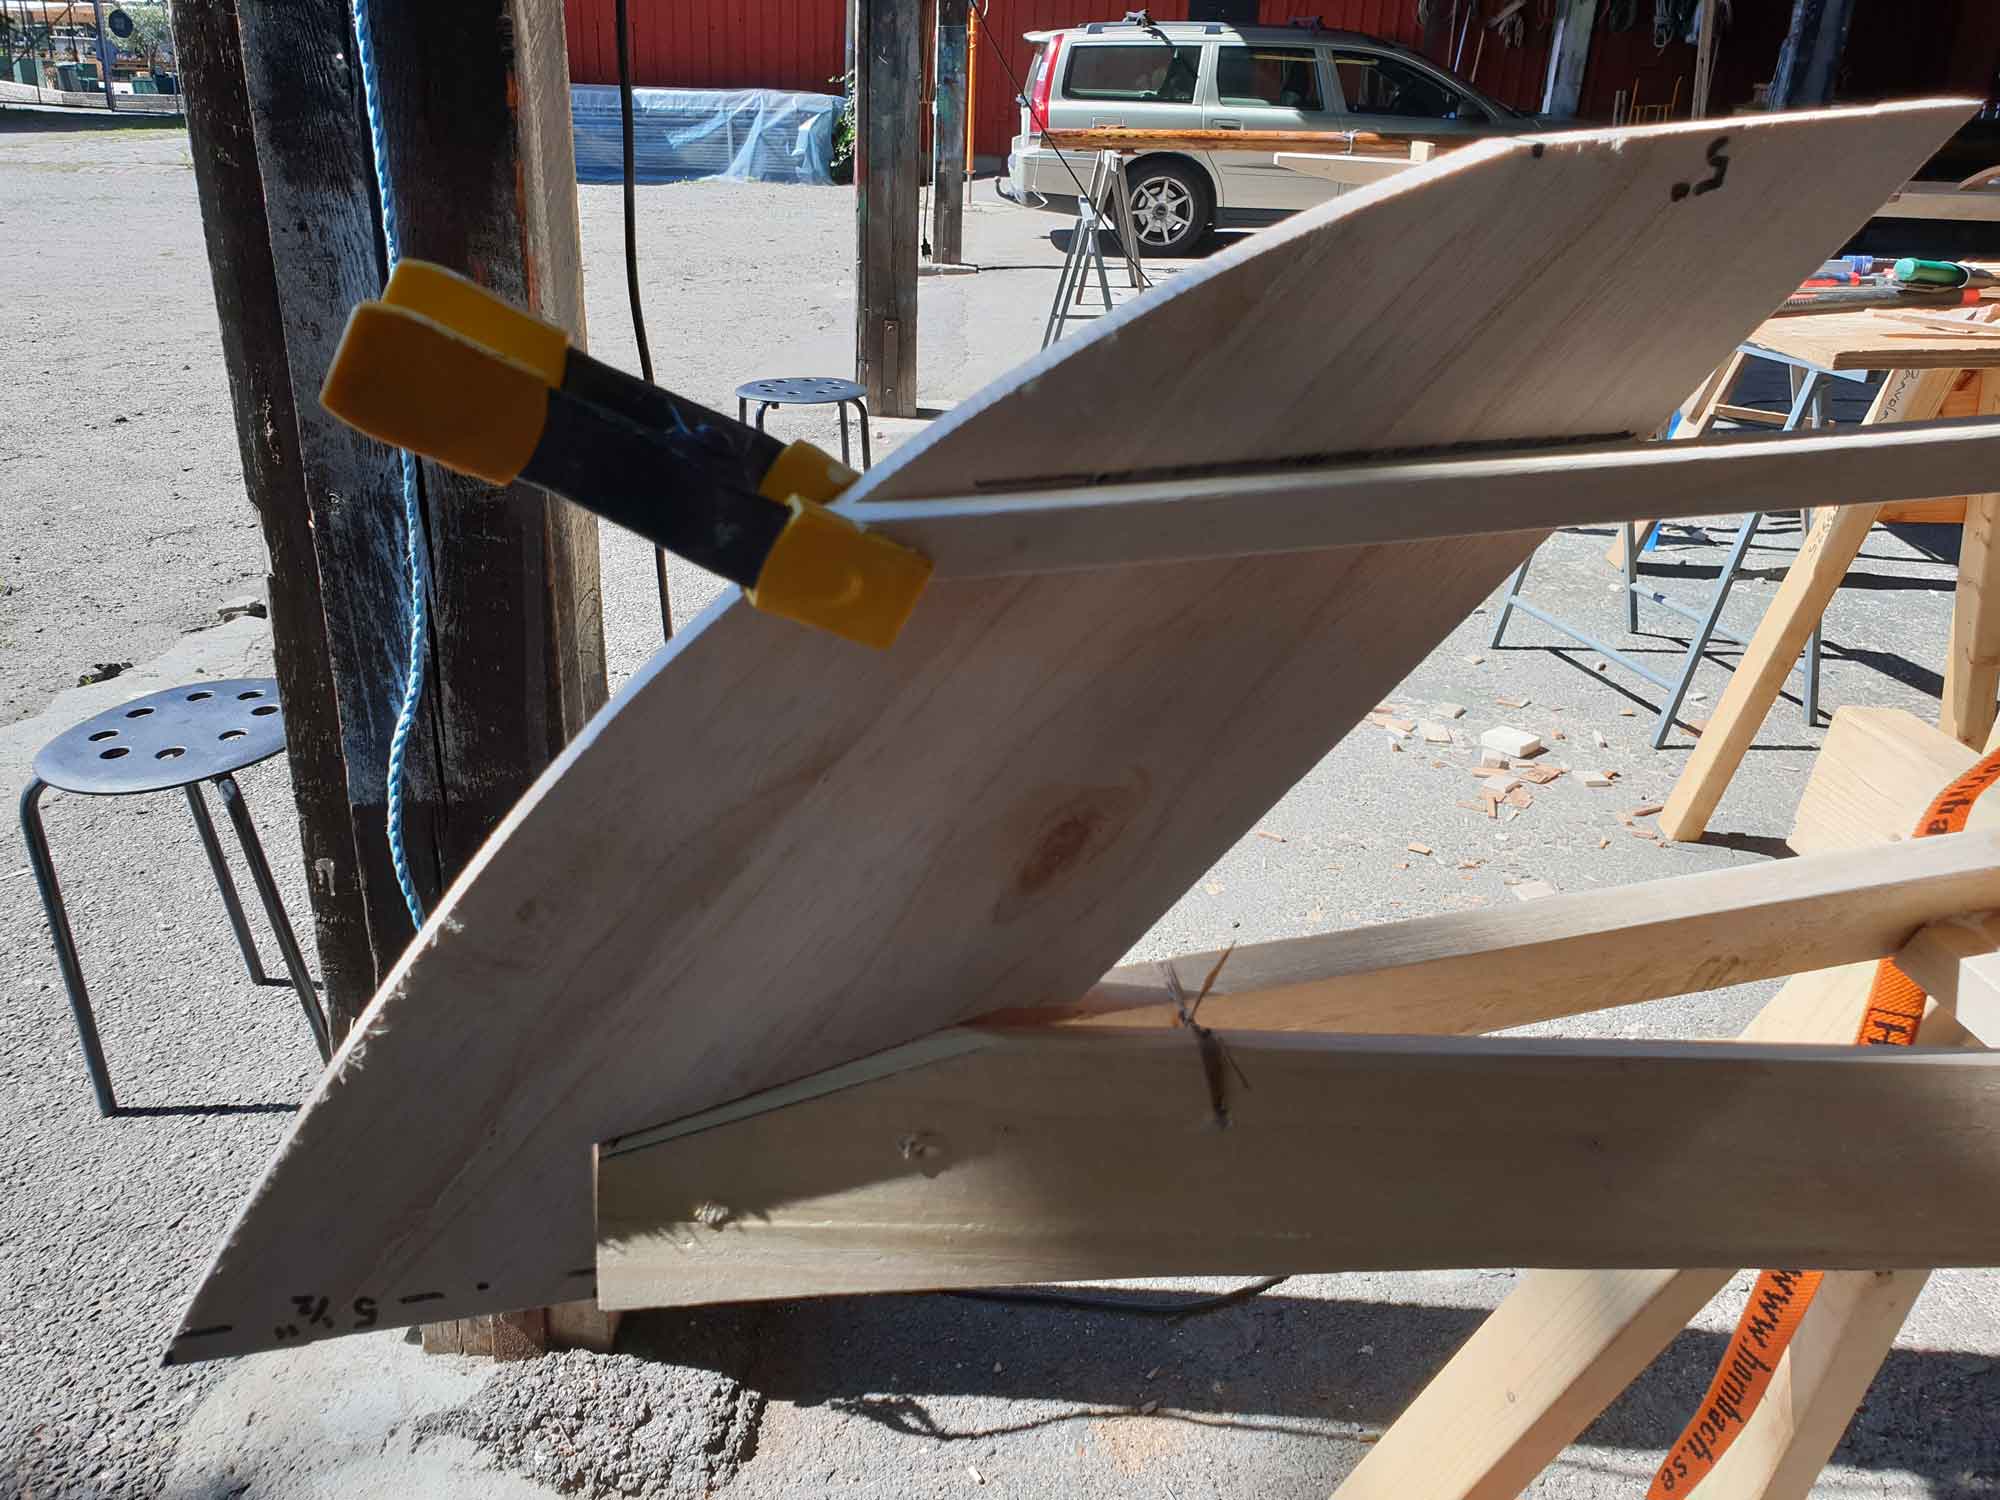
When you’re done fastening the key ribs, either with dowels or any other means, you have an attachment point where you can trust the height. If you don’t attach at least some ribs, they can slip out of their mortise and all of a sudden you have a kayak with 50 liters more volume…worst case 😉
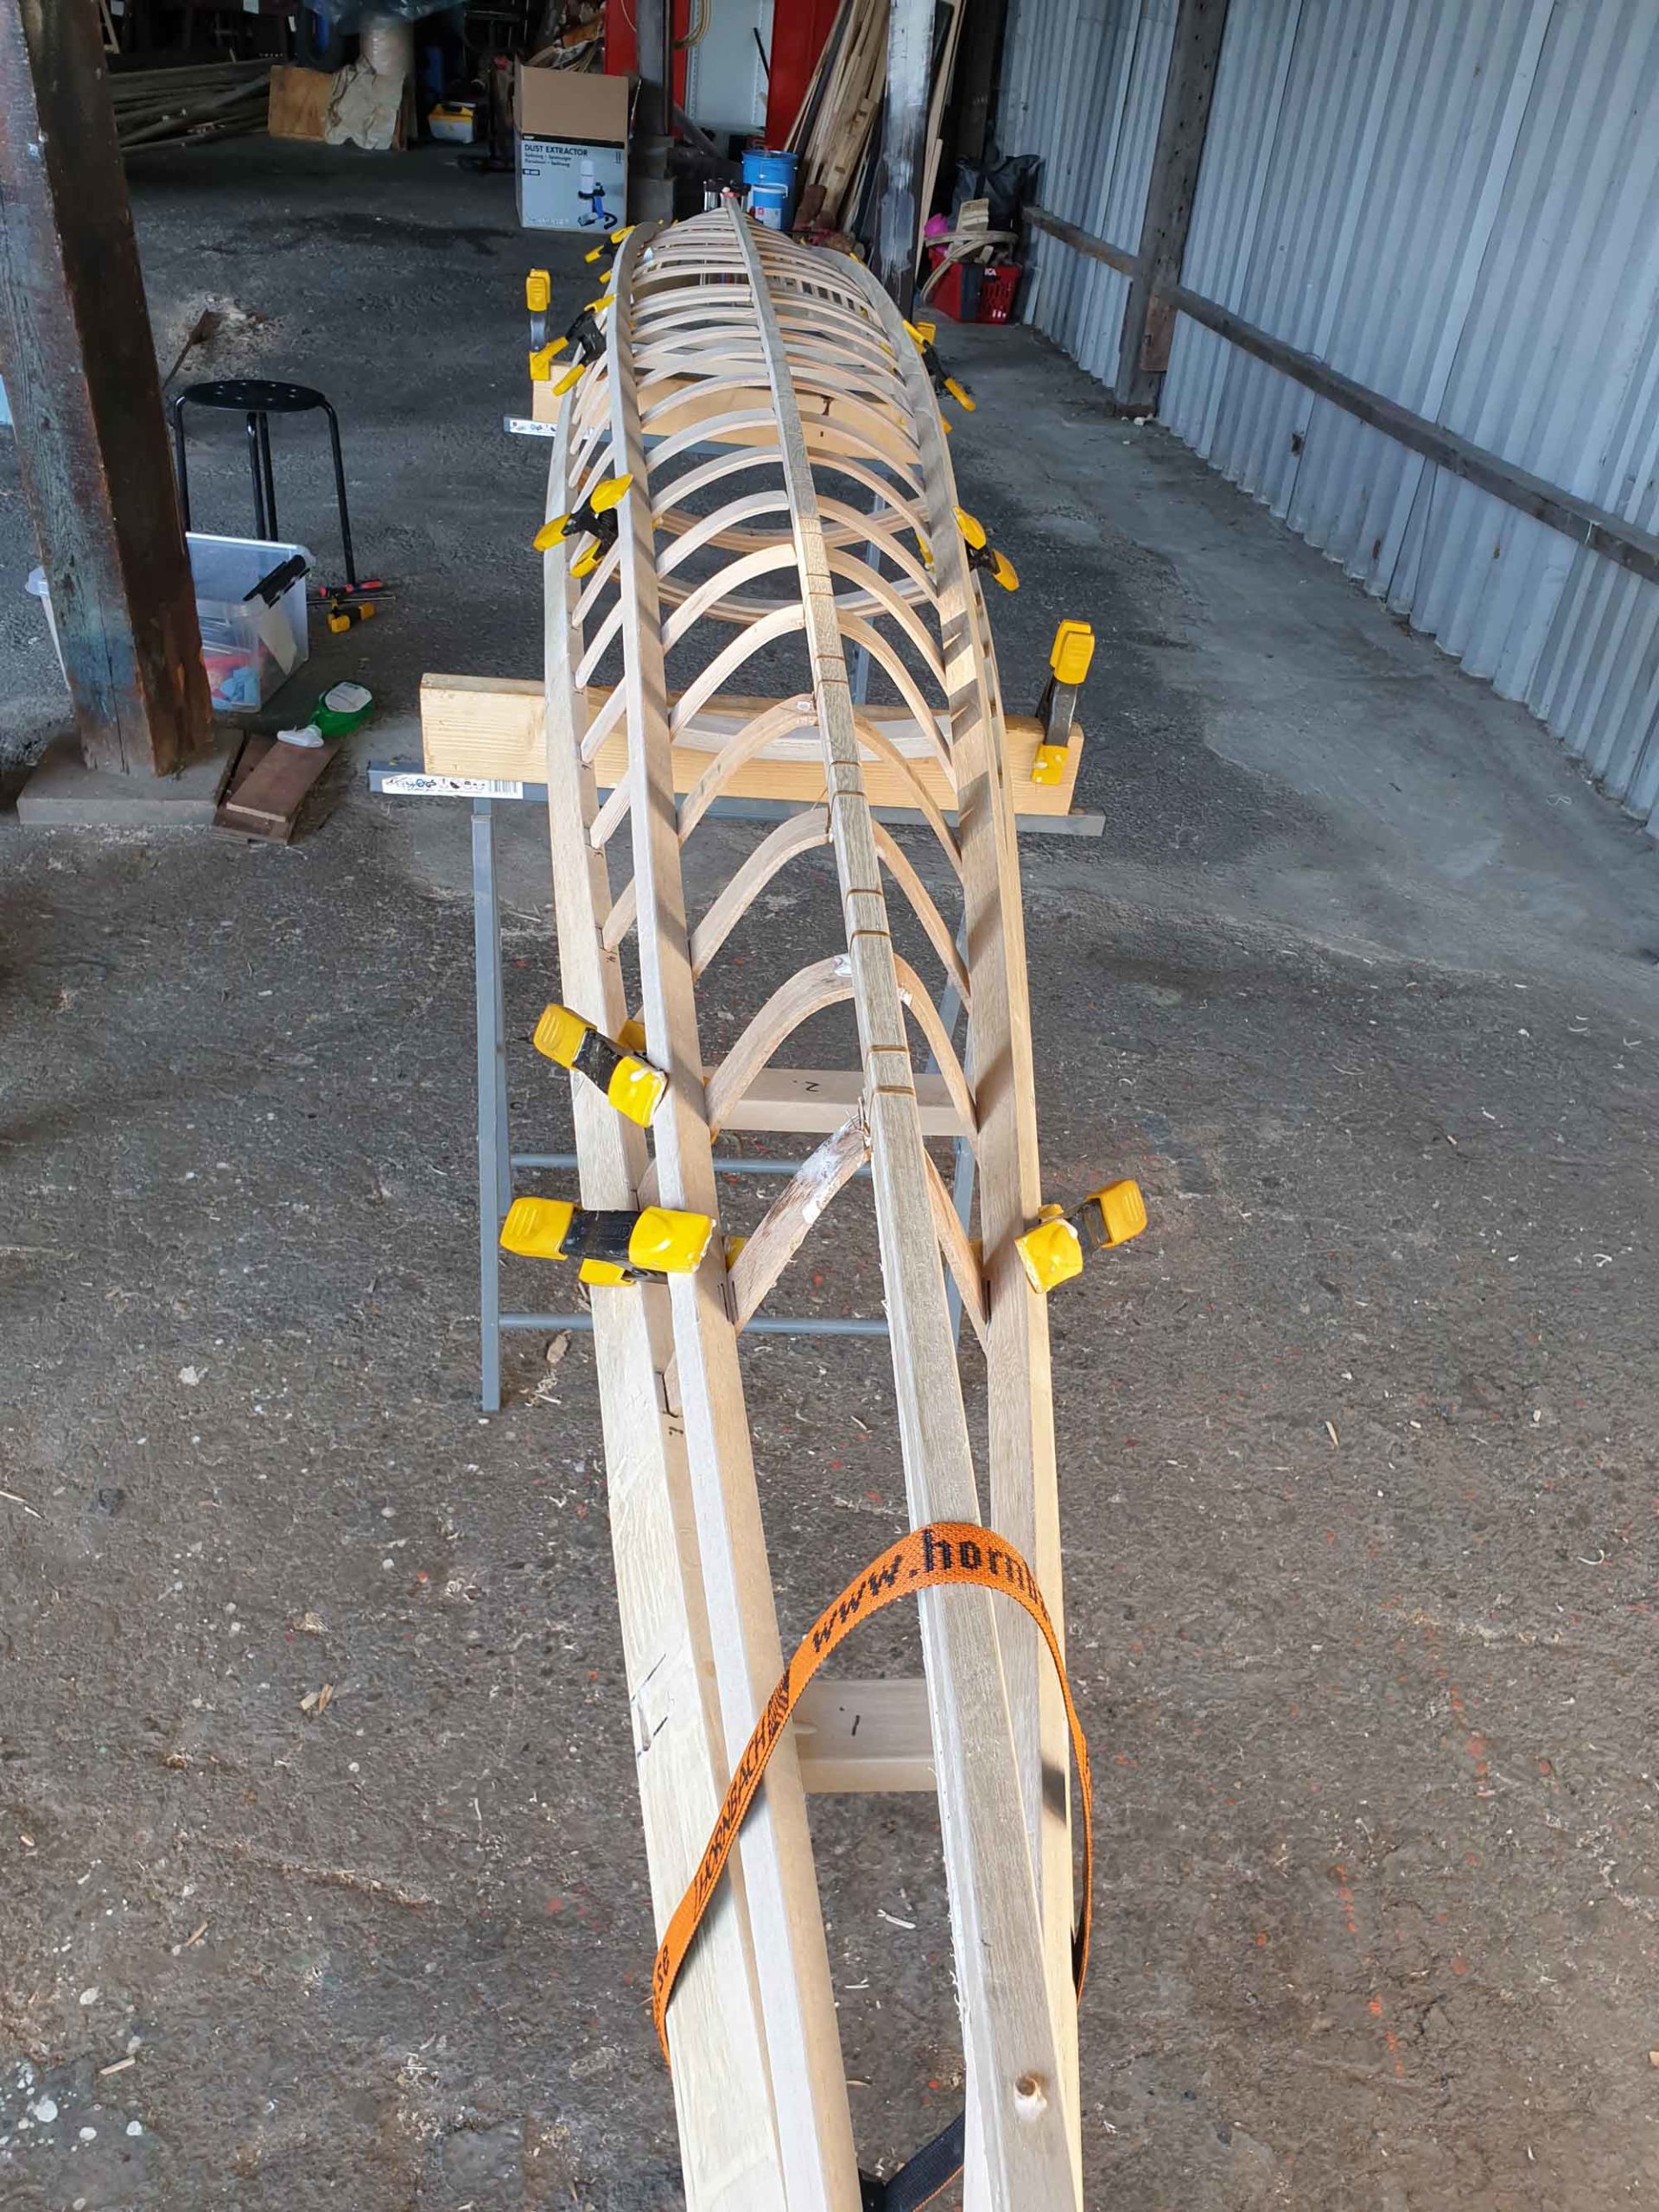
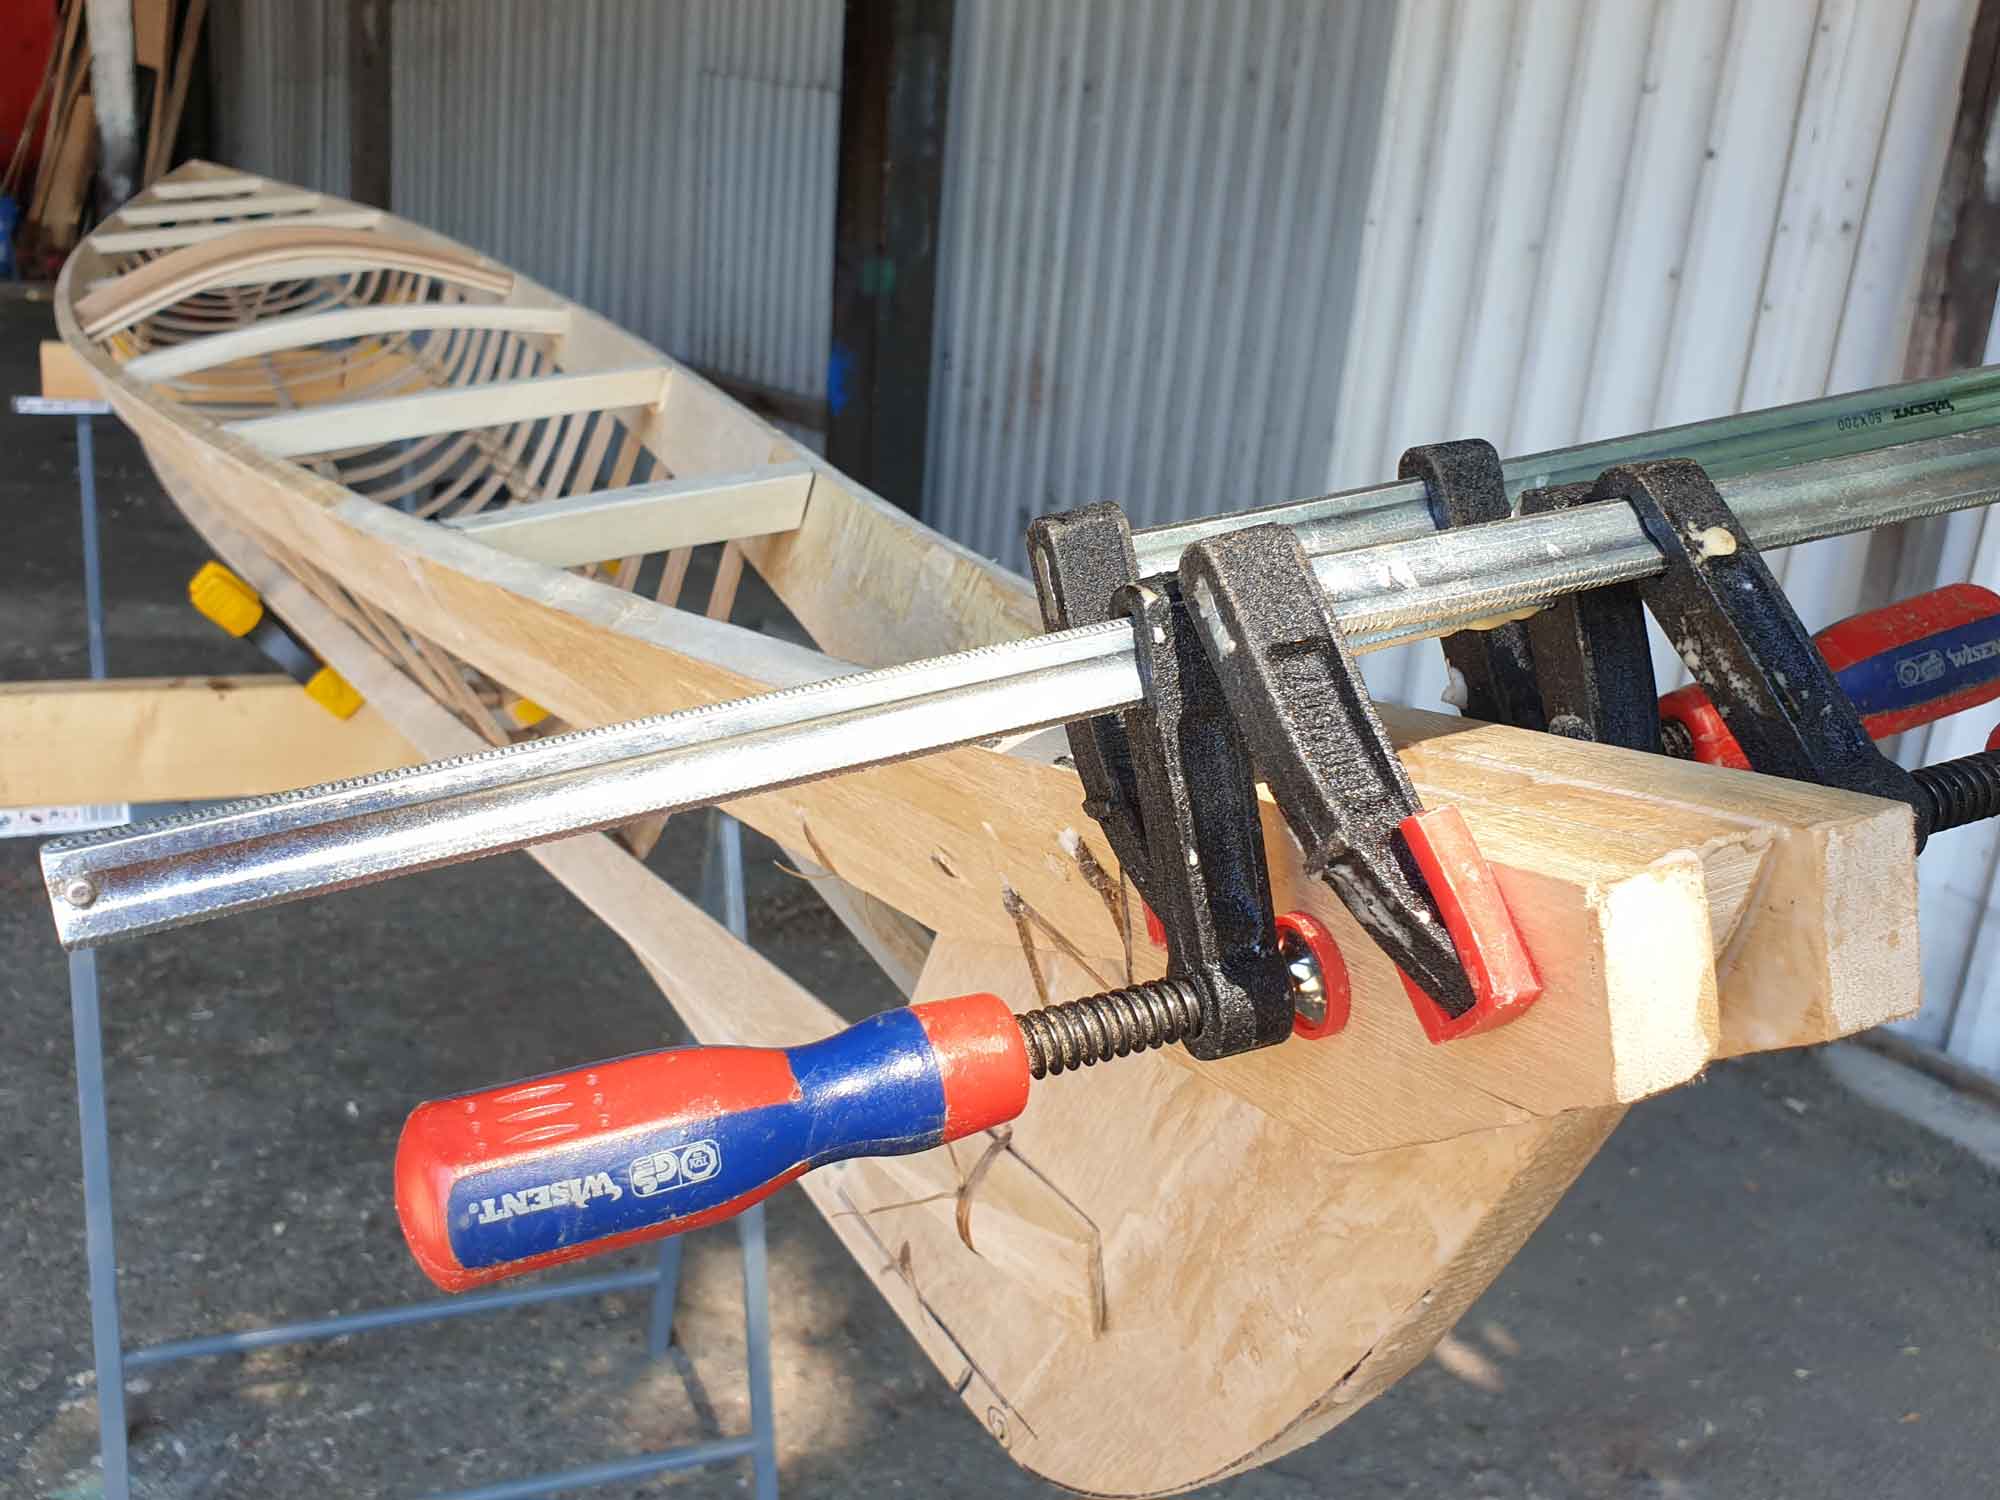
Clamp on the keel first. Start in the middle, put one clamp in front and then one in the back. Measure the center. Watch in awe the kayak’s and the wood’s magical lines come into existence!
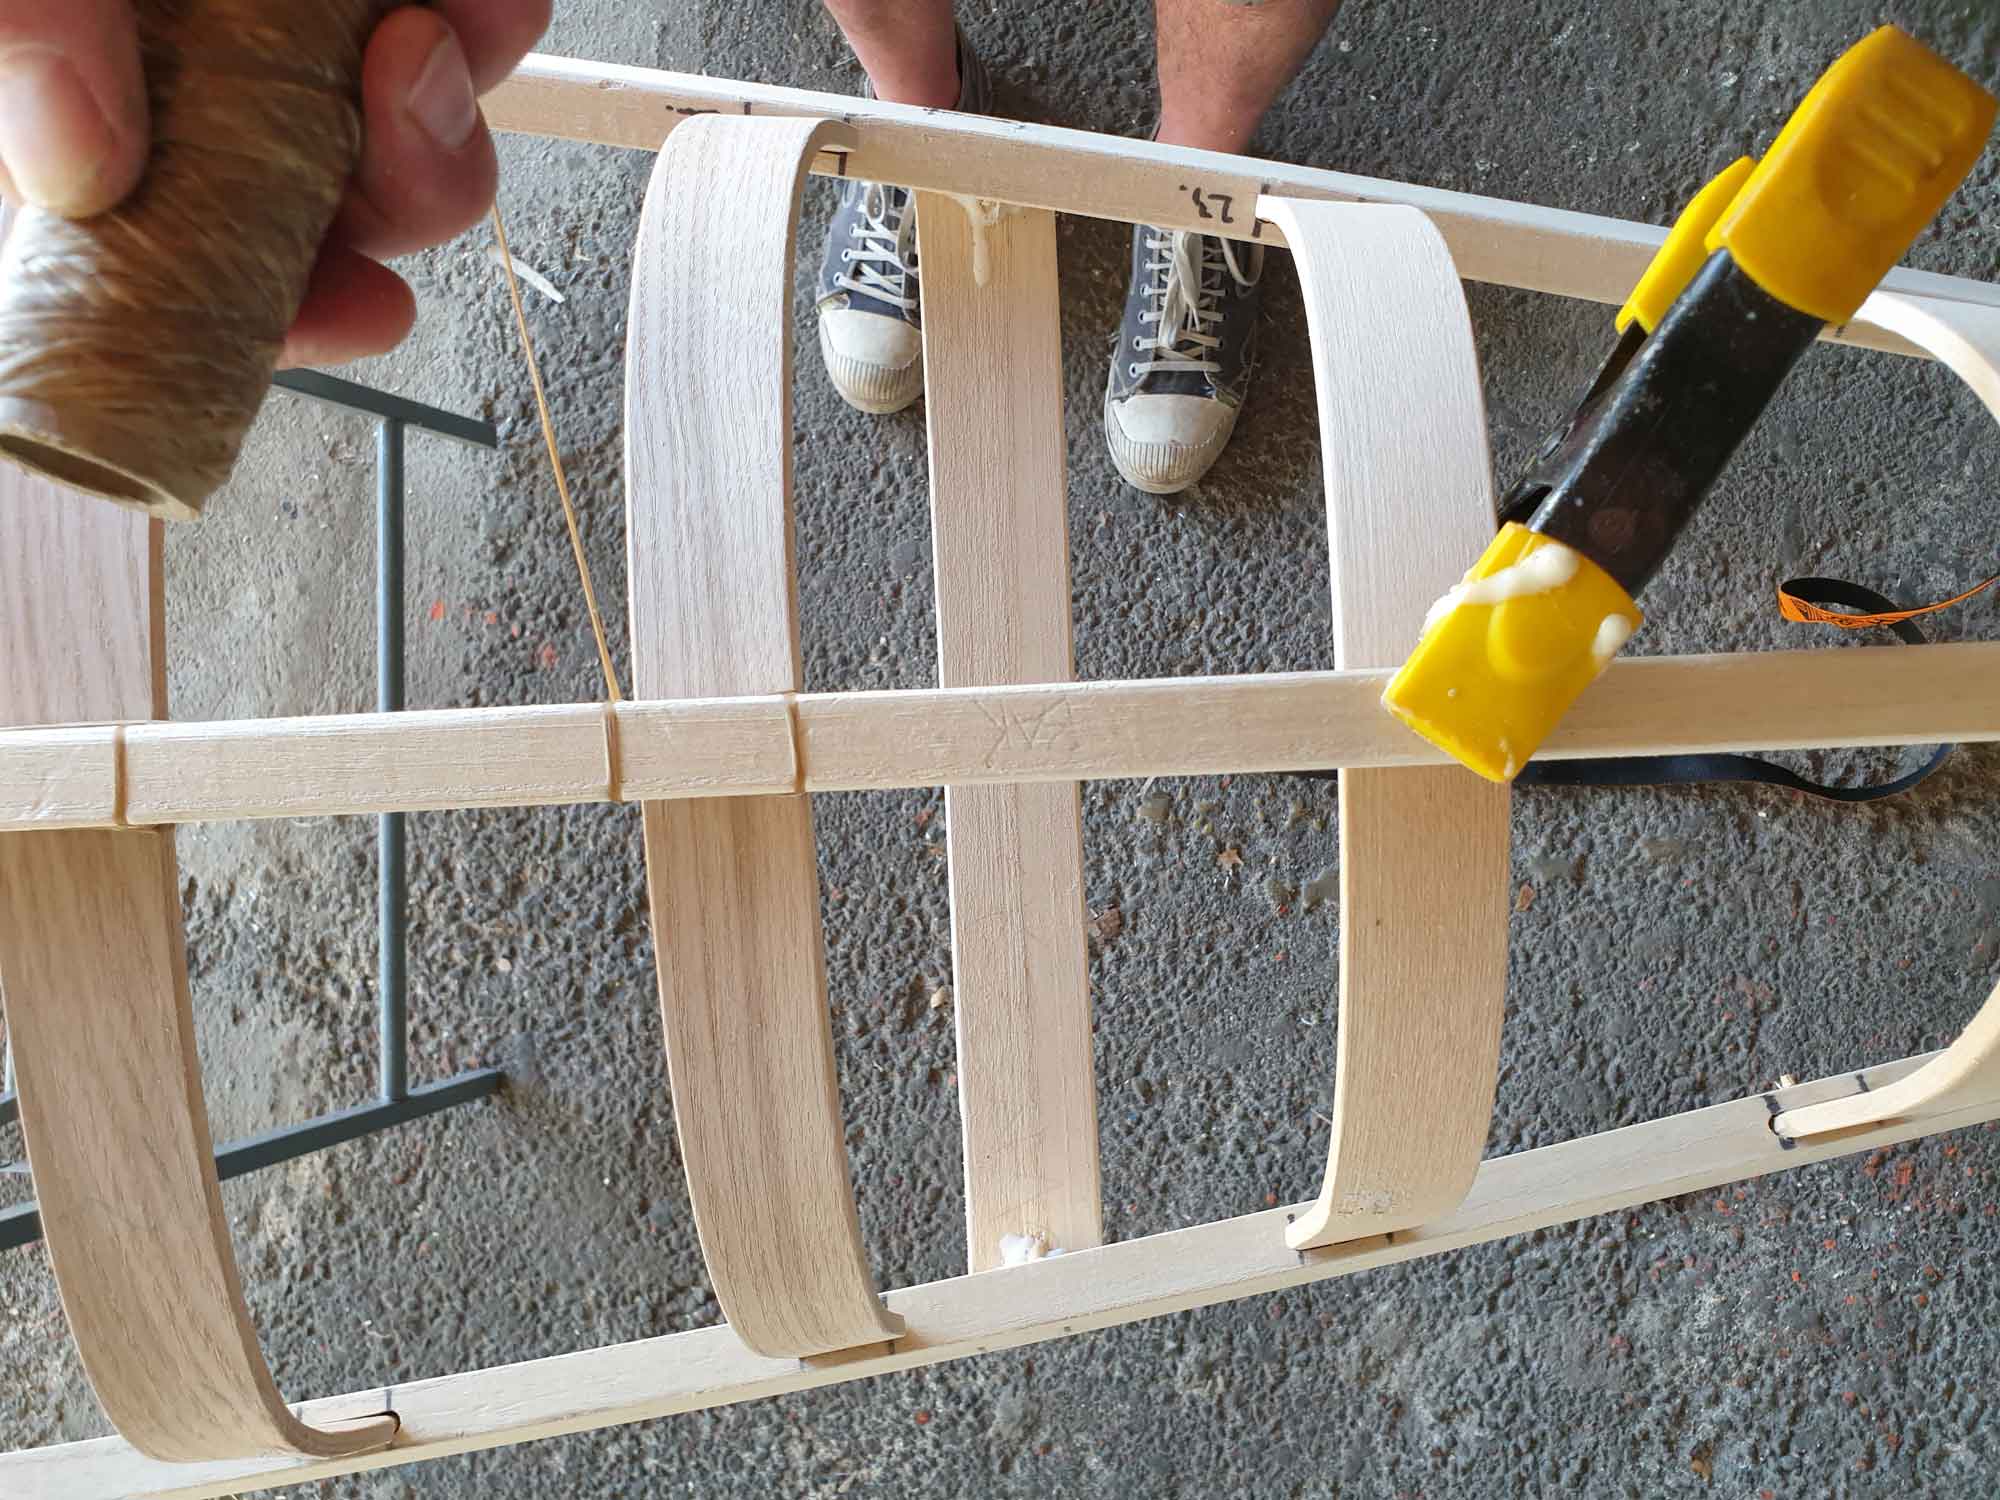
Lashing the longitudinal members of the kayak with sinew or plant fibre is a common practice throughout the Arctic and other indigenous boatbuilders. Arguably, being a kayak builder includes knowing how to lash together your craft. According to Harvey Golden’s book Kayaks of Greenland, there are many ways of securing wood in a kayak, lashing is just one of them.
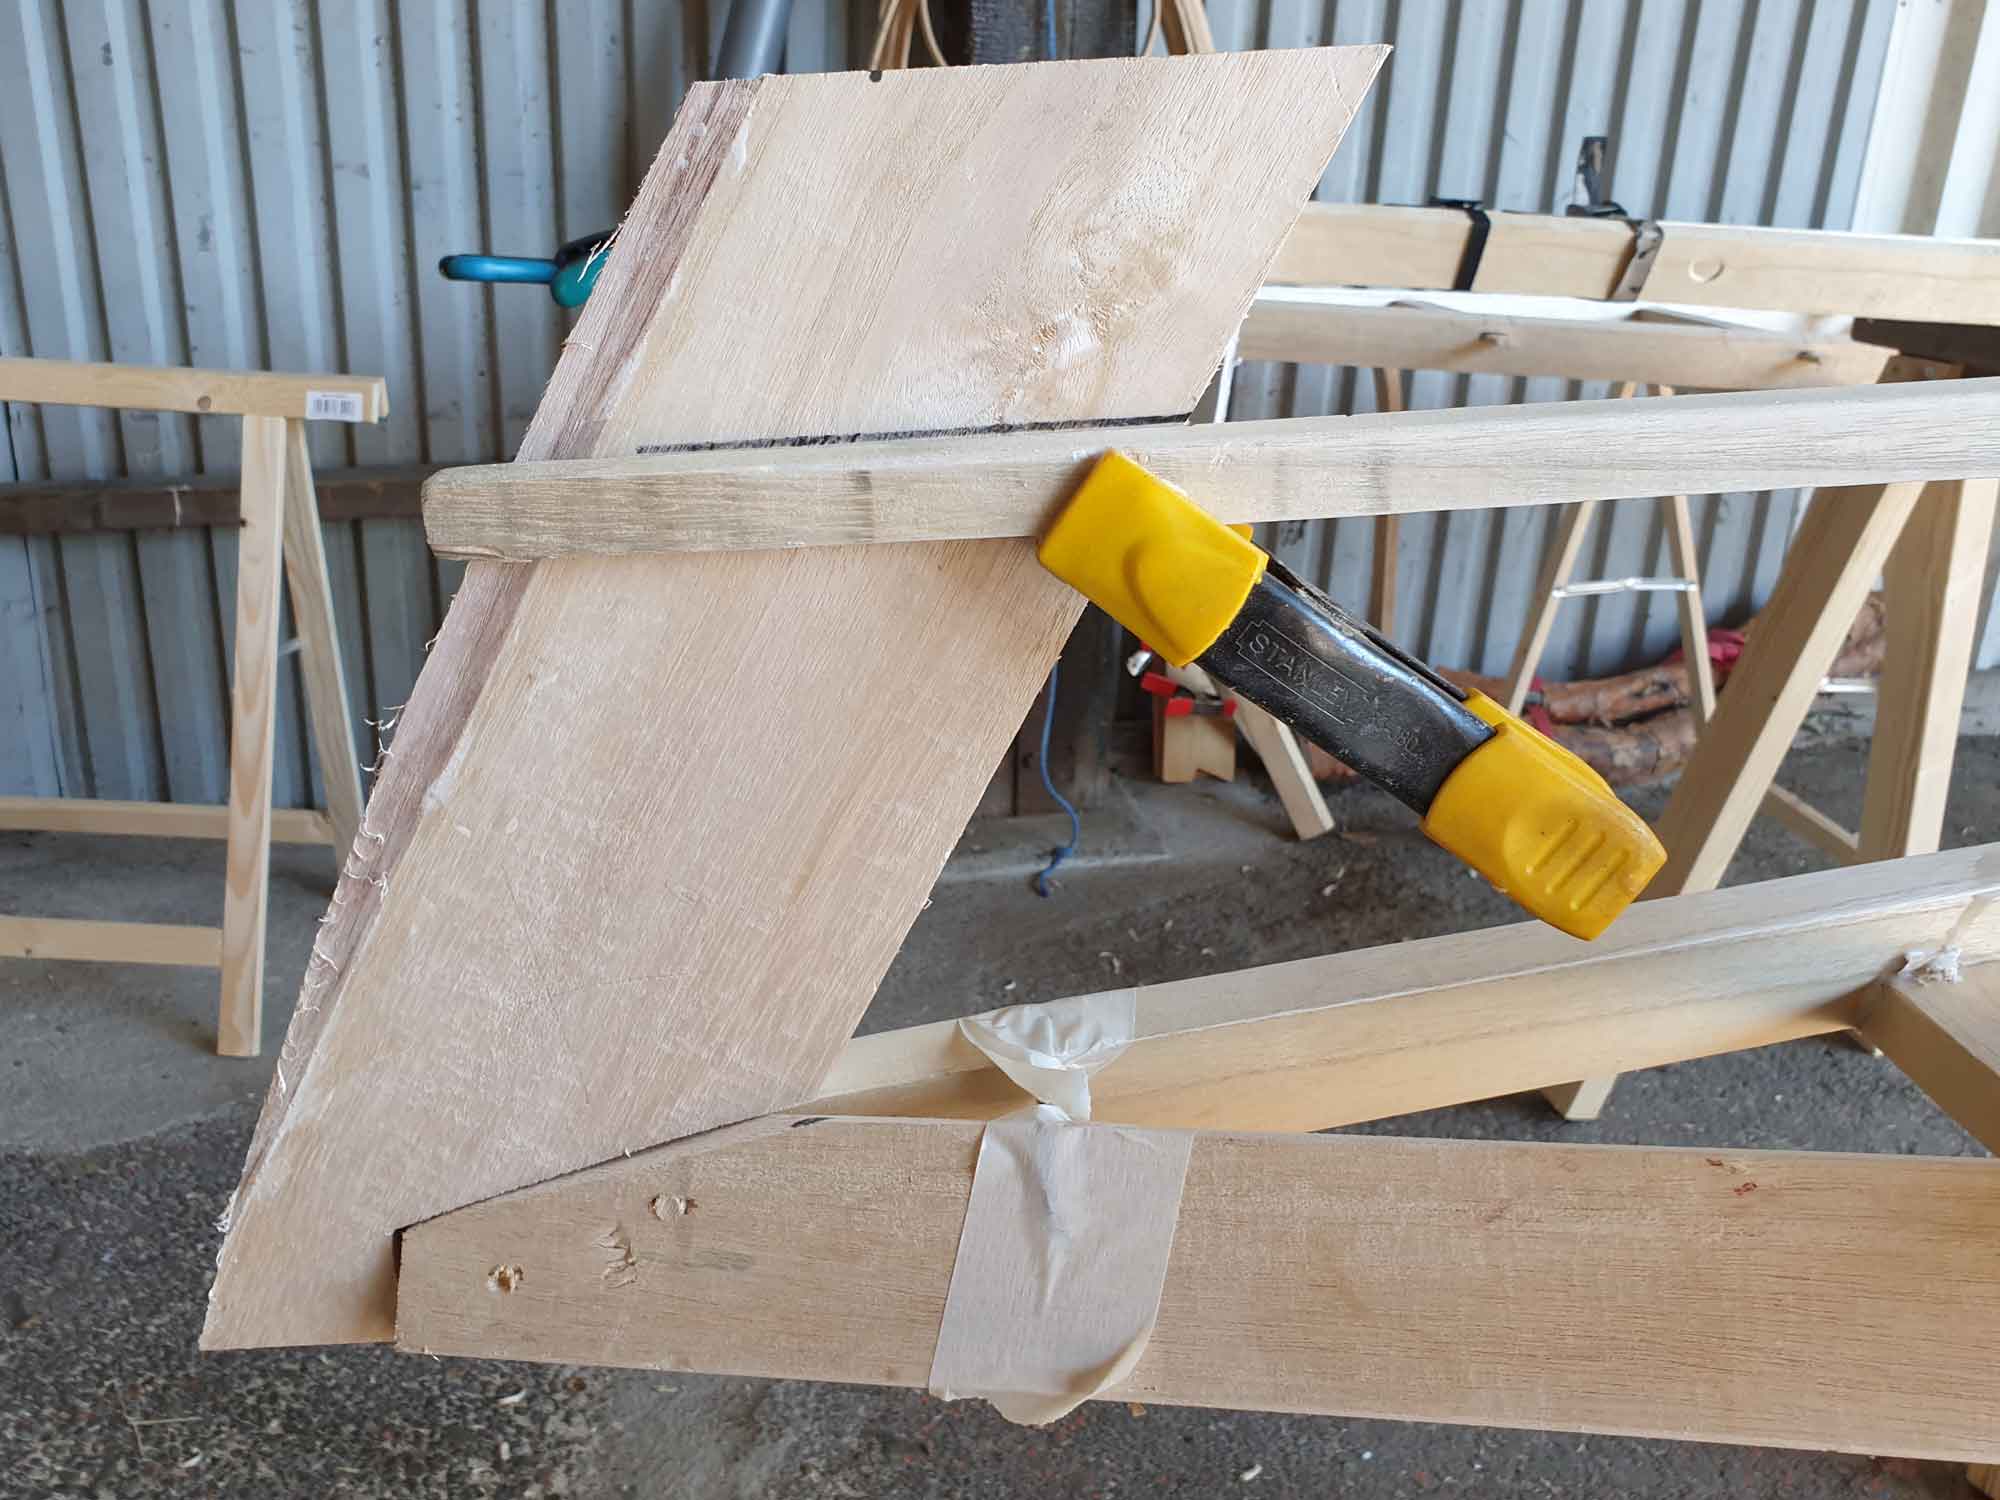
Anyway, after you have lashed on the keel, continue with the stringers. Same procedure. Start with one clamp in the middle of the kayak, check the stringer’s height to the gunwhale and the fornt to back position. Then put one clamp in the front and one in the back. Check your heights. Adjust, check again, adjust etc.
It can be tricky to get a fair line for the stringers and when it is not fair, you probably have some height off or a clamp bending the stringer. Figure out what’s wrong and redo the clamping.
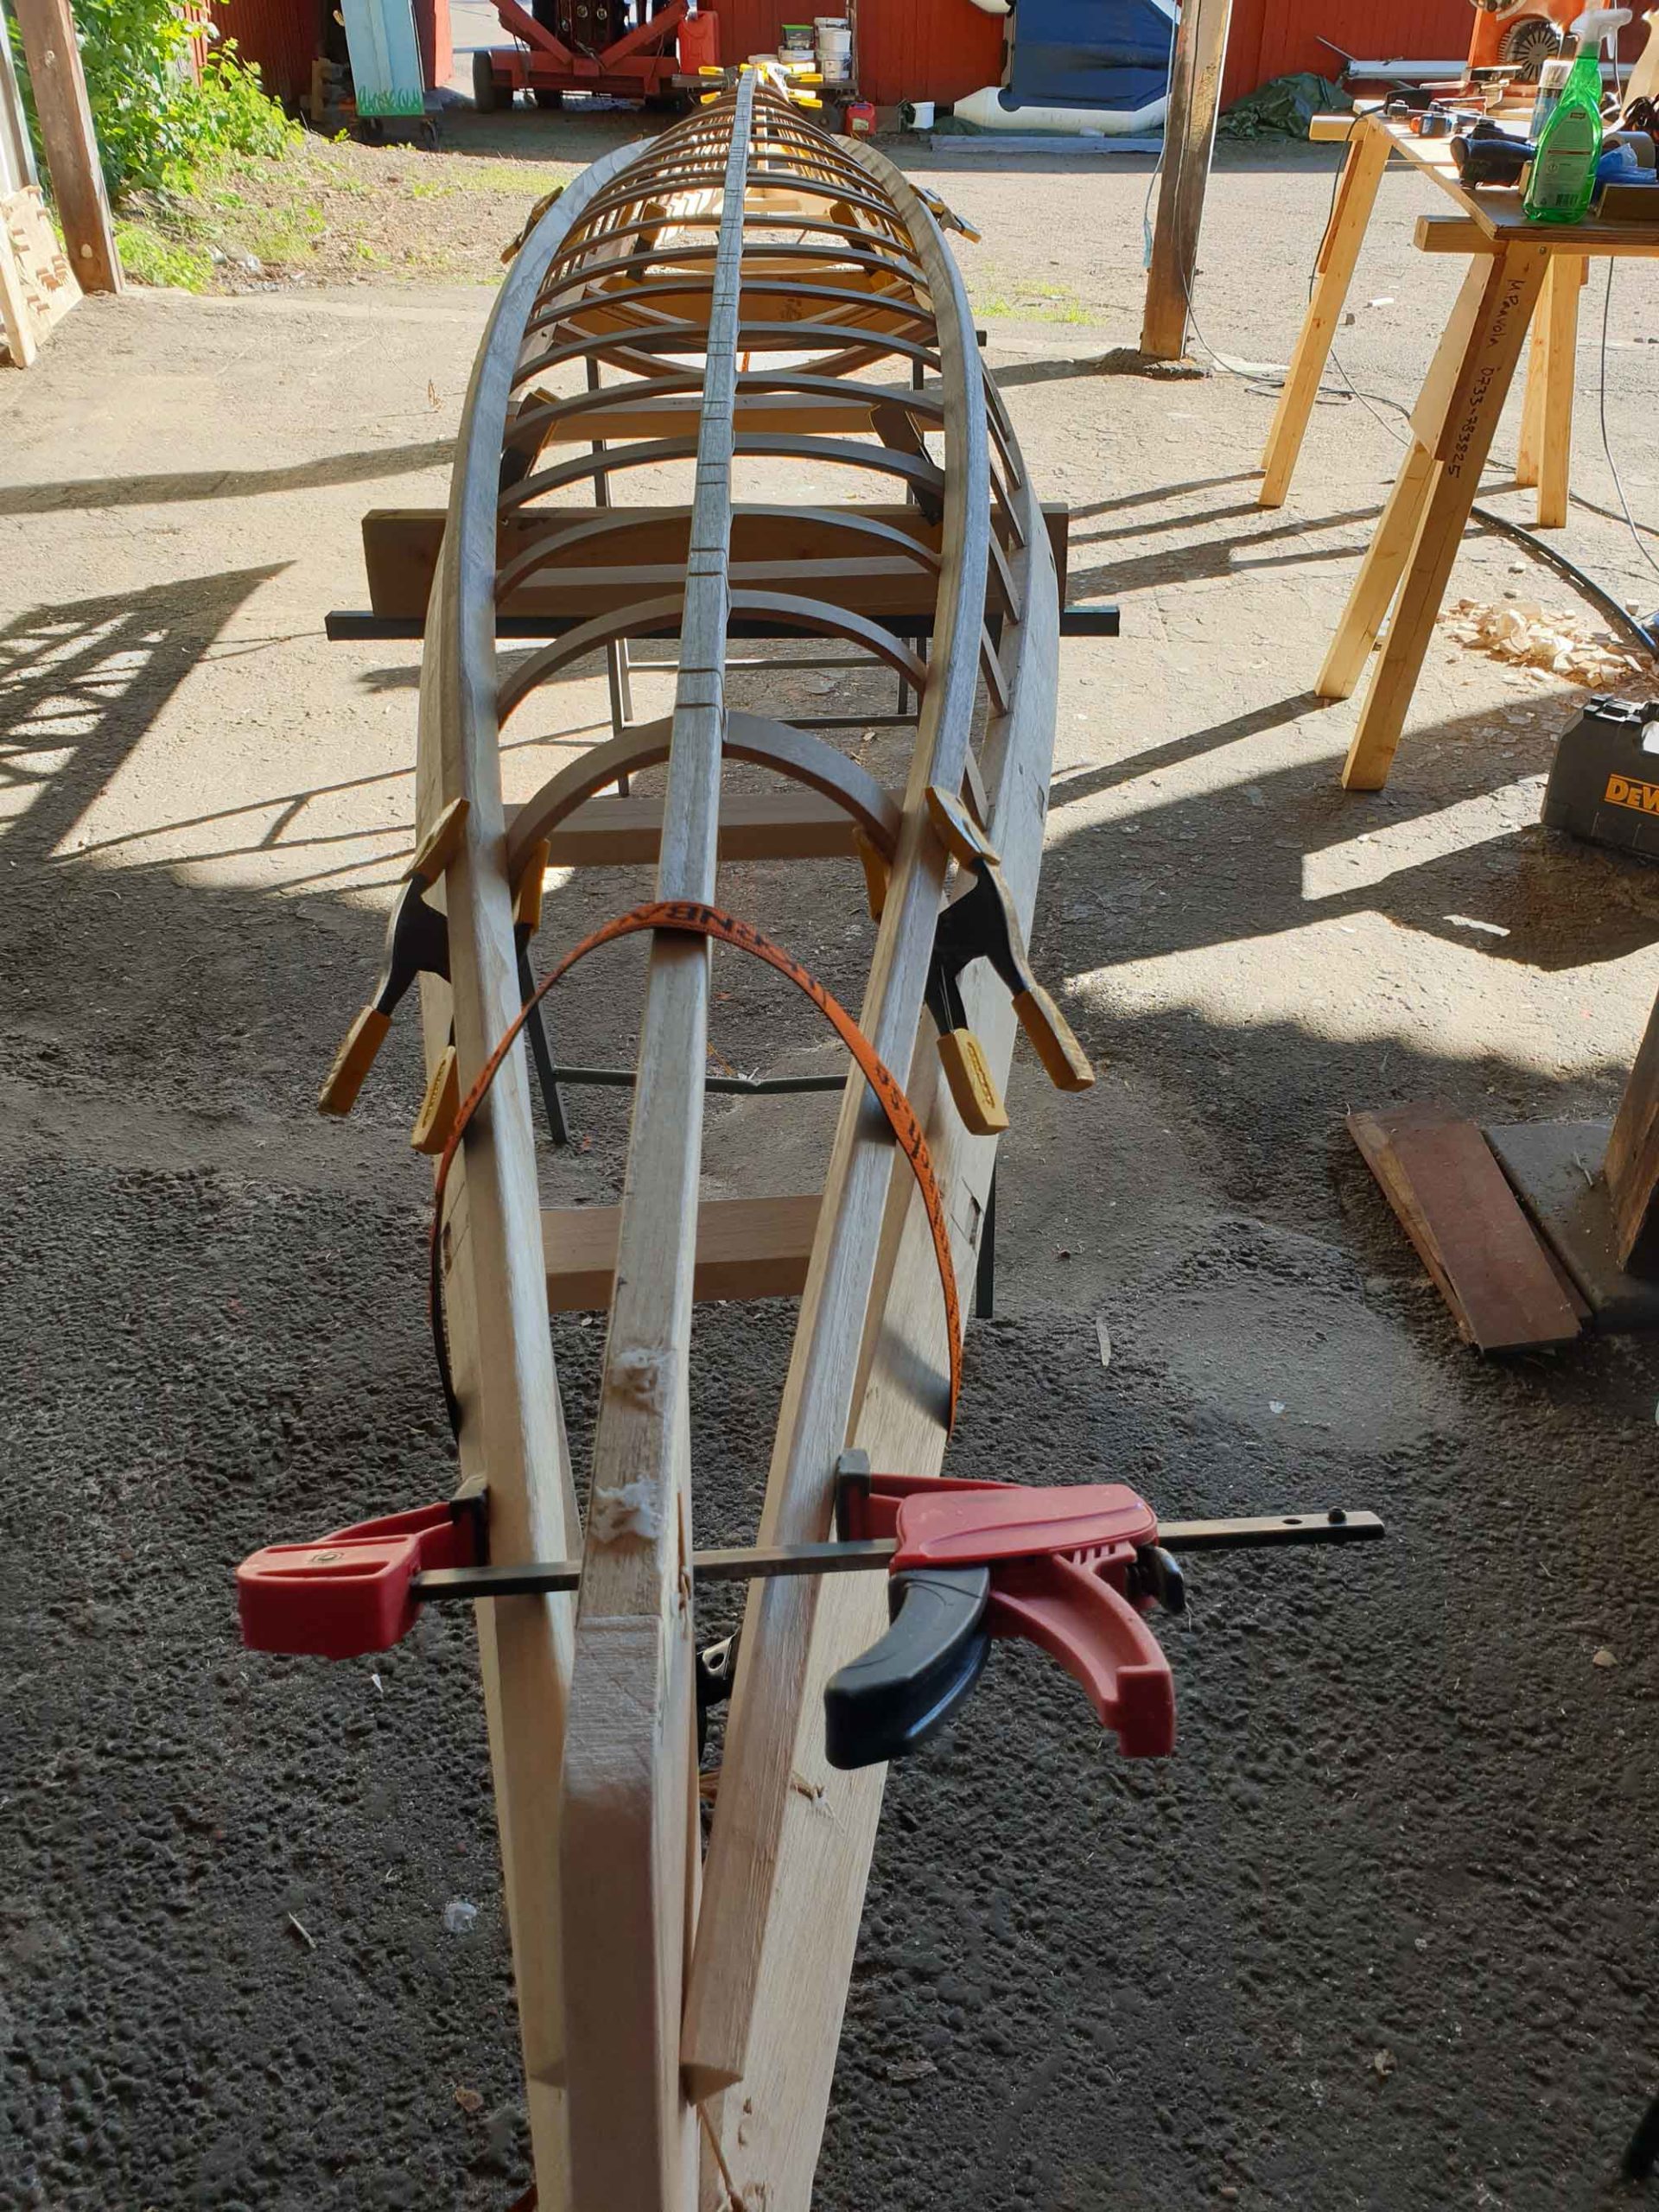
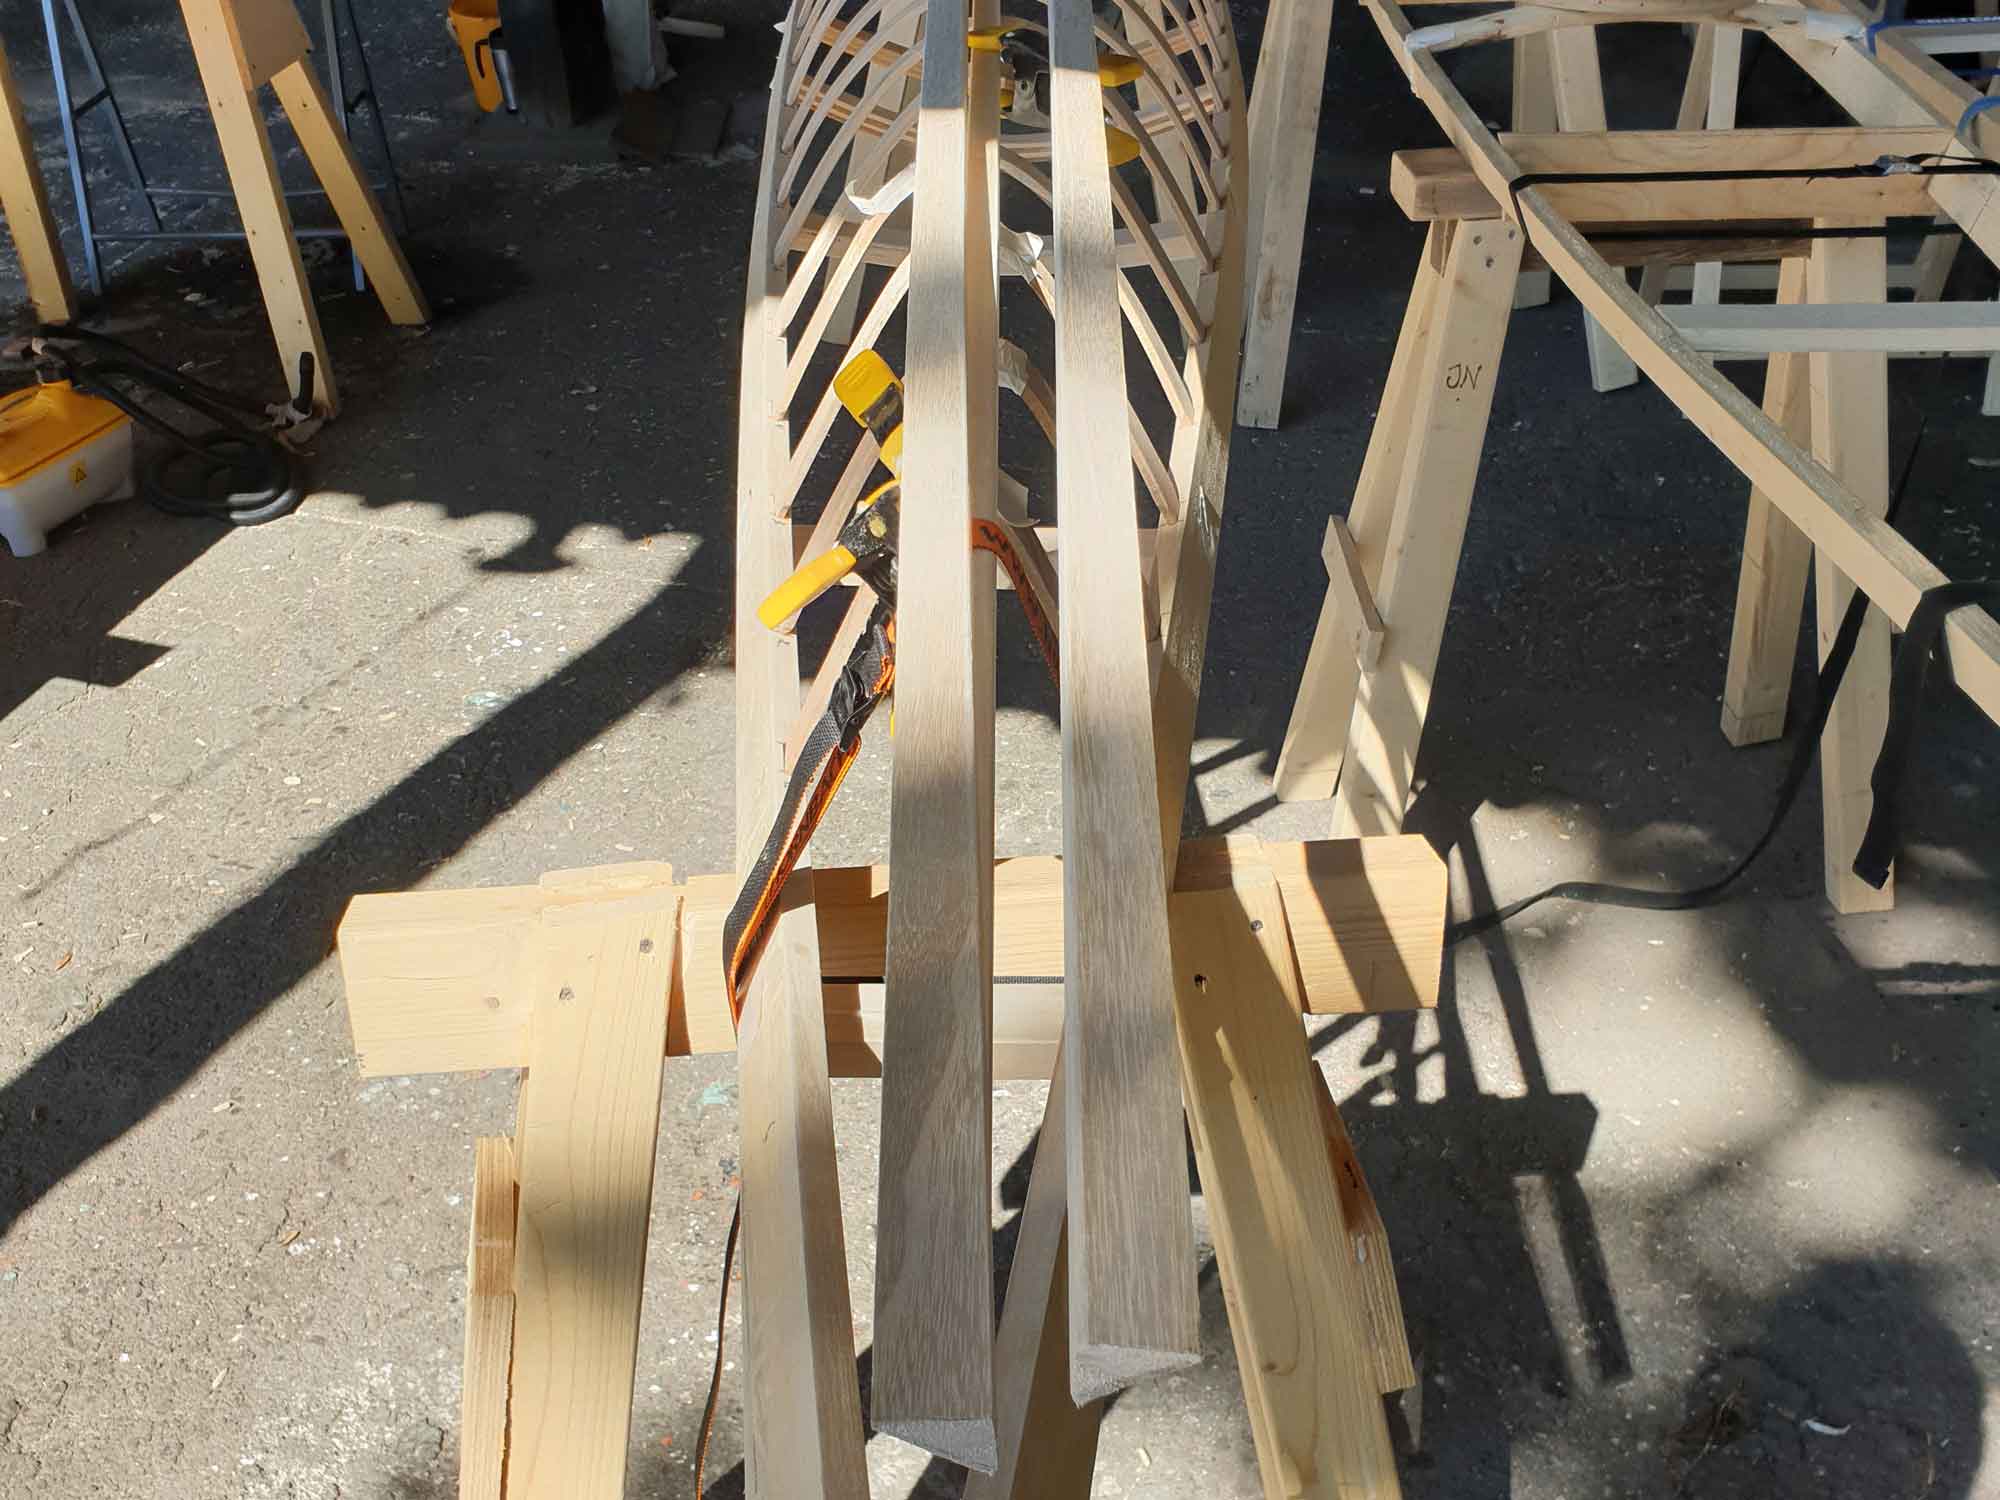
Watch the middle image below closely! I checked the heights and they were all ok at my reference ribs. It’s easier to start all over again from a situation like this, than to adjust the height of one clamp, then the next etc, since the stringer has some friction to the unclamped ribs as well and you will just introduce another curve in your main smooth curve.
If you get it wrong, don’t panic! The stringers and keel can be moved a little and you only get better at it if you need to cut and redo them all.