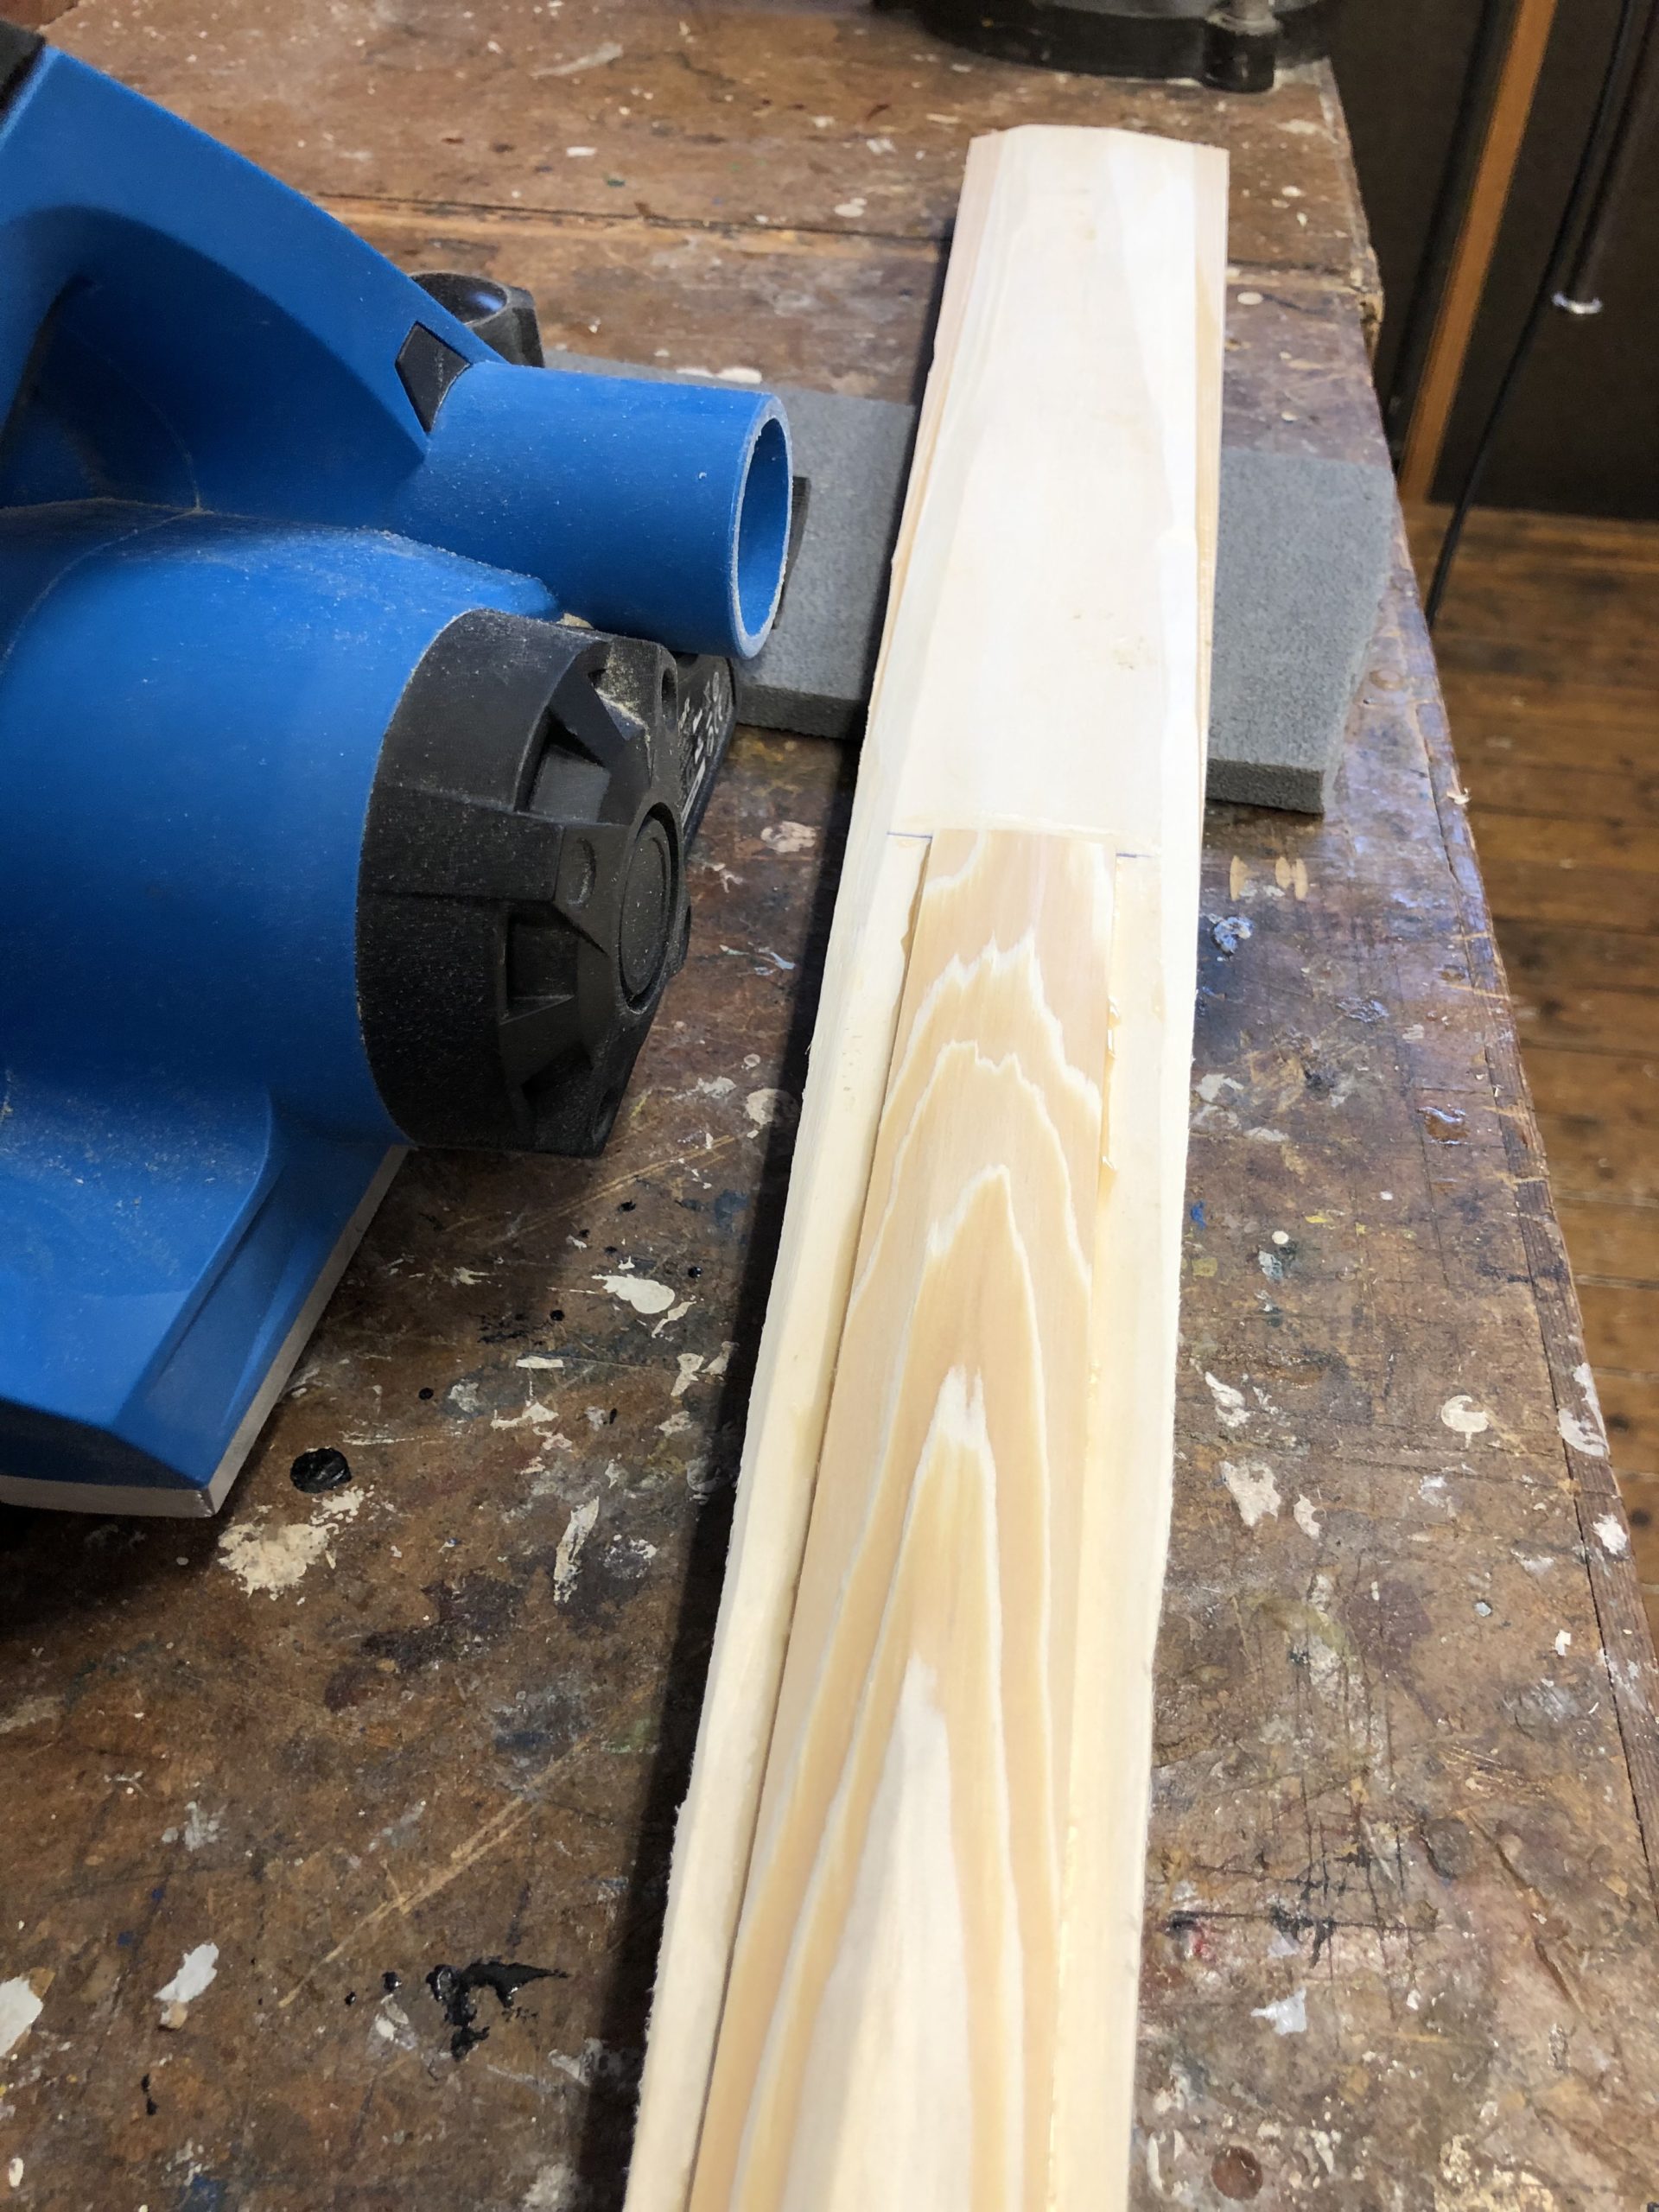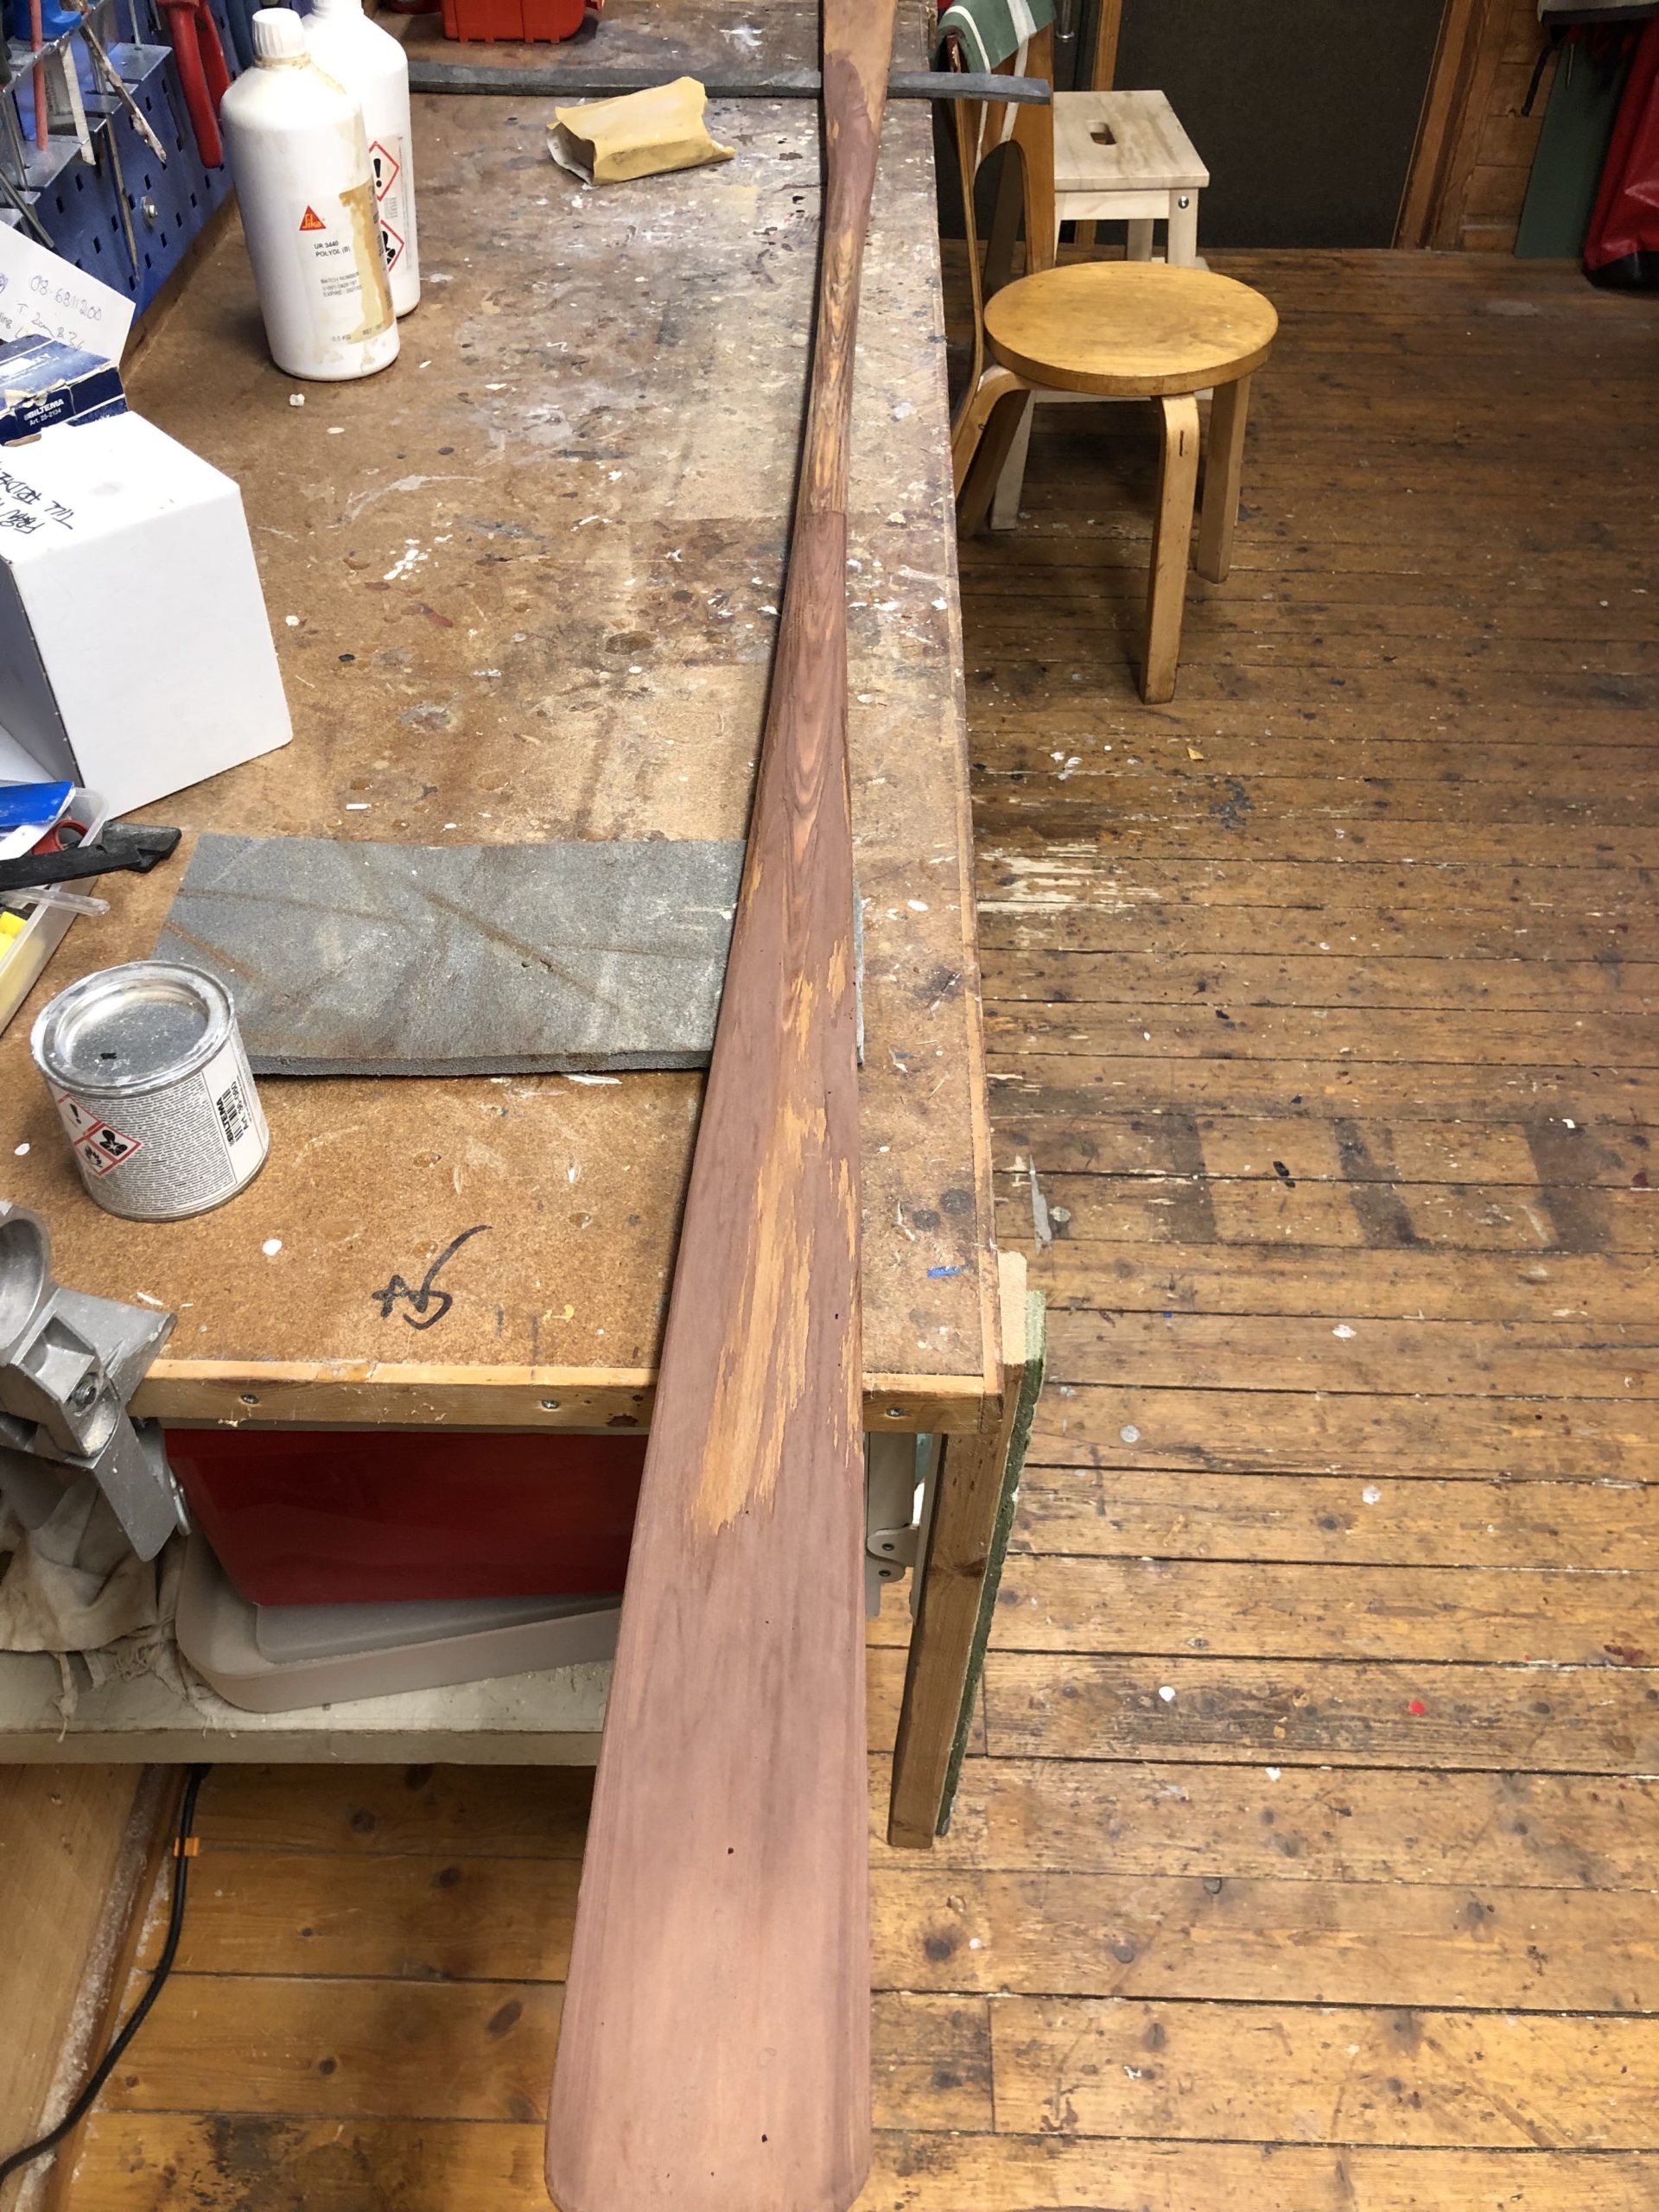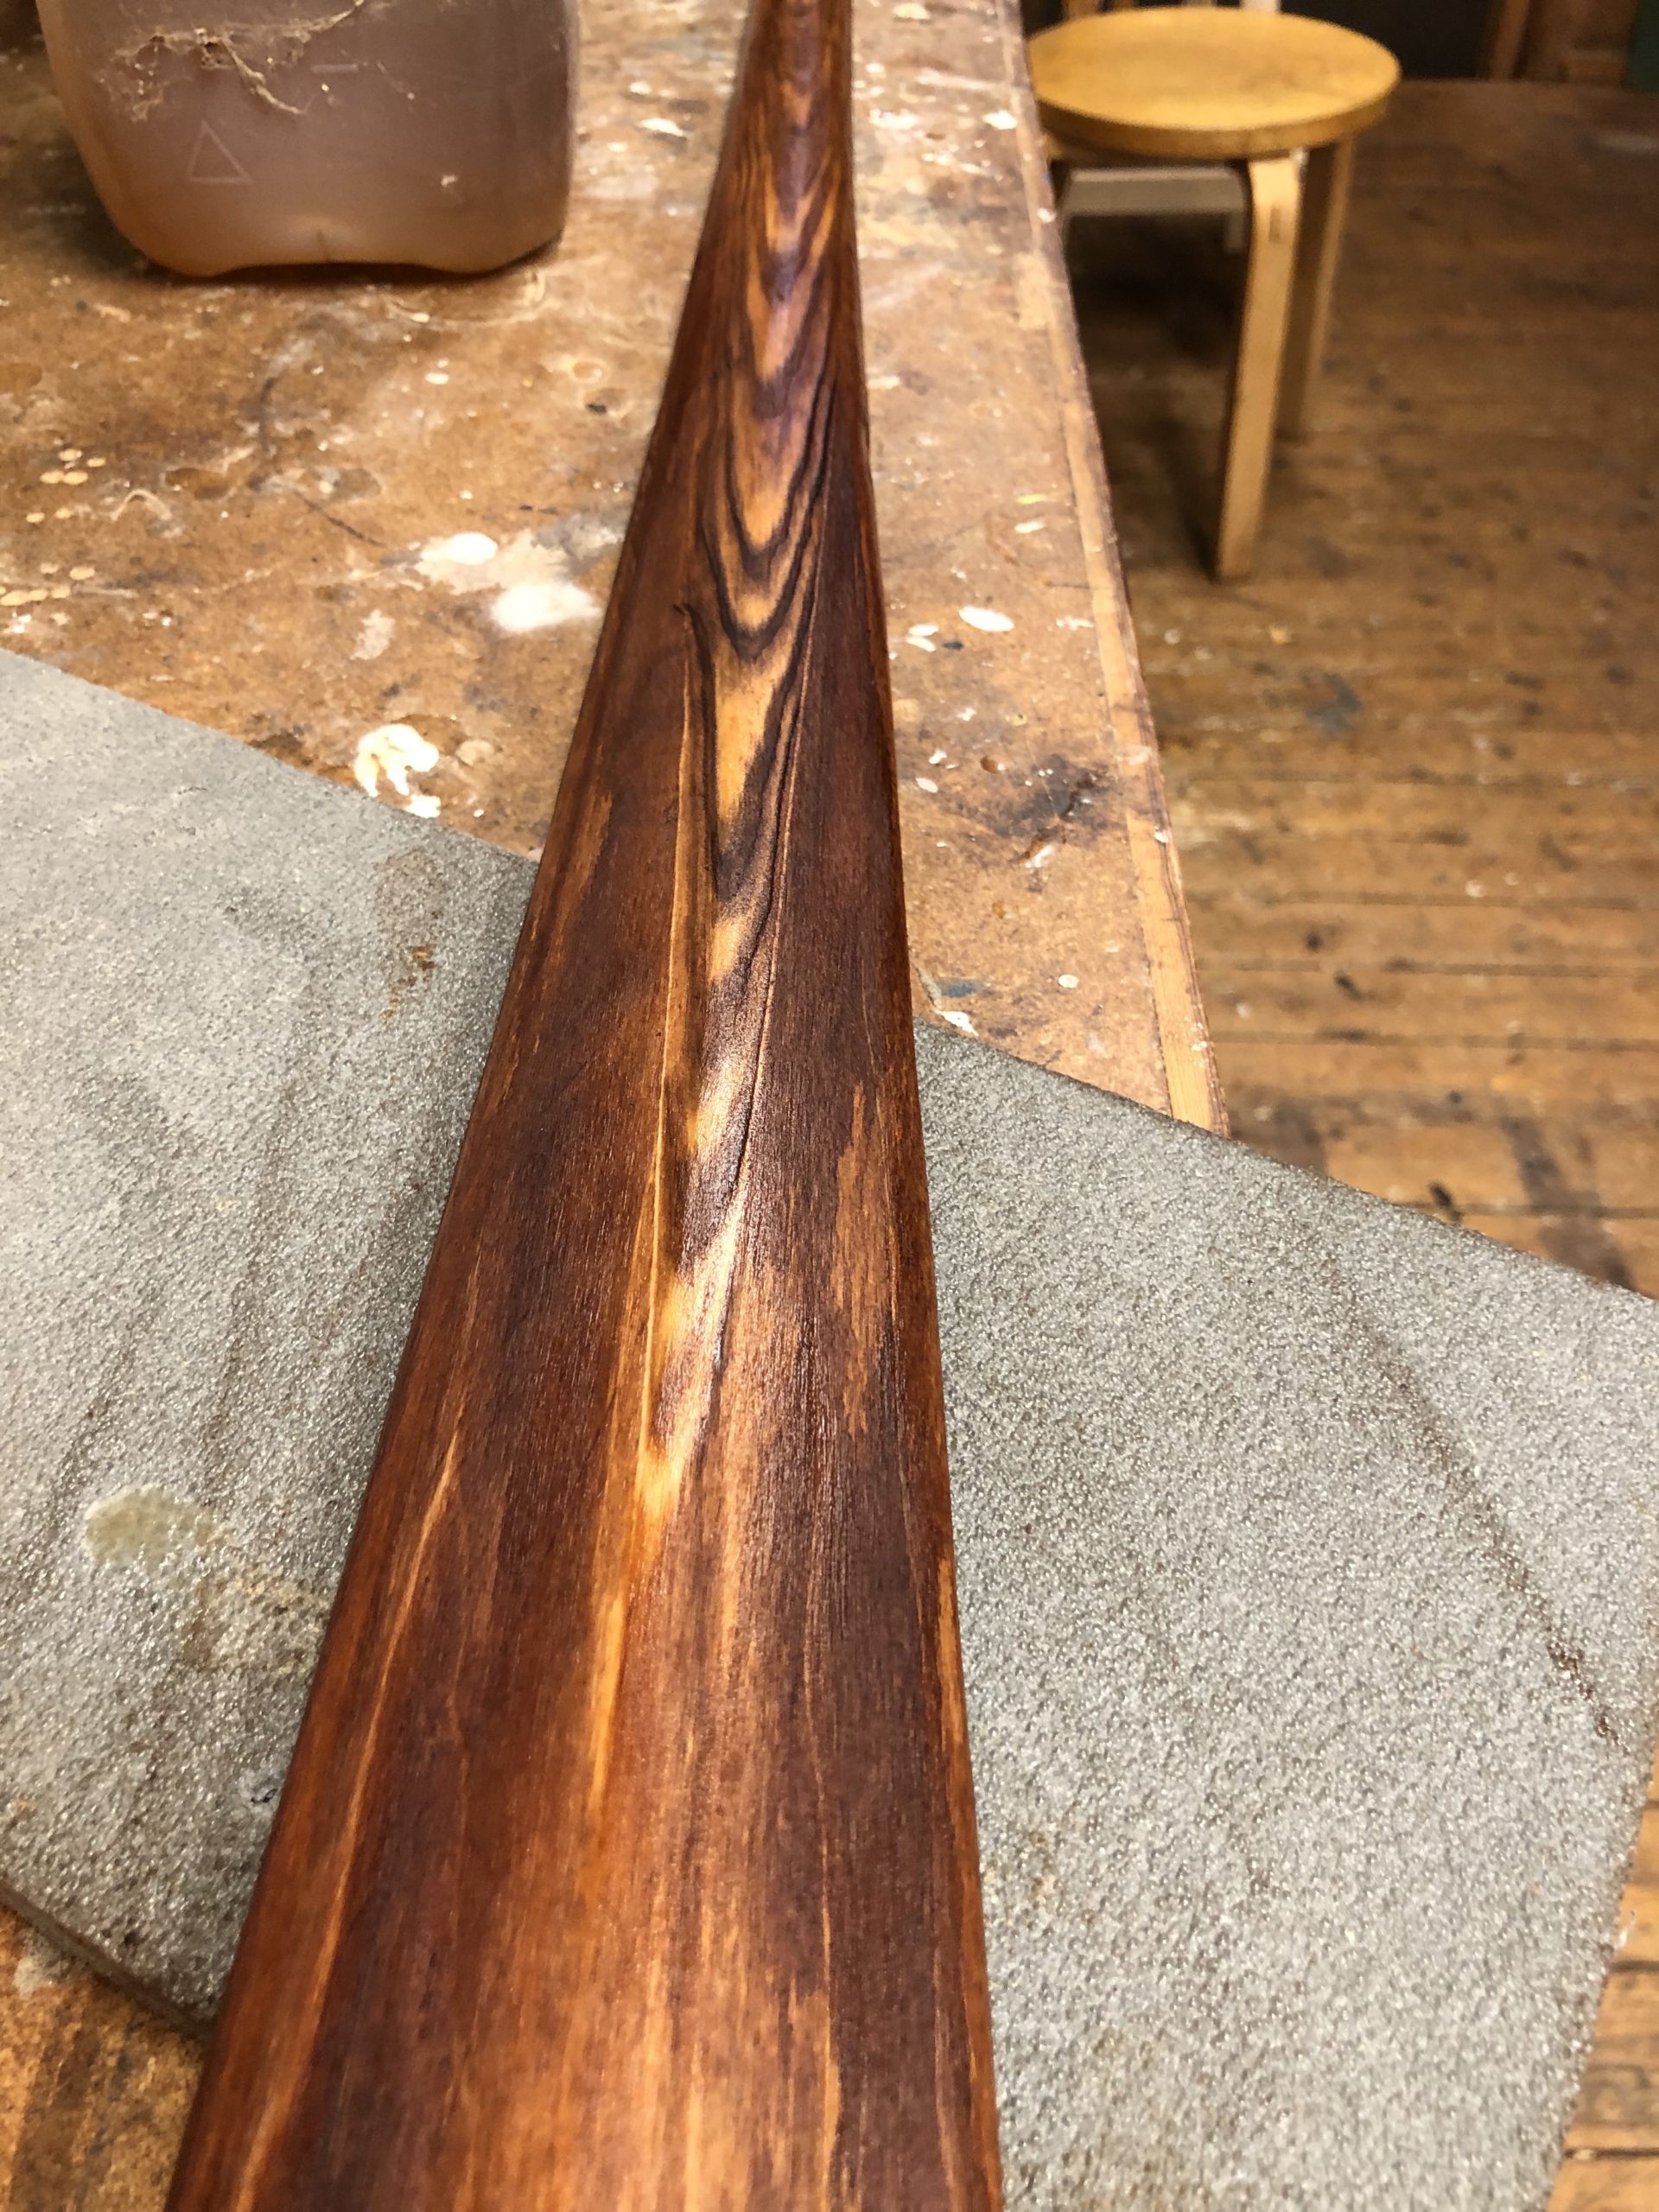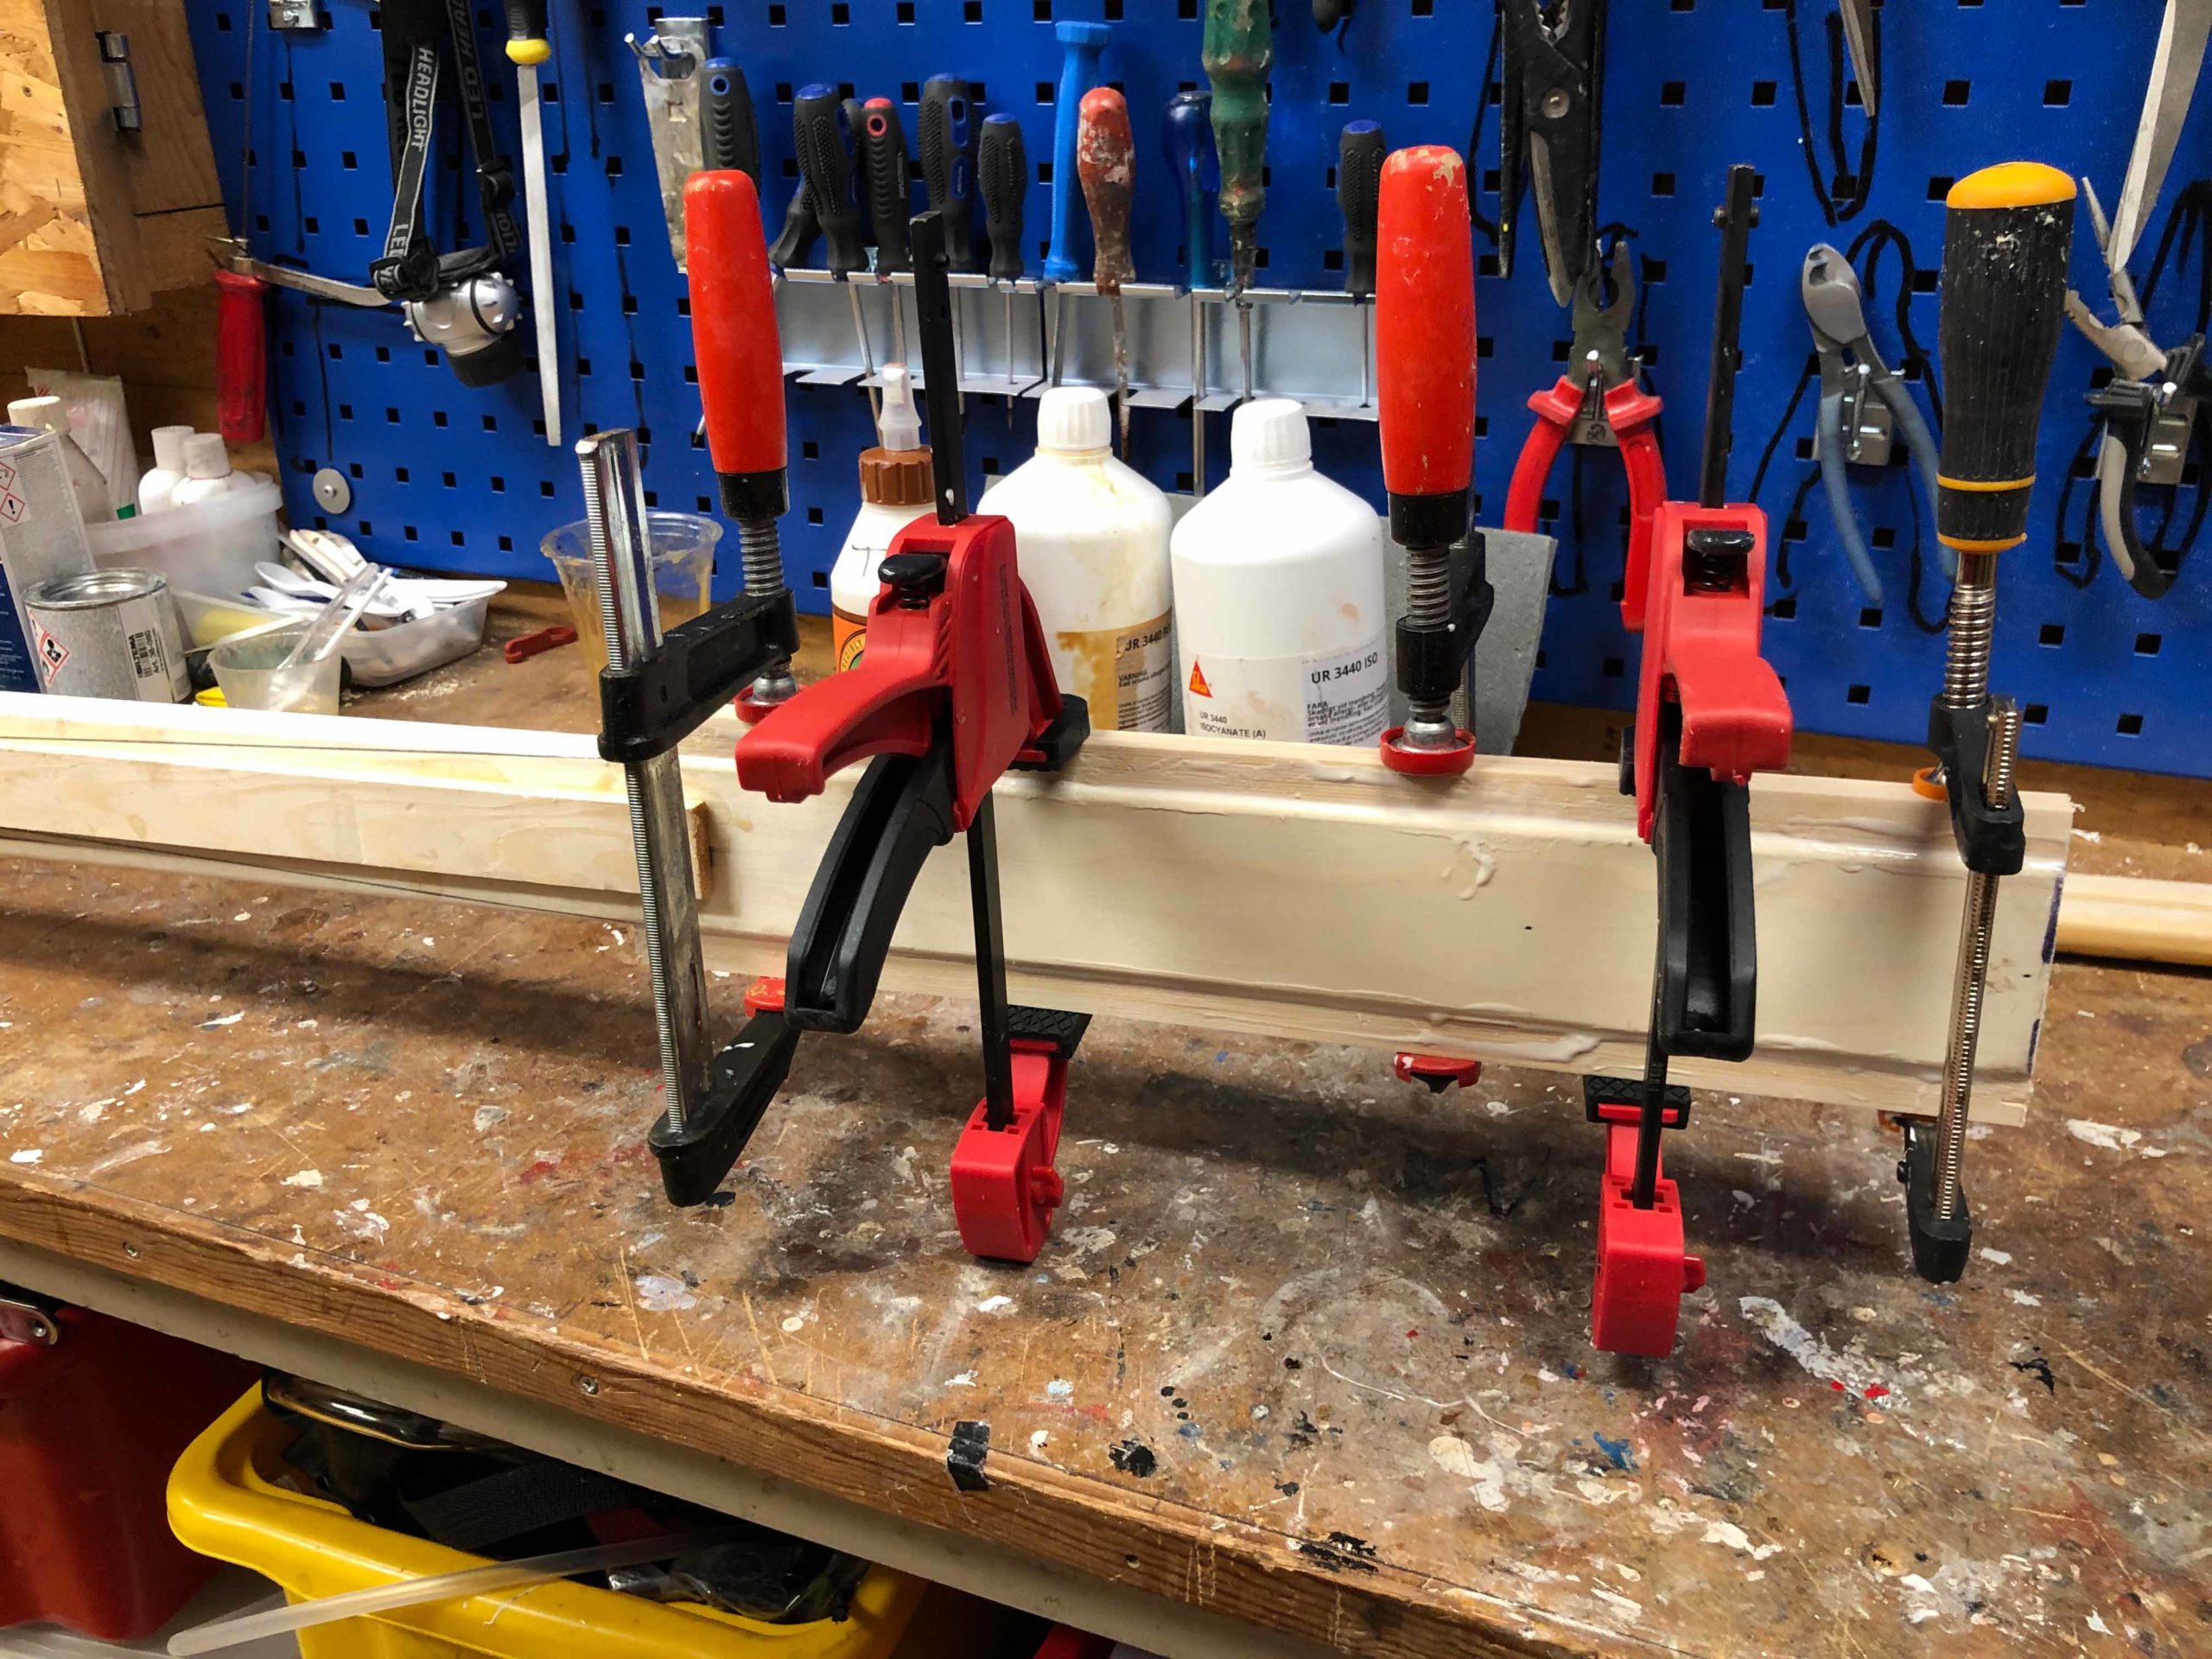
Next up is making a paddle. You need clamps again 🙂 There are as many ways to laminate a paddle as there are paddle makers! Here is one way if you just care about trying to protect a softer wood with harder laminations for durability. You do not have to laminate but it’s fun and the effect is both beautiful and usually makes the paddle more durable. The paddle design is up to you, but rules of thumb can be a few of the following. There are probably more that I forgot:
- Make the loom as wide as your shoulders and everything from slightly oval to a standing rounded rectangle 1:2. Just don’t make it completely round, like broom stick round.
- The blade can not be wider than your grip between the thumb’s and index finger’s first joint. It can be much narrower to spare your shoulders on long trips and make for a lighter paddle.
- You can have a straight blade with a defined “shoulder” transitioning to the loom or let the blade taper off all the way from the end into the loom. A slight shoulder helps you find your grip but a longer transition is sometimes preferred for a sliding paddle stroke.
- Paddle length is dependent on your kayak’s width, your shoulder width, arm’s length and preference. A good rule of thumb is when standing straight, you should be able to cup the end of the blade with your finger joints closest to the hand. It is usually your arm span + elbow to wrist. You can freestyle as much as you want. It is easier to shorten the paddle than to lengthen it…
- So, to sum it up. A narrower, more tapered and flexible paddle could be easier on the body for touring. A straighter, wider, stiffer, shouldered paddle could be better for rolling and playing. The former will be lighter, the latter heavier. You can use a combination of any traits to make it into your own style. More info by Chuck Hoist here.